结果展示:
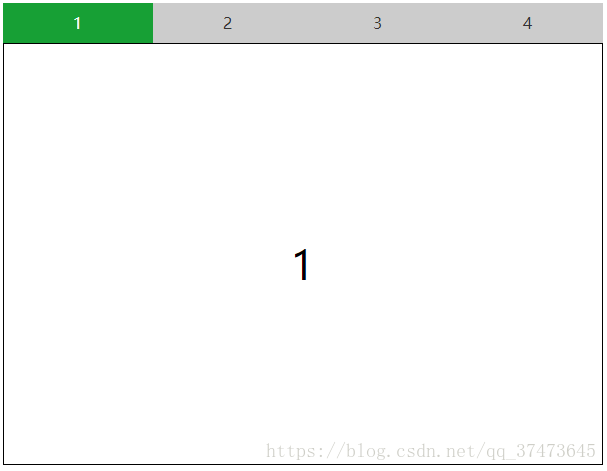
做选项卡的时候首先需要搞明白@click,:class ,v-show这三个vue常用的指令,添加事件的方式。
<!DOCTYPE html>
<html lang="en">
<head>
    <meta charset="UTF-8">
    <meta name="viewport" content="width=device-width, initial-scale=1.0">
    <meta http-equiv="X-UA-Compatible" content="ie=edge">
    <title>选项卡</title>
    <script type="text/javascript" src="../js/vue.js"></script>
</head>
<style>
    #tab{
        width: 600px;
        margin: 0 auto;
    }
    .tab-tit{
        font-size: 0;/*inline-block有空隙 解决方案:父元素中设置font-size:0*/
        width: 600px;
    }
    .tab-tit a{
        display: inline-block;
        height: 40px;
        line-height: 40px;
        font-size: 16px;
        width: 25%;
        text-align: center;
        background: #ccc;
        color: #333;
        text-decoration: none;
    }
    .tab-tit .cur{
        background: rgb(23, 160, 53);
        color: #fff;
    }
    .btn-con div{
        border: 1px solid black;
        height: 400px;
        padding-top: 20px;
        font-size: 40px;
        text-align: center;
        line-height: 400px;
    }
</style>
<body>
    <div id="tab">
        <div class="tab-tit">
            <a href="javascript:;" @click="curId=0" :class="{'cur':curId===0}">1</a>
            <a href="javascript:;" @click="curId=1" :class="{'cur':curId===1}">2</a>
            <a href="javascript:;" @click="curId=2" :class="{'cur':curId===2}">3</a>
            <a href="javascript:;" @click="curId=3" :class="{'cur':curId===3}">4</a>
        </div>
        <div class="btn-con">
            <div v-show="curId===0">
                1
            </div>
            <div v-show="curId===1">
                2
            </div>
            <div v-show="curId===2">
                3
            </div>
            <div v-show="curId===3">
                4
            </div>
        </div>
    </div>
</body>
<script>
    var tab=new Vue({
        el:'#tab',
        data:{
            curId:0
        }
    })
</script>

</html>