版权声明:本文为博主原创文章,未经博主允许不得转载。 https://blog.csdn.net/ZLAKS123456/article/details/51424824
本文将介绍Gallery控件的简单使用,Gallery控件用于灵活展示图片。
先附上我的布局文件:
<?xml version="1.0" encoding="utf-8"?>
<RelativeLayout xmlns:android="http://schemas.android.com/apk/res/android"
    xmlns:tools="http://schemas.android.com/tools"
    android:layout_width="match_parent"
    android:layout_height="match_parent"
    tools:context="com.example.mytest.MainActivity">

    <Gallery
        android:id="@+id/gallery"
        android:layout_width="match_parent"
        android:layout_height="match_parent"
        android:layout_centerVertical="true"
        android:layout_centerHorizontal="true" />
</RelativeLayout>
接下来,我们需要在MainActivity的oNCreate方法中加入这段话:
Gallery gallery = (Gallery) findViewById(R.id.gallery);这样一来,我们便可以对Gallery控件进行一些操作。
为了将图片资源用Gallery展示,我们需要创建一个适配器。在一般的工程项目中,自定义Adapter是比较常见的,因此,本文也选择使用自定义的Adapter:
package com.example.mytest;

import android.content.Context;
import android.view.View;
import android.view.ViewGroup;
import android.widget.BaseAdapter;
import android.widget.Gallery;
import android.widget.ImageView;

/**
 * Created by ZWH on 2016/5/16.
 */
public class GalleryAdapter extends BaseAdapter {
    private Context mContext;
    //设置要展示的图片资源
    int[] images = {R.mipmap.ic_launcher, R.mipmap.ic_launcher, R.mipmap.ic_launcher, R.mipmap.ic_launcher};

    public GalleryAdapter(Context context) {
        this.mContext = context;
    }

    @Override
    public int getCount() {
        return images.length;
    }

    @Override
    public Object getItem(int i) {
        return i;
    }

    @Override
    public long getItemId(int i) {
        return i;
    }

    @Override
    public View getView(int i, View view, ViewGroup viewGroup) {
        //在此最好判断一下view是否为空
        ImageView image = new ImageView(mContext);
        image.setImageResource(images[i]);
        image.setAdjustViewBounds(true);
        //设置宽高
        image.setLayoutParams(new Gallery.LayoutParams(
                ViewGroup.LayoutParams.MATCH_PARENT, ViewGroup.LayoutParams.MATCH_PARENT));
        return image;
    }
}
接下来,就在MainActivity中是为Gallery配置适配器了,附上我MainActivity中的代码:
package com.example.mytest;

import android.support.v7.app.AppCompatActivity;
import android.os.Bundle;
import android.view.View;
import android.widget.AdapterView;
import android.widget.Gallery;
import android.widget.Toast;

/**
 * Created by ZWH on 2016/5/16.
 */
public class MainActivity extends AppCompatActivity {
    GalleryAdapter galleryAdapter;

    @Override
    protected void onCreate(Bundle savedInstanceState) {
        super.onCreate(savedInstanceState);
        setContentView(R.layout.activity_main);
        Gallery gallery = (Gallery) findViewById(R.id.gallery);
        galleryAdapter = new GalleryAdapter(MainActivity.this);
        gallery.setAdapter(galleryAdapter);
        //相应的点击事件
        gallery.setOnItemClickListener(new AdapterView.OnItemClickListener() {
            @Override
            public void onItemClick(AdapterView<?> adapterView, View view, int i, long l) {
                Toast.makeText(MainActivity.this, "您点击的是" + i, Toast.LENGTH_LONG).show();
            }
        });
    }
}
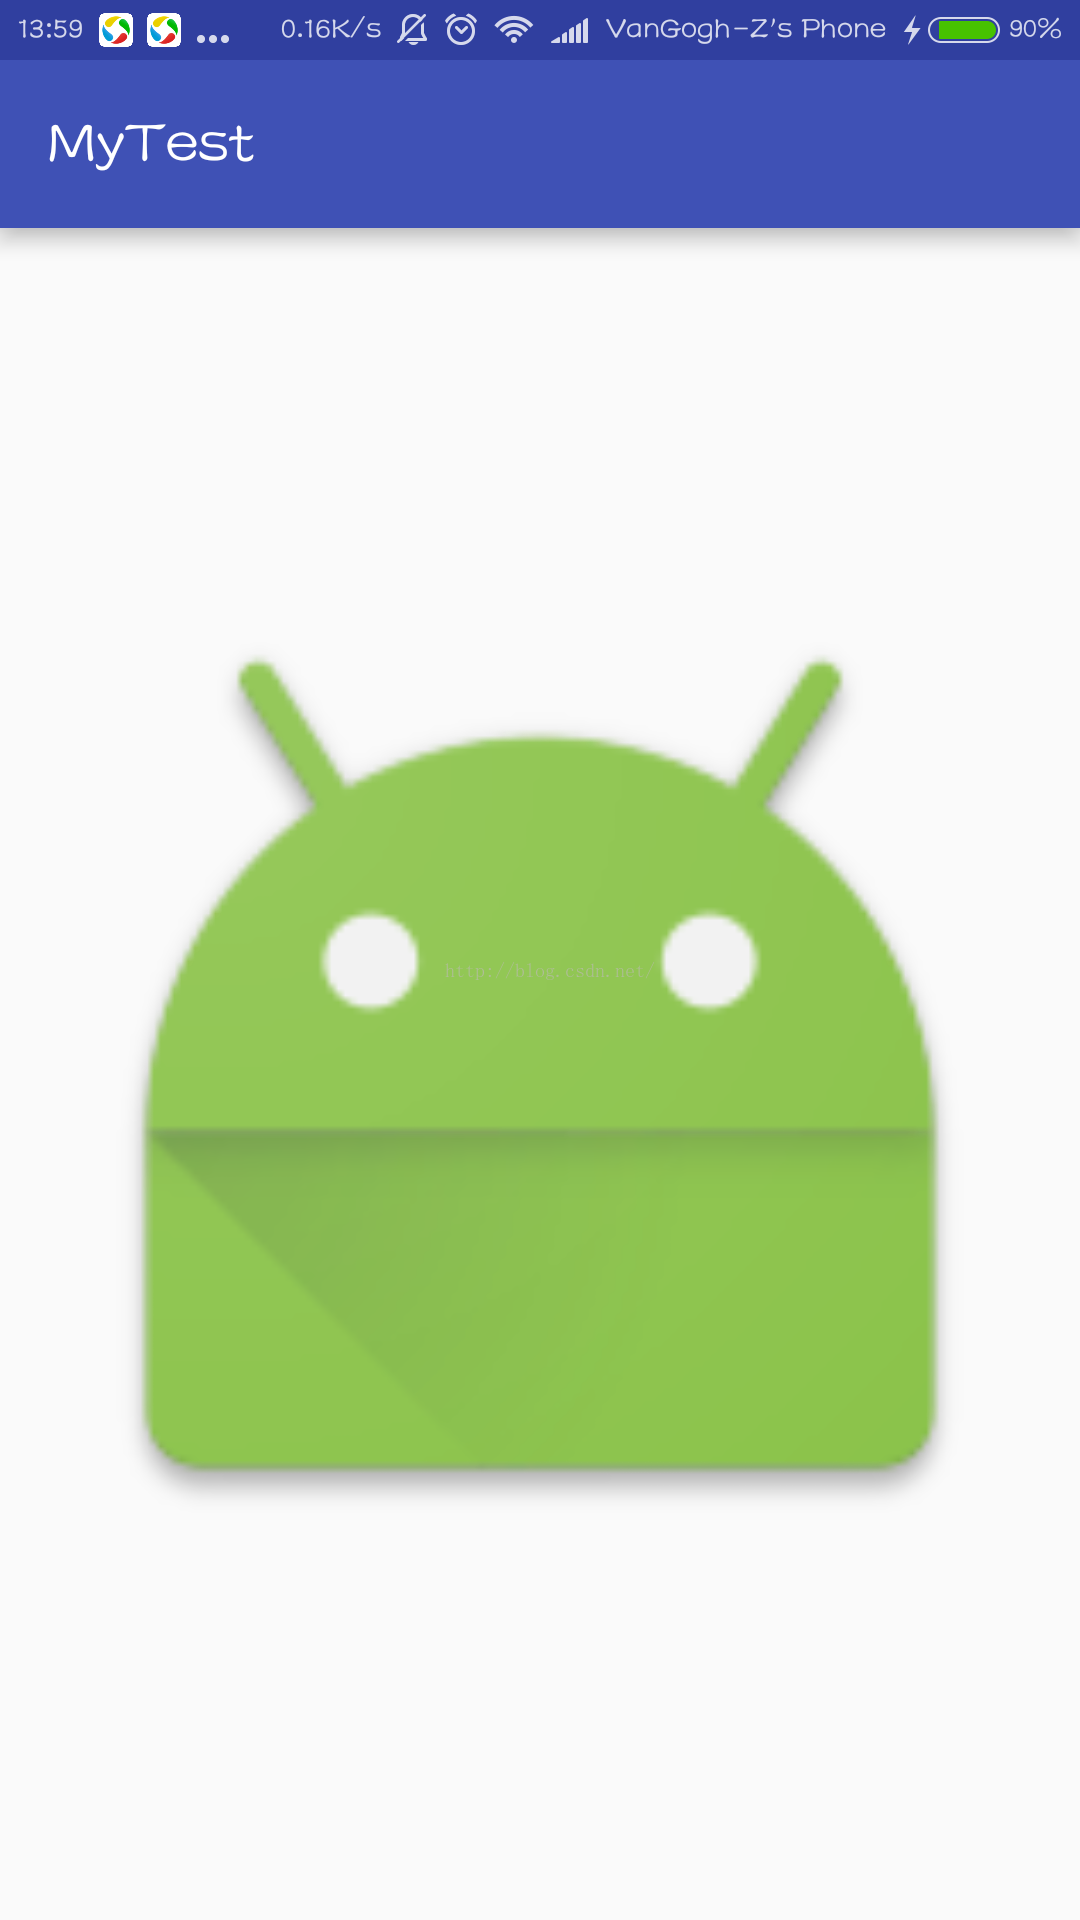
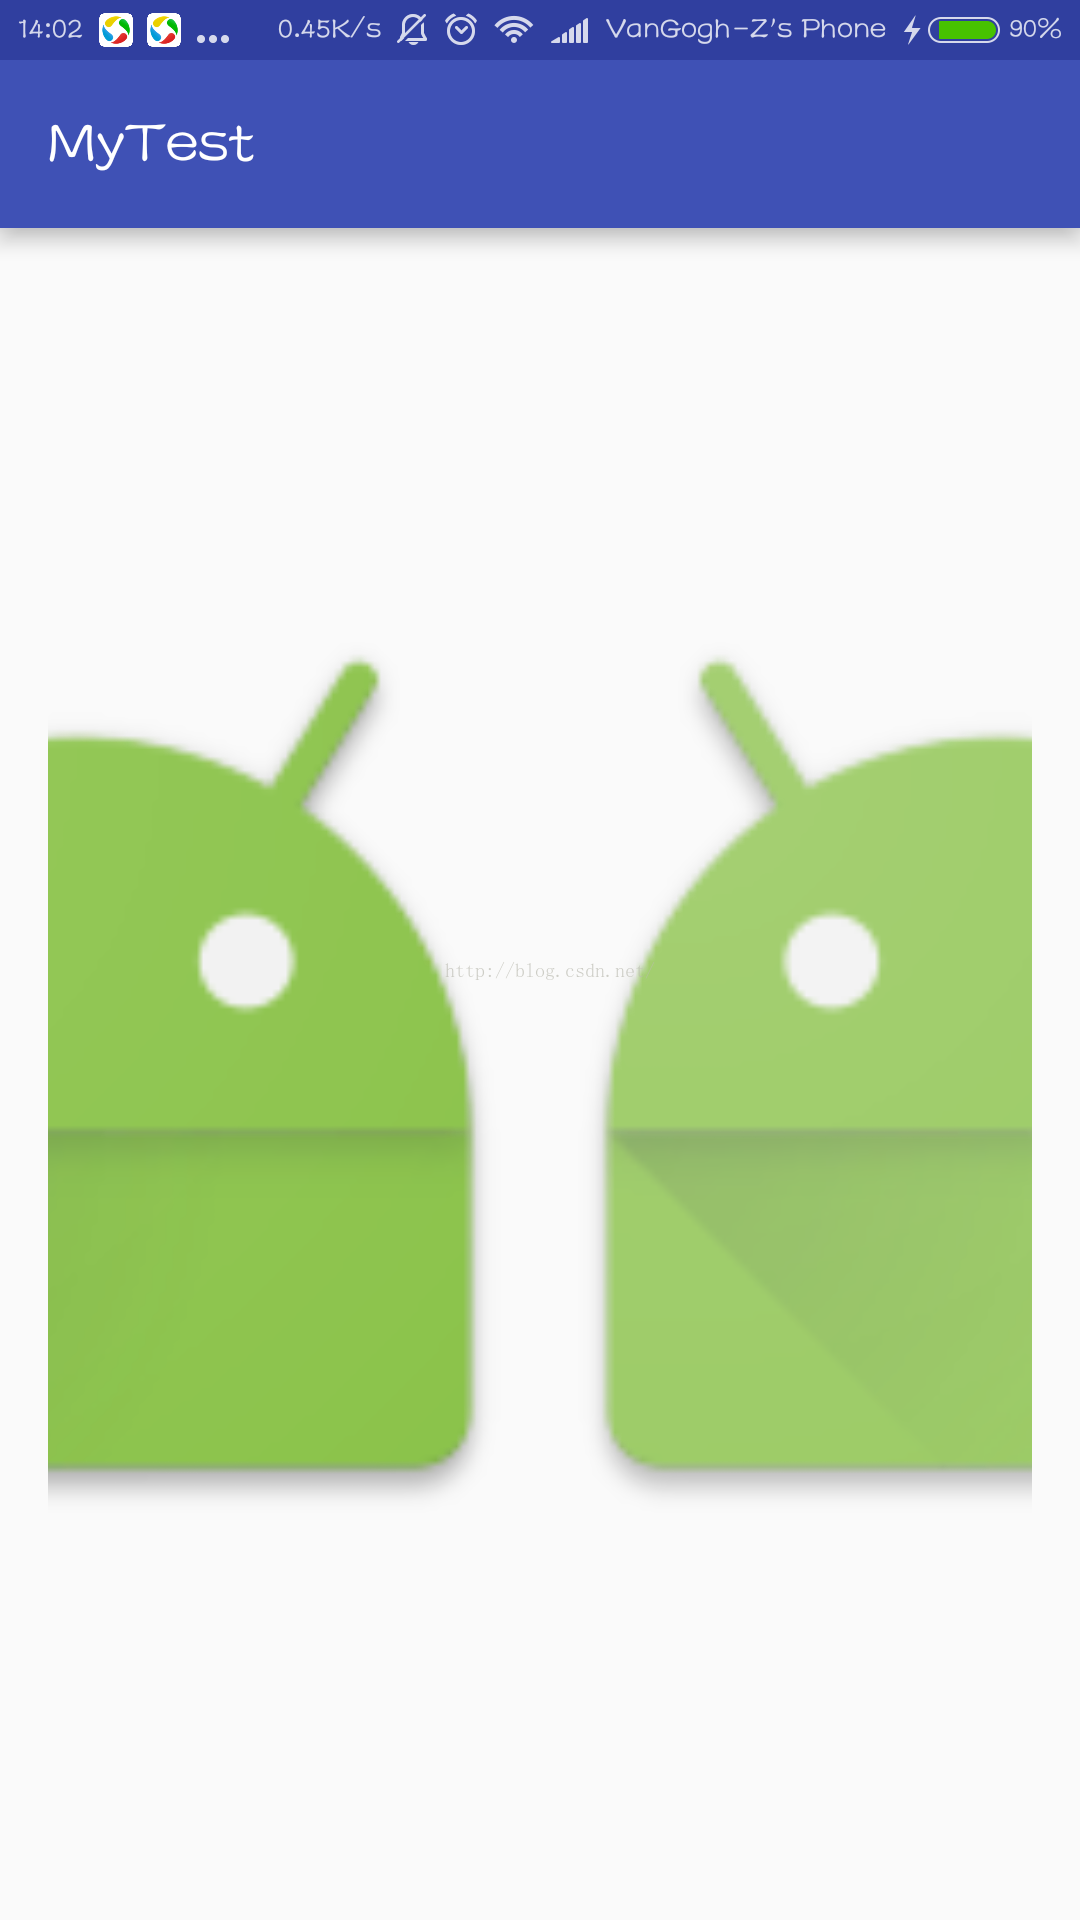
最后,附上效果图: