首先构建Nginx服务器(Nginx的搭建过程):https://blog.csdn.net/wgw_dream/article/details/83590039
1)修改Nginx配置文件
[root@nginx ~]# vim /usr/local/nginx/conf/nginx.conf

    server {
            listen       80;
        server_name  localhost;
        auth_basic "Input Password:";                        //认证提示符
        auth_basic_user_file "/usr/local/nginx/pass";        //认证密码文件
        location / {
            root   html;
            index  index.html index.htm;
        }
  }
  :wq
  改完可用/usr/local/nginx/sbin/nginx -t 查看修改是否正确
[root@nginx ~]# /usr/local/nginx/sbin/nginx -t
nginx: the configuration file /usr/local/nginx/conf/nginx.conf syntax is ok
nginx: configuration file /usr/local/nginx/conf/nginx.conf test is successful

若错误(我在第44行去掉了“;”测试):
[root@nginx ~]# /usr/local/nginx/sbin/nginx -t
nginx: [emerg] directive "auth_basic_user_file" is not terminated by ";" in /usr/local/nginx/conf/nginx.conf:44
nginx: configuration file /usr/local/nginx/conf/nginx.conf test failed
2)生成密码文件,创建用户和用户密码
使用htpasswd命令创建账户文件(这里的文件要和配置文件中填的一致),需要确保系统中已经安装了httpd-tools。
[root@nginx ~]# yum -y install  httpd-tools
[root@nginx ~]# htpasswd -c /usr/local/nginx/pass   tom        //创建密码文件
New password:                              //输入密码
Re-type new password:                 //再次输入密码
Adding password for user tom
[root@nginx ~]# htpasswd  /usr/local/nginx/pass   jerry      //追加用户,不使用-c选项
New password:                              //输入密码
Re-type new password:                 //再次输入密码
Adding password for user jerry
[root@nginx ~]# cat   /usr/local/nginx/pass
3) 重启Nginx服务
 [root@proxy ~]# /usr/local/nginx/sbin/nginx -s reload    //重新加载配置文件
#请先确保nginx是启动状态,否则运行该命令会报错,报错信息如下:
#[error] open() "/usr/local/nginx/logs/nginx.pid" failed (2: No such file or directory)
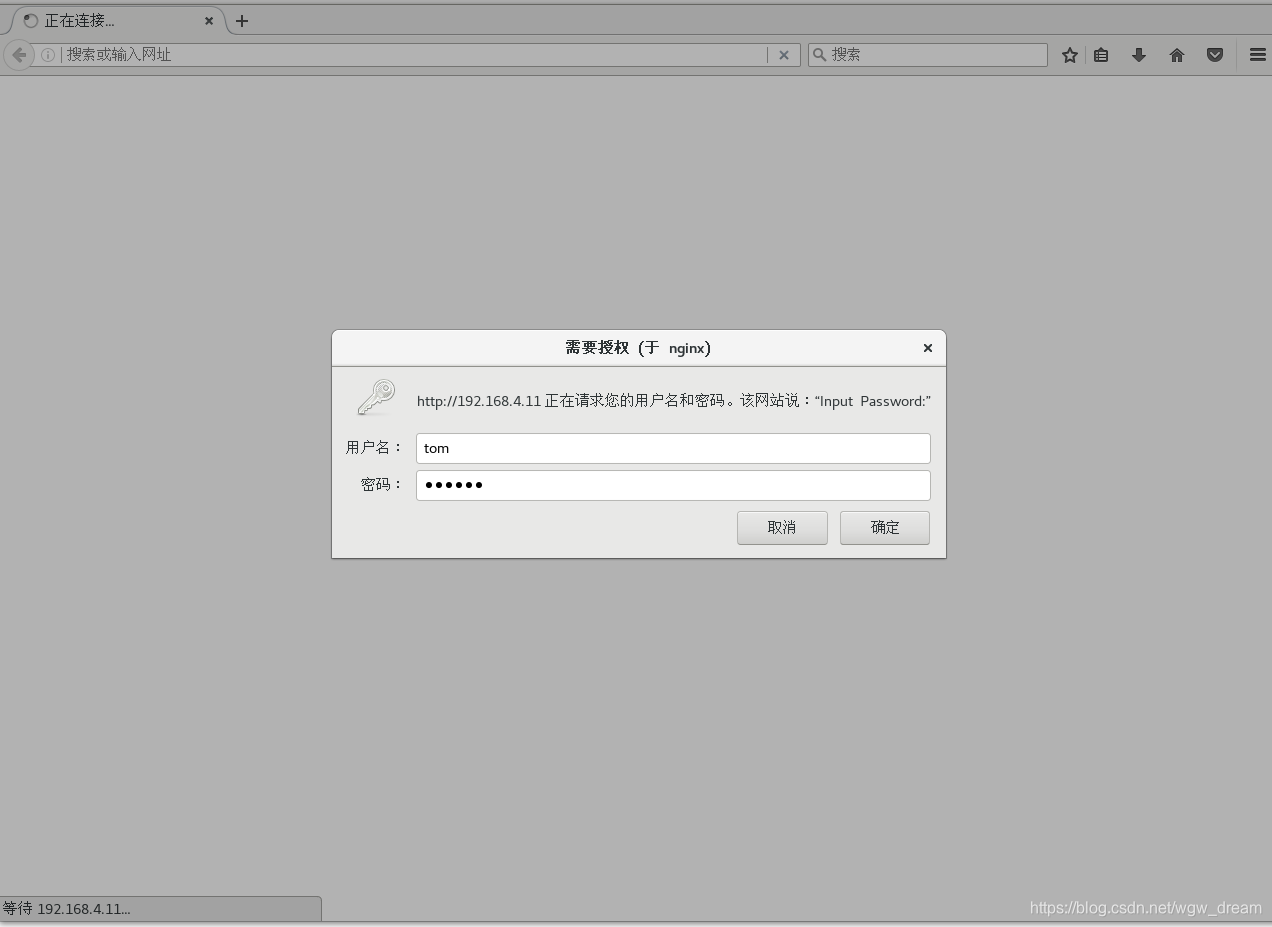
4)测试
输入之前htpasswd创建的用户和用户密码