首先,安装java环境,java8以上版本。
echo $JAVA_HOME
/home/admin/java/jdk1.8.0_131
es安装不能使用root用户启动,所以要新建一个用户,赋予用户安装目录权限
然后去官网下载es最新版本,我这里用的是es6.2.3和es6.5.0,其中6.5.0是最新的稳定版。
解压安装后,进入配置文件目录,修改配置文件。
cd elasticsearch-6.5.0/config/
vi jvm.options

修改内存为小于你服务器内存,比如如果你服务器的内存是8G,那么这边可以配置为-Xms3g
接下来我们就可以正式去修改es的配置了
vi elasticsearch.yml
这边先配置集群名,节点名,数据目录存放路径(此处需要新建es数据文件夹和日志文件夹,然后在配置文件中指定出来,数据文件夹里存放的是es的索引数据,如果做数据迁移,小版本之间可以直接拷贝数据文件夹中的indices文件夹完成迁移)
cluster.name: sxy
node.name: 6
node.master: true
node.data: true
path.data: /home/admin/dddd/es_data/data
path.logs: /home/admin/dddd/es_data/logs设置为true来锁住内存
bootstrap.memory_lock: true
    设置任意地址连接
network.host: 0.0.0.0
    http访问端口
http.port: 9200
    tcp访问端口
transport.tcp.port: 9300
http.cors.enabled: true
http.cors.allow-credentials: true
http.cors.allow-methods: OPTIONS, HEAD, GET, POST, PUT, DELETE
http.cors.allow-origin: "*"
http.cors.allow-headers: X-Requested-With, X-Auth-Token, Content-Type, Content-Length, Authorization
集群配置
    我这边设内网ip192.168.0.6为主节点,es的配置一共分为主节点,数据节点,协调节点和摄取节点。节点配置请参考官网:https://www.elastic.co/guide/en/elasticsearch/reference/6.2/modules-node.html
discovery.zen.ping.unicast.hosts: ["192.168.0.6"]
discovery.zen.minimum_master_nodes: 1
gateway.recover_after_nodes: 3
path.repo: ["/home/admin/dddd/es_data/backup"]
discovery.zen.ping_timeout: 300s
discovery.zen.fd.ping_timeout: 300s
discovery.zen.fd.ping_interval: 300s
discovery.zen.fd.ping_retries: 6
集群索引缓存配置
indices.memory.index_buffer_size: 30%
indices.recovery.max_bytes_per_sec: 30gb
indices.breaker.fielddata.limit: 65%
indices.breaker.request.limit: 45%
indices.breaker.total.limit: 75%
http.max_content_length: 100mb
transport.tcp.compress: true
indices.fielddata.cache.size: 50mb
集群线程池配置
thread_pool.index.queue_size: 1600
thread_pool.index.size: 9
thread_pool.search.size: 64
thread_pool.get.size: 32
thread_pool.get.queue_size: 1600
thread_pool.bulk.size: 9
thread_pool.bulk.queue_size: 1600

在es6.2中需要用插件命令去安装xpach做安全认证,而在es6.5中xpack已经变为内部模块,所以直接配置就好了,因为xpach可以做权限控制,所以建议把它配置上。
es6.2配置方式为:cd elasticsearch-6.5.0/bin/x-pack
./certgen     然后生成ca.zip作为公钥 ,依次输入所有服务器的命令和内网ip来作为私钥方便集群之间通信。
es6.5的配置方式为:cd elasticsearch-6.5.0/bin/
./elasticsearch-certgen     和es6.2一样的方式生成各台服务器公钥和私钥,不一样的是,es6.5必须将各个服务器注册内网域名,然后在询问dns name的时候输入内网域名(外网域名也可以,只是网速不如内网通信快),不然代码tcp连接会报错
在所有密钥生成好后,将ca.zip文件夹分别拷贝至各个节点的config文件夹内,新建文件夹为x-pack_ssl (命名随意),然后将ca.zip文件移动进去,解压,然后在es配置文件里开启xpack配置,如下:
xpack.security.enabled: true
xpack.ssl.key: x-pack_ssl/es6/es6.key
xpack.ssl.certificate: x-pack_ssl/es6/es6.crt
xpack.ssl.certificate_authorities: x-pack_ssl/ca/ca.crt
xpack.security.transport.ssl.enabled: true
开启嗅探,集群通信使用
xpack.security.audit.index.client.transport.sniff: true

然后就可以启动es集群了,cd elasticsearch-6.5.0/bin , sh elasticsearch
根据启动报错来判断还有哪些配置没有更改
可参考链接:https://blog.csdn.net/ntc10095/article/details/73650794
最后,用nginx代理,访问域名:
   {
  "name" : "6",
  "cluster_name" : "sxy",
  "cluster_uuid" : "UV3fkxf2T7WH8r_bjUKrig",
  "version" : {
    "number" : "6.5.0",
    "build_flavor" : "default",
    "build_type" : "tar",
    "build_hash" : "816e6f6",
    "build_date" : "2018-11-09T18:58:36.352602Z",
    "build_snapshot" : false,
    "lucene_version" : "7.5.0",
    "minimum_wire_compatibility_version" : "5.6.0",
    "minimum_index_compatibility_version" : "5.0.0"
  },
  "tagline" : "You Know, for Search"
}
整个集群便搭建完成
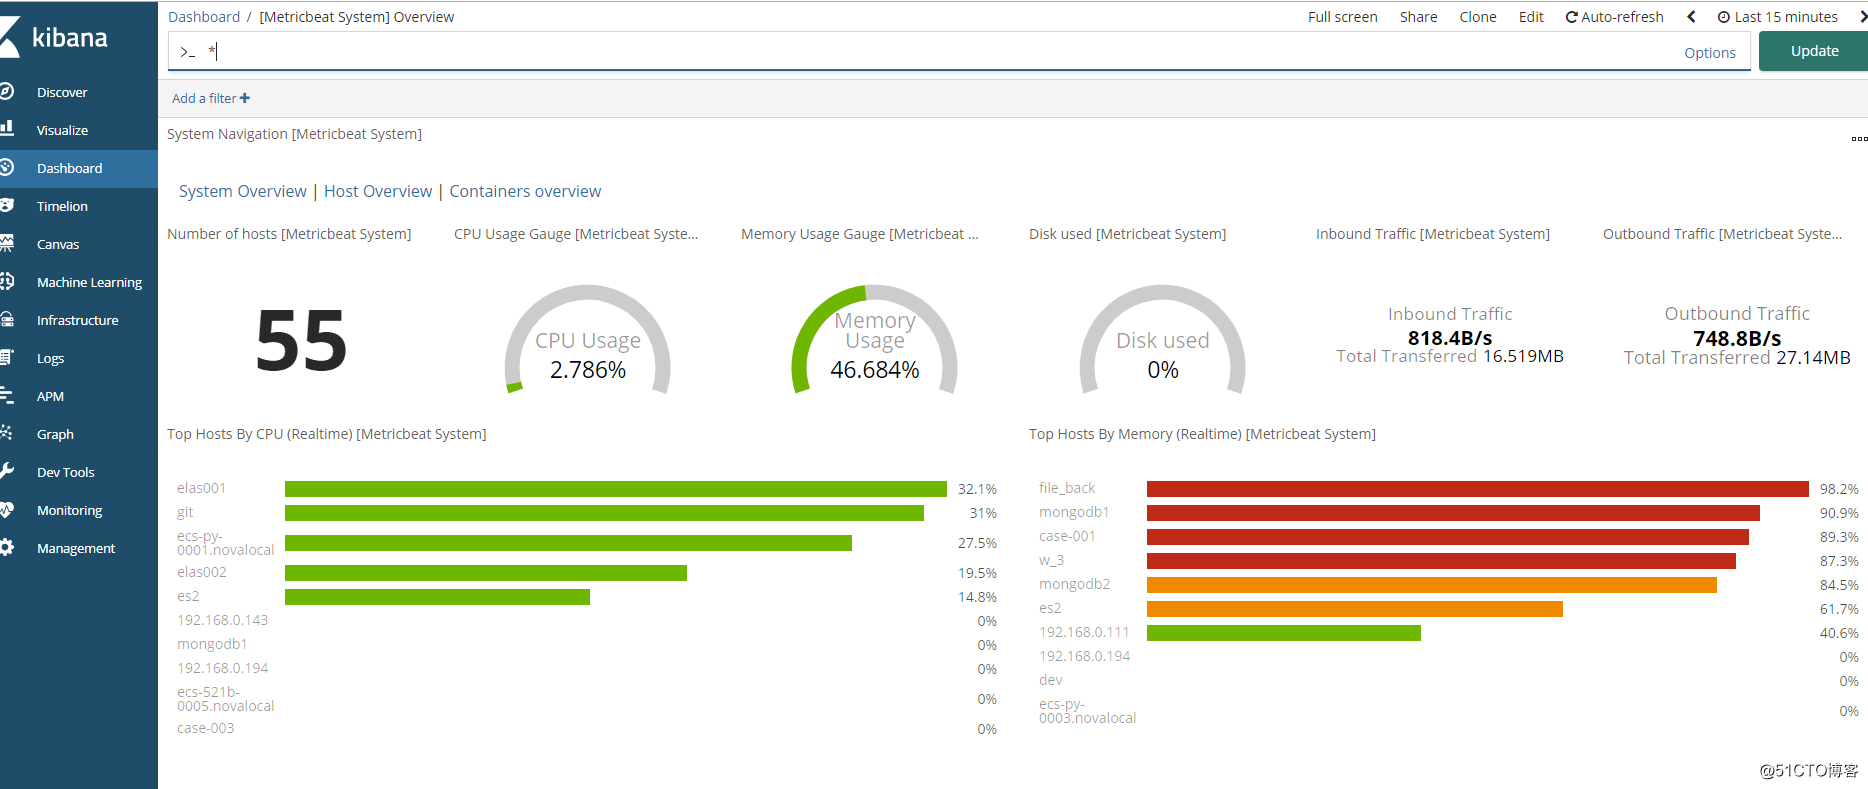
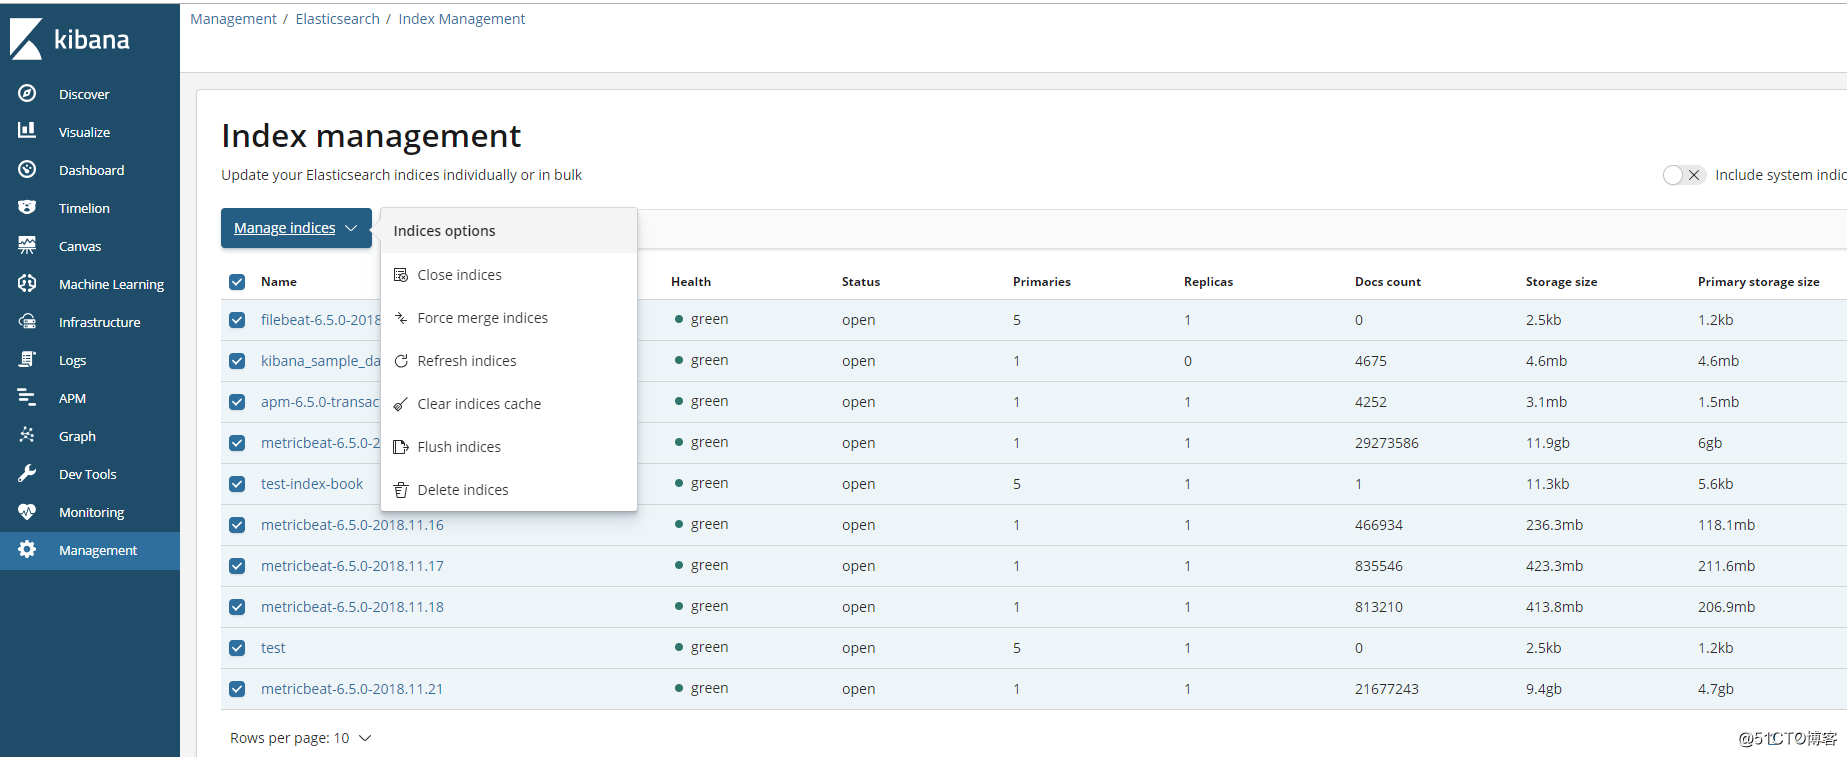
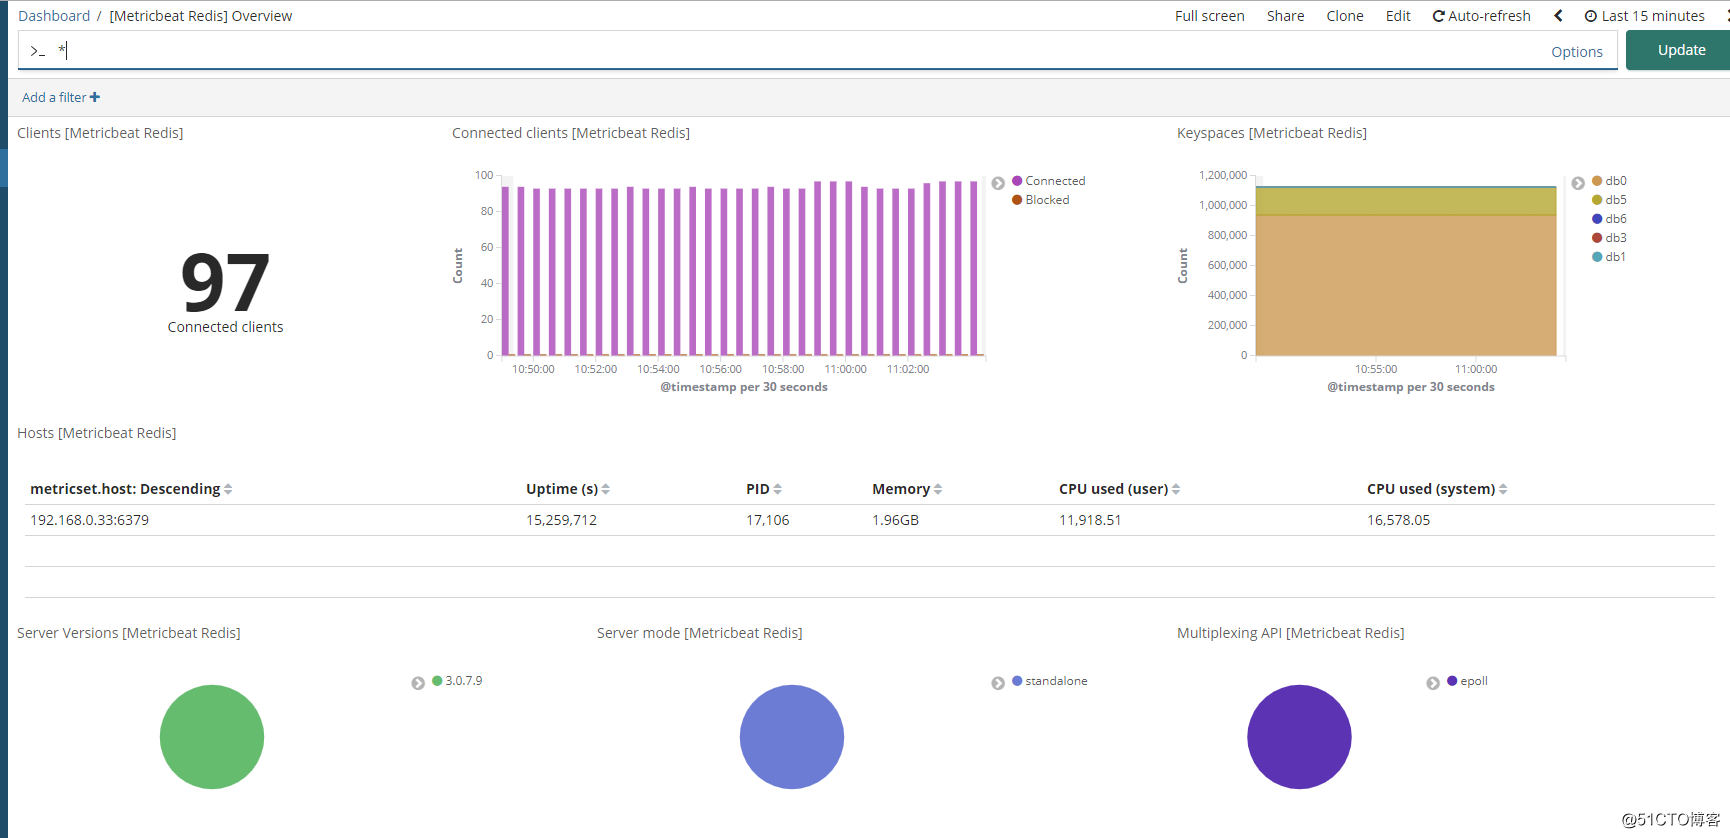
后续会更新es6.5的各个插件安装,以及分词器破解,包括head,cerebro,kibana,beat等等,这边先提供一些参考图片
文档更新时间: 2018-11-22 10:30 作者:星语 联系方式:QQ 2445067568