SpringBoot使用junit非常简单,我们来看一下,首先说明,这里使用的是springboot2.0.4的版本
一.pom.xml文件开启springboot测试包
<dependency>
    <groupId>org.springframework.boot</groupId>
    <artifactId>spring-boot-starter-test</artifactId>
    <scope>test</scope>
</dependency>
二.创建一个测试类
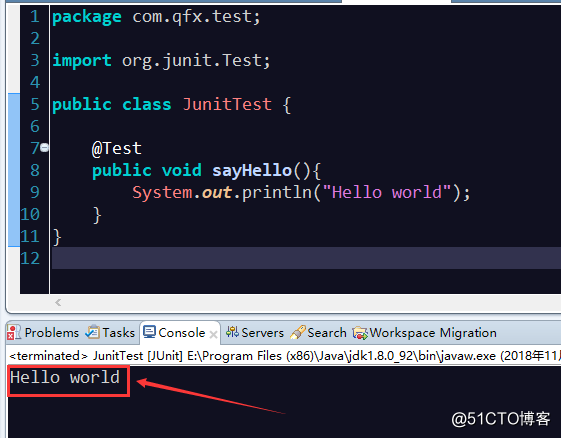
1.单文件测试,直接添加@Test注解即可,如图:
2.MVC形式调用
测试类,需要加上两个注解
 @RunWith(SpringRunner.class)
 @SpringBootTest(classes={App.class})
其中App.class是主程序入口类,即springboot的启动类
package com.qfx.test;
import org.junit.Test;
import org.junit.runner.RunWith;
import org.springframework.beans.factory.annotation.Autowired;
import org.springframework.boot.test.context.SpringBootTest;
import org.springframework.test.context.junit4.SpringRunner;
import com.qfx.system.App;
import com.qfx.system.service.SysUserService;
@RunWith(SpringRunner.class)
@SpringBootTest(classes={App.class})
public class JunitTest {
@Autowired
SysUserService sysUserService;
@Test
public void printSysUserInfo(){
String userStr = sysUserService.getSysUserAll();
System.out.println(userStr);
}
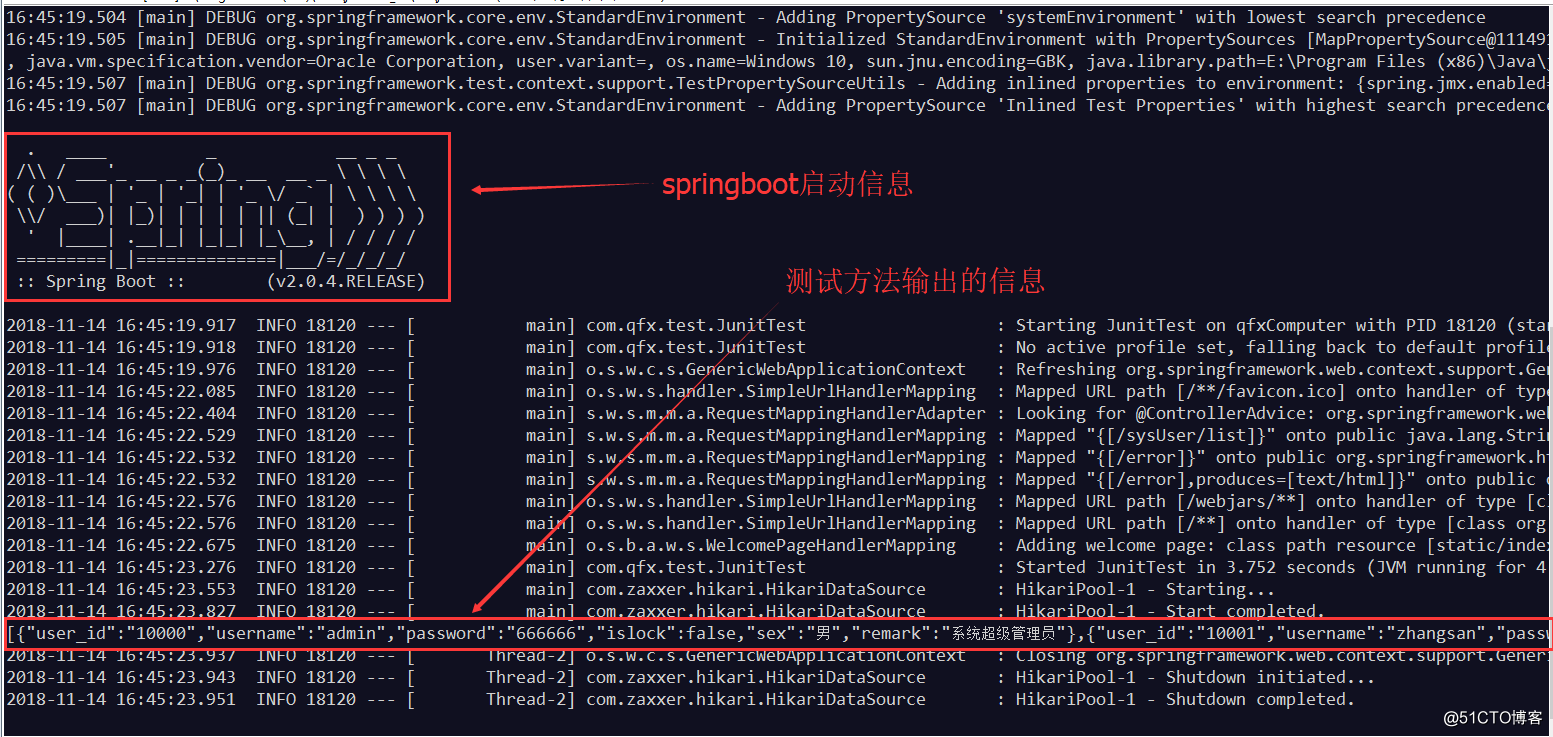
}进行测试的时候会通过App.class来启动springboot,我们来看一下效果,如图:
至于对Controller的测试可以直接启动项目,通过浏览器来发送请求测试了,如果实在想使用junit来测试的话,可以使用来MockMvc进行