版权声明:本文为博主原创文章,未经博主允许不得转载。 https://blog.csdn.net/fly_wt/article/details/83927036
1.直方图均匀化
# 全局
#直方图的应用 直方图均衡化(即调整图像的对比度) 直方图即统计各像素点的频次
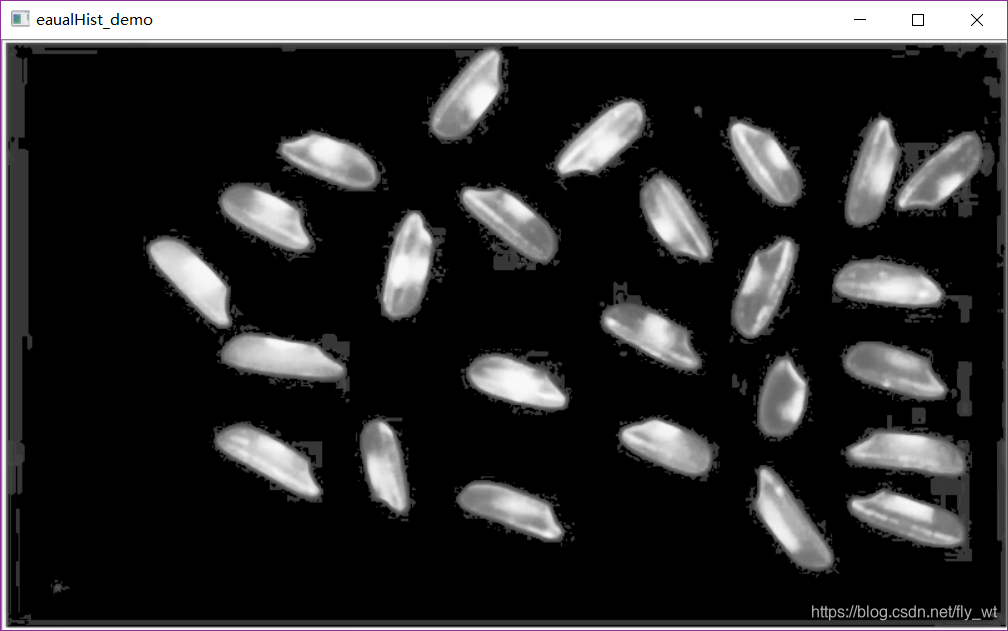
def eaualHist_demo(image):
gray = cv.cvtColor(image, cv.COLOR_RGB2GRAY) # opencv的直方图均衡化要基于单通道灰度图像
dst = cv.equalizeHist(gray) # 自动调整图像对比度,把图像变得更清晰
cv.imshow("eaualHist_demo", dst)
#局部直方图均衡化
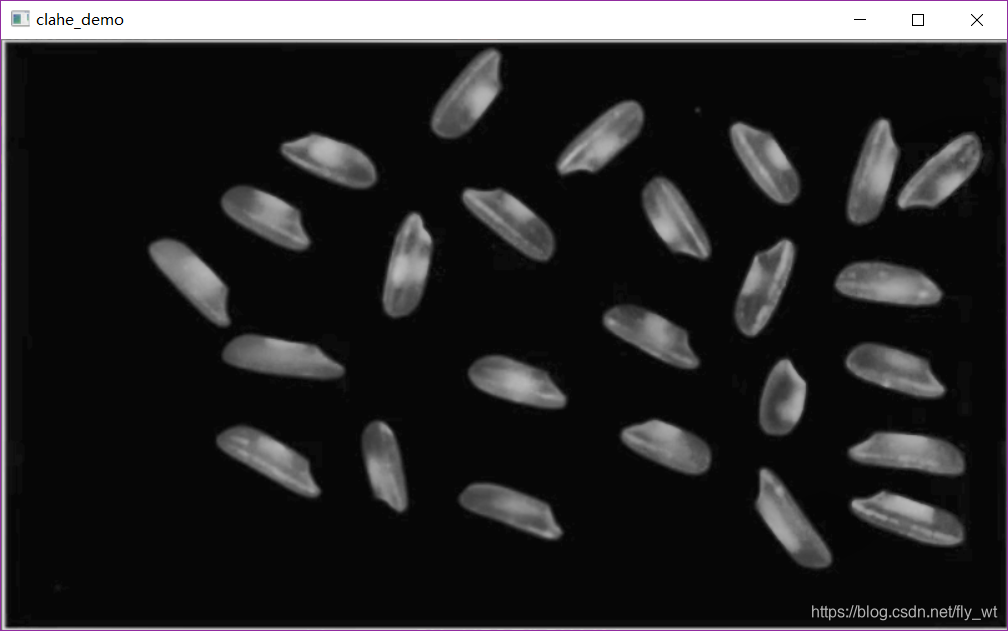
def clahe_demo(image):
gray = cv.cvtColor(image, cv.COLOR_RGB2GRAY)
clahe = cv.createCLAHE(clipLimit=5, tileGridSize=(8, 8))
dst = clahe.apply(gray)
cv.imshow("clahe_demo", dst)
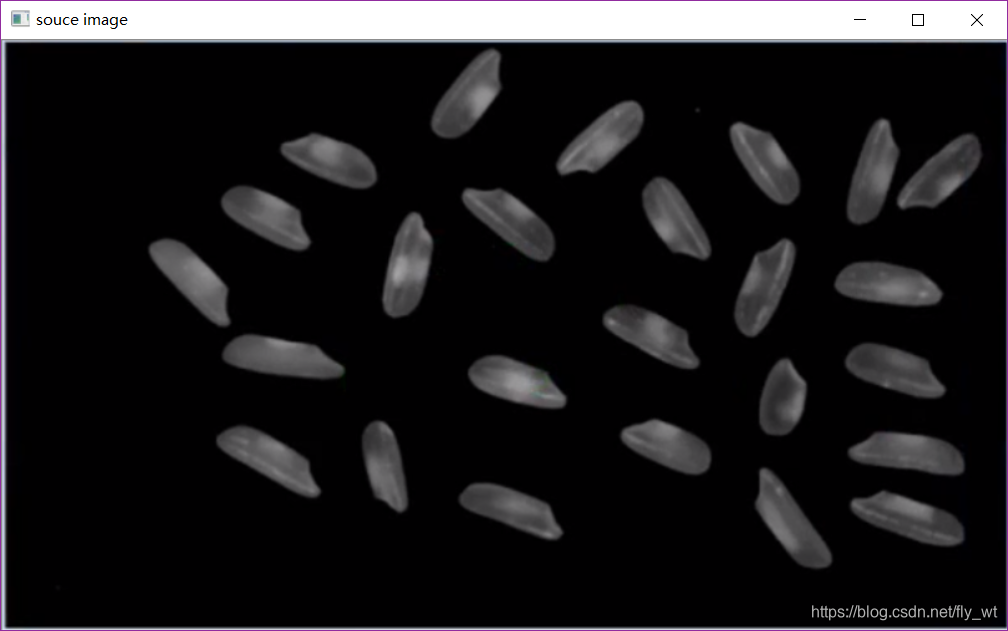
image = cv.imread('./data/histogram.png', 1)
cv.imshow('souce image', image)
eaualHist_demo(image)
clahe_demo(image)
cv.waitKey(0)
cv.destroyAllWindows()
-
cv2.equalizeHist函数原型:equalizeHist(src[, dst]) 。函数equalizeHist的作用:直方图均衡化,提高图像质量。
-
直方图均衡化:如果一副图像的像素占有很多的灰度级而且分布均匀,那么这样的图像往往有高对比度和多变的灰度色调。直方图均衡化就是一种能仅靠输入图像直方图信息自动达到这种效果的变换函数。它的基本思想是对图像中像素个数多的灰度级进行展宽,而对图像中像素个数少的灰度进行压缩,从而扩展像元取值的动态范围,提高了对比度和灰度色调的变化,使图像更加清晰。
-
全局直方图均衡化可能得到是一种全局意义上的均衡化,但是有的时候这种操作并不是很好,会把某些不该调整的部分给调整了。Opencv中还有一种直方图均衡化,它是一种局部直方图均衡化,也就是是说把整个图像分成许多小块(比如按10*10作为一个小块),那么对每个小块进行均衡化。
-
createCLAHE函数原型:createCLAHE([, clipLimit[, tileGridSize]])
clipLimit参数表示对比度的大小。
tileGridSize参数表示每次处理块的大小 。 -
clahe = cv.createCLAHE(clipLimit=5, tileGridSize=(8, 8))
dst = clahe.apply(gray) 把clahe这种局部直方图均衡化应用到灰度图gray
2.直方图比较
# 直方图比较
def creat_rgb_hist(image):
    h, w, c = image.shape
    rgbHist = np.zeros([16*16*16, 1], np.float32)
    binsize = 256/16
    for row in range(h):
        for col in range(w):
            b = image[row, col, 0]
            g = image[row, col, 1]
            r = image[row, col, 2]
            index = np.int(b/binsize)*16*16 + np.int(g/binsize)*16 + np.int(r/binsize)
            rgbHist[np.int(index), 0] = rgbHist[np.int(index), 0] +1
    return rgbHist

def hist_compare(image1, image2):
    hist1 = creat_rgb_hist(image1)
    hist2 = creat_rgb_hist(image2)
    match1 = cv.compareHist(hist1, hist2, cv.HISTCMP_BHATTACHARYYA)
    match2 = cv.compareHist(hist1, hist2, cv.HISTCMP_CORREL)
    match3 = cv.compareHist(hist1, hist2, cv.HISTCMP_CHISQR)
    print("巴氏距离:{}\n 相关距离:{}\n 卡方距离:{}\n".format(match1, match2, match3))

image1 = cv.imread("./data/lena.jpg",1)
image2 = cv.imread("./data/starry_night.jpg",1)
cv.imshow("image1", image1)
cv.imshow("image2", image2)
hist_compare(image1=image1, image2=image2)
cv.waitKey(0)
cv.destroyAllWindows()
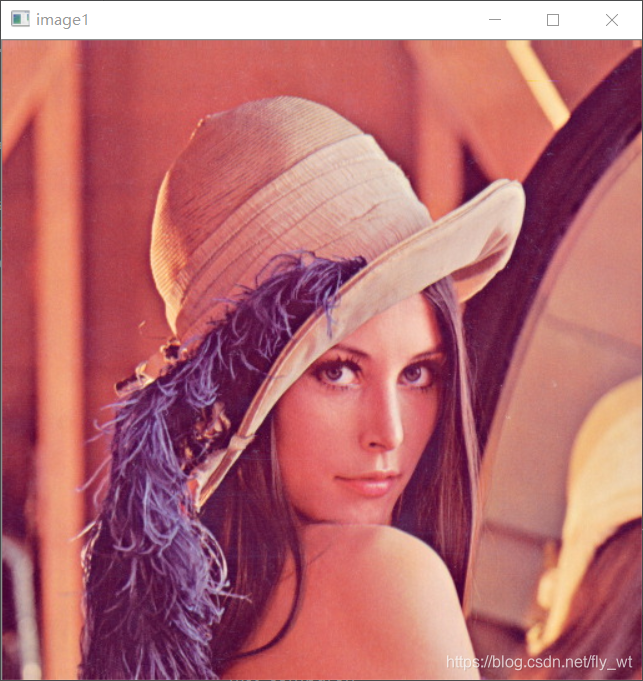
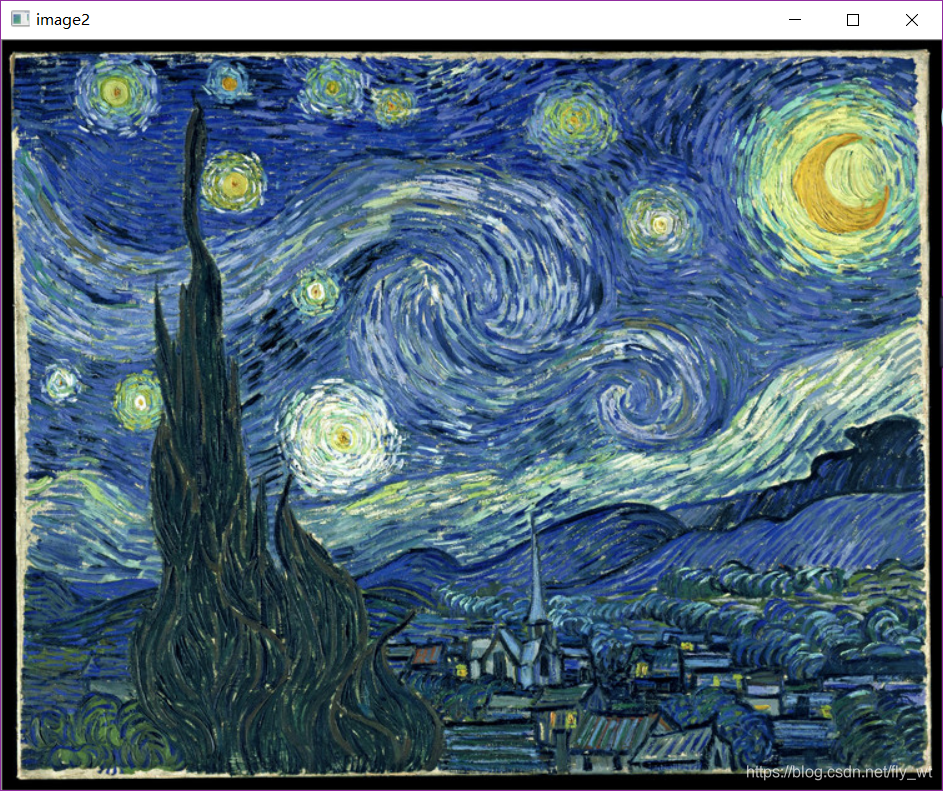

这两幅图差异很明显
如若导入相同图片,则