刚开始学redis是带着两个小任务去学习的:
任务一:把号牌号码作为key,号牌颜色颜色作为value,在页面上实现两个功能,一是保存功能,把key和value保存到redis中,二是查询功能,根据key值,查询出value值。
任务二:redis实现消息订阅发布
redis的安装见这个网址:点击打开链接
解决任务一:使用是spring框架(主要方便,在以前的项目上修改的),jsp上把key和value通过ajax技术传到controller中,在向controller中向redis传递数据很简单,保存用的是用set方法,取值用的get方法
jsp页面:
<%@ page language="java" contentType="text/html; charset=UTF-8" pageEncoding="UTF-8"%>
<!DOCTYPE html PUBLIC "-//W3C//DTD HTML 4.01 Transitional//EN" "http://www.w3.org/TR/html4/loose.dtd">
<html>
<head>
<meta http-equiv="Content-Type" content="text/html; charset=UTF-8">
<title>Insert title here</title>

//引入jquery文件
</head>
<body>
	<div style="margin: 200px;" align="center">
		<form>
			<label>号牌号码:</label>
			<input id="carNumberSave" name="carNumberSave" />
			<label>号牌颜色:</label>
			<input id="carColorSave" name="carColorSave" />
			<input id="save" type="button" value="保存">
		</form>
		<br>
		<br>
		<form>
			<label>号牌号码:</label>
			<input id="carNumberQuery" name="carNumberQuery" />
			<label>号牌颜色:</label>
			<input id="carColorQuery" name="carColorQuery" />
			<input id="query" type="button" value="查询">
		</form>
	</div>
</body>

<script type="text/javascript">

	$("#save").on("click", function() {
	var carNumberSave = $("#carNumberSave").val();
	var carColorSave = $("#carColorSave").val();
		$.ajax({
			type : "post",
			url : "jedisSave",
			dataType : "text",
			data : {
				carNumberSave : carNumberSave,
				carColorSave : carColorSave
			},
			success : function (data) {
				alert("保存成功 !");
			}
		});

	}) ;

	$("#query").on("click", function() {
		var carNumberQuery = $("#carNumberQuery").val();
		$.ajax({
			type : "post",
			url : "jedisQuery",
			dataType : "text",
			data : {
				carNumberQuery : carNumberQuery
			},
			success : function (data1) {
			alert( "成功:");
	         $("#carColorQuery").val(data1);
   			},
   			error:function (data1) {
   				 alert( "失败:" + data1);
   			}
		});

	}) ;
</script>

</html>
controller代码:
// Jedis 保存相关
	@RequestMapping(value = "/jedisSave", method = RequestMethod.POST)
	@ResponseBody
	private void jedisSave(String carNumberSave, String carColorSave) {
               Jedis jedis=new Jedis("172.16.239.10",6379);
               jedis.set(carNumberSave, carColorSave);
	}


	// Jedis 查询相关
	@RequestMapping(value = "/jedisQuery", method = RequestMethod.POST,produces="text/html;charset=UTF-8")
	@ResponseBody
	private String jedisQuery(String carNumberQuery) {
		   Jedis  jedis= new  Jedis("172.16.239.10",6379);
		String carColor = jedis.get(carNumberQuery);
		return carColor;
	}
解决任务二:在消息订阅发布时,首先改下redis下的conf文件,即redis.windows,conf文件。有两个地方需要改:
(1)
# IF YOU ARE SURE YOU WANT YOUR INSTANCE TO LISTEN TO ALL THE INTERFACES
# JUST COMMENT THE FOLLOWING LINE.
# ~~~~~~~~~~~~~~~~~~~~~~~~~~~~~~~~~~~~~~~~~~~~~~~~~~~~~~~~~~~~~~~~~~~~~~~~
bind 127.0.0.1
注意,里面有多个bind,要找到此处的bind,改为bind 自己的ip,关于bind具体的可以参考网址:
https://blog.csdn.net/a578977626/article/details/78202202 这里面讲的很详细了。

(2)
# By default protected mode is enabled. You should disable it only if
# you are sure you want clients from other hosts to connect to Redis
# even if no authentication is configured, nor a specific set of interfaces
# are explicitly listed using the "bind" directive.
protected-mode yes
默认是这个,把yes 改为no,才能访问。
做完这两步操作后,就可以做消息订阅发布了,在自己的电脑上开开始redis服务器,和两个redis客户端:
redis服务器:
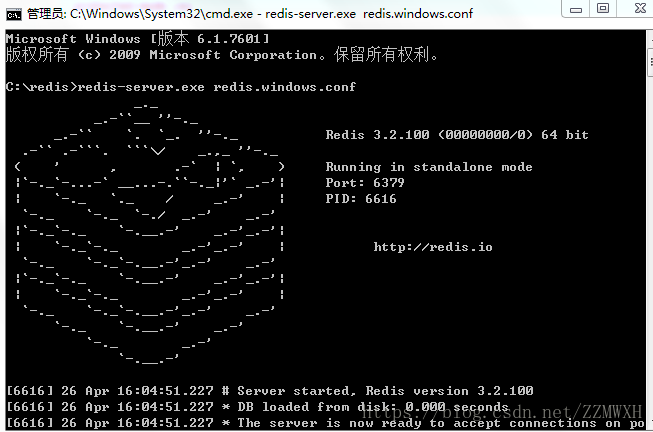
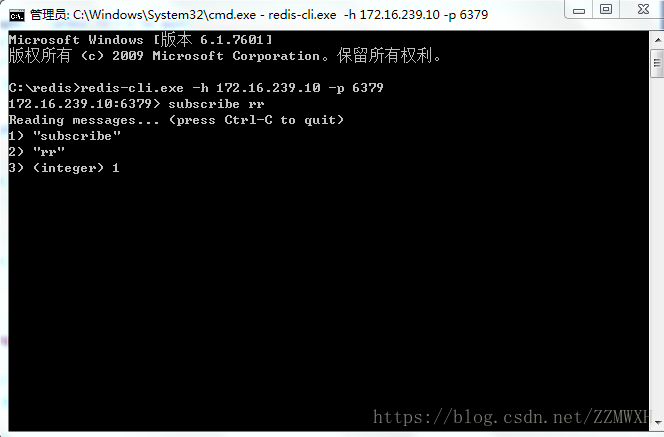
先在第一个客户端里连接服务器(由于我在配置文件的bind改为我自己的ip了),连服务器如下,并输入订阅命令:
rr表示频道,可以随便命名。但publish的频道名要与之一样。
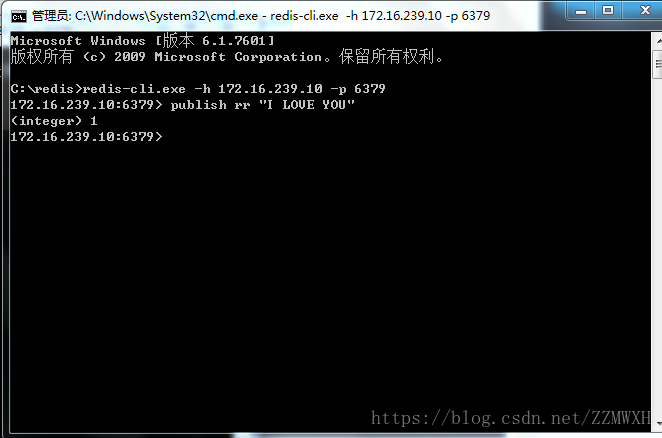
连接服务器,发布命令:
最后结果:
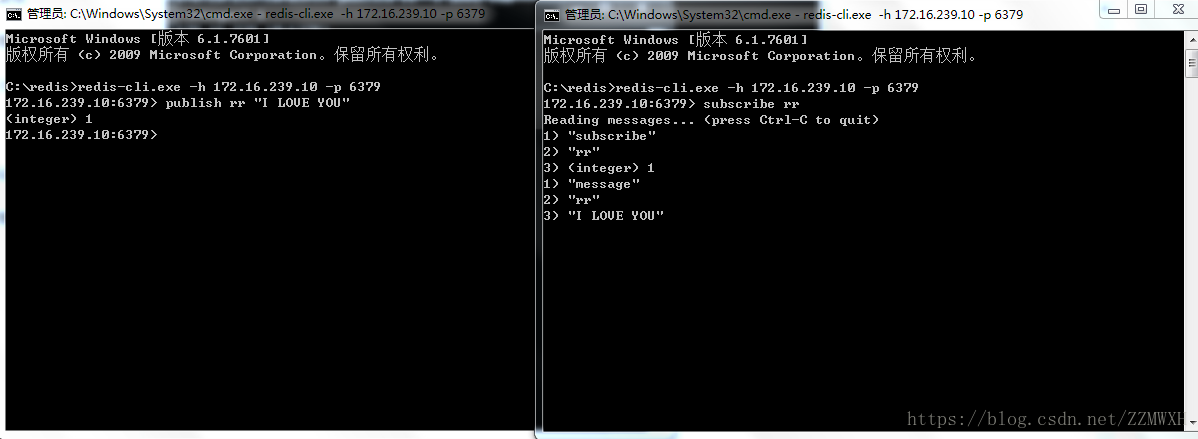
如果结果是这样的,就表示发布订阅成功了。
总结,在发布订阅中,所有的客户端都连接同一个服务器,某些客户端订阅同一个频道,只要客户端向频道发布内容,则订阅它的客户端都会接受到消息。