版权声明:未经本人允许严禁转载 https://blog.csdn.net/WanJiaBaoBao/article/details/83036600
搭建环境
- 搭建zabbix监控服务首先需要搭建lamp架构;(搭建lamp架构过程详情请点击)
- 防火墙、selinux已关闭;
- 源码安装所用的版本为zabbix-4.0.0,下载地址:https://sourceforge.net/projects/zabbix/files/ZABBIX Latest Stable/4.0.0/zabbix-4.0.0.tar.gz/download
- 所用地址如下:
| 角色 | IP地址 |
|---|---|
| server | 192.168.91.128 |
| client | 192.168.91.129 |
服务端口
| 角色 | 端口 |
|---|---|
| server | 10051 |
| client | 10050 |
搭建过程
- 首先配置网络源,安装编译所需的开发包和依赖包
[root@localhost ~]# curl -o /etc/yum.repos.d/CentOS-Base.repo http://mirrors.aliyun.com/repo/Centos-7.repo
[root@localhost ~]# sed -i 's/$releasever/7/g' /etc/yum.repos.d/CentOS-Base.repo
[root@localhost ~]# yum -y group mark install 'Development Tools'
[root@server ~]# yum -y install net-snmp-devel libevent-devel
- 创建zabbix用户和组
[root@server ~]# groupadd -r zabbix
[root@server ~]# useradd -r -M -s /sbin/nologin -g zabbix zabbix
- 登录数据库,创建zabbix用户并授权,创建数据库
[root@server ~]# mysql -u root -p
Enter password:

mysql> grant all on zabbix.* to zabbix@localhost identified by 'zabbix123#!';
Query OK, 0 rows affected, 2 warnings (0.07 sec)

mysql> create database zabbix character set utf8 collate utf8_bin;
Query OK, 1 row affected (0.02 sec)

mysql> flush privileges;
Query OK, 0 rows affected (0.05 sec)
- 测试刚刚创建的mysql用户是否可以登录
[root@server ~]# mysql -u zabbix -p'zabbix123#!'
- 将zabbix中自带的三个mysql表导入到zabbix数据库中(注意先后顺序)
[root@server ~]# mysql -u zabbix -p'zabbix123#!' zabbix < zabbix-4.0.0/database/mysql/schema.sql
mysql: [Warning] Using a password on the command line interface can be insecure.
[root@server ~]# mysql -u zabbix -p'zabbix123#!' zabbix < zabbix-4.0.0/database/mysql/images.sql
mysql: [Warning] Using a password on the command line interface can be insecure.
[root@server ~]# mysql -u zabbix -p'zabbix123#!' zabbix < zabbix-4.0.0/database/mysql/data.sql
mysql: [Warning] Using a password on the command line interface can be insecure.
- 下载源码包、解压并安装
[root@server ~]# tar -xf zabbix-4.0.0.tar.gz
[root@server ~]# cd zabbix-4.0.0
[root@server zabbix-4.0.0]# ./configure --enable-server \
> --enable-agent \
> --with-mysql \
> --with-net-snmp-devel \
> --with-libcurl \
> --with-libxml2
[root@server zabbix-4.0.0]# make install
- 修改/usr/local/etc/zabbix_server.conf配置文件
# DBHost=localhost    	#与设置数据库中zabbix权限保持一致,默认是localhost
DBName=zabbix		#与设置数据库中database名的保持一致
DBUser=zabbix		#与设置数据库中的用户名一致
DBPassword=zabbix123#!		#与设置数据库中的密码一致
若需要修改端口:
# DBPort=
- 启动zabbix服务
[root@server ~]# zabbix_server
[root@server ~]# zabbix_agent
- 查看端口是否开启
State       Recv-Q Send-Q         Local Address:Port        Peer Address:Port
LISTEN      0      128                 *:10050                    *:*
LISTEN      0      128                 *:10051                    *:*
LISTEN      0      128         127.0.0.1:9000                     *:*
LISTEN      0      80            	  :::3306                    :::*
LISTEN      0      128                :::80                      :::*
- 修改/etc/php.ini的配置并重启php-fpm
[root@server ~]# sed -ri 's/(post_max_size =).*/\1 16M/g' /etc/php.ini
[root@server ~]# sed -ri 's/(max_execution_time =).*/\1 300/g' /etc/php.ini
[root@server ~]# sed -ri 's/(max_input_time =).*/\1 300/g' /etc/php.ini
[root@server ~]# sed -i '/;date.timezone/a date.timezone = Asia/Shanghai' /etc/php.ini
[root@server ~]# service php-fpm restart
Gracefully shutting down php-fpm . done
Starting php-fpm  done
- 创建zabbix主页目录,将zabbix所需的文件拷贝到主页目录中去
[root@server ~]# mkdir /usr/local/apache/htdocs/
[root@server ~]# cp -a zabbix-4.0.0/frontends/php/* /usr/local/apache/htdocs/zabbix/
[root@server ~]# chown zabbix.zabbix /usr/local/apache/htdocs/
- 配置apache虚拟主机,在末尾处添加如下配置文件
[root@server ~]# vim /etc/httpd24/httpd.conf
<VirtualHost *:80>
        DocumentRoot "/usr/local/apache/htdocs/zabbix"
        ServerName www.baibai.com
        ProxyRequests Off
        ProxyPassMatch ^/(.*\.php)$ fcgi://127.0.0.1:9000/usr/local/apache/htdocs/zabbix/$1
        <Directory "/usr/local/apache/htdocs/zabbix">
                Options none
                AllowOverride none
                Require all granted
        </Directory>
</VirtualHost>
- 设置/usr/local/apache/htdocs/zabbix/conf/目录的权限,让zabbix有权限生成配置文件zabbix.conf.php
[root@server ~]# chmod 777 /usr/local/apache/htdocs/zabbix/conf
- 重新启动apache服务
[root@server ~]# apachectl -t
[root@server ~]# apachectl restart
-
安装web界面,修改/etc/hosts文件,添加域名与IP的映射(在windows中文件位置为C:\Windows\System32\drivers\etc)
-
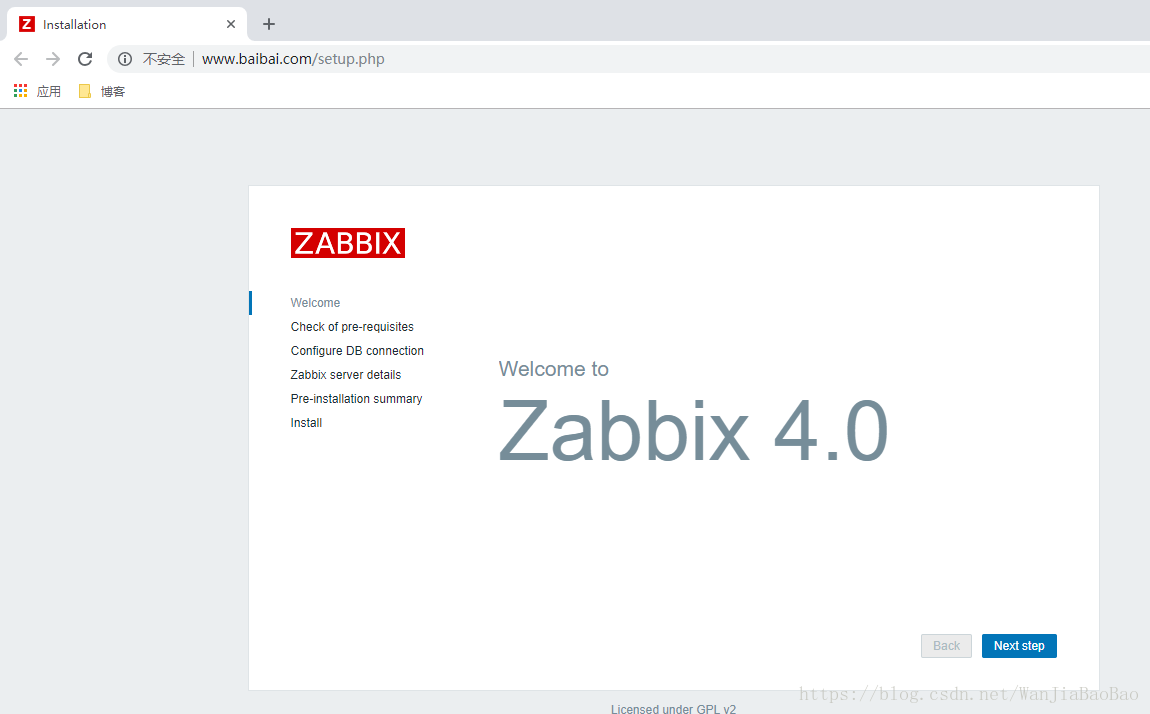
用浏览器输入域名或者IP地址进行访问
-
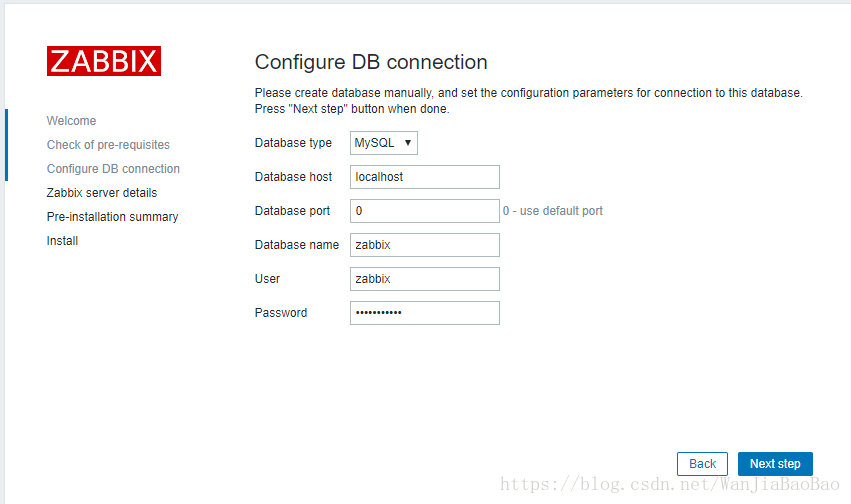
点击两次下一步,输数据库主机名,数据库名,用户名,密码后,下一步直到结束
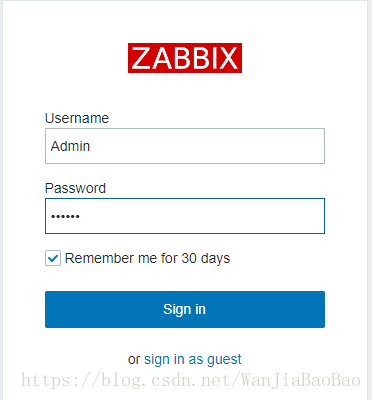
-
登录zabbix web页面,用户名为Adimn,密码为zabbix
-
在client上配置网络源并安装开发工具包

[root@client ~]# curl -o /etc/yum.repos.d/CentOS-Base.repo http://mirrors.aliyun.com/repo/Centos-7.repo
[root@client ~]# sed -i 's/$releasever/7/g' /etc/yum.repos.d/CentOS-Base.repo
[root@client ~]# yum -y group mark install 'Development Tools'
- 创建zabbix用户和组
[root@client ~]# groupadd -r zabbix
[root@client ~]# useradd -r -M -s /sbin/nologin -g zabbix zabbix
- 在client上源码编译安装zabbix_agent
[root@client ~]# tar -xf zabbix-4.0.0.tar.gz
[root@client ~]# cd zabbix-4.0.0
[root@client zabbix-4.0.0]# ./confgure --enable-agent
[root@client zabbix-4.0.0]# make install
- 修改/usr/local/etc/zabbix_agentd.conf配置文件
Server=192.168.91.128		#修改为服务器的IP地址
ServerActive=192.168.91.128
hostname=192.168.91.129		#修改为client段的主机名或者为IP地址
- 启动zabbix_agentd服务并查看端口
[root@client ~]# zabbix_agentd
State       Recv-Q Send-Q               Local Address:Port                 Peer Address:Port
LISTEN      0      100                      127.0.0.1:25                              *:*
LISTEN      0      128                              *:10050                           *:*
- 添加主机及配置方法请见zabbix服务之客户主机设置方法
错误解决办法
## 错误一:
Error: initscripts conflicts with redhat-release-server-7.0-1.el7.x86_64
 You could try using --skip-broken to work around the problem
 You could try running: rpm -Va --nofiles --nodigest
## 解决办法:
[root@server ~]# rpm -e redhat-release-server-7.0-1.el7.x86_64 --nodeps

## 错误二:zabbix服务启动失败
[root@server ~]# zabbix_server
zabbix_server: error while loading shared libraries: libmysqlclient.so.20: cannot open shared object file: No such file or directory
##解决办法:
[root@server ~]# echo "/usr/local/mysql/lib/" > /etc/ld.so.conf.d/mysql.conf
[root@server ~]# ldconfig -v