打开XCode并创建一个Single View Application。工程名叫作ConstraintsCodeDemo,然后填上组织名,公司标识,类前缀。确定在Devices中只选择了iPhone,Use Storyboards没有选,并且Use Automatic Reference Counting选上了。
我们将创建一个简单的按钮,并想把它放在界面的左上角。在viewController.m中创建如下实例变量
@implementationViewController
{
UIButton *firstButton;
}
在viewDidLoad中创建这个按钮,并把它添加到view中
- (void)viewDidLoad
{
[superviewDidLoad];
firstButton = [UIButtonbuttonWithType:UIButtonTypeRoundedRect];
[firstButton setTitle:@"First"forState:UIControlStateNormal];
[firstButton sizeToFit];
firstButton.translatesAutoresizingMaskIntoConstraints = NO;
[self.view addSubview:firstButton];
}
设置translatesAutoresizingMaskIntoConstraints属性为NO,来禁用“古老的”springs and struts方法。这个属性是为了向后兼容。我们将添加一个左边约束,于是这个按钮会在view中移动20个点。把下面的代码添加到viewDidLoad下面。
NSLayoutConstraint *constraint = [NSLayoutConstraint constraintWithItem:firstButton attribute:NSLayoutAttributeLeading relatedBy:NSLayoutRelationEqualtoItem:self.view attribute:NSLayoutAttributeLeading multiplier:1.0f constant:20.f];
[self.view addConstraint:constraint];
Auto Layout用一个公式来计算界面之间的关系:
A = B * m + c
或者
viewA.attribute = viewB.attributs*multiplier + constant
在这个例子中公式如下:
firstButton.NSLayoutAttributeLeading = self.view.NSLayoutAtrributeLeading * 1.0f + 20f
按钮左边的位置等于父视图左边距减掉20.
把下面的约束添加到viewDidLoad里
constraint = [NSLayoutConstraint constraintWithItem:firstButton attribute:NSLayoutAttributeTop relatedBy:NSLayoutRelationEqualtoItem:self.view attribute:NSLayoutAttributeTop multiplier:1.0f constant:30.f];
[self.view addConstraint:constraint];
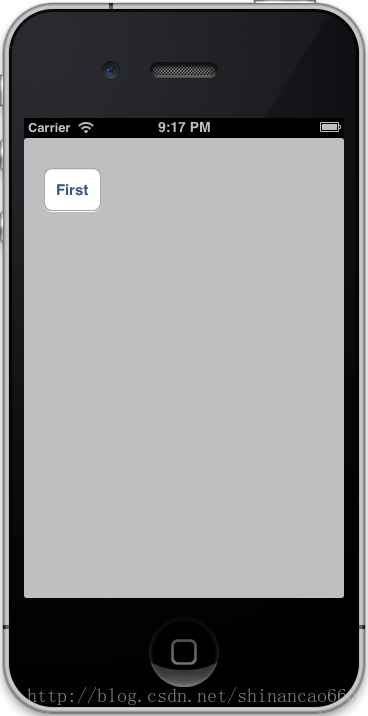
该约束将会使按钮距离父视图上面30个点。Build and Run。这个按钮距离左边20个点,上面30个点。
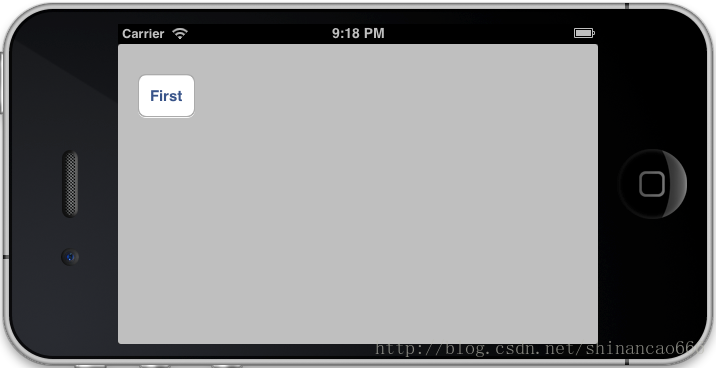
按 cmd+<- 使界面横屏。
在interface中创建一个新的实例变量
UIButton *secondButton;
在viewDidLoad中添加下面的代码,在view中添加第二个按钮。
secondButton = [UIButton buttonWithType:UIButtonTypeRoundedRect];
[secondButton setTitle:@"Second"forState:UIControlStateNormal];
[secondButton sizeToFit];
secondButton.translatesAutoresizingMaskIntoConstraints =NO;
[self.view addSubview:secondButton];
这个按钮将在父视图的X轴方向居中,距离底部40个点。在viewDidLoad中添加下面的约束。
constraint = [NSLayoutConstraint constraintWithItem:secondButtonattribute:NSLayoutAttributeBottom relatedBy:NSLayoutRelationEqualtoItem:self.view attribute:NSLayoutAttributeBottom multiplier:1.0fconstant:-40.f];
[self.view addConstraint:constraint];
constraint = [NSLayoutConstraint constraintWithItem:secondButton attribute:NSLayoutAttributeCenterX relatedBy:NSLayoutRelationEqual toItem:self.view attribute:NSLayoutAttributeCenterX multiplier:1.0fconstant:0.0f];
[self.view addConstraint:constraint];
第二个按钮宽度固定为200个点。添加下面约束。
constraint = [NSLayoutConstraint constraintWithItem:secondButton attribute:NSLayoutAttributeWidth relatedBy:NSLayoutRelationEqualtoItem:nil attribute:NSLayoutAttributeNotAnAttribute multiplier:1.0fconstant:200.0f];
[self.view addConstraint:constraint];
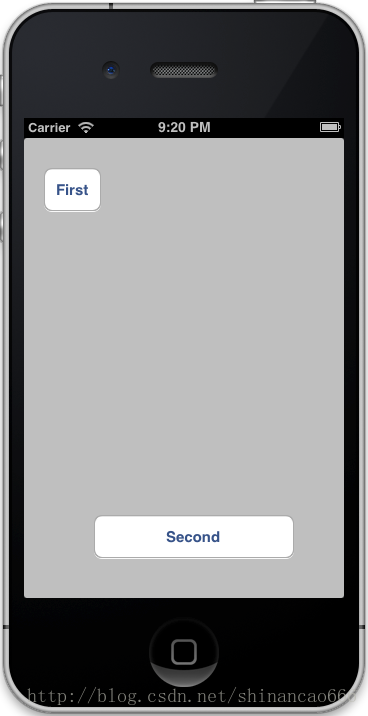
请注意这个约束只与按钮有关,与父视图无关,因为这是一个固定大小。因此toItem设置为nil,对应的属性参数设置为NSLayoutAttributeNotAnAttribute。Build and Run。这个固定的按钮放在X轴的中心,并且距离父视图底部40个点。
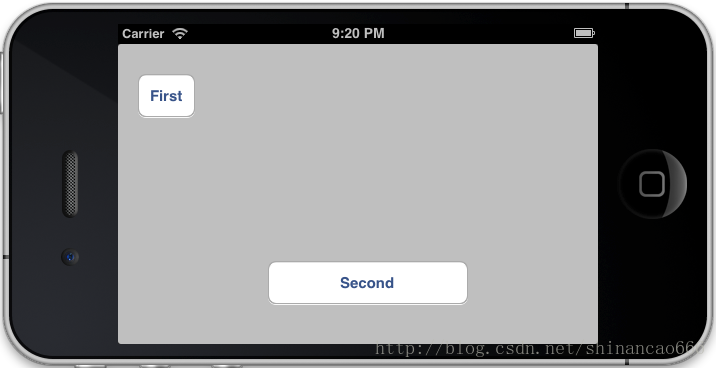
按cmd+<- 使界面横屏。
以上是在代码中使用约束的一个简介,还有更多的内容需要理解,但是这篇教程的目的是使事情能够简单,期待着在将来的教程中有更复杂的例子。