SpringMVC支持使用注解方式配置,比配置文件方式更加灵活易用,是SpringMVC使用的主流模式。
1.在配置文件中开启SpringMVC的注解
    <!-- 开启包扫描 -->
    <context:component-scan base-package="cn.tedu.springmvc.controller"></context:component-scan>

    <!-- 开启SpringMVC的注解形式 -->
    <mvc:annotation-driven/>


<?xml version="1.0" encoding="UTF-8"?>

<beans xmlns="http://www.springframework.org/schema/beans"
    xmlns:xsi="http://www.w3.org/2001/XMLSchema-instance"
    xmlns:mvc="http://www.springframework.org/schema/mvc"
    xmlns:context="http://www.springframework.org/schema/context"
    xsi:schemaLocation="
    http://www.springframework.org/schema/mvc
    http://www.springframework.org/schema/mvc/spring-mvc-3.2.xsd
    http://www.springframework.org/schema/beans
    http://www.springframework.org/schema/beans/spring-beans-3.2.xsd
    http://www.springframework.org/schema/context
    http://www.springframework.org/schema/context/spring-context-3.2.xsd">

    <!-- 开启包扫描 -->
    <context:component-scan base-package="cn.tedu.springmvc.controller"></context:component-scan>

    <!-- 开启SpringMVC的注解形式 -->
    <mvc:annotation-driven/>

    <!-- 配置处理器映射器的路径和控制器的映射关系  -->
    <!-- <bean name="/hello.action" class="cn.tedu.springmvc.controller.Hello"></bean>     -->

    <!-- 配置视图解析器中 视图名称 和 真正视图页面的映射关系 -->
    <bean class="org.springframework.web.servlet.view.InternalResourceViewResolver">
        <property name="prefix" value="/WEB-INF/"></property>
        <property name="suffix" value=".jsp"></property>
    </bean>


</beans>
2.使用注解开发Controller
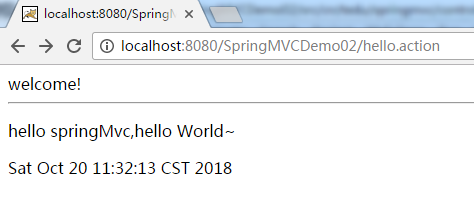
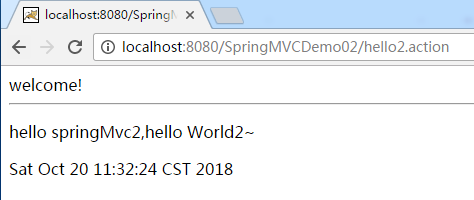
package cn.tedu.springmvc.controller;

import javax.servlet.http.HttpServletRequest;

import org.springframework.stereotype.Controller;
import org.springframework.ui.Model;
import org.springframework.ui.ModelMap;
import org.springframework.web.bind.annotation.RequestMapping;

// 使当前类被Spring管理
@Controller
public class Hello {
    // 将当前方法注册为一个Controller,
    // 当访问指定路径时,当前类的方法执行处理
    @RequestMapping("/hello.action")
    public String hello(HttpServletRequest request,ModelMap model){
        System.out.println(request.getAttribute("name"));
        model.addAttribute("msg", "hello springMvc,hello World~");
        return "hello";
    }
    // 一个Controller可以配置多个Controller方法,
    // 指定不用的路径,访问不同路径执行不同方法
    @RequestMapping("/hello2.action")
    public String hello2(Model model){
        model.addAttribute("msg", "hello springMvc2,hello World2~");
        return "hello";
    }
}
3.发布应用,通过浏览器进行访问
4.SpringMVC注解方式工作原理
(1)当服务器启动时,会加载web.xml,之后通过引入核心配置文件加载springmvc-servlet.xml就会 解析该xml配置文件。
(2)当解析到包扫描时,根据指定的包将含有@Controller注解的类,=围棋创建对象。
(3)当解析到<mvc:annotation-driven/>开始匹配MVC注解。
(4)之后解析@RequestMapping("/hello.action")之后会将value值进行保存,将方法进行绑定。
(5)当用户发出请求时,处理器映射器就是匹配用户的url和保存号的value值,如果匹配成功,则会执行方法;如果匹配不成功,则报404。