1:views视图代码
# 登录验证
def login(request):
    # 使用ajax请求可以使用判断
    # if request.is_ajax():
    if request.method == 'POST':
        user = request.POST.get('user')
        pwd = request.POST.get('pwd')
        code = request.POST.get('code')
        ret = {'status': False, 'msg': None}
        print(code)
        print(user, pwd)
        print(request.session.get('valid_code'))
        if request.session.get('valid_code').upper() == code.upper():
            user = auth.authenticate(username=user, password=pwd)
            if user:
                auth.login(request, user)
                ret['status'] = True
                ret['msg'] = '/index/'
            else:
                ret['msg'] = '用户名或密码错误'
        else:
            ret['msg'] = '验证码错误'

        return JsonResponse(ret)

    return render(request, 'login.html')
2:views视图中产生随机验证码
# 获取验证码
def get_valid_img(request):
    # 方法一
    # with open('hmbb.png','rb')as f:
    #     data = f.read()

    # 方法二
    import PIL
    from PIL import Image, ImageDraw, ImageFont
    import random
    # 获取随机颜色的函数
    def get_random_color():
        return random.randint(0, 255), random.randint(0, 255), random.randint(0, 255)

    # 生成一个图片对象
    image = Image.new('RGB', (250, 40), get_random_color())

    # 将生成的图片保存在磁盘上
    # f = open('valid_code.png','wb')
    # image.save(f,'png')
    #
    # with open('valid_code.png','rb')as f:
    #     data = f.read()

    # 生成一个图片画笔对象
    draw_obj = ImageDraw.Draw(image)
    '''
    draw.text()   向image中写内容
    draw.line()   向image中画线
    draw.point()   向image中画点
    '''
    # 加载字体文件, 得到一个字体对象
    font_obj = ImageFont.truetype('static/font/kumo.ttf', 28)

    # 开始生成随机字符串并且写到图片上
    tmp_list = []
    for i in range(5):
        # 生成大写字母
        u = chr(random.randint(65, 90))
        # 生成小写字母
        l = chr(random.randint(97, 122))
        # 生成数字
        n = str(random.randint(0, 9))

        tmp = random.choice([u, l, n])
        tmp_list.append(tmp)
        draw_obj.text((20 + 40 * i, 0), tmp, fill=get_random_color(), font=font_obj)

    # 加干扰线
    # width = 220  # 图片宽度(防止越界)
    # height = 35
    # for i in range(5):
    #     x1 = random.randint(0, width)
    #     x2 = random.randint(0, width)
    #     y1 = random.randint(0, height)
    #     y2 = random.randint(0, height)
    #     draw_obj.line((x1, y1, x2, y2), fill=get_random_color())
    #
    # # 加干扰点
    # for i in range(40):
    #     draw_obj.point((random.randint(0, width), random.randint(0, height)), fill=get_random_color())
    #     x = random.randint(0, width)
    #     y = random.randint(0, height)
    #     draw_obj.arc((x, y, x+4, y+4), 0, 90, fill=get_random_color())
    code = ''.join(tmp_list)
    # 添加session键值对,产生全局变量获取验证码判断
    request.session['valid_code'] = code

    from io import BytesIO
    f = BytesIO()
    # 将生成的图片数据保存在io对象中
    image.save(f, 'png')
    # 从io对象里面取上一步保存的数据
    data = f.getvalue()
    f.close()
    return HttpResponse(data)
3:HTML中的代码
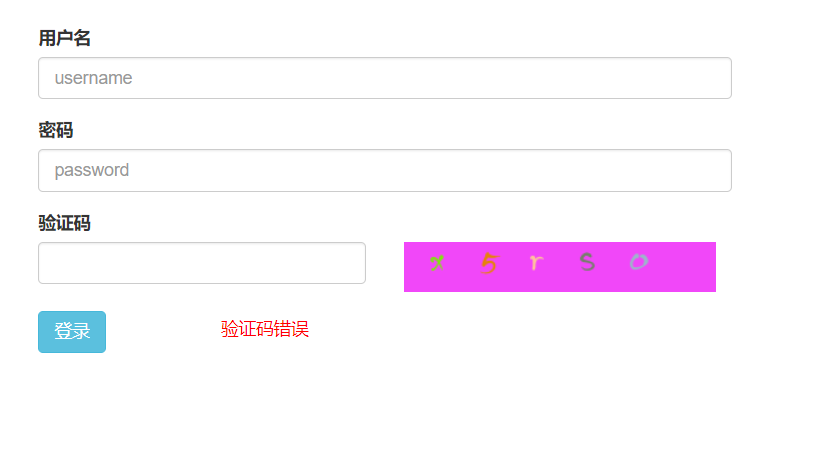
<!DOCTYPE html>
<html lang="zh-CN">
<head>
    <meta http-equiv="content-Type" charset="UTF-8">
    <meta http-equiv="x-ua-compatible" content="IE=edge">
    <meta name="viewport" content="width=device-width, initial-scale=1">
    <title>login</title>
    <link rel="stylesheet" href="/static/bootstrap/css/bootstrap.min.css">
    <link rel="stylesheet" href="/static/mystyle.css">
</head>
<body>

<div class="container">

    <div class="row">
        <div class="col-md-6 col-md-offset-3">
            <form action="/login/" class="login-form" method="post">
                {% csrf_token %}
                <div class="form-group">
                    <label for="username">用户名</label>
                    <input type="text" class="form-control" id="username" placeholder="username">
                </div>

                <div class="form-group">
                    <label for="pwd">密码</label>
                    <input type="password" class="form-control" id="pwd" placeholder="password">
                </div>

                <div class="form-group">
                    <label for="pwd">验证码</label>
                    <div class="row">
                        <div class="col-md-6">
                            <input type="text" class="form-control" id="code">
                        </div>
                        <div class="col-md-6">
                            <img width="250" height="40" id="valid_img" src="/get_valid_img/" alt="">

                        </div>
                    </div>
                </div>

                <div class="form-group">
                    <div class="row">
                         <div class="col-md-3">
                         <button type="button" id="d1" class="btn btn-info">登录</button>
                         </div>
                    <div class="col-md-6">
                        <span class="help-block login-error"></span>
                    </div>


                    </div>

                </div>

            </form>
        </div>
    </div>
</div>
<script src="/static/jquery-3.3.1.js"></script>
<script src="/static/bootstrap/js/bootstrap.min.js"></script>
{#<script src="/static/setupajax.js"></script>#}
4:ajax请求代码
1:ajax请求,返回响应并将错误添加页面
2:当input框获得焦点,移除错误信息
3:点击验证码,会重新请求获得验证码(刷新)
<script>

    $('#d1').on('click', function () {
        $.ajax({
            url: '/login/',
            type: 'post',
            data: {
                user: $('#username').val(),
                pwd: $('#pwd').val(),
                code: $('#code').val(),
                'csrfmiddlewaretoken': $('[name="csrfmiddlewaretoken"]').val()
            },
            success: function (data) {

                if (data.status) {
                    location.href = data.msg
                } else {
                    $(".login-error").text(data.msg)
                }
            }
        })
    });
    // 获得光标事件清空错误
    $("#username,#pwd").focus(function () {
        $('.login-error').text('')
    });
    // 刷新验证码
    $('#valid_img').click(function () {
        $(this)[0].src +='?';
    })


</script>