版权声明:本文为博主原创文章,未经博主允许不得转载。 https://blog.csdn.net/dhl_1986/article/details/80347027
TabLayout 出现以前,我们需要一个可以滑动的指示器来展示更多的页面时,比如今日头条的滑动指示器,我们往往自定义自己的滑动指示器,或者使用两个比较出名的开源指示器。如下两个:
2,Android PagerSlidingTabStrip
MD 提供了自己实现的TabLayout,让我们有了更多的选择。
基本使用
布局文件:
<android.support.design.widget.TabLayout
        android:id="@+id/tab_layout"
        android:layout_width="match_parent"
        android:layout_height="50dp"
        android:background="@color/colorPrimaryDark"
        >
    </android.support.design.widget.TabLayout>
代码设置:
tabLayout = (TabLayout)findViewById(R.id.tab_layout); tabLayout.addTab(tabLayout.newTab().setText("Tab 1"));
tabLayout.addTab(tabLayout.newTab().setText("Tab 2"));
tabLayout.addTab(tabLayout.newTab().setText("Tab 3"));几个常见的属性:
为指示器设置颜色:
app:tabIndicatorColor="@color/colorAccent"设置指示器的高度:
app:tabIndicatorHeight="3dp"设置Tab的颜色:
app:tabTextColor="@color/gray"设置Tab 选中的颜色:
app:tabSelectedTextColor="@color/white"如下图所示:
TabLayout 与 ViewPager 组合
添加ViewPager 布局:
<?xml version="1.0" encoding="utf-8"?>
<LinearLayout xmlns:android="http://schemas.android.com/apk/res/android"
xmlns:app="http://schemas.android.com/apk/res-auto"
xmlns:tools="http://schemas.android.com/tools"
android:layout_width="match_parent"
android:layout_height="match_parent"
android:orientation="vertical"
>
<android.support.design.widget.TabLayout
android:id="@+id/tab_layout"
android:layout_width="match_parent"
android:layout_height="50dp"
android:background="@color/colorPrimaryDark"
app:tabIndicatorColor="@color/colorAccent"
app:tabTextColor="@color/gray"
app:tabSelectedTextColor="@color/white"
app:tabIndicatorHeight="3dp"
>
</android.support.design.widget.TabLayout>
<android.support.v4.view.ViewPager
android:id="@+id/content_vp"
android:layout_width="match_parent"
android:visibility="gone"
android:layout_height="match_parent"></android.support.v4.view.ViewPager>
</LinearLayout>TabFragment : 就展示一个TextView
public class TabFragment extends Fragment {
// TODO: Rename parameter arguments, choose names that match
// the fragment initialization parameters, e.g. ARG_ITEM_NUMBER
private static final String ARG_PARAM1 = "param1";
// TODO: Rename and change types of parameters
private String mParam1;
public TabFragment() {
// Required empty public constructor
}
/**
* Use this factory method to create a new instance of
* this fragment using the provided parameters.
*
* @param param1 Parameter 1.
* @return A new instance of fragment TabFragment.
*/
// TODO: Rename and change types and number of parameters
public static TabFragment newInstance(String param1) {
TabFragment fragment = new TabFragment();
Bundle args = new Bundle();
args.putString(ARG_PARAM1, param1);
fragment.setArguments(args);
return fragment;
}
@Override
public void onCreate(Bundle savedInstanceState) {
super.onCreate(savedInstanceState);
if (getArguments() != null) {
mParam1 = getArguments().getString(ARG_PARAM1);
}
}
@Override
public View onCreateView(LayoutInflater inflater, ViewGroup container,
Bundle savedInstanceState) {
// Inflate the layout for this fragment
View view = inflater.inflate(R.layout.fragment_tab, container, false);
((TextView)view.findViewById(R.id.tv)).setText(mParam1);
return view ;
}
}
TabFragment 布局fragment_tab:
<RelativeLayout xmlns:android="http://schemas.android.com/apk/res/android"
xmlns:tools="http://schemas.android.com/tools"
android:layout_width="match_parent"
android:layout_height="match_parent"
tools:context="com.dhl.mdstudy.TabFragment">
<!-- TODO: Update blank fragment layout -->
<TextView
android:id="@+id/tv"
android:layout_width="wrap_content"
android:layout_height="wrap_content"
android:layout_centerInParent="true"
android:gravity="center"
android:text="@string/hello_blank_fragment" />
</RelativeLayout>
TabPagerAdapter:
public class TabPagerAdapter extends FragmentPagerAdapter {
private List<Fragment> tabFragments;
public void setTabFragments(List<Fragment> tabFragments) {
this.tabFragments = tabFragments;
}
public TabPagerAdapter(FragmentManager fm) {
super(fm);
}
@Override
public Fragment getItem(int position) {
return tabFragments.get(position);
}
@Override
public int getCount() {
return tabFragments.size();
}
}代码:
private List<Fragment> fragments ; fragments = new ArrayList<>();
//tabIndicators = new ArrayList<>();
fragments.add(TabFragment.newInstance("Fragment 1"));
fragments.add(TabFragment.newInstance("Fragment 2"));
fragments.add(TabFragment.newInstance("Fragment 3"));
 tabLayout.addTab(tabLayout.newTab().setText("Tab 1"));
 tabLayout.addTab(tabLayout.newTab().setText("Tab 2"));
  tabLayout.addTab(tabLayout.newTab().setText("Tab 3"));
TabPagerAdapter tabPagerAdapter = new TabPagerAdapter(getSupportFragmentManager());
tabPagerAdapter.setTabFragments(fragments);
viewPager.setAdapter(tabPagerAdapter);
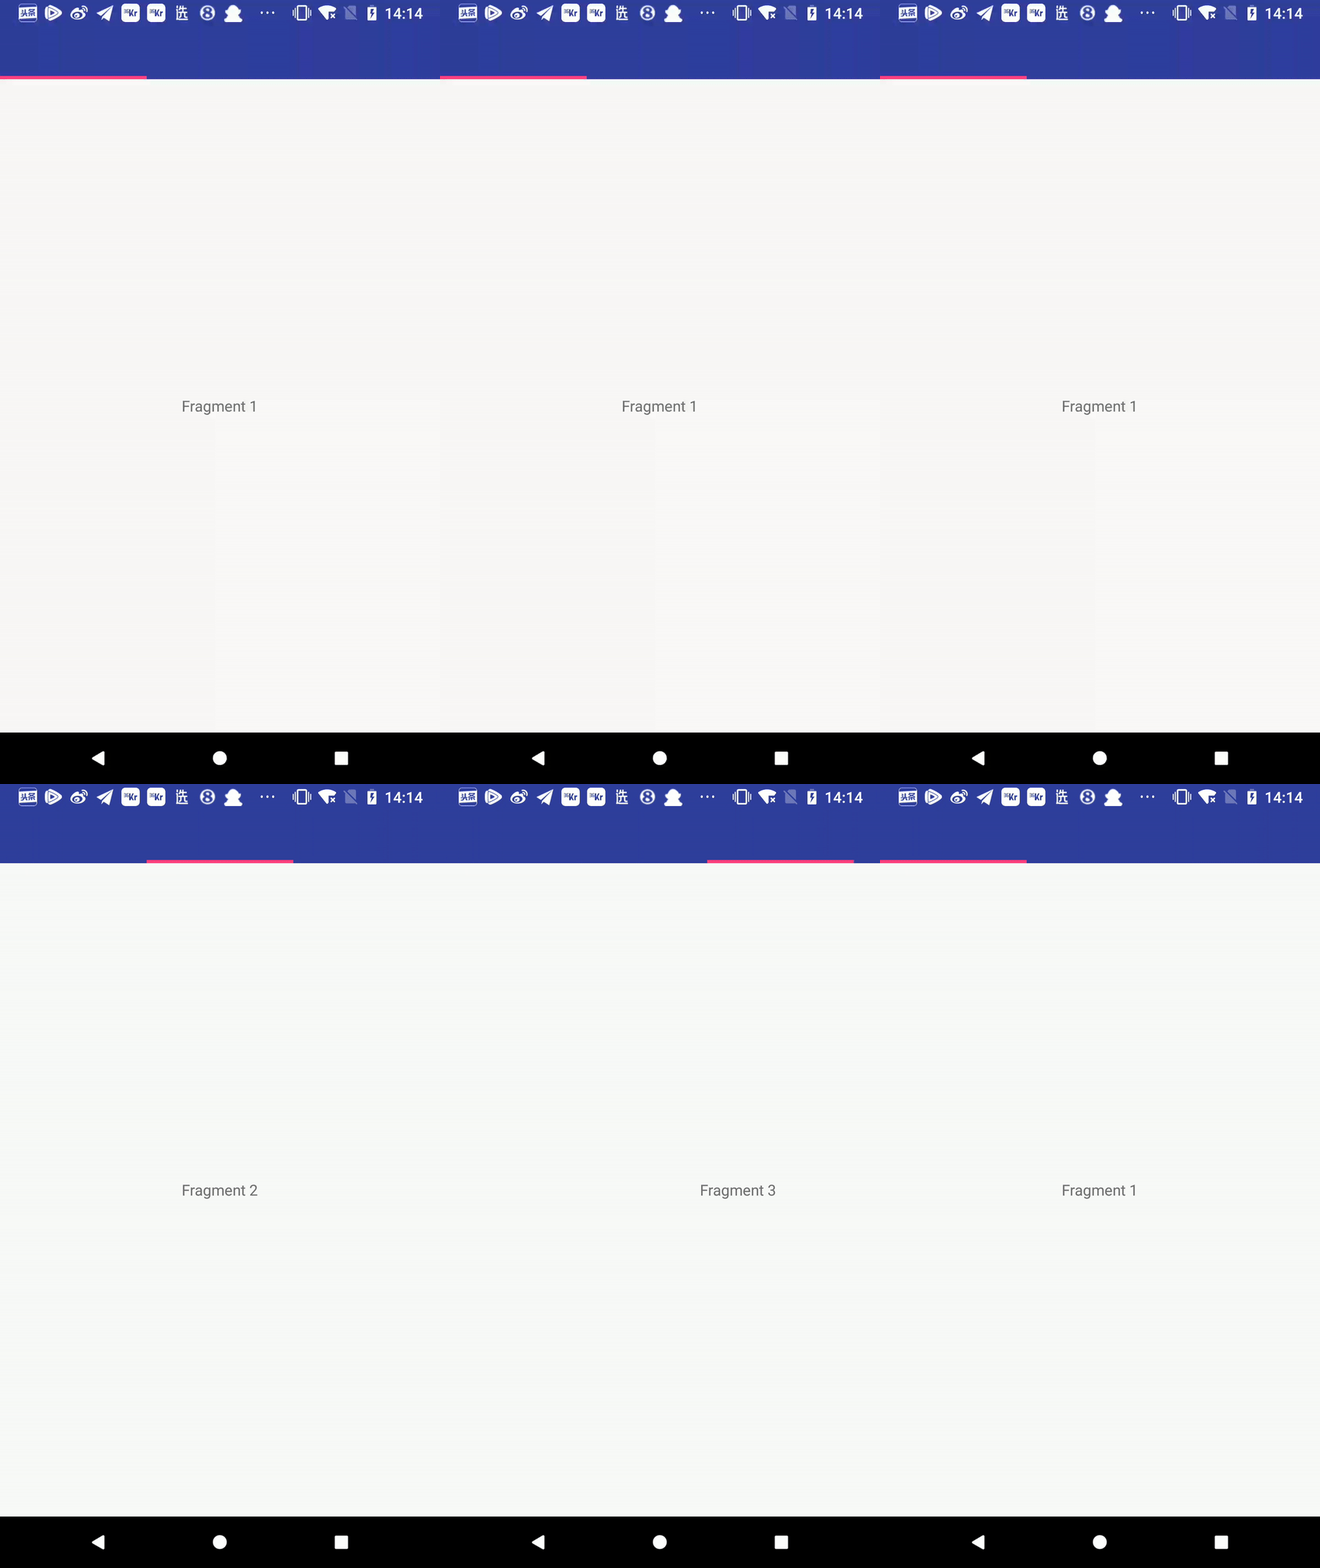
tabLayout.setupWithViewPager(viewPager);运行效果:
哎,TabLayout 的标题去哪了?!
这是因为:
setupWithViewPager重新设置了Tab标题,解决方案:
TabPagerAdapter 重写此方法:
 @Override
    public CharSequence getPageTitle(int position) {
        return "Tab"+position;
    }
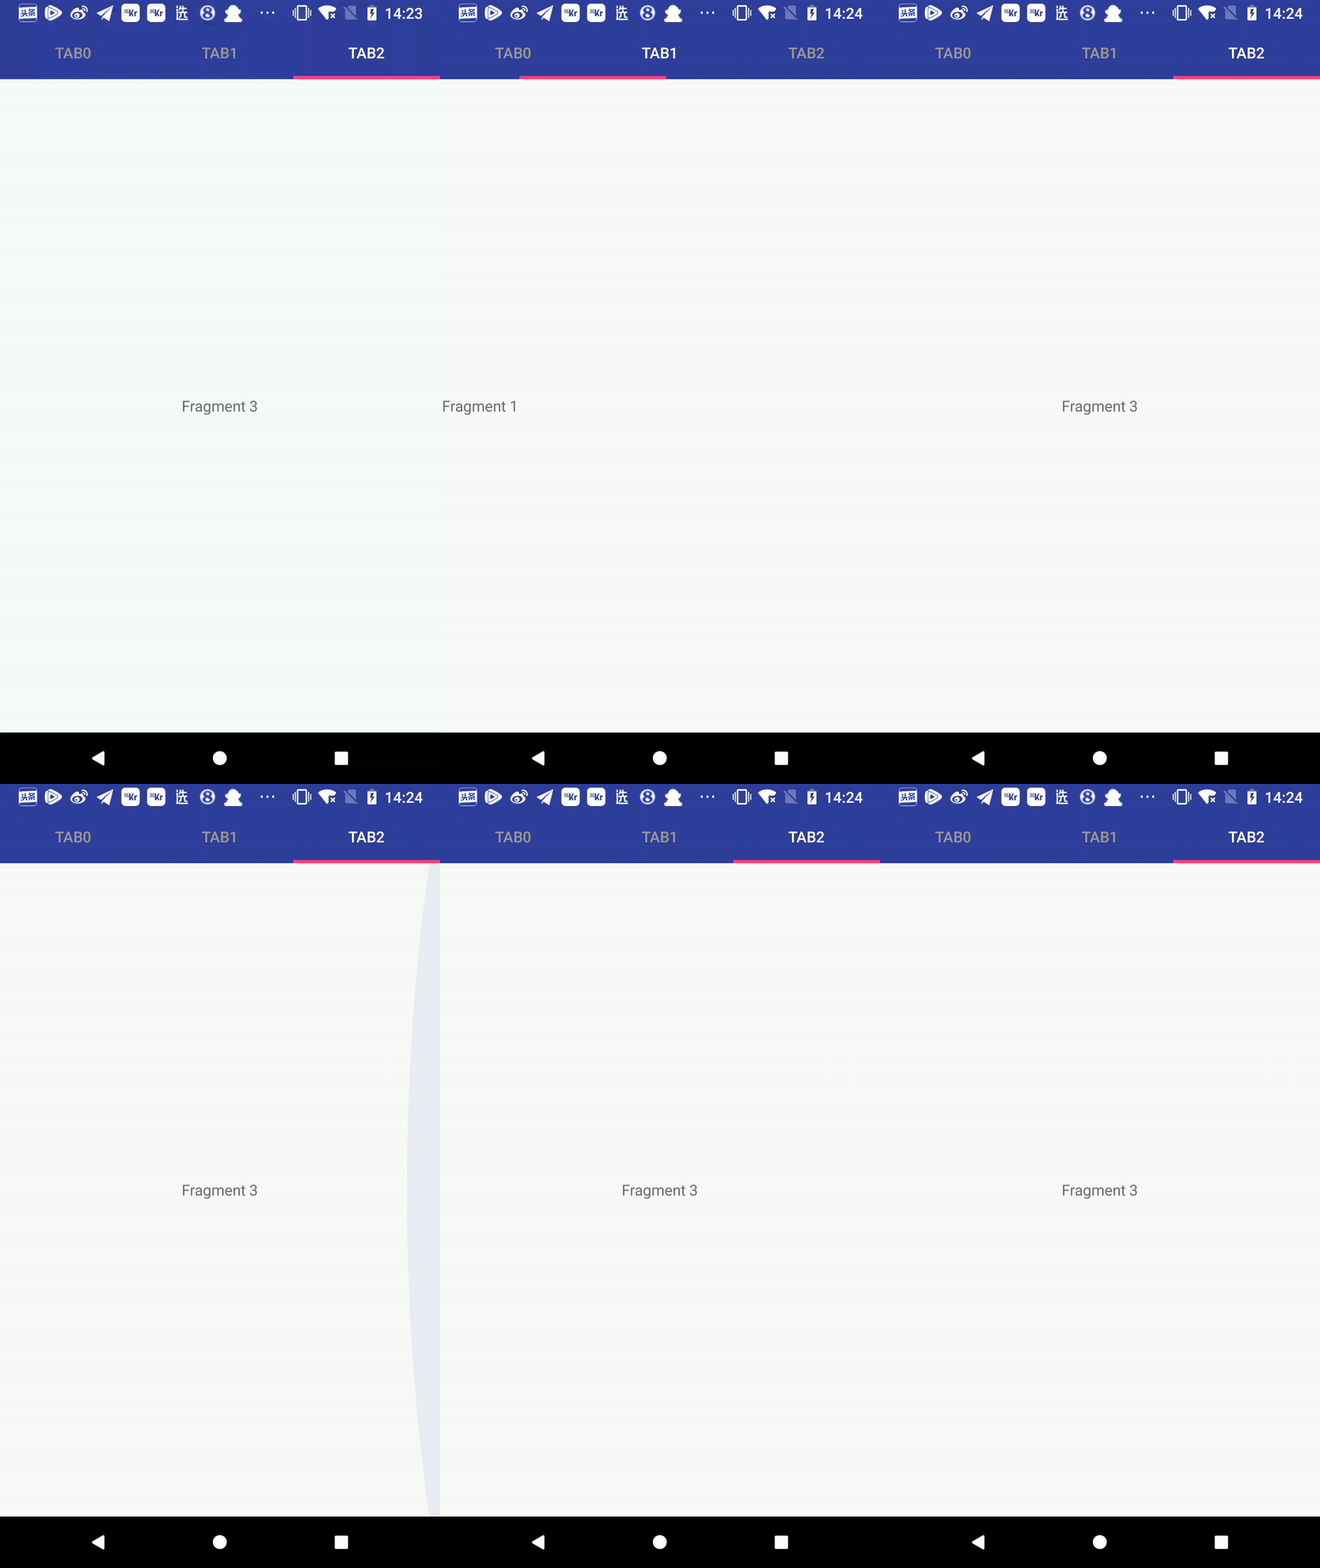
效果如下:
能正确显示了。
现在把三个Fragment 增加到15个:
  fragments.add(TabFragment.newInstance("Fragment 1"));
        fragments.add(TabFragment.newInstance("Fragment 2"));
        fragments.add(TabFragment.newInstance("Fragment 3"));
        fragments.add(TabFragment.newInstance("Fragment 4"));
        fragments.add(TabFragment.newInstance("Fragment 5"));
        fragments.add(TabFragment.newInstance("Fragment 6"));
        fragments.add(TabFragment.newInstance("Fragment 7"));
        fragments.add(TabFragment.newInstance("Fragment 8"));
        fragments.add(TabFragment.newInstance("Fragment 9"));
        fragments.add(TabFragment.newInstance("Fragment 10"));
        fragments.add(TabFragment.newInstance("Fragment 12"));
        fragments.add(TabFragment.newInstance("Fragment 13"));
        fragments.add(TabFragment.newInstance("Fragment 14"));
        fragments.add(TabFragment.newInstance("Fragment 15"));
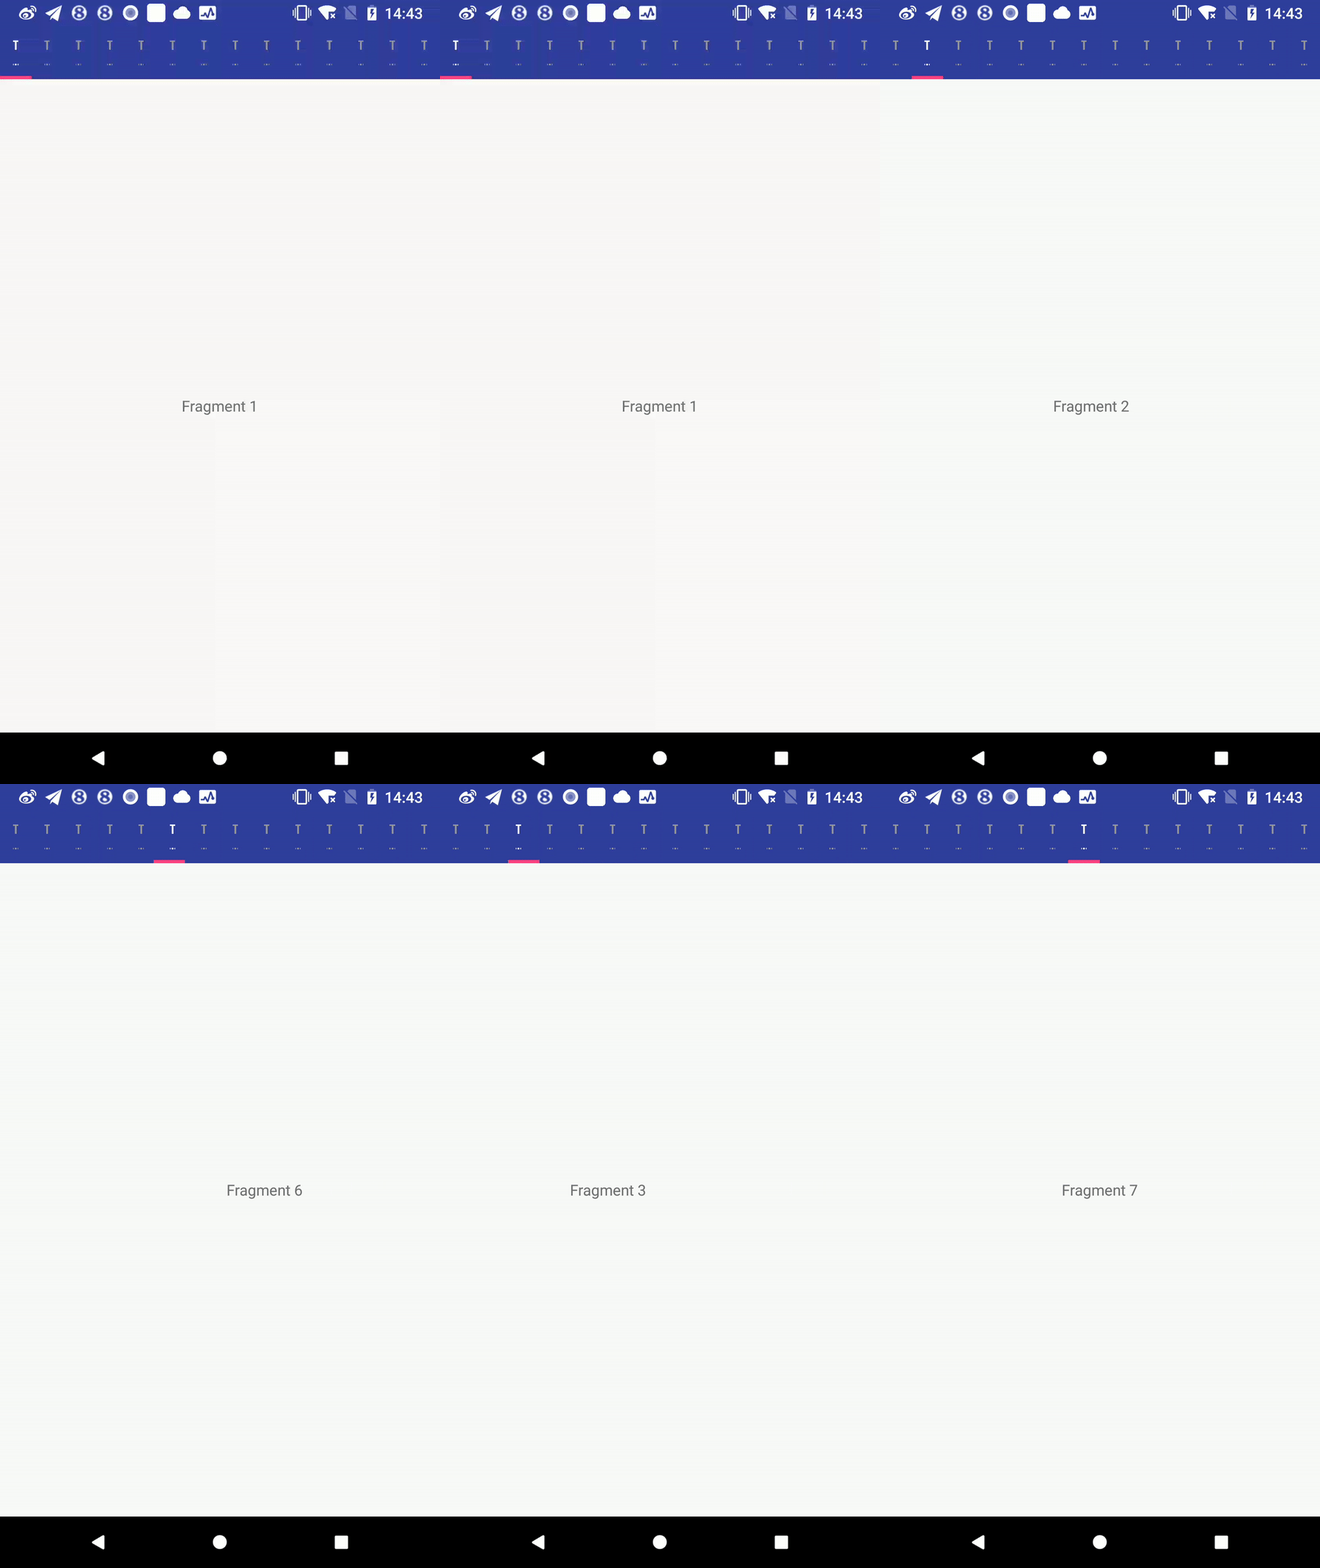
哎,这是怎么回事?!
认识TabMode
1:
/**
     * Fixed tabs display all tabs concurrently and are best used with content that benefits from
     * quick pivots between tabs. The maximum number of tabs is limited by the view’s width.
     * Fixed tabs have equal width, based on the widest tab label.
     *
     * @see #setTabMode(int)
     * @see #getTabMode()
     */
    public static final int MODE_FIXED = 1;
顾名思义,Tab 是固定的
2:
 /**
     * Scrollable tabs display a subset of tabs at any given moment, and can contain longer tab
     * labels and a larger number of tabs. They are best used for browsing contexts in touch
     * interfaces when users don’t need to directly compare the tab labels.
     *
     * @see #setTabMode(int)
     * @see #getTabMode()
     */
    public static final int MODE_SCROLLABLE = 0;
当Tab 变多的时候可以滚动
加上这句试试:
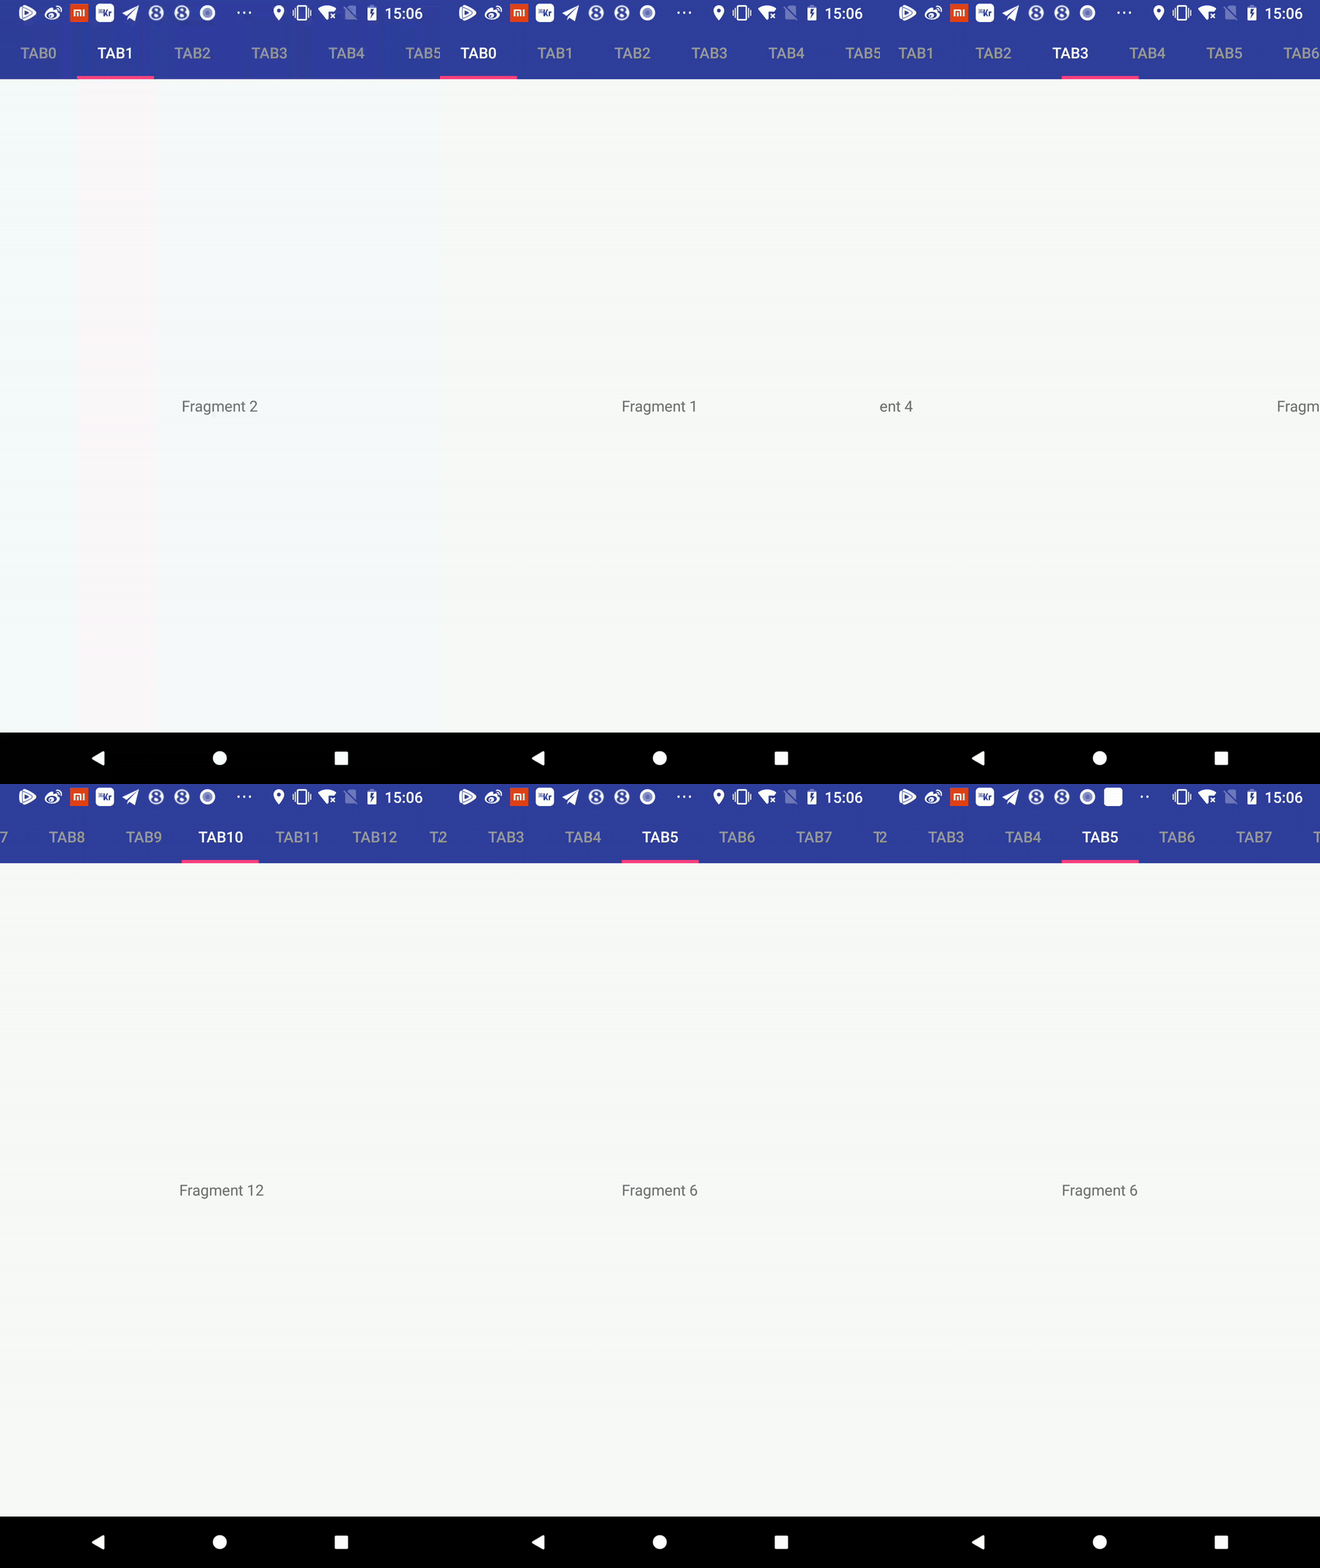
tabLayout.setTabMode(TabLayout.MODE_SCROLLABLE);这样显示就没有问题了。
附上几个Tablayout 开源框架:
