版权声明:本文为博主原创文章,未经博主允许不得转载 https://blog.csdn.net/qq_39197547/article/details/81911614
路由的属性mode的应用
mode有两个值:
1.history::当你使用 history 模式时,URL 就像正常的 url,例如 http://localhost:8080/gotu,也好看!
2.hash: :默认’hash’值,但是hash看起来就像无意义的字符排列,例如http://localhost:8080/#/gotu
在router/index.js文件中
export default new Router({
  mode: 'history',//添加mode模式
  routes: [
    {
      path: '/',
      name: 'HelloWorld',
      component: resolve => require(['@/components/HelloWorld'], resolve)
    },
    {
      path: '/page1',
      name: 'Page1',
      component: resolve => require(['@/components/Page1'], resolve)
     }
  ]
})
但是,在打包npm run build的时候,开启‘history’模式的路由是不能成功的。history模式需要后台配合。将history注释就好了。
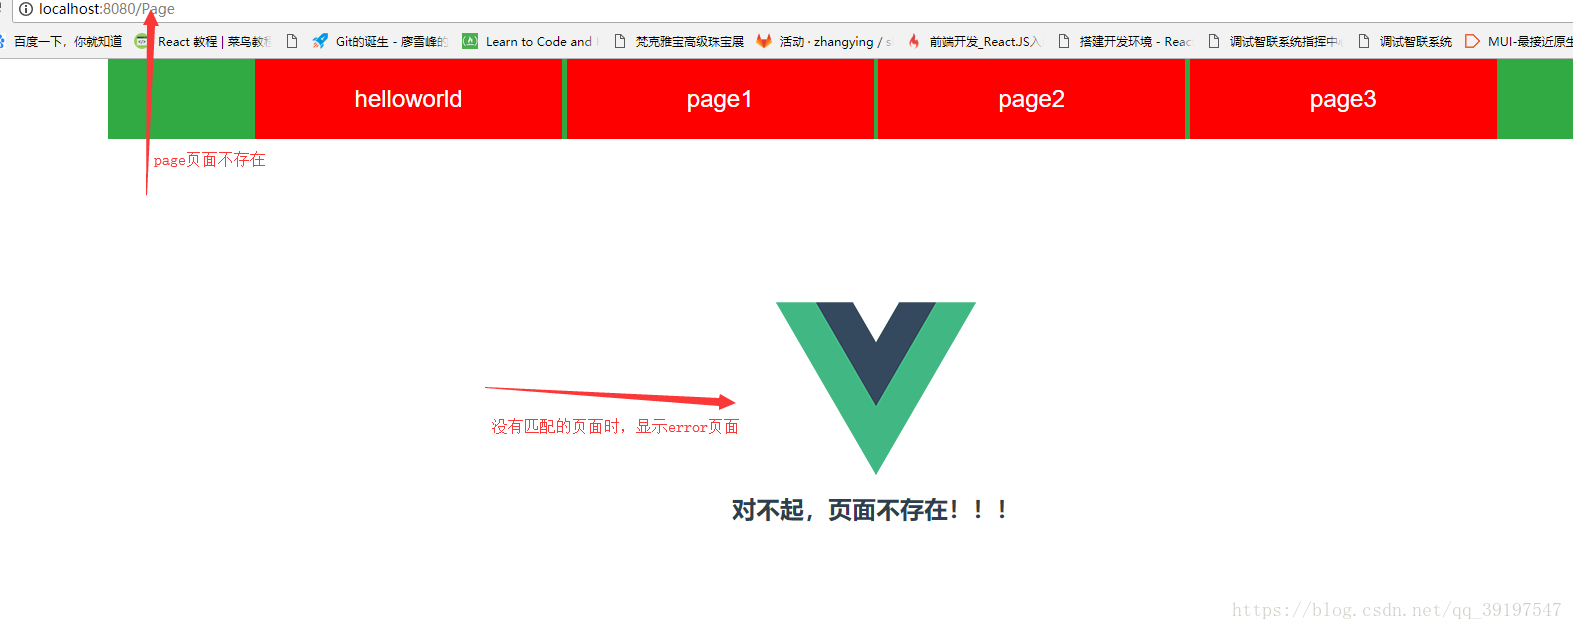
404页面的设置:
用户会经常输错页面,当用户输错页面时,我们希望给他一个友好的提示,为此美工都会设计一个漂亮的页面,这个页面就是我们常说的404页面。vue-router也为我们提供了这样的机制.
 routes: [
    {
      path: '/',
      name: 'HelloWorld',
      component: resolve => require(['@/components/HelloWorld'], resolve)
    },
    {
      path: '/page1',
      name: 'Page1',
      component: resolve => require(['@/components/Page1'], resolve)
    },
    {
     path:'*',//用于匹配404页面
     name:'Error',
     component:Error
 }
  ]
这里的path:’*’就是找不到页面时的配置,component是我们新建的一个Error.vue的文件。
我们新建一个error.vue 文件,写入一些错误的提示信息
<template>
    <div>
        <h2>{{ msg }}</h2>
    </div>
</template>
<script>
export default {
  data () {
    return {
      msg: 'Error:404'
    }
  }
}
</script>
404效果如下: