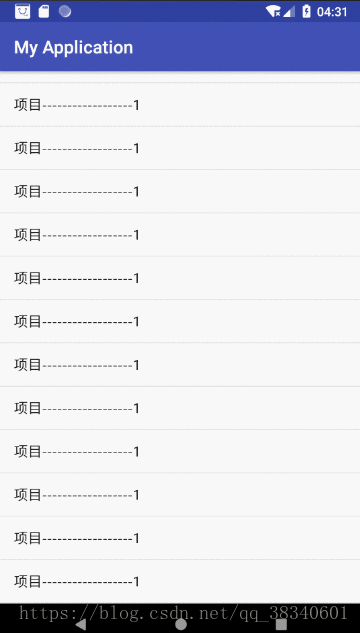
最终的实现效果
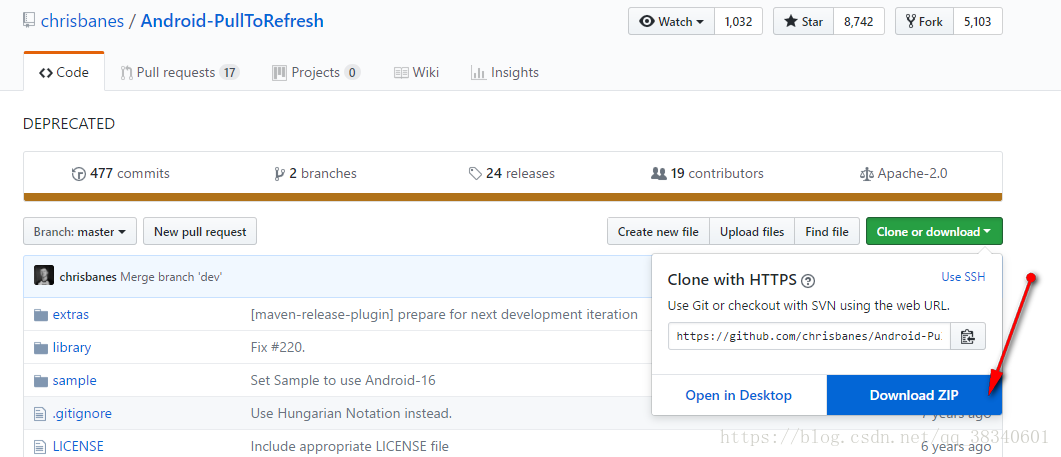
**第一步:**去官网下载,然后解压
https://github.com/chrisbanes/Android-PullToRefresh
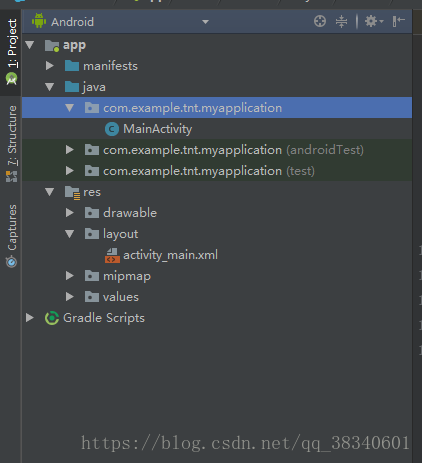
第二步
新建一个自己的工程
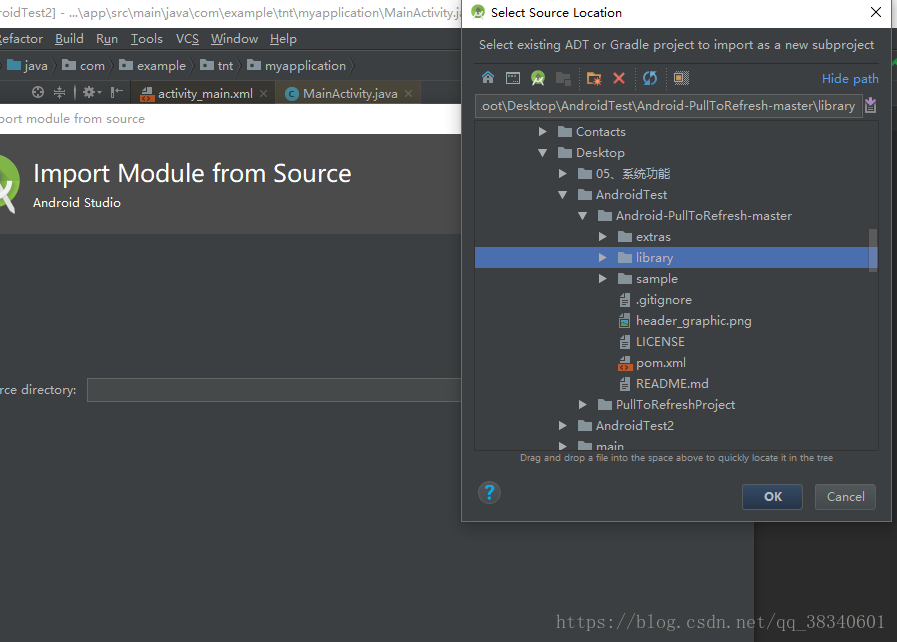
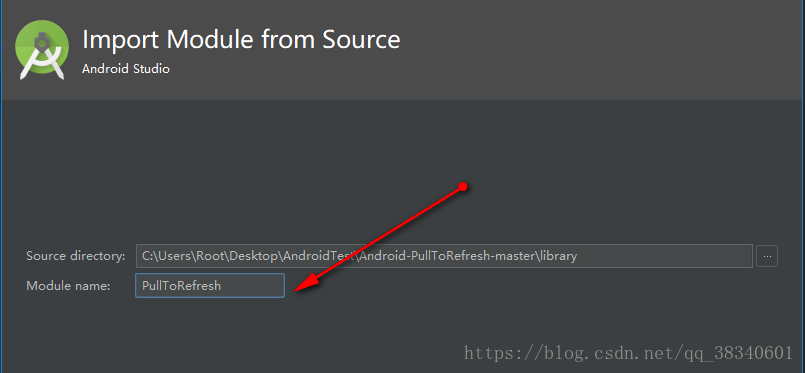
**第三步:**导入下载的pulltoRefresh模块
添加模块
选择library
更改名称(方便自己使用),点击finish

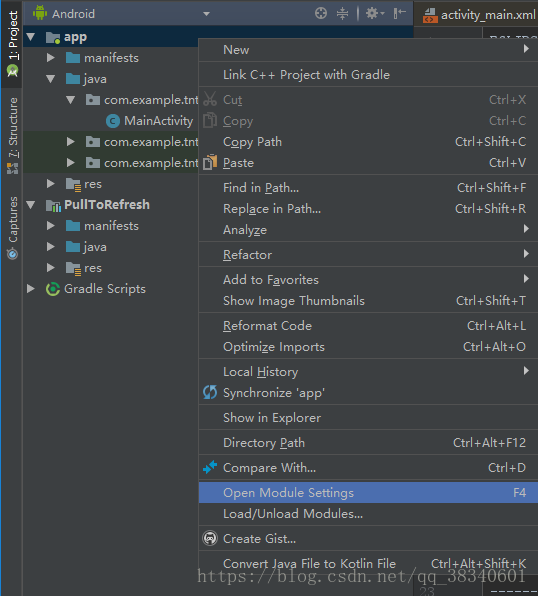
第四步:自己的项目添加此模块
右键自己的项目-》open module settings
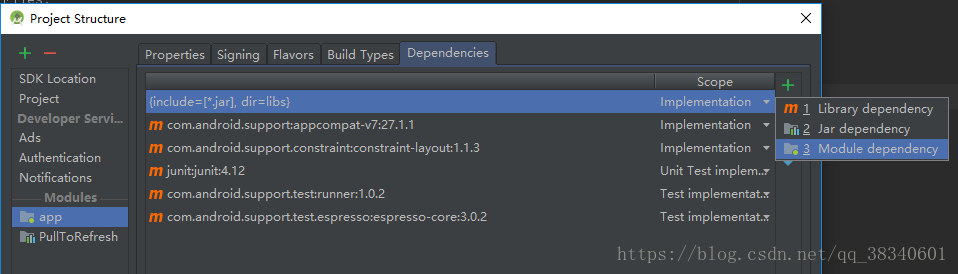
自己项目导入模块
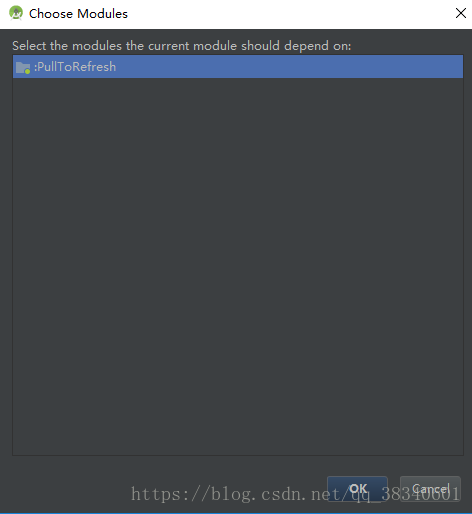
选择PullTorefresh ->一路OK
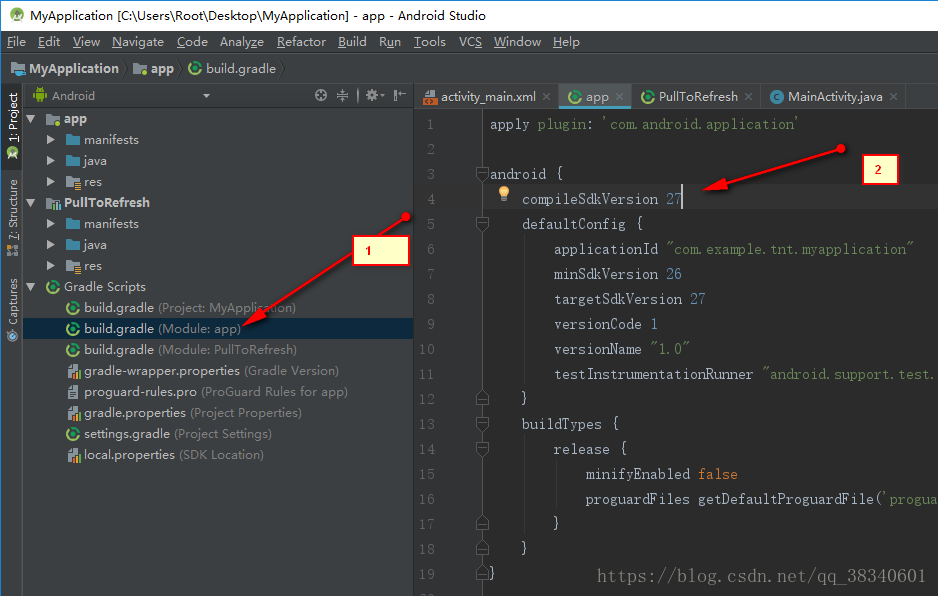
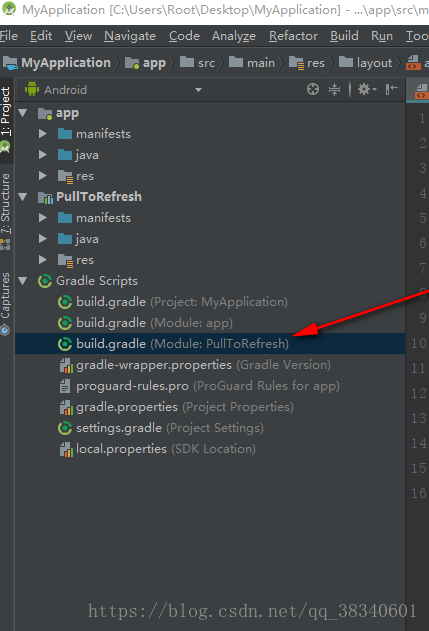
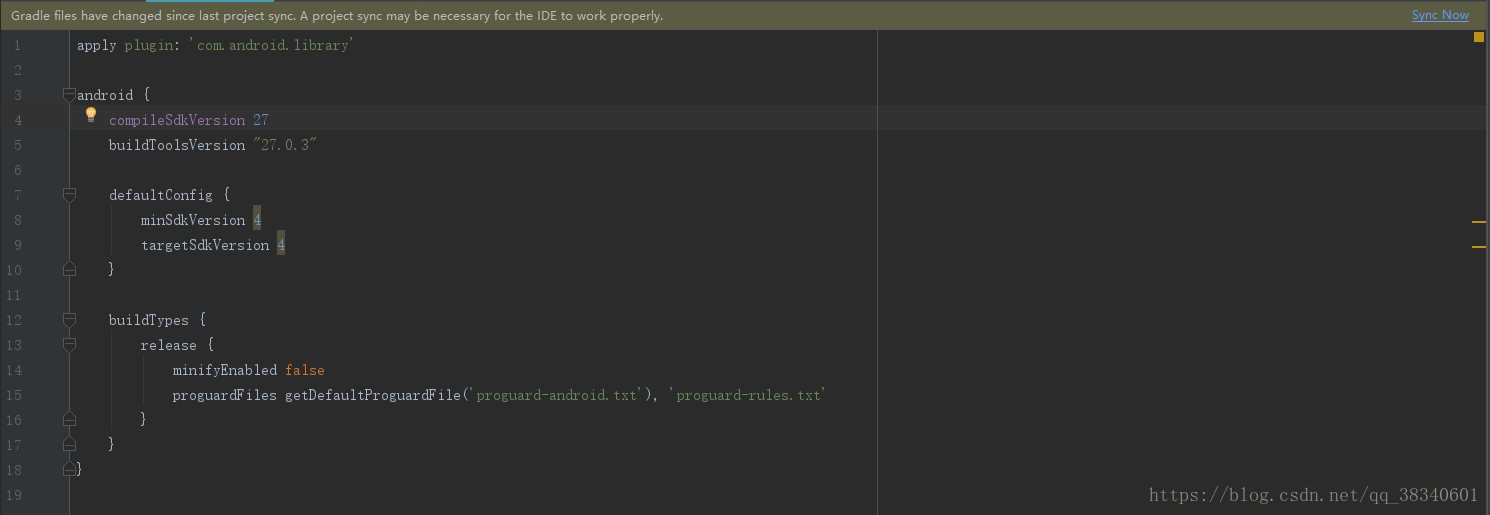
第五步:更改pullToRefresh的build.gradle
查看自己的编译版本
找到pullTorefresh的编译版本
更改版本同自己软件的版本一致,buildTools不需要更改 ,点击sync now
第六步:可能出现这种错误
FloatMath.floor()
解决方法:将Math.floor 代替 FloatMath.floor (如果有其他错误,根据提示进行修改)
第七步:
开始在自己的软件进行设置
activity_main.xml
<?xml version="1.0" encoding="utf-8"?>
<LinearLayout xmlns:android="http://schemas.android.com/apk/res/android"
    xmlns:app="http://schemas.android.com/apk/res-auto"
    xmlns:tools="http://schemas.android.com/tools"
    android:orientation="vertical"
    android:layout_width="match_parent"
    android:layout_height="match_parent"
    tools:context=".MainActivity">

<com.handmark.pulltorefresh.library.PullToRefreshListView
    android:id="@+id/pullToRefreshListView"
    android:layout_width="match_parent"
    android:layout_height="match_parent">


</com.handmark.pulltorefresh.library.PullToRefreshListView>

</LinearLayout>
MainActivity.java
package com.example.tnt.myapplication;

import android.os.Handler;
import android.support.v7.app.AppCompatActivity;
import android.os.Bundle;
import android.widget.ArrayAdapter;
import android.widget.ListView;

import com.handmark.pulltorefresh.library.ILoadingLayout;
import com.handmark.pulltorefresh.library.LoadingLayoutProxy;
import com.handmark.pulltorefresh.library.PullToRefreshBase;
import com.handmark.pulltorefresh.library.PullToRefreshListView;

import java.util.ArrayList;
import java.util.List;

public class MainActivity extends AppCompatActivity {

    private PullToRefreshListView pullToRefreshListView;
    private ListView lv;
    private List<String> datas;
    private ArrayAdapter<String> adapter;
    private Handler handler = new Handler();
    private LoadingLayoutProxy llProxy;    // 设置刷新时的文本等的对象


    @Override
    protected void onCreate(Bundle savedInstanceState) {
        super.onCreate(savedInstanceState);
        setContentView(R.layout.activity_main);
        pullToRefreshListView = findViewById(R.id.pullToRefreshListView);
        datas = new ArrayList<>();
        for (int i = 1; i < 50; i++) {
            datas.add("项目------------------1");
        }
        //获取带有刷新的对应控件
        lv = pullToRefreshListView.getRefreshableView();
        adapter = new ArrayAdapter<>(this, android.R.layout.simple_list_item_1, datas);
        lv.setAdapter(adapter);
        // 支持上下刷新

        // 下拉刷新时的提示文本设置
        pullToRefreshListView.setMode(PullToRefreshBase.Mode.BOTH);
        pullToRefreshListView.getLoadingLayoutProxy(true,false).setPullLabel("下拉刷新");
        pullToRefreshListView.getLoadingLayoutProxy(true,false).setRefreshingLabel("正在刷新");
        pullToRefreshListView.getLoadingLayoutProxy(true,false).setReleaseLabel("放开以刷新");
        // 上拉加载更多时的提示文本设置
        pullToRefreshListView.getLoadingLayoutProxy(false, true).setPullLabel("上拉加载");
        pullToRefreshListView.getLoadingLayoutProxy(false, true).setRefreshingLabel("正在加载...");
        pullToRefreshListView.getLoadingLayoutProxy(false, true).setReleaseLabel("放开以加载");


        //设置是否允许刷新的时候可以滑动
        pullToRefreshListView.setScrollingWhileRefreshingEnabled(true);
        pullToRefreshListView.setOnRefreshListener(new PullToRefreshBase.OnRefreshListener2<ListView>() {
            @Override
            public void onPullDownToRefresh(PullToRefreshBase<ListView> refreshView) {
                new Thread(new Runnable() {
                    @Override
                    public void run() {
                        try {
                            //休眠2s
                            Thread.sleep(2000);
                        } catch (InterruptedException e) {
                            e.printStackTrace();
                        }
                        //向集合中添加一个随机数
                        datas.add(0, "项目--------" + (int) (Math.random() * 100 + 1));
                        handler.post(new Runnable() {
                            @Override
                            public void run() {
                                //更新数据
                                adapter.notifyDataSetChanged();
                                // 控件刷新最新数据
                                pullToRefreshListView.onRefreshComplete();
                            }
                        });


                    }
                }).start();
            }


            //  上拉刷新操作
            @Override
            public void onPullUpToRefresh(PullToRefreshBase<ListView> refreshView) {
                new Thread(new Runnable() {
                    @Override
                    public void run() {
                        try {
                            //休眠2s
                            Thread.sleep(2000);
                        } catch (InterruptedException e) {
                            e.printStackTrace();
                        }
                        //向集合中添加一个随机数
                        datas.add(0, "项目--------" + (int) (Math.random() * 100 + 1));
                        handler.post(new Runnable() {
                            @Override
                            public void run() {
                                //更新数据
                                adapter.notifyDataSetChanged();
                                // 控件刷新最新数据
                                pullToRefreshListView.onRefreshComplete();
                            }
                        });


                    }
                }).start();
            }
        });

    }


}