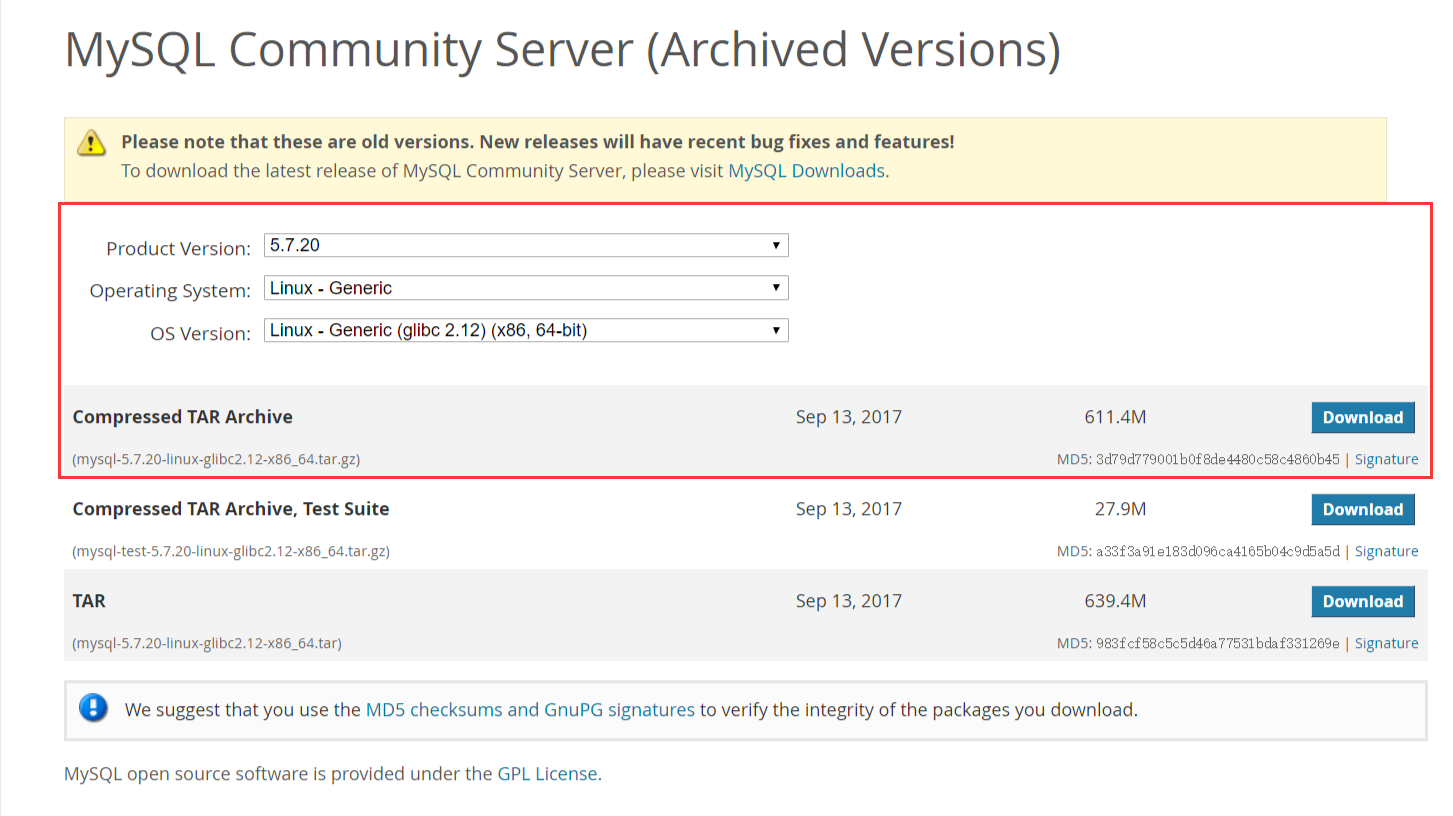
1、下载地址
https://downloads.mysql.com/archives/community/
2、安装步骤
解压:
groupadd mysql
useradd -r -g mysql -s /bin/false mysql
cd /usr/local
tar zxvf /path/to/mysql-VERSION-OS.tar.gz
mv full-path-to-mysql-VERSION-OS mysql
chown -R mysql mysql/
chgrp -R mysql mysql/
cd mysql
mkdir mysql-files
chown mysql:mysql mysql-files
chmod 750 mysql-files
创建配置文件:
#先安装一下这个,要不然初始化有可能会报错
yum install libaio
my.cnf配置:
#创建配置文件,内容如下,可以添加你需要的配置:
vim /etc/my.cnf
# For advice on how to change settings please see
# http://dev.mysql.com/doc/refman/5.7/en/server-configuration-defaults.html
[mysqld]
#
# Remove leading # and set to the amount of RAM for the most important data
# cache in MySQL. Start at 70% of total RAM for dedicated server, else 10%.
# innodb_buffer_pool_size = 128M # # Remove leading # to turn on a very important data integrity option: logging # changes to the binary log between backups. # log_bin # # Remove leading # to set options mainly useful for reporting servers. # The server defaults are faster for transactions and fast SELECTs. # Adjust sizes as needed, experiment to find the optimal values. # join_buffer_size = 128M # sort_buffer_size = 2M # read_rnd_buffer_size = 2M port=3309 datadir=/data/mysql socket=/data/mysql/mysql.sock skip-name-resolve #skip-grant-tables max_connections=1000 character_set_server = utf8 wait_timeout=31536000 interactive_timeout=31536000 collation-server=utf8_general_ci lower_case_table_names=1 # Disabling symbolic-links is recommended to prevent assorted security risks symbolic-links=0 log-error=/data/log/mysqld.log pid-file=/var/run/mysqld/mysqld.pid [client] socket=/data/mysql/mysql.sock default-character-set = utf8 [mysql] default-character-set = utf8 [mysql.server] default-character-set = utf8 [mysqld_safe] default-character-set = utf8 #保存内容,按esc输入如下命令 :wq
初始化数据库:
mkdir /data/log
chown -R mysql:mysql /data
cd /var/run/
mkdir mysqld
chmod 777 mysqld
cd mysqld
vim mysqld.pid

chmod 777 mysqld.pid
chown mysql:mysql mysqld.pid

/usr/local/mysql/bin/mysqld --initialize --user=mysql
查看初始密码:
cat /data/log/mysqld.log
#执行后关注最后一点:root@localhost: 这里就是初始密码
启动服务,进入mysql,修改初始密码,运行远程连接(这里执行完后,密码将变成:123456)
/usr/local/mysql/support-files/mysql.server start

#vim /etc/mysql/my.cnf
#在[mysqld]项下添加
#skip-grant-tables
#service mysqld restart
cd /usr/local/mysql/bin
./mysql -uroot -p
执行后输入初始密码
alter user 'root'@'localhost' identified by '123456';
flush privileges;
use mysql;

#设置远程登录
GRANT ALL PRIVILEGES ON *.* TO 'root'@'%' IDENTIFIED BY '123456' WITH GRANT OPTION;
flush privileges;
开机自启:
cd /usr/local/mysql/
cp support-files/mysql.server /etc/init.d/mysqld
chkconfig --add mysqld
8、使用service mysqld命令启动/停止服务
service mysqld start/stop/restart
防火墙开开放3309端口:
vim /etc/sysconfig/iptables
service iptables restart
service mysqld restart
配置全局环境变量:
vi /etc/profile
PATH=/usr/local/mysql/bin:/usr/local/mysql/lib:$PATH
export PATH
设置环境变量立即生效
# source /etc/profile
查看安装路径:
find / -name mysql