此处提到的tomcat插件即maven工程集成的tomcat插件,可以在添加maven的tomcat插件之后,在本地通过脚本或者命令行方式运行web工程,tomcat插件启动只需要修改一个端口即可,非常利于在本地调试多个web工程时使用。针对maven的tomcat插件有不清楚的可以参考https://my.oschina.net/lilw/blog/168667所述。
因为tmall-parent工程有添加tomcat插件,web工程又依赖tmall-parent工程,所以web工程可以使用tomcat插件启动工程。tmall-manager-web工在build节点下添加tomcat7插件,修改后整个pom文件如下所示:


<project xmlns="http://maven.apache.org/POM/4.0.0" xmlns:xsi="http://www.w3.org/2001/XMLSchema-instance" xsi:schemaLocation="http://maven.apache.org/POM/4.0.0 http://maven.apache.org/xsd/maven-4.0.0.xsd">
  <modelVersion>4.0.0</modelVersion>
  <parent>
    <groupId>com.tmall</groupId>
    <artifactId>tmall-parent</artifactId>
    <version>0.0.1-SNAPSHOT</version>
  </parent>
  <artifactId>tmall-manager-web</artifactId>
  <packaging>war</packaging>

  <dependencies>
    <!-- 依赖tmall-common -->
    <dependency>
        <groupId>com.tmall</groupId>
        <artifactId>tmall-common</artifactId>
        <version>0.0.1-SNAPSHOT</version>
    </dependency>
      <!-- Spring -->
    <dependency>
        <groupId>org.springframework</groupId>
        <artifactId>spring-context</artifactId>
    </dependency>
    <dependency>
        <groupId>org.springframework</groupId>
        <artifactId>spring-beans</artifactId>
    </dependency>
    <dependency>
        <groupId>org.springframework</groupId>
        <artifactId>spring-webmvc</artifactId>
    </dependency>
    <dependency>
        <groupId>org.springframework</groupId>
        <artifactId>spring-jdbc</artifactId>
    </dependency>
    <dependency>
        <groupId>org.springframework</groupId>
        <artifactId>spring-aspects</artifactId>
    </dependency>
    <dependency>
        <groupId>org.springframework</groupId>
        <artifactId>spring-jms</artifactId>
    </dependency>
    <dependency>
        <groupId>org.springframework</groupId>
        <artifactId>spring-context-support</artifactId>
    </dependency>
    <!-- JSP相关 -->
    <dependency>
        <groupId>jstl</groupId>
        <artifactId>jstl</artifactId>
    </dependency>
    <dependency>
        <groupId>javax.servlet</groupId>
        <artifactId>servlet-api</artifactId>
        <scope>provided</scope>
    </dependency>
    <dependency>
        <groupId>javax.servlet</groupId>
        <artifactId>jsp-api</artifactId>
        <scope>provided</scope>
    </dependency>
  </dependencies>
  <build>
      <plugins>
          <!-- path指访问路径,此处直接为http://localhost:8081/xxxx(工程名称)即可,port指访问web工程端口号 -->
          <plugin>
              <groupId>org.apache.tomcat.maven</groupId>
              <artifactId>tomcat7-maven-plugin</artifactId>
              <configuration>
                  <path>/</path>
                  <port>8081</port>
              </configuration>
          </plugin>
      </plugins>
  </build>
</project>
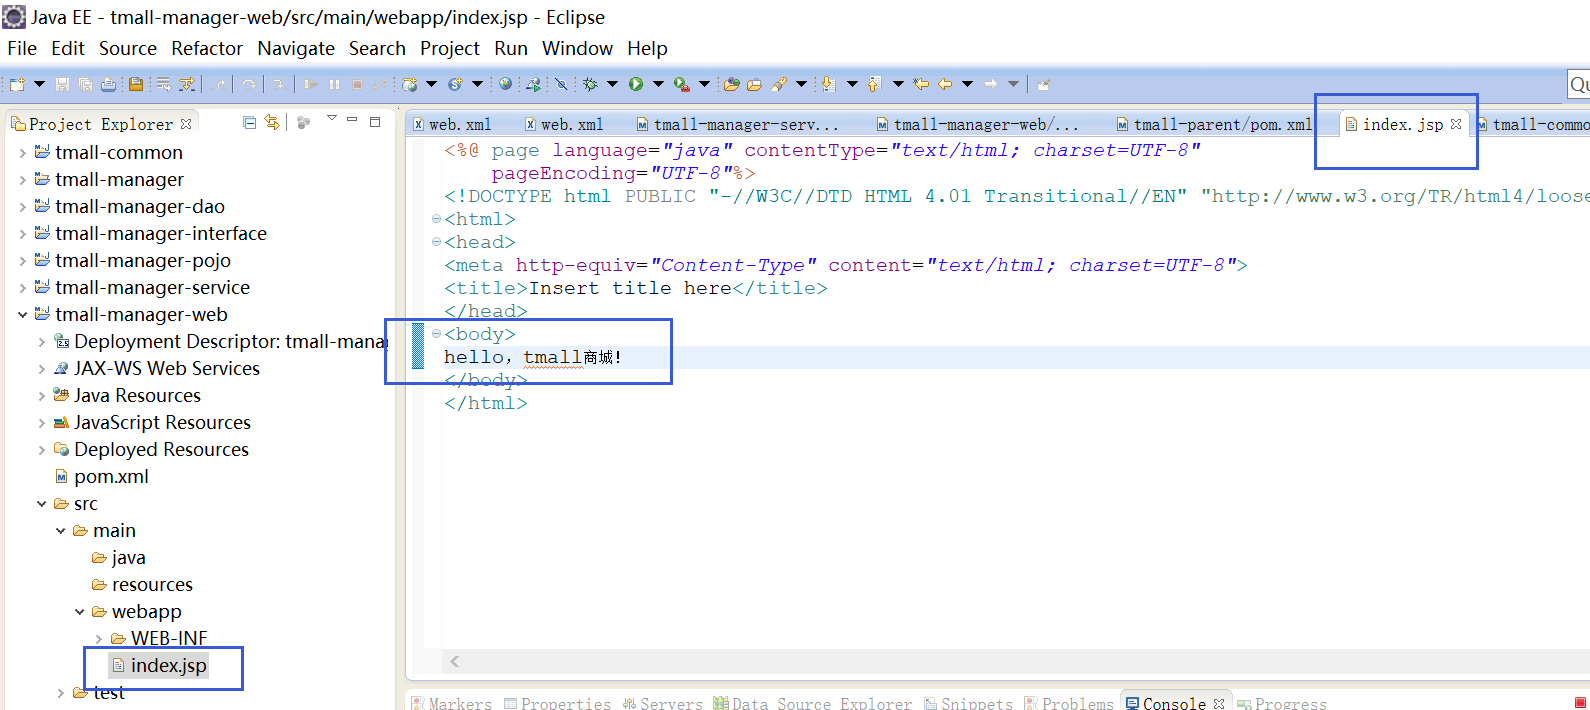
然后在web工程下创建一个空的jsp文件,如下图所示:
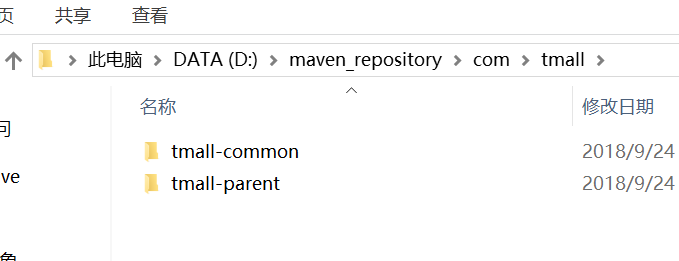
因为web工程依赖tmall-parent和tmall-common工程,所以需要分别安装这两个工程到本地maven仓库,在工程上右键-->run as-->maven install,最终安装后的本地仓库对应工程如下图所示:
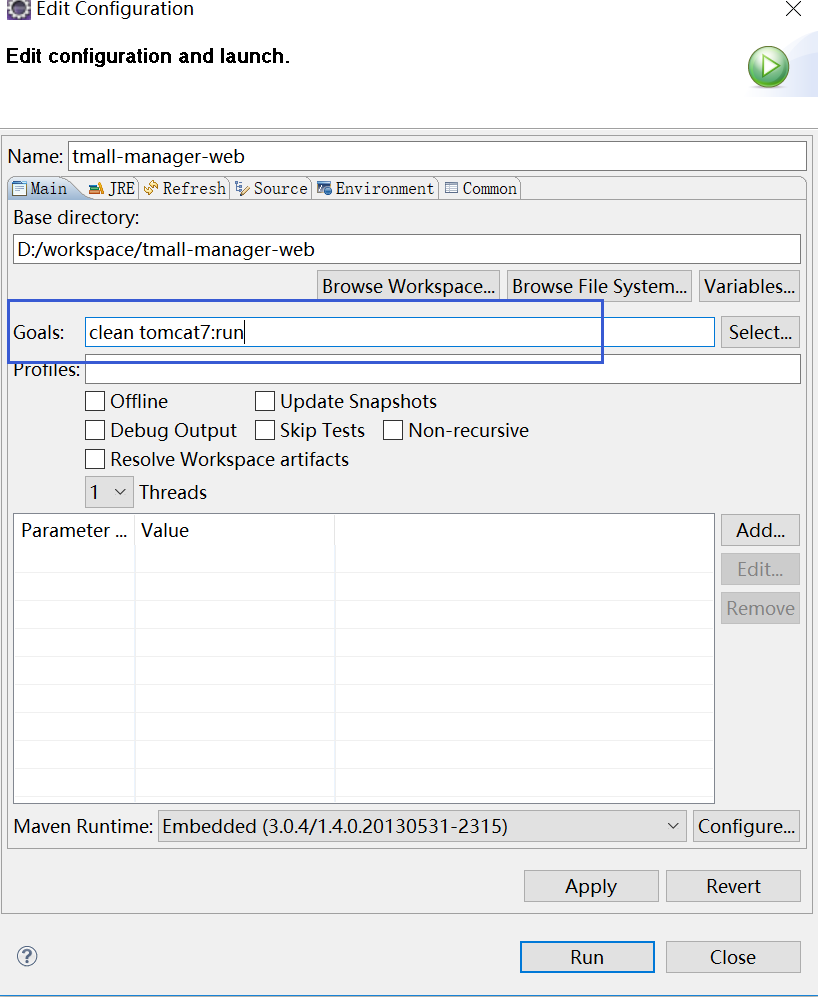
然后启动web工程,在工程上右键-->run as-->maven build,在弹出的Goals配置框中输入:clean tomcat7:run,点击运行即可启动web工程。
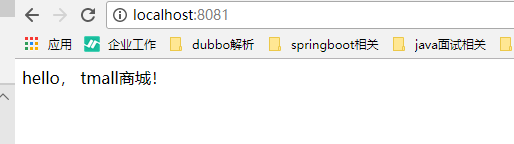
在浏览器中输入url路径:http://localhost:8081/,最终显示如下图所示:
以上介绍了单独的tmall-web工程通过maven的tomcat插件方式启动的流程,我们工程还有tmall-manager-service作为后台服务,也需要部署到web服务器上。因为tmall-manager-service工程依赖于tmall-manager工程,直接打包当前父工程即可。操作步骤如下所示:
首先在tmall-manager工程中指定需要运行的tomcat插件url和端口号,pom文件做如下修改:
<project xmlns="http://maven.apache.org/POM/4.0.0" xmlns:xsi="http://www.w3.org/2001/XMLSchema-instance" xsi:schemaLocation="http://maven.apache.org/POM/4.0.0 http://maven.apache.org/xsd/maven-4.0.0.xsd">
  <modelVersion>4.0.0</modelVersion>
  <parent>
    <groupId>com.tmall</groupId>
    <artifactId>tmall-parent</artifactId>
    <version>0.0.1-SNAPSHOT</version>
  </parent>
  <artifactId>tmall-manager</artifactId>
  <packaging>pom</packaging>
  <dependencies>
      <dependency>
          <groupId>com.tmall</groupId>
          <artifactId>tmall-common</artifactId>
          <version>0.0.1-SNAPSHOT</version>
      </dependency>
  </dependencies>
  <modules>
      <module>tmall-manager-dao</module>
      <module>tmall-manager-pojo</module>
      <module>tmall-manager-interface</module>
      <module>tmall-manager-service</module>
  </modules>

  <build>
      <plugins>
          <plugin>
              <groupId>org.apache.tomcat.maven</groupId>
              <artifactId>tomcat7-maven-plugin</artifactId>
              <configuration>
                  <path>/</path>
                  <port>8080</port>
              </configuration>
          </plugin>
      </plugins>
  </build>

</project>
接下来运行tmall-manager工程,运行方式与web工程一致,clean tomcat7:run即可。
如果想验证tmall-manager-service工程是否运行成功,可在对应工程下面创建一个jsp页面,看是否能正常访问即可验证tmall-manager-service的运行状态。