给你的网站加上安全
本博客是根据spring.io的官网教程总结而来,希望能帮助到小白!我也是小白…原文地址:Security-Web
这篇入门篇博客将展示如何创建一个网站应用,使用Spring Security来保护你的网站资源文件。你构建的网站将是一个Spring MVC项目,通过一个login页面来保护你的资源文件。
- 准备工作
15分钟 && Intell IDEA && JDK8 &&(Gradle2.3+||Maven3.0) - 使用IDEA创建一个Gradle项目或者Maven项目
替换build.gradle文件成如下:
buildscript {
    repositories {
        mavenCentral()
    }
    dependencies {
        classpath("org.springframework.boot:spring-boot-gradle-plugin:1.5.9.RELEASE")
    }
}

apply plugin: 'java'
apply plugin: 'eclipse'
apply plugin: 'idea'
apply plugin: 'org.springframework.boot'

jar {
    baseName = 'gs-securing-web'
    version =  '0.1.0'
}

repositories {
    mavenCentral()
}

sourceCompatibility = 1.8
targetCompatibility = 1.8

dependencies {
    compile("org.springframework.boot:spring-boot-starter-thymeleaf")
    testCompile("junit:junit")
    testCompile("org.springframework.boot:spring-boot-starter-test")
    testCompile("org.springframework.security:spring-security-test")

}
如果是使用Maven来构建项目,就替换pom.xml
<?xml version="1.0" encoding="UTF-8"?>
<project xmlns="http://maven.apache.org/POM/4.0.0" xmlns:xsi="http://www.w3.org/2001/XMLSchema-instance"
    xsi:schemaLocation="http://maven.apache.org/POM/4.0.0 http://maven.apache.org/xsd/maven-4.0.0.xsd">
    <modelVersion>4.0.0</modelVersion>

    <groupId>org.springframework</groupId>
    <artifactId>gs-securing-web</artifactId>
    <version>0.1.0</version>

    <parent>
        <groupId>org.springframework.boot</groupId>
        <artifactId>spring-boot-starter-parent</artifactId>
        <version>1.5.9.RELEASE</version>
    </parent>

    <dependencies>
        <dependency>
            <groupId>org.springframework.boot</groupId>
            <artifactId>spring-boot-starter-thymeleaf</artifactId>
        </dependency>
        <dependency>
            <groupId>org.springframework.boot</groupId>
            <artifactId>spring-boot-starter-test</artifactId>
            <scope>test</scope>
        </dependency>
        <dependency>
            <groupId>org.springframework.security</groupId>
            <artifactId>spring-security-test</artifactId>
            <scope>test</scope>
        </dependency>
    </dependencies>

    <properties>
        <java.version>1.8</java.version>
    </properties>


    <build>
        <plugins>
            <plugin>
                <groupId>org.springframework.boot</groupId>
                <artifactId>spring-boot-maven-plugin</artifactId>
            </plugin>
        </plugins>
    </build>

    <repositories>
        <repository>
            <id>spring-releases</id>
            <name>Spring Releases</name>
            <url>https://repo.spring.io/libs-release</url>
        </repository>
    </repositories>
    <pluginRepositories>
        <pluginRepository>
            <id>spring-releases</id>
            <name>Spring Releases</name>
            <url>https://repo.spring.io/libs-release</url>
        </pluginRepository>
    </pluginRepositories>

</project>- 创建一个不安全的网站
首先,我们先创建一个不受安全保护的网站,然后再逐渐的加入安全保护。
首先,你需要创建两个html文件,一个是hello.html,一个是home.html
src/main/resources/templates/home.html
<!DOCTYPE html>
<html xmlns="http://www.w3.org/1999/xhtml" xmlns:th="http://www.thymeleaf.org" xmlns:sec="http://www.thymeleaf.org/thymeleaf-extras-springsecurity3">
<head>
<title>Spring Security Example</title>
</head>
<body>
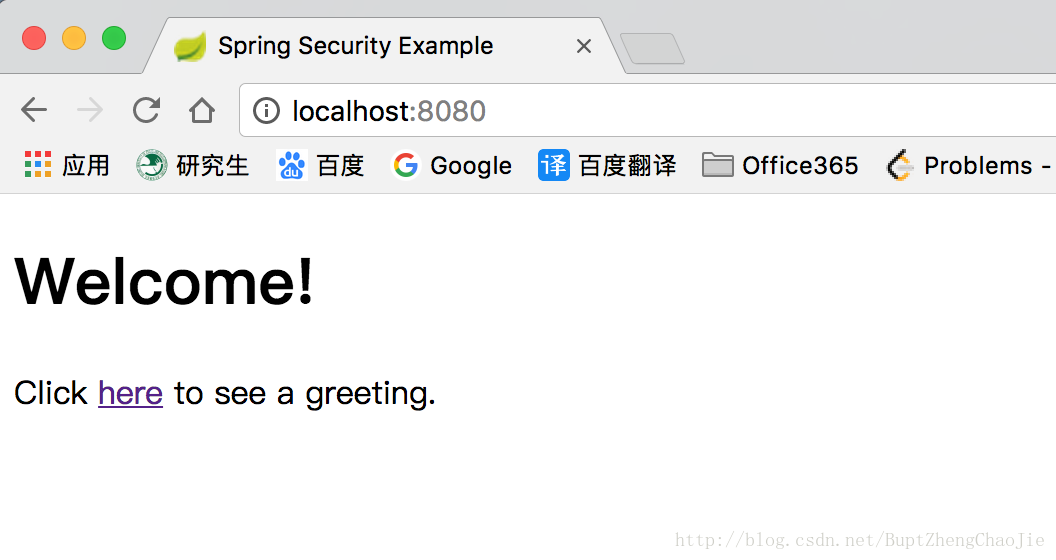
<h1>Welcome!</h1>
<p>Click <a th:href="@{/hello}">here</a> to see a greeting.</p>
</body>
</html>在上面的页面里可以看到了有个/hello路径,所以我们的另一个html呼之欲出
src/main/resources/templates/hello.html
<!DOCTYPE html>
<html xmlns="http://www.w3.org/1999/xhtml" xmlns:th="http://www.thymeleaf.org"
      xmlns:sec="http://www.thymeleaf.org/thymeleaf-extras-springsecurity3">
    <head>
        <title>Hello World!</title>
    </head>
    <body>
        <h1>Hello world!</h1>
    </body>
</html>
后面我们可能还需要调整hello页面,暂时先放着。由于项目是基于Spring MVC的,所以我们需要配置Spring MVC并且建立视图控制器来暴露这些页面。
src/main/java/com/cjzheng/config/MvcConfig.java
package com.cjzheng.config;

import org.springframework.context.annotation.Configuration;
import org.springframework.web.servlet.config.annotation.ViewControllerRegistry;
import org.springframework.web.servlet.config.annotation.WebMvcConfigurerAdapter;

/**
 * Created by CJ Zheng on 2018/1/11.
 * Project: spring-security
 */
@Configuration
public class MvcConfig extends WebMvcConfigurerAdapter {

    @Override
    public void addViewControllers(ViewControllerRegistry registry) {
        registry.addViewController("/home").setViewName("home");
        registry.addViewController("/").setViewName("home");
        registry.addViewController("/hello").setViewName("hello");
        registry.addViewController("/login").setViewName("login");
    }

}这里,我们覆写了addViewControllers()方法,加入了4个视图控制器。两个是指定到home页的,一个是指向hello页面,还有一个是指定到login 的。你应该也注意到了,我们少了一个login页面。不着急,后面加上,现在还不需要。
其实到此为止,我们就可以运行项目了,到这里,我们还没有加入任何Spring Security的配置,这就是个普通的Spring MVC项目。那就先使用Spring boot来跑起来吧!
src/main/java/com/cjzheng/Application.java
package com.cjzheng;

import org.springframework.boot.SpringApplication;
import org.springframework.boot.autoconfigure.SpringBootApplication;

/**
 * Created by CJ Zheng on 2018/1/11.
 * Project: spring-security
 */

@SpringBootApplication
public class Application {

    public static void main(String[] args) throws Throwable {
        SpringApplication.run(Application.class, args);
    }

}
配置一些你的IDEA就可以run起来了。

- 加入Spring Security
上面的home页面里,当用户点击here的时候,我们没有做任何的拦截。假设我们想要未授权的用户看不到hello.html,他必须先登录。那么现在我们需要做的是,在项目里加入Spring Security,在build.gradle里加入Spring Security的依赖
dependencies {
    ...
    compile("org.springframework.boot:spring-boot-starter-security")
    ...
}
对应的Maven的依赖
<dependencies>
    ...
        <dependency>
            <groupId>org.springframework.boot</groupId>
            <artifactId>spring-boot-starter-security</artifactId>
        </dependency>
    ...
</dependencies>
然后是加入安全配置
src/main/java/com/cjzheng/config/WebSecurityConfig.java
package com.cjzheng.config;

import org.springframework.beans.factory.annotation.Autowired;
import org.springframework.context.annotation.Configuration;
import org.springframework.security.config.annotation.authentication.builders.AuthenticationManagerBuilder;
import org.springframework.security.config.annotation.web.builders.HttpSecurity;
import org.springframework.security.config.annotation.web.configuration.EnableWebSecurity;
import org.springframework.security.config.annotation.web.configuration.WebSecurityConfigurerAdapter;

/**
 * Created by CJ Zheng on 2018/1/11.
 * Project: spring-security
 */
@Configuration
@EnableWebSecurity
public class WebSecurityConfig extends WebSecurityConfigurerAdapter {
    @Override
    protected void configure(HttpSecurity http) throws Exception {
        http
                .authorizeRequests()
                .antMatchers("/", "/home").permitAll()
                .anyRequest().authenticated()
                .and()
                .formLogin()
                .loginPage("/login")
                .permitAll()
                .and()
                .logout()
                .permitAll();
    }

    @Autowired
    public void configureGlobal(AuthenticationManagerBuilder auth) throws Exception {
        auth.inMemoryAuthentication().withUser("user").password("password").roles("USER");
    }
}
这里WebSecurityConfig类加入了@EnableWebSecurity注解来使得Spring Security web的支持得以生效。另外,它继承了WebSecurityConfigurerAdapter并且覆写了两个config方法。
第一个方法configure(HttpSecurity http)定义了那些URL需要被授权,那些不需要。在这个例子里,’/’和’/home/’路径不需要授权,就可以进入。
第二个方法configureGlobal(AuthenticationManagerBuilder)在内存里创建了一个用户,用户名和密码如代码所示。
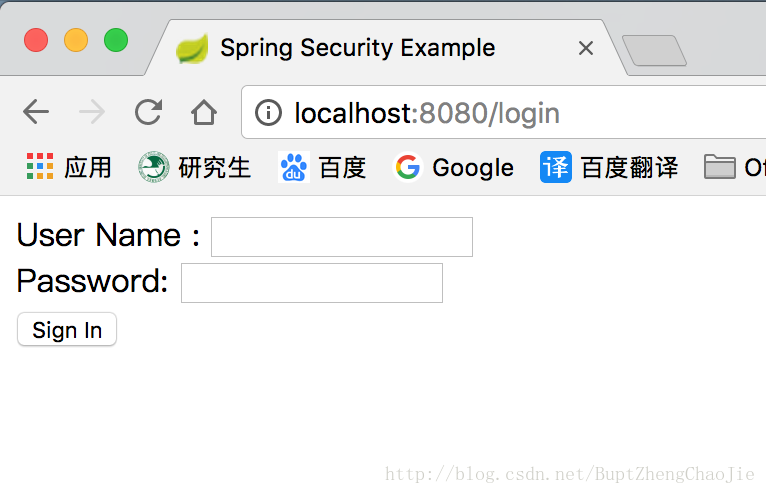
由于,我们需要用户登录,因此我们需要加入login页面
src/main/resources/templates/login.html
<!DOCTYPE html>
<html xmlns="http://www.w3.org/1999/xhtml" xmlns:th="http://www.thymeleaf.org"
xmlns:sec="http://www.thymeleaf.org/thymeleaf-extras-springsecurity3">
<head>
<title>Spring Security Example </title>
</head>
<body>
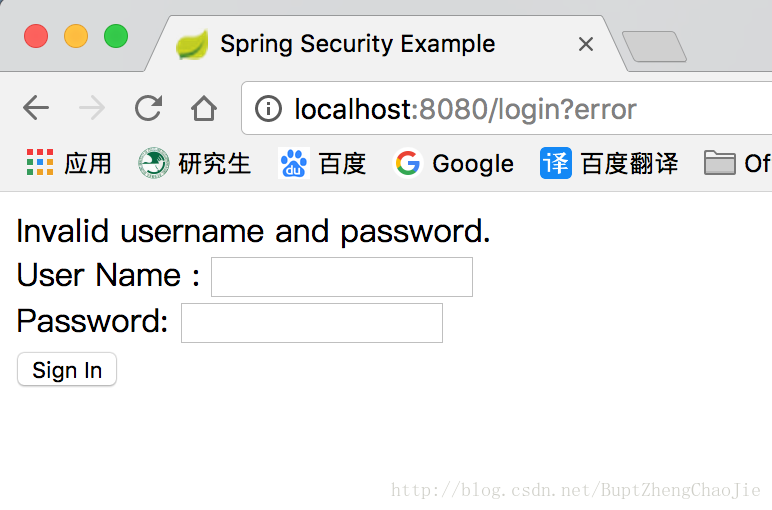
<div th:if="${param.error}">
Invalid username and password.
</div>
<div th:if="${param.logout}">
You have been logged out.
</div>
<form th:action="@{/login}" method="post">
<div><label> User Name : <input type="text" name="username"/> </label></div>
<div><label> Password: <input type="password" name="password"/> </label></div>
<div><input type="submit" value="Sign In"/></div>
</form>
</body>
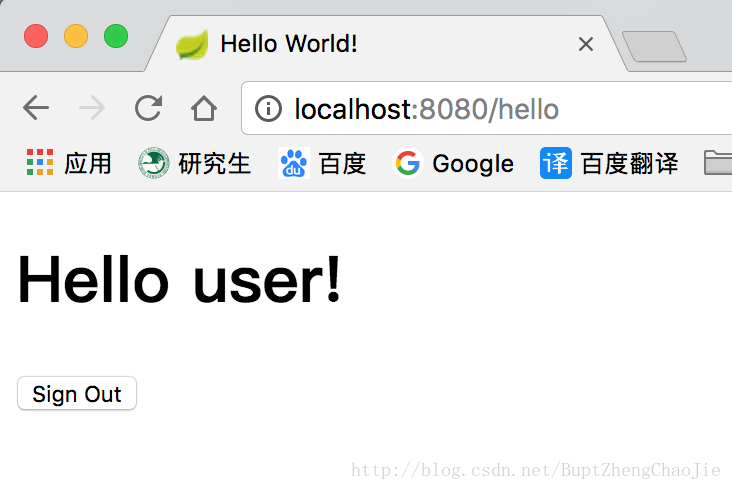
</html>然后,我们还需要改动hello页面,让成功登录的用户,可以看到自己的用户名
src/main/resources/templates/hello.html
<!DOCTYPE html>
<html xmlns="http://www.w3.org/1999/xhtml" xmlns:th="http://www.thymeleaf.org"
      xmlns:sec="http://www.thymeleaf.org/thymeleaf-extras-springsecurity3">
    <head>
        <title>Hello World!</title>
    </head>
    <body>
        <h1 th:inline="text">Hello [[${#httpServletRequest.remoteUser}]]!</h1>
        <form th:action="@{/logout}" method="post">
            <input type="submit" value="Sign Out"/>
        </form>
    </body>
</html>
好了,至此我们可以demo一下了。