Spring Boot是由Pivotal团队提供的全新框架,其设计目的是用来简化新Spring应用的初始搭建以及开发过程。该框架使用了特定的方式来进行配置,从而使开发人员不再需要定义样板化的配置。通过这种方式,Spring Boot致力于在蓬勃发展的快速应用开发领域(rapid application development)成为领导者的。
使用Spring Boot ,可以轻松的创建独立运行的程序,非常容易构建独立的服务组件,是实现分布式架构、微服务架构利器。Spring Boot简化了第三方包的引用,通过提供的starter,简化了依赖包的配置。
在以前的spring项目中,都会面对大量繁琐的配置,使用的时候基本上都是大量的复制黏贴。而Spring Boot 则能让我们在不需要过多的配置下,轻松快速地搭建Spring Web应用,开箱即用,没有代码生成,也无需XML配置,从而快速使用spring框架。
使用版本:
JDK1.7
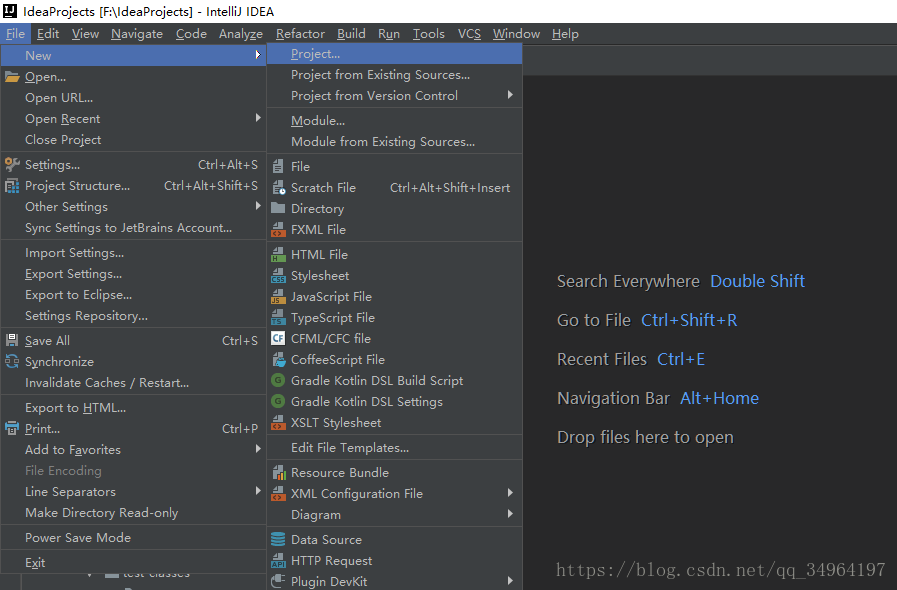
1)File->New->Project
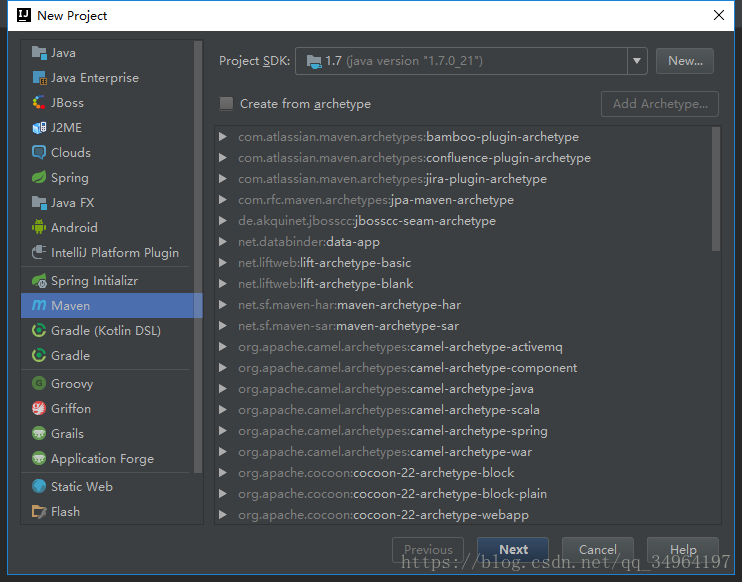
选择Maven以及SDK版本->Next
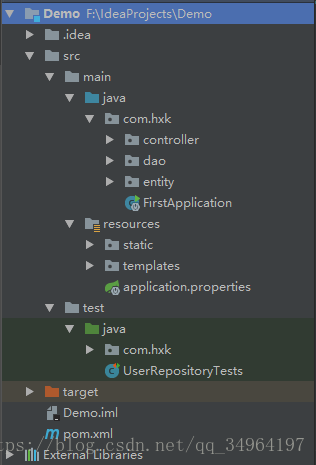
next到底,生成的项目结构如下:(有的包是我后加的)
pom.xml文件内容如下:
<?xml version="1.0" encoding="UTF-8"?>
<project xmlns="http://maven.apache.org/POM/4.0.0"
         xmlns:xsi="http://www.w3.org/2001/XMLSchema-instance"
         xsi:schemaLocation="http://maven.apache.org/POM/4.0.0 http://maven.apache.org/xsd/maven-4.0.0.xsd">
    <modelVersion>4.0.0</modelVersion>

    <groupId>com.hxk.test</groupId>
    <artifactId>Demo</artifactId>
    <version>1.0-SNAPSHOT</version>

    <description>Demo project for Spring Boot</description>

    <parent>
        <groupId>org.springframework.boot</groupId>
        <artifactId>spring-boot-starter-parent</artifactId>
        <version>1.4.0.RELEASE</version>
        <relativePath/> <!-- lookup parent from repository -->
    </parent>
    <properties>
        <project.build.sourceEncoding>UTF-8</project.build.sourceEncoding>
        <project.reporting.outputEncoding>UTF-8</project.reporting.outputEncoding>
        <java.version>1.7</java.version>
    </properties>
    <dependencies>
        <dependency>
            <groupId>org.springframework.boot</groupId>
            <artifactId>spring-boot-starter-web</artifactId>
        </dependency>
        <dependency>
            <groupId>org.springframework.boot</groupId>
            <artifactId>spring-boot-starter-test</artifactId>
            <scope>test</scope>
        </dependency>
        <dependency>
            <groupId>org.springframework.boot</groupId>
            <artifactId>spring-boot-starter-thymeleaf</artifactId>
        </dependency>
        <dependency>
            <groupId>mysql</groupId>
            <artifactId>mysql-connector-java</artifactId>
        </dependency>
        <dependency>
            <groupId>org.springframework.boot</groupId>
            <artifactId>spring-boot-starter-data-jpa</artifactId>
        </dependency>
        <dependency>
            <groupId>org.mybatis.spring.boot</groupId>
            <artifactId>mybatis-spring-boot-starter</artifactId>
            <version>1.1.1</version>
        </dependency>
        <dependency>
            <groupId>org.springframework.boot</groupId>
            <artifactId>spring-boot-devtools</artifactId>
            <optional>true</optional>
        </dependency>
    </dependencies>
    <build>
        <plugins>
            <plugin>
                <groupId>org.springframework.boot</groupId>
                <artifactId>spring-boot-maven-plugin</artifactId>
            </plugin>
        </plugins>
    </build>

</project>
application.properties文件内容如下:
server.port=8080
server.tomcat.uri-encoding=utf-8
mybatis.type-aliases-package=com.hxk.entity

spring.datasource.url=jdbc:mysql://localhost:3306/test
spring.datasource.username=root
spring.datasource.password=admin
spring.datasource.driver-class-name=com.mysql.jdbc.Driver

spring.jpa.properties.hibernate.hbm2ddl.auto=update
spring.jpa.properties.hibernate.dialect=org.hibernate.dialect.MySQL5InnoDBDialect
spring.jpa.show-sql= true
写个简单的index界面,简单测试下,运行FirstApplication.java
@RestController
@SpringBootApplication
public class FirstApplication {

    @RequestMapping("/index")
    public String index(){
        return "Hello Spring Boot";
    }

    public static void main(String[] args){
        SpringApplication.run(FirstApplication.class, args);
    }
}
结果如下:
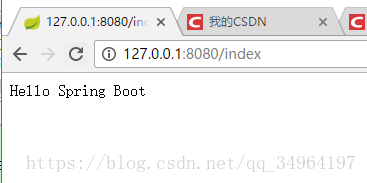
说明项目搭建成功,接下来用JPA实现对数据库的基本操作
首先建个实体类User
@Entity
public class User implements Serializable{
    private static final long serialVersionUID = 1L;
    @Id
    @GeneratedValue(strategy = GenerationType.IDENTITY)
    private int id;
    @Column(nullable = false, unique = true)
    private String userName;
    @Column(nullable = false)
    private String password;
    @Column(nullable = false, unique = true)
    private String email;
    @Column(nullable = false)
    private String regTime;

    public User(String userName, String password, String email, String regTime){
        this.userName = userName;
        this.password = password;
        this.email = email;
        this.regTime = regTime;
    }
此处省略getset方法
下面使用JpaRepository简化开发流程,定义个接口即可,会自动实现。
public interface UserRepository extends JpaRepository<User, Long>{
    User findByUserName(String userName);
    User findByUserNameOrEmail(String userName, String email);
}
创建个UserRepositoryTests类,测试运行
@RunWith(SpringRunner.class)
@SpringApplicationConfiguration(FirstApplication.class)
public class UserRepositoryTests {
    @Autowired
    private UserRepository userRepository;
    @Test
    public void test(){
        Date date = new Date();
        DateFormat dateFormat = DateFormat.getDateTimeInstance(DateFormat.LONG, DateFormat.LONG);
        String formattedDate = dateFormat.format(date);
        userRepository.save(new User("a","p1","[email protected]",formattedDate));
        userRepository.save(new User("b","p2","[email protected]",formattedDate));
        userRepository.save(new User("c","p3","[email protected]",formattedDate));
        //userRepository.delete(userRepository.findByUserName("a"));
    }
}
往数据库插入三条记录,数据库中的记录如下:

成功实现与数据库交互。
以上。
To be continued...