一:在使用PullToRefreshListView时,一定要先导包
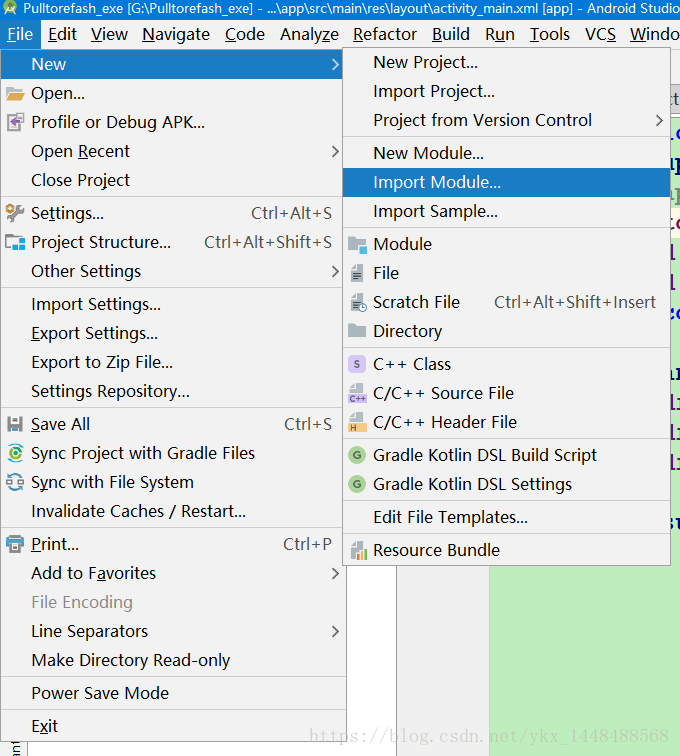
然后点击Import Module
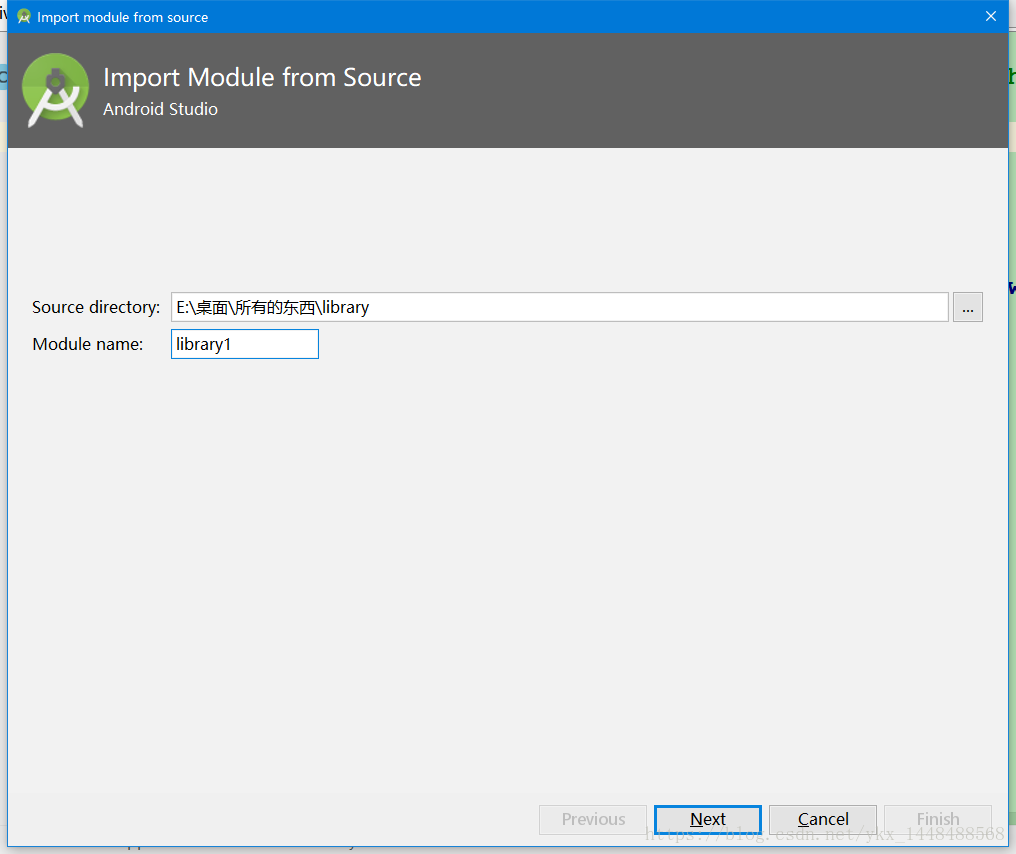
将library包导入进去(这里因为我已经导过了,所以使用library1)
现在将已经导完的包添加到wome我们的Module里面
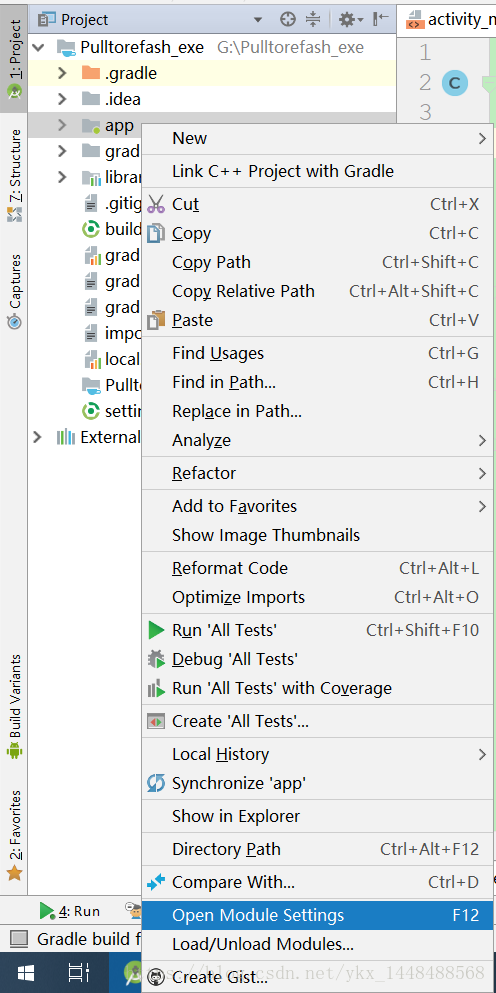
点击倒数第三个,
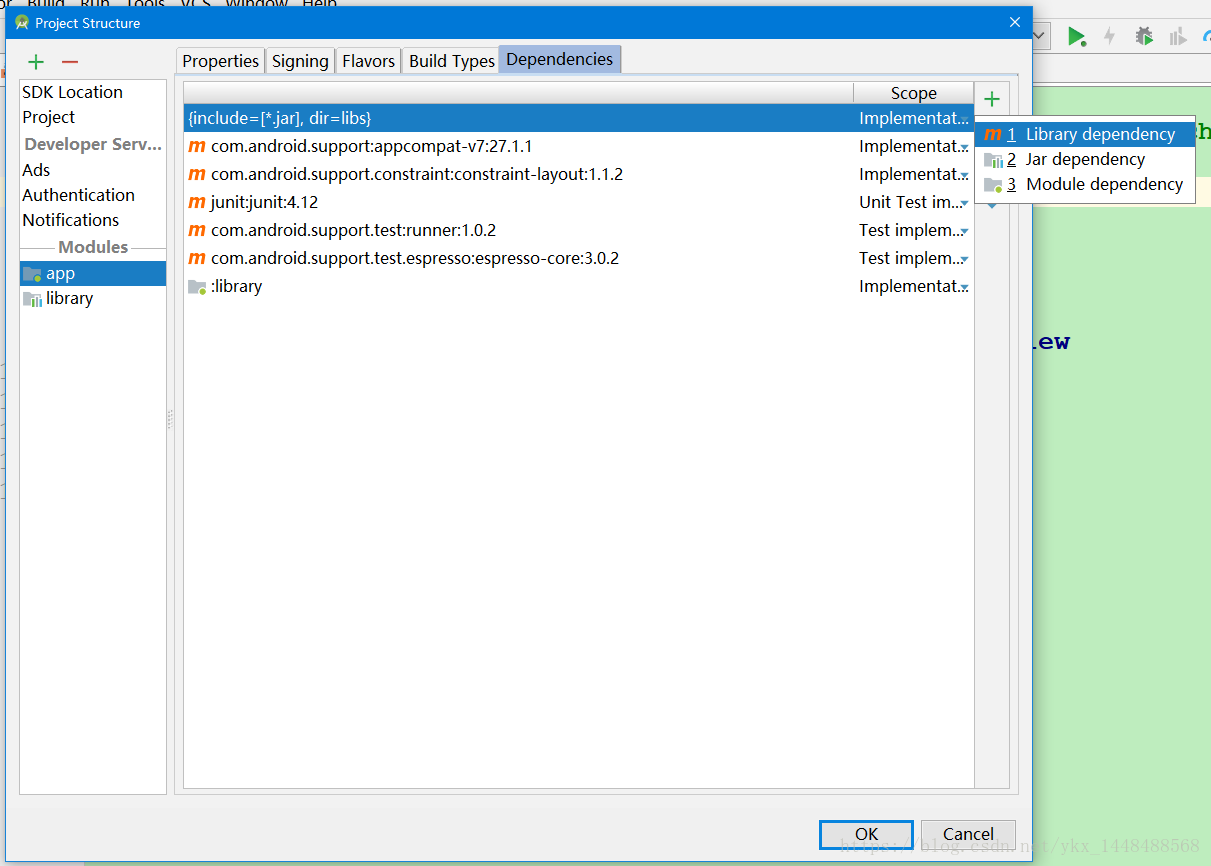
点击第三个,把library导入进去,这样我们的library包就已经导好了!
二:构造布局
我们在布局时可以发现,我们在布局文件里面,PullToRefreshListView是不提示的,所以我们可以在Activity里面先打一个PullToRefreshListView,然后复制它的包名放到xml文件中。
activity.xml文件:
<android.support.constraint.ConstraintLayout xmlns:android="http://schemas.android.com/apk/res/android"
    xmlns:app="http://schemas.android.com/apk/res-auto"
    xmlns:tools="http://schemas.android.com/tools"
    android:layout_width="match_parent"
    android:layout_height="match_parent"
    tools:context=".MainActivity">

    <com.handmark.pulltorefresh.library.PullToRefreshListView
        android:id="@+id/listView"
        android:layout_width="wrap_content"
        android:layout_height="wrap_content" />

</android.support.constraint.ConstraintLayout>
三:使用PullToRefreshListView
注意:PullToRefreshListView和ListView使用方法非常相似,都需要数据源。
下面我们就来模拟一下数据源:
代码:
public class MainActivity extends AppCompatActivity {
private PullToRefreshListView listView;
private List<String> list = new ArrayList<>();
private Handler handler = new Handler();
private LoadingLayoutProxy layoutProxy;

    @Override
    protected void onCreate(Bundle savedInstanceState) {
        super.onCreate(savedInstanceState);
        setContentView(R.layout.activity_main);
        listView = findViewById(R.id.listView);
        listView.setMode(PullToRefreshBase.Mode.BOTH);
        for (int i = 0;i<50;i++){
            list.add("item"+i);//数据源
        }
        listView.setAdapter(new MyAdapter());//设置适配器将数据添加到PullToRefreshListView里面
        listView.setOnRefreshListener(new PullToRefreshBase.OnRefreshListener2<ListView>() {
//设置PullToRefreshListView的上拉下拉监听事件
            @Override
            public void onPullDownToRefresh(PullToRefreshBase<ListView> refreshView) {
                Log.i("下拉刷新","刷新");
                new Thread(new Runnable() {
                    @Override
                    public void run() {
                        try {
//睡眠1s
                            Thread.sleep(1000);
                        } catch (InterruptedException e) {
                            e.printStackTrace();
                        }
                        handler.post(new Runnable() {
                            @Override
                            public void run() {
//停止刷新
                                listView.onRefreshComplete();
                            }
                        });
                    }
                }).start();
            }

            @Override
            public void onPullUpToRefresh(PullToRefreshBase<ListView> refreshView) {
                Log.i("上拉加载更多","加载更多");
                new Thread(new Runnable() {
                    @Override
                    public void run() {
                        try {
                            Thread.sleep(1000);
                        } catch (InterruptedException e) {
                            e.printStackTrace();
                        }
                        handler.post(new Runnable() {
                            @Override
                            public void run() {
                                listView.onRefreshComplete();
                            }
                        });
                    }
                }).start();
            }
        });
        listView.setPullToRefreshOverScrollEnabled(true);
        layoutProxy = (LoadingLayoutProxy) listView.getLoadingLayoutProxy();
        layoutProxy.setLastUpdatedLabel("刷新时的文字");
        layoutProxy.setPullLabel("加载完毕");
        layoutProxy.setLoadingDrawable(getResources().getDrawable(R.mipmap.ic_launcher));


    }
    private class MyAdapter extends BaseAdapter{

        @Override
        public int getCount() {
            return list.size();
        }

        @Override
        public Object getItem(int position) {
            return list.get(position);
        }

        @Override
        public long getItemId(int position) {
            return position;
        }

        @Override
        public View getView(int position, View convertView, ViewGroup parent) {
            View view = View.inflate(MainActivity.this,R.layout.item,null);
            TextView tv = view.findViewById(R.id.tv);
            tv.setText(list.get(position));
            return view;
        }
    }
}
因为我们是模拟的数据源,所以上拉下拉时候获取不到数据,刷新不出来,就会一直刷新,所以我们就需要模拟一下刷新完成的方法:
new Thread(new Runnable() {
    @Override
    public void run() {
        try {
            Thread.sleep(1000);
        } catch (InterruptedException e) {
            e.printStackTrace();
        }
        handler.post(new Runnable() {
            @Override
            public void run() {
                listView.onRefreshComplete();
            }
        });
    }
}).start();
效果图:
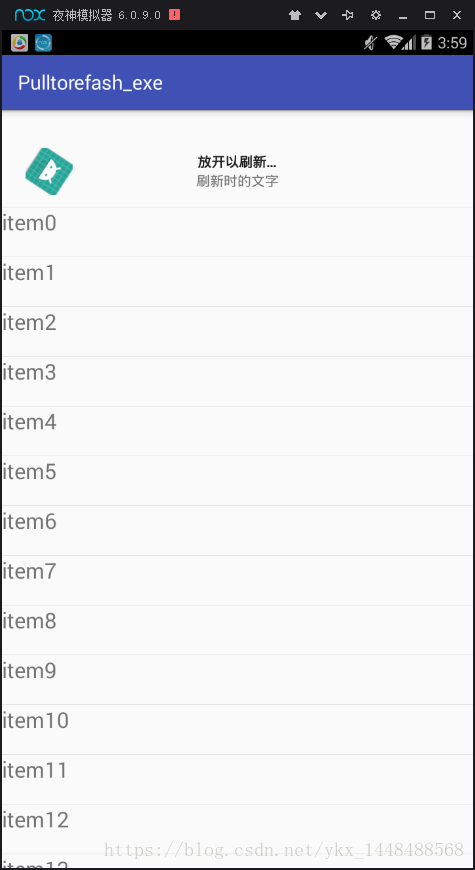
这样,我们就做完了!