搭建环境
Ubuntu16.04+CUDA9+cudnn7+python3.5+源码编译Tensorflow1.4+opencv3.3
基于 darkflow (yolo-v2)和 sort/deep_sort 实现目标检测与追踪
Real-time people Multitracker using YOLO v2 and deep_sort with tensorflow
安装依赖
#sort
$sudo pip install numba
$sudo pip install matplotlib
$sudo apt-get install python-tk
$sudo pip install scikit-image
$sudo pip install filterpy
$sudo pip install sklean

#dark_sort
$sudo pip install Cython
$sudo pip install scipy
$sudo pip install sklean
配置环境
$git clone https://github.com/bendidi/Tracking-with-darkflow.git
$git submodule update --init --recursive
$cd darkflow/
$python setup.py build_ext --inplace
在darkflow下新建bin目录
$mkdir bin
$cd bin
$wget https://pjreddie.com/media/files/yolo.weights #获取yolo-v2训练好的权重用于检测
你可以在 yolo 官网 下载配置文件和训练权重。
$cd ../..
$cd darksort/
下载 resource压缩包并解压至 darksort/
配置参数
from darkflow.darkflow.defaults import argHandler #Import the default arguments
import os
from darkflow.darkflow.net.build import TFNet


FLAGS = argHandler()
FLAGS.setDefaults()

FLAGS.demo = "camera" # 你需要检测的视频文件 默认为你的摄像头 "camera"
FLAGS.model = "darkflow/cfg/yolo.cfg" # tensorflow model
FLAGS.load = "darkflow/bin/yolo.weights" # tensorflow weights
# FLAGS.pbLoad = "tiny-yolo-voc-traffic.pb" # tensorflow model
# FLAGS.metaLoad = "tiny-yolo-voc-traffic.meta" # tensorflow weights
FLAGS.threshold = 0.7 # threshold of decetion confidance (detection if confidance > threshold )
FLAGS.gpu = 0.8 #how much of the GPU to use (between 0 and 1) 0 means use cpu
FLAGS.track = True # 置为 True 表示启用目标追踪, False 表示仅启用目标检测
#FLAGS.trackObj = ['Bicyclist','Pedestrian','Skateboarder','Cart','Car','Bus'] # the object to be tracked
FLAGS.trackObj = ["person"]
FLAGS.saveVideo = True  #是否保存检测后的视频文件到当前目录
FLAGS.BK_MOG = True # activate background substraction using cv2 MOG substraction,
                        #to help in worst case scenarion when YOLO cannor predict(able to detect mouvement, it's not ideal but well)
                        # helps only when number of detection < 3, as it is still better than no detection.
FLAGS.tracker = "deep_sort" # wich algorithm to use for tracking deep_sort/sort (NOTE : deep_sort only trained for people detection )
FLAGS.skip = 0 # how many frames to skipp between each detection to speed up the network
FLAGS.csv = False #whether to write csv file or not(only when tracking is set to True)
FLAGS.display = True # display the tracking or not

tfnet = TFNet(FLAGS)

tfnet.camera()
exit('Demo stopped, exit.')
如果你没有用于测试的视频文件,你可以获取 MOT数据集 并下载到本地。
开始
$python run.py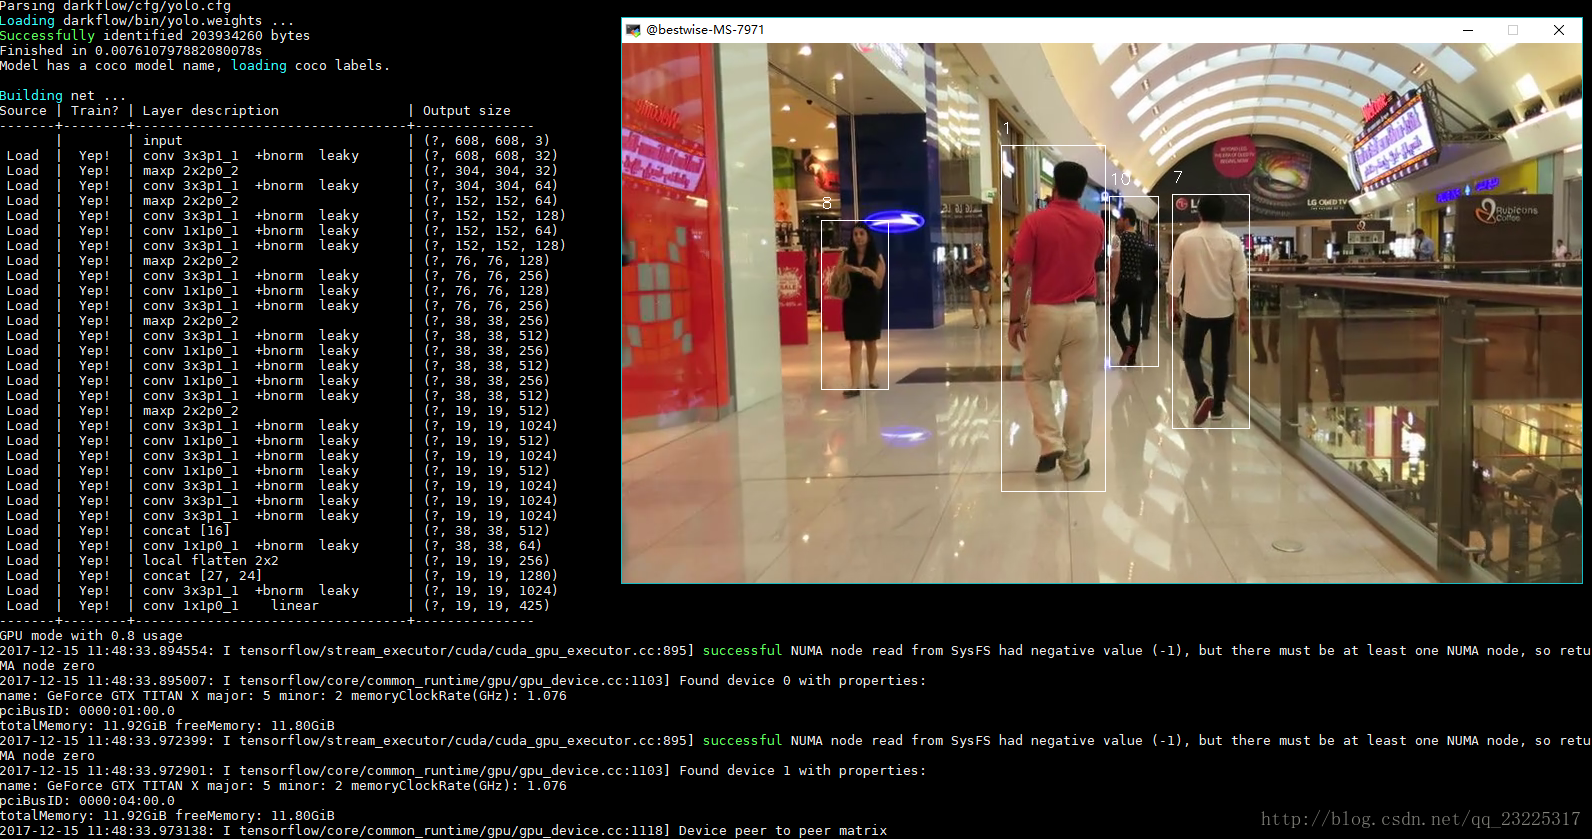
如果没有出现错误,你可以顺利完成对自己视频文件中的行人追踪。
下一节讲解 darkflow 和 sort,deep_sort。
基于深度学习的视频检测(四)