####liunx系统中的设备##
1.本地存储设备的识别
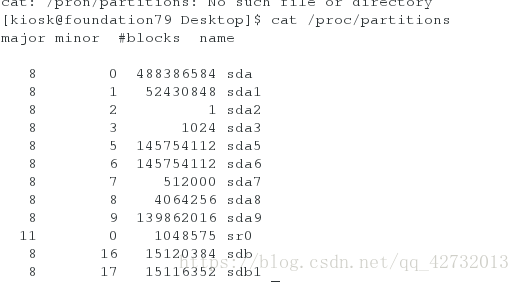
cat /proc/partitions 系统识别的设备
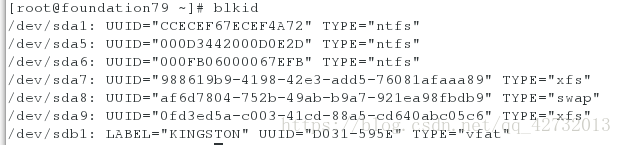
blkid 系统可以使用的设备
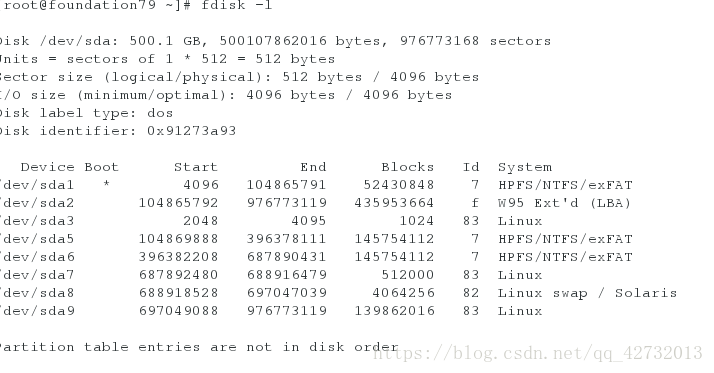
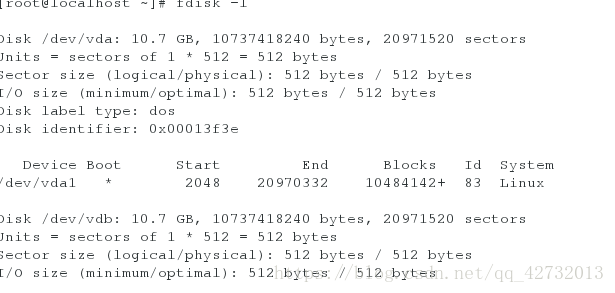
fdisk -l 真实存在的设备
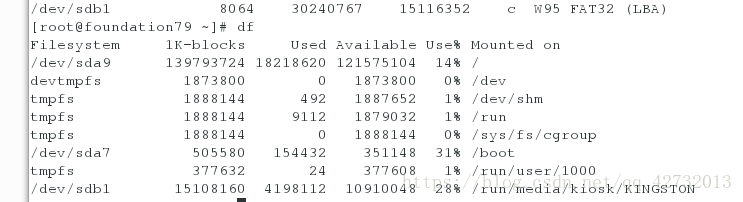
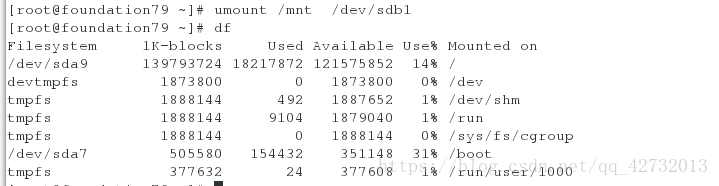
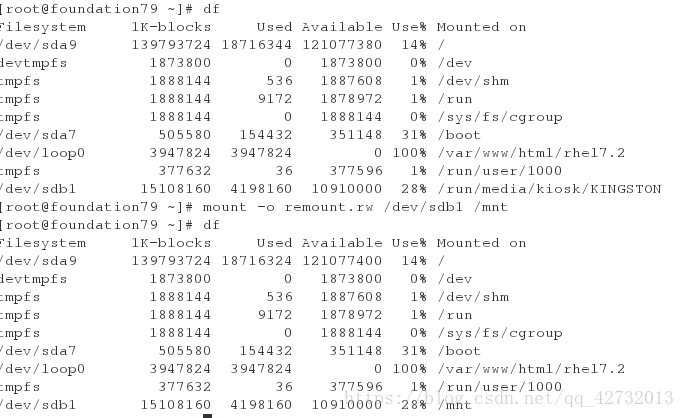
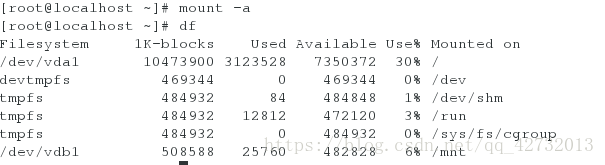
df 系统真在挂载的设备
-H 查看挂载大小
##2.设备的挂载和卸载
1.设备名称
/dev/xdx ##/dev/hd0 /dev/hd1
/dev/sr0 ##光驱
/dev/mapper/* ##虚拟设备
2.设备的挂载
mount 设备 挂载点
mount /dev/sdb1 /mnt 挂在sdb1到/mnt
umount /mnt| /dev/sdb1 卸载/mnt上挂载的sdb1

mount -o ro /dev/sdb1 /mnt 只读挂载
mount 查看挂载信息
mount -o remount .rw /dev/sdb1 重新读写挂载

3.解决设备正忙情况
[root@foundation79 ~]# umount /mnt/
umount: /mnt: target is busy.
(In some cases useful info about processes that use
the device is found by lsof(8) or fuser(1))
第一种解决方法 运用lsof命令
[root@foundation79 ~]# lsof /mnt/
lsof: WARNING: can't stat() fuse.gvfsd-fuse file system /run/user/1000/gvfs
Output information may be incomplete.
COMMAND PID USER FD TYPE DEVICE SIZE/OFF NODE NAME
vim 5218 root 4u REG 8,17 12288 5002 /mnt/.ddd.swp
kill -9 5218

第二种解决方法 运用fuser命令
fuser -kvm /mnt
USER PID ACCESS COMMAND
/mnt: root kernel mount /run/media/kiosk/KINGSTON


使用kill命令结束/mnt正在进行的程序

然后进行卸载

#磁盘分区
1 磁盘0磁道1扇区的512字节中记录的信息如下
512=446 +64 + 2
446:mbr: 扇区大小
64:mpt : 分区表
2 :55aa: 硬盘的有效表示
硬盘分区表:
64
1个分区占用16个字节
1块硬盘上最多有4个主分区
###3.分区步骤##
1.fdisk -l 查看分区信息
2.fdisk /dev/vdb
m 查看帮助
常用的几个做了标注
a toggle a bootable flag
b edit bsd disklabel
c toggle the dos compatibility flag
d delete a partition ##删除
g create a new empty GPT partition table
G create an IRIX (SGI) partition table
l list known partition types
m print this menu
n add a new partition 新建
o create a new empty DOS partition table
p print the partition table 显示分区信息

q quit without saving changes 退出

s create a new empty Sun disklabel
t change a partition's system id 修改分区ID

u change display/entry units
v verify the partition table
w write table to disk and exit
x extra functionality (experts only)
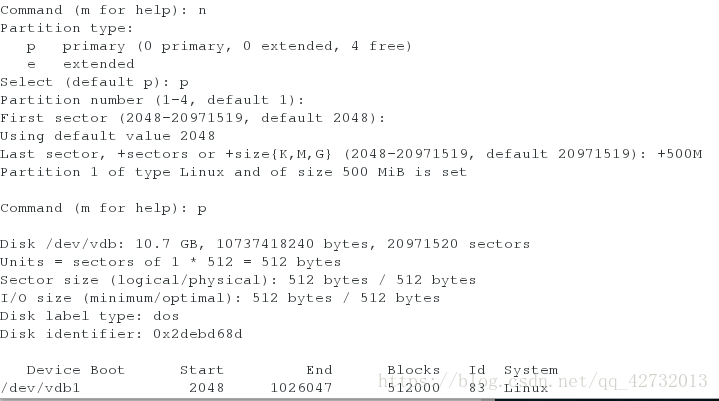
建立主分区
Command (m for help): n
Partition type:
p primary (0 primary, 0 extended, 4 free) p表示建立主分区
e extended e表示建立拓展分区
Select (default p): p
Partition number (1-4, default 1): id用默认
First sector (2048-20971519, default 2048): 分区起始
Using default value 2048
Last sector, +sectors or +size{K,M,G} (2048-20971519, default 20971519): +500M 分区大小
Partition 1 of type Linux and of size 500 MiB is set
Command (m for help): p 显示信息
Disk /dev/vdb: 10.7 GB, 10737418240 bytes, 20971520 sectors
Units = sectors of 1 * 512 = 512 bytes
Sector size (logical/physical): 512 bytes / 512 bytes
I/O size (minimum/optimal): 512 bytes / 512 bytes
Disk label type: dos
Disk identifier: 0x560392e1
Device Boot Start End Blocks Id System
/dev/vdb1 2048 1026047 512000 83 Linux
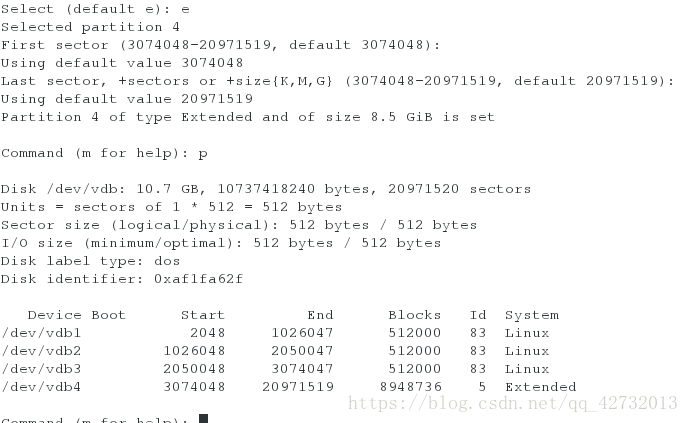
Command (m for help): n
Partition type:
p primary (3 primary, 0 extended, 1 free)
e extended
Select (default e): e
Selected partition 4
First sector (3074048-20971519, default 3074048):
Using default value 3074048
Last sector, +sectors or +size{K,M,G} (3074048-20971519, default 20971519):
Using default value 20971519
Partition 4 of type Extended and of size 8.5 GiB is set
建立一个拓展分区
Command (m for help): p
Disk /dev/vdb: 10.7 GB, 10737418240 bytes, 20971520 sectors
Units = sectors of 1 * 512 = 512 bytes
Sector size (logical/physical): 512 bytes / 512 bytes
I/O size (minimum/optimal): 512 bytes / 512 bytes
Disk label type: dos
Disk identifier: 0x55ff149e
Device Boot Start End Blocks Id System
/dev/vdb1 2048 1026047 512000 83 Linux
/dev/vdb2 1026048 2050047 512000 83 Linux
/dev/vdb3 2050048 3074047 512000 83 Linux
/dev/vdb4 3074048 20971519 8948736 5 Extended
拓展分区不需要输入大小,系统会自动把没有用到的磁盘全部分给拓展分区
注意:分区结束后退出时必须输入:wq 以进行保存
退出后输入 partprobe 使分区更改生效
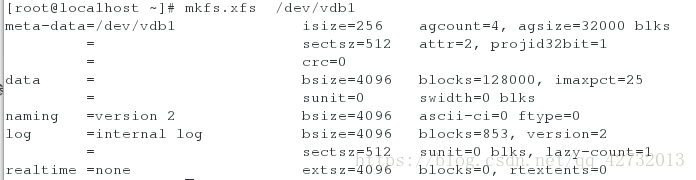
##4.给设备安装文件系统##
ext3 rhel5及之前的版本 最多支持32TB的文件系统和2T文件。实际2TB文件系统。16Tb文件
ext4 rhel6 1EB 16TB
xfs rhel7 18EB 9EB
mkfs.xfs /dev/vdb1 格式化分区以进行挂载
mount /dev/vdb1 /mnt/
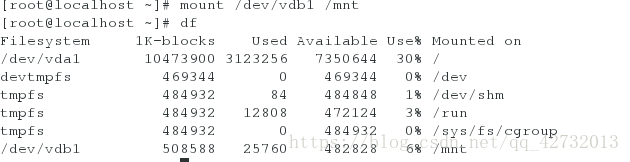
注意:挂载前必须对分区进行格式化,否则无法挂载
出现以下错误
mount /dev/vdb2 /mnt
mount: /dev/vdb2 is write-protected, mounting read-only
mount: unknown filesystem type '(null)'
不能够明白的文件格式

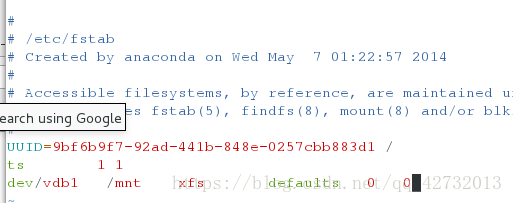
vim /etc/fstab 设置永久挂载
设备 挂载点 文件系统 挂载参数 是否备份 是否检测
/dev/vdb1 /mnt xfs defaults 0 0
mount -a
##5.swap分区管理##
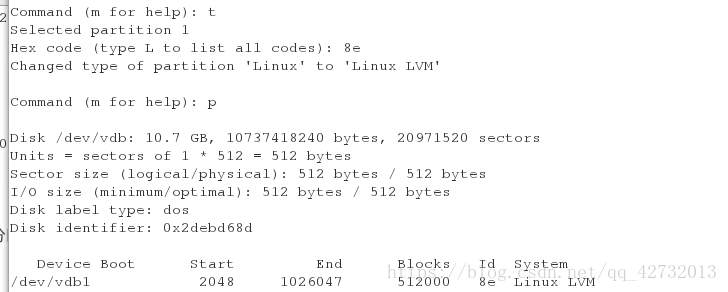
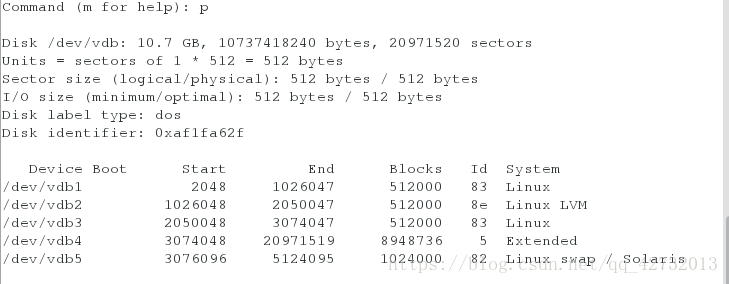
划分分区并设定分区标示
Command (m for help): t
Partition number (1-4, default 4): 1
Hex code (type L to list all codes): 8e
Changed type of partition 'Linux' to 'Linux LVM'
Command (m for help): wq
mkswap /dev/vdb5
swapon -a /dev/vdb5
swapon -s

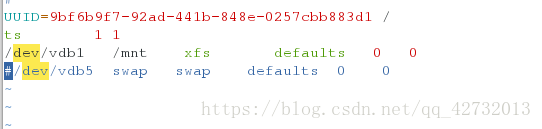
vim /etc/fstab
/dev/vdb5 swap swap defaults 0 0

swap分区删除
vim /etc/fstab

swapoff /dev/vdb5
swapon -s
##6.配额##
配额是针对于分区的
mount-o usrquota /dev/vdb7 /public
chmod 777 /public
edquota -u student
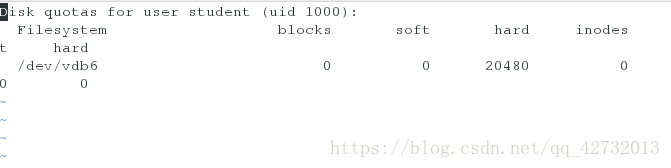
vim /etc/fstab
/dev/vdb7 /public xfs defaults,usrquota 0 0
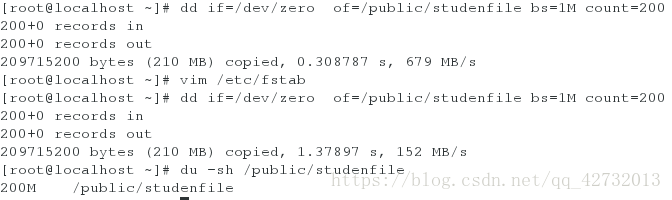
测试
dd if=/dev/zero of=/public/studentfile bs=1M count=200

输入 dd if=/dev/zero of=/public/studenfile bs=10M count=200 来进行对于/public/studenfile文件进行填充
##7.磁盘加密##
cryptsetup luksFormat /dev/vdb8
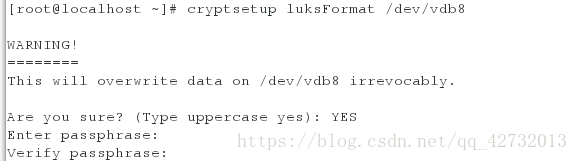
注意:由于这个密码是暗密,看不到,所以注意俩此密码一定要输入一样的密码
可能会遇到的问题
1:The password is shorter than 8 characters 表示密码不能短于8位
2: The password fails the dictionary check - it is too simplistic/systematic
表示密码设置的太过简单或者系统化,应该改为无规律的乱码
cryptsetup open /dev/vdb8 lll
mkfs.xfs /dev/mapper/lll

mount /dev/mapper/lll /mnt

touch /mnt/kk{1..5}
umount /mnt
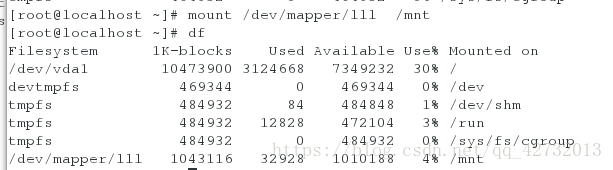
cryptsetup close lll
cryptsetup open /dev/vdb8 lll
mount /dev/mapper/lll /mnt/

加密磁盘开机自动挂载
vim /etc/fstab
