一、在pom.xml引入相关jar
<!-- Swagger2  -->
    <dependency>
        <groupId>io.springfox</groupId>
        <artifactId>springfox-swagger2</artifactId>
        <version>2.4.0</version>
    </dependency>
    <dependency>
        <groupId>io.springfox</groupId>
        <artifactId>springfox-swagger-ui</artifactId>
        <version>2.4.0</version>
    </dependency>
二、配置spring-servlet.xml
<mvc:resources location="/webjars/" mapping="/webjars/**" />
<bean id="swagger2Config"class="springfox.documentation.swagger2.configuration.Swagger2DocumentationConfiguration"/>
三、编写SwaggerConfig
package com.raorao;

import org.springframework.context.annotation.Bean;
import org.springframework.context.annotation.Configuration;

import springfox.documentation.builders.ApiInfoBuilder;
import springfox.documentation.builders.PathSelectors;
import springfox.documentation.builders.RequestHandlerSelectors;
import springfox.documentation.service.ApiInfo;
import springfox.documentation.service.Contact;
import springfox.documentation.spi.DocumentationType;
import springfox.documentation.spring.web.plugins.Docket;
import springfox.documentation.swagger2.annotations.EnableSwagger2;

@Configuration
@EnableSwagger2
public class SwaggerConfig {
    @Bean
    public Docket createRestApi() {

        return new Docket(DocumentationType.SWAGGER_2)
                .apiInfo(apiInfo());
    }

    private ApiInfo apiInfo() {
        return new ApiInfoBuilder().title("SpringMVC中使用Swagger2整合").termsOfServiceUrl("https://git.oschina.net/suntea")
                .contact(new Contact("我的博客", "https://www.cnblogs.com/raorao1994/", "[email protected]")).version("1.0.0").build();
    }
}
四、控制层的配置
package com.raorao;

import java.io.IOException;

import javax.servlet.http.HttpServletRequest;
import javax.servlet.http.HttpServletResponse;

import org.springframework.stereotype.Controller;
import org.springframework.web.bind.annotation.PathVariable;
import org.springframework.web.bind.annotation.RequestMapping;
import org.springframework.web.bind.annotation.RequestParam;
import org.springframework.web.bind.annotation.ResponseBody;
import org.springframework.web.servlet.ModelAndView;

import com.raorao.model.person;

import io.swagger.annotations.Api;
import io.swagger.annotations.ApiOperation;
import io.swagger.annotations.ApiResponse;

//其他通用demo
@Api(value = "Api控制器")
@Controller
@RequestMapping("/index")
public class IndexController {
    String message="欢迎进入springmvc程序";

    @RequestMapping("/showMessage")
    public ModelAndView showMessage(@RequestParam(value="name",required=false,defaultValue="spring") String name)
    {
        ModelAndView mv=new ModelAndView("index");//指定试图
        //向视图中添加所要展示或使用的内容,将在页面中使用
        mv.addObject("message", message);
        mv.addObject("name", name);
        return mv;
    }

    @ResponseBody
    @RequestMapping("/hello")
    public String hello(HttpServletRequest request,HttpServletResponse response)throws IOException{
        //response.setContentType("application/json;charset=UTF-8");
        System.out.println("执行了");
        //response.getWriter().append("这里是hello");
        return "这里是hello";
    }

    //rest服务
    @ResponseBody
    @RequestMapping("/rest/{id}")
    public String rest(@PathVariable("id") Integer id){
        //response.setContentType("application/json;charset=UTF-8");
        System.out.println("执行了");
        //response.getWriter().append("这里是hello");
        return "id="+id.toString();
    }

    //rest服务返回json格式数据
    @ResponseBody
    @RequestMapping("/json")
    @ApiResponse(code = 200, message = "success", response = person.class)
    @ApiOperation(value = "返回json数据", response = String.class, notes = "返回json数据")
    public person json(){
        //response.setContentType("application/json;charset=UTF-8");
        System.out.println("执行了json");
        //response.getWriter().append("这里是hello");
        person p=new person();
        p.setName("王小二");
        p.setAge(123);
        return p;
    }
}
五、下载swaggerUi
swaggerUi将下载后的文件解压,将dist目录下的文件,复制到webapp下的swagger目录中(这个目录的名字自定义,但要和spring-servert.xml中(<mvc:resources mapping="/swagger/**" location="/WEB-INF/swagger/") 的名称要一致,修改index.html中文档加载的地址.
修改index.html文件
window.onload = function() {

  // Build a system
  const ui = SwaggerUIBundle({
    url:"http://localhost:8080/SpringMvc01/v2/api-docs",
    dom_id: '#swagger-ui',
    deepLinking: true,
    presets: [
      SwaggerUIBundle.presets.apis,
      SwaggerUIStandalonePreset
    ],
    plugins: [
      SwaggerUIBundle.plugins.DownloadUrl
    ],
    layout: "StandaloneLayout"
  })
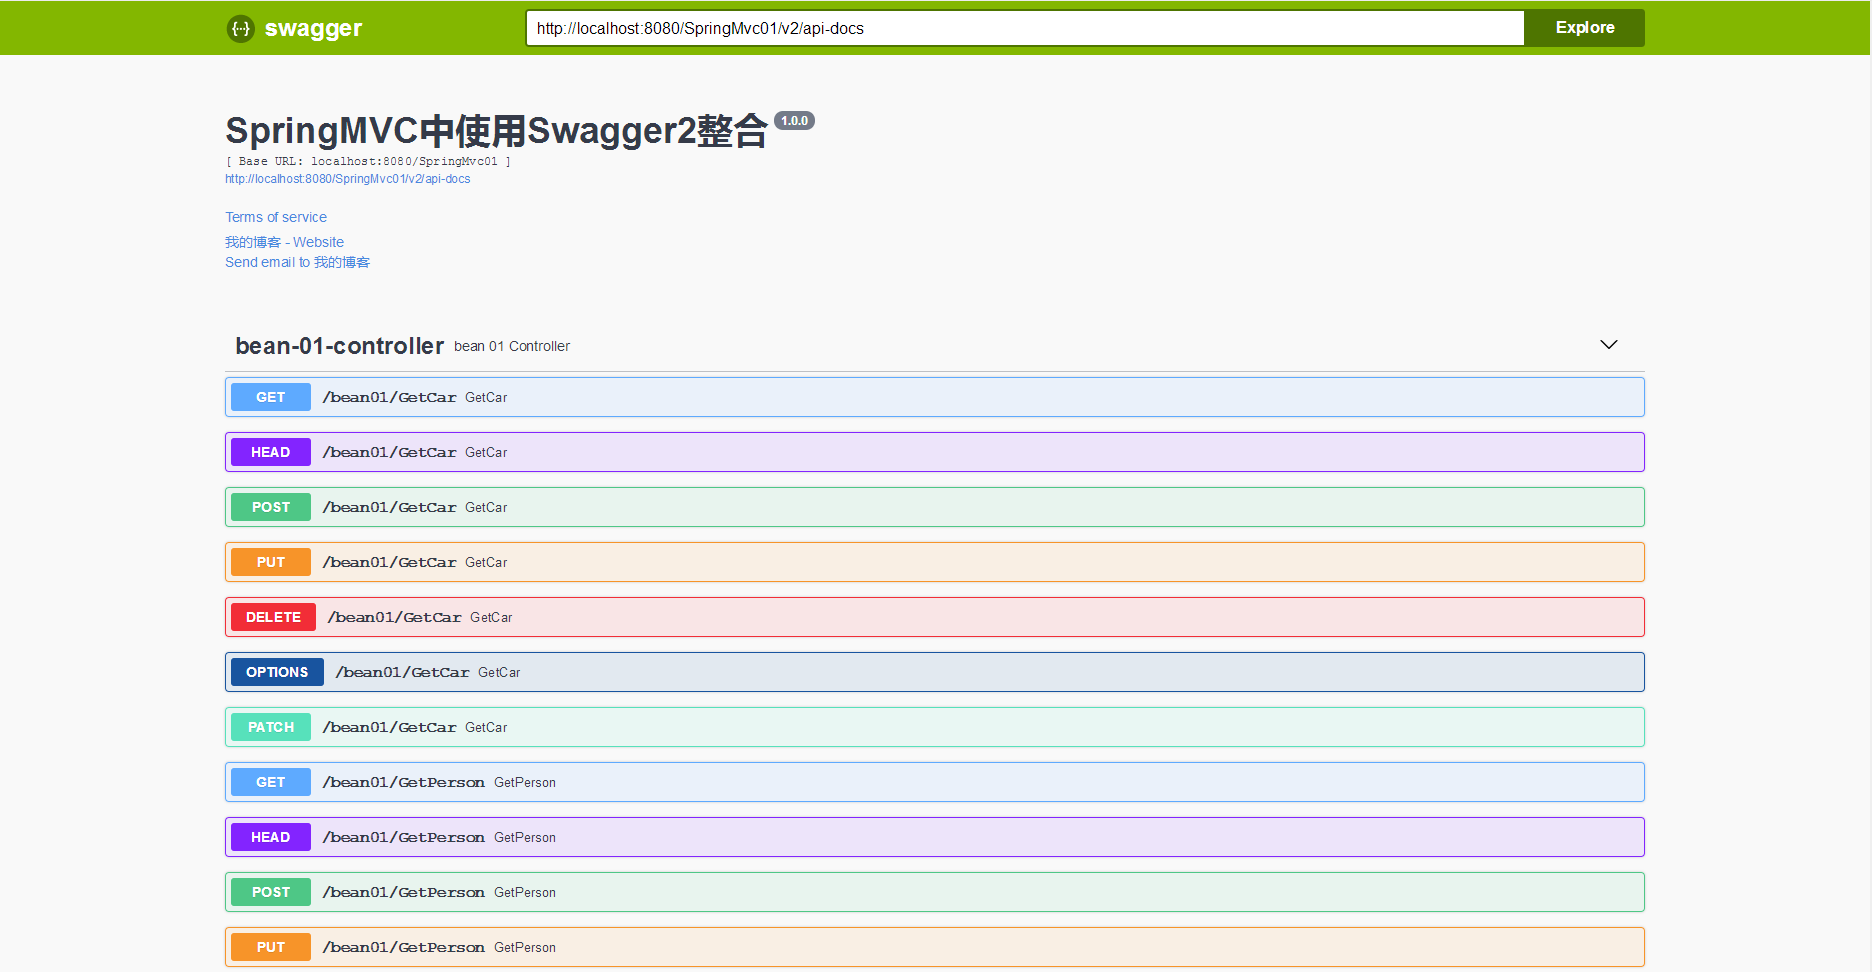
在浏览器中输入http://localhost:8080/SpringMvc01/html/swagger/index.html,将会出现如下界面: