
以下都是自动生成的
书写Application代码,注:要加上@RestController.这个注解相当于同时添加@Controller和@ResponseBody注解。
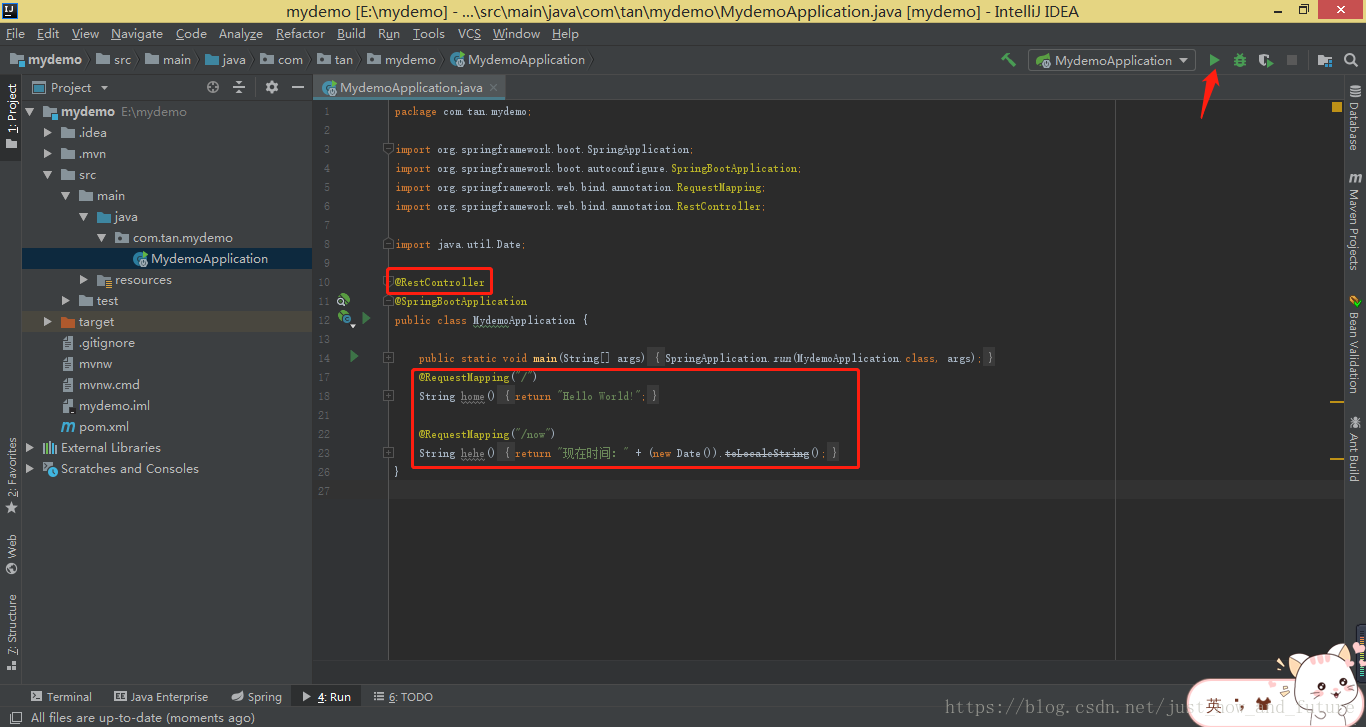
package com.tan.mydemo;

import org.springframework.boot.SpringApplication;
import org.springframework.boot.autoconfigure.SpringBootApplication;
import org.springframework.web.bind.annotation.RequestMapping;
import org.springframework.web.bind.annotation.RestController;

import java.util.Date;

@RestController
@SpringBootApplication
public class MydemoApplication {

    public static void main(String[] args) {
        SpringApplication.run(MydemoApplication.class, args);
    }
    @RequestMapping("/")
    String home() {
        return "Hello World!";
    }

    @RequestMapping("/now")
    String hehe() {
        return "现在时间:" + (new Date()).toLocaleString();
    }
}
运行:
扫描二维码关注公众号,回复:
2777786 查看本文章

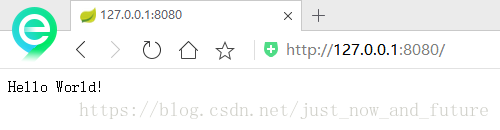
在IDE中直接直接执行main方法,然后访问http://localhost:8080即可,也可访问127.0.0.1:8080。
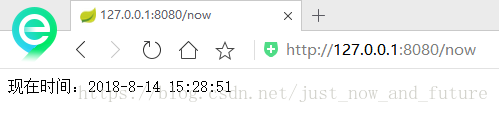
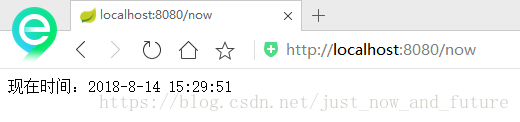
如果访问http://localhost:8080/now 或 127.0.0.1:8080/now可进入hehe函数显示内容。
或者执行mvn spring-boot:run运行项目。
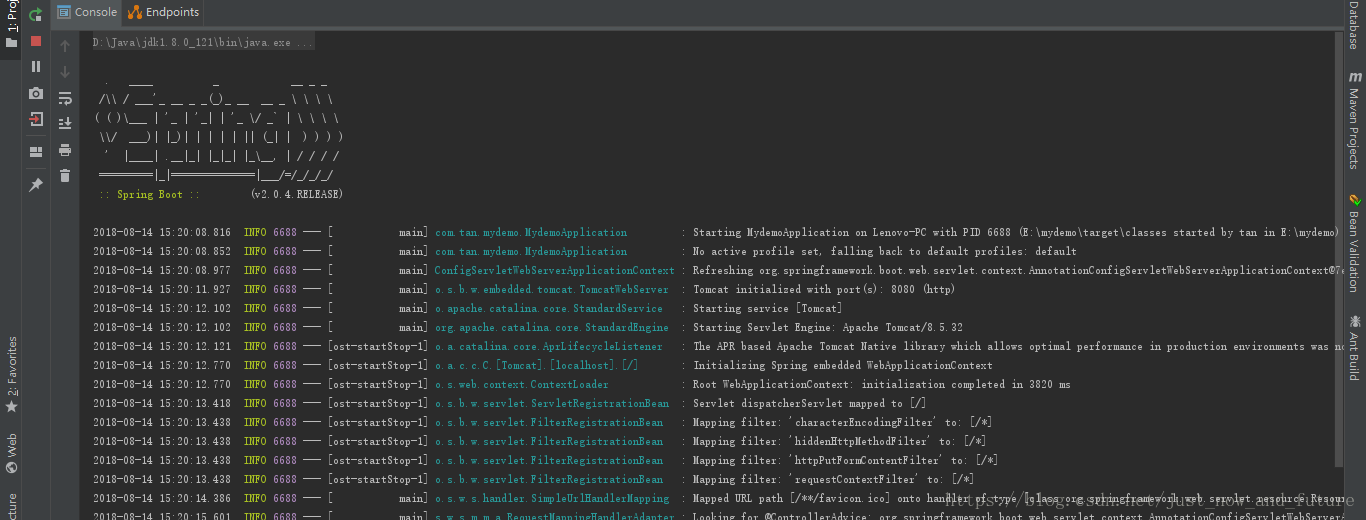
项目启动后,输出日志: