今天给大家介绍下怎么用 JS 实现图片轮播效果。
原理描述:
使用JS实现轮播的原理是这样的:
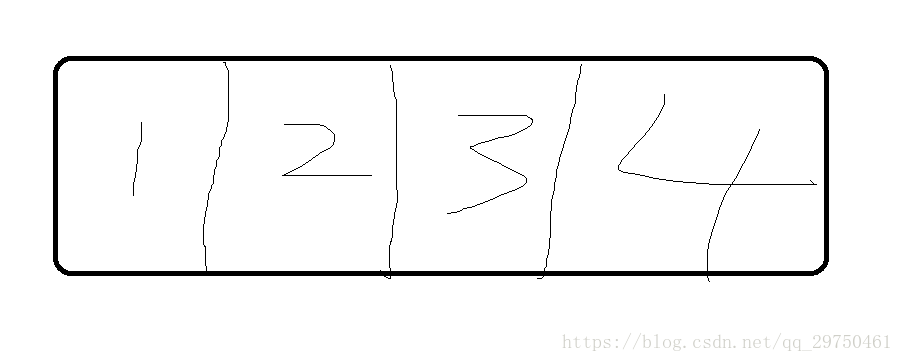
假设初始的情况,下图一个网格代表一个图,初始时,显示1 :
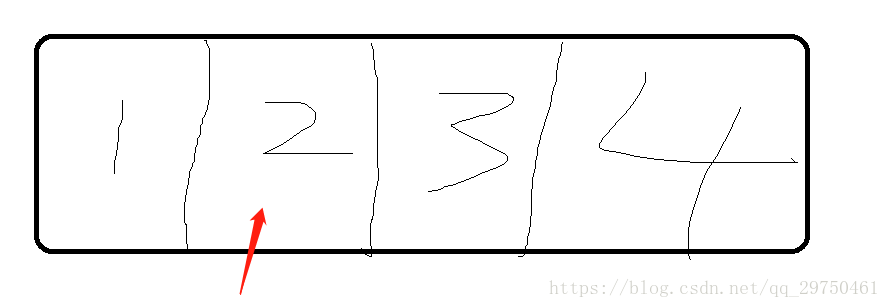
当进行一次轮播后,显示变为下图 显示2:
依次类推。
代码实现:
1 JS 代码:
<script type="text/javascript">
window.onload=function(){
//获得ul的元素
var imgList=document.getElementById("imgList");
//获得图片的数组
var imgArr=document.getElementsByTagName("img");
var navId=document.getElementById("navId");
var outer=document.getElementById("outer");
imgList.style.width=520*imgArr.length+"px";
//设置navId的位置 使其居中
navId.style.left=(outer.offsetWidth-navId.offsetWidth)/2+"px";
//得到所有的a 标签 如果有其他的A的话 这里需要注意要使用navId子元素的a
var allA=document.getElementsByTagName("a");
var index=0;
allA[index].style.backgroundColor='black';//设置默认的a为黑色
for(var i=0;i<allA.length;i++){
allA[i].num=i;
//alert(allA[i].num);
allA[i].onclick=function(){
clearInterval(timer);
index=this.num;
/* imgList.style.left= -520*index+"px"; */
setA();
move(imgList,"left",-520*index,50,function(){
autoChange();
});
};
}
function setA(){
//alert(index);
//当indcx值比图片的数目多的时候 就归0
if(index>=imgArr.length-1){
index=0;
imgList.style.left=0;
}
for(var i=0;i<allA.length;i++){
//去掉未点击的颜色 仍然保留a : hover有用
allA[i].style.backgroundColor="";
}
allA[index].style.backgroundColor="black";
}
var timer;
function autoChange(){
timer=setInterval(function(){
index++;
index%=imgArr.length;
move(imgList,"left",-520*index,20,function(){
setA();
});
},2000);
}
autoChange();
//可以根据 target 参数进行判断 向哪个方向移动
function move(obj,attr,target,speed,callback){
var current=parseInt(getStyle(obj,attr));
//alert(current);
//根据目标的位置来判定 speed的值是正是负
if(current>target){
speed=-speed;
}
//自定义对象定时器 防止对象之间的混乱操作
clearInterval(obj.timer);
//alert(oldValue);
obj.timer=setInterval(function(){
var oldValue=parseInt(getStyle(obj,attr));
var newVal=oldValue+speed;
//如果移动的越界 进行重置
if((speed<0 && newVal<=target) || (speed>0 && newVal>=target)){
newVal=target;
}
obj.style[attr]=newVal+"px";
if(newVal==target){
clearInterval(obj.timer);
callback && callback();//回掉函数 先判断 有就执行 没有不执行
}
},30);
}
//obj:获取样式元素
//name:获取样式名
function getStyle(obj,name){
if(window.getComputedStyle){
return getComputedStyle(obj,null)[name];
}else{
return obj.currentStyle[name];
}
}
}
</script>
2 HTML 代码:
<div id="outer">
<ul id="imgList">
<li><img src="img/1.jpg"></li>
<li><img src="img/2.jpg"></li>
<li><img src="img/3.jpg"></li>
<li><img src="img/1.jpg"></li><!-- 增加这个为了实现轮播无缝切换 -->
</ul>
<div id="navId">
<a href="javascript:0"></a>
<a href="javascript:0"></a>
<a href="javascript:0"></a>
</div>
</div>
3 CSS代码:
<style type="text/css">
*{
margin:0px;
padding:0px;
}
#outer{
width:520px;
height:500px;
margin:50px auto;
background-color:greenyellow;
padding:10px 0;
/* 开启相对定位*/
position:relative;
overflow:hidden;/* 将超出的部分隐藏 */
/* border:3px solid greenyellow */
}
#imgList{
/*去除li的点*/
list-style:none;
/*开启绝对定位 */
position:absolute;
/*设置ul的宽度*/
/* width:1560px; */
}
#imgList li{
/*为图片设置浮动*/
float:left;
margin:0 10px;/*设置左右外边距*/
}
#navId{
/* 开启绝对定位 */
position:absolute;
/*设置位置*/
bottom:15px;
/*设置该块的左偏移量,使其可以居中
由于outer 宽 520 每个链接宽15+2*5=25 目前共三张图,则共宽75*/
/* left:212px; */
}
#navId a{
width:15px;
height:15px;
float:left;/* 设置超链接浮动 */
margin:0 5px;
background-color:red;
opacity:0.5;
/*兼容 IE8 设置透明度*/
filter:alpha(opacity=50);
}
/*设置鼠标移入效果*/
#navId a:hover{
background-color:black;
}
</style>
4 实现效果:
