再eclipse成功安装maven的情况下
file --> maven project --> Filter输入web,并选择带有webapp项的。
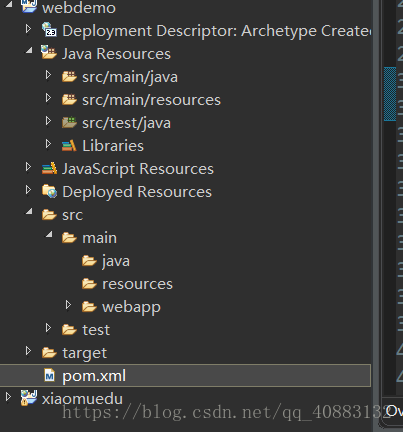
在项目中需要新建test/java。如果这里不能新建,则看下面
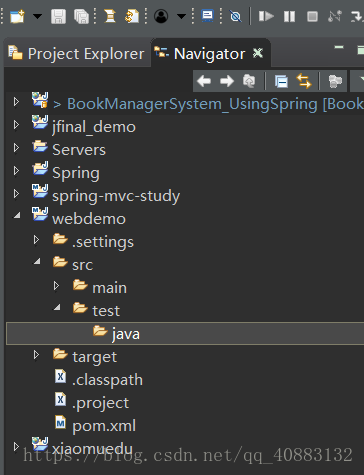
在这个位置就可以传了。
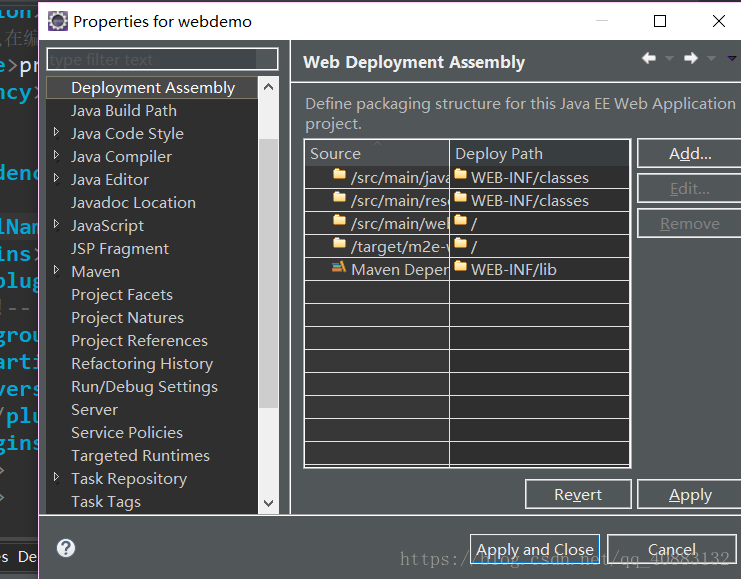
项目属性中deployment Assembly将含有test的去掉,因为在发布的时候不需要他们
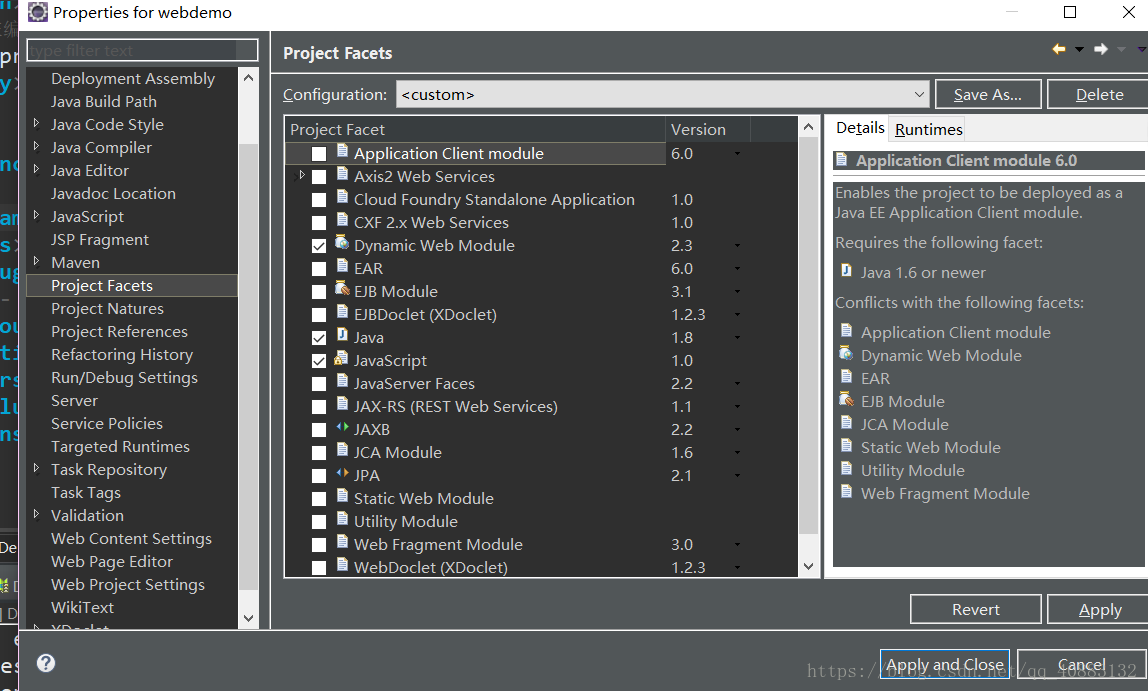
并在此处勾选Dynamic Web Module
接下来我们就要在jetty服务器中运行了。
将
<!-- https://mvnrepository.com/artifact/org.eclipse.jetty/jetty-maven-plugin -->
<dependency>
    <groupId>org.eclipse.jetty</groupId>
    <artifactId>jetty-maven-plugin</artifactId>
    <version>9.4.12.RC1</version>
</dependency>
复制到 build的plugin下
如:
<build>
    <finalName>webdemo</finalName>
    <plugins>
    	<plugin>
    	<!-- https://mvnrepository.com/artifact/org.eclipse.jetty/jetty-maven-plugin -->
	    <groupId>org.eclipse.jetty</groupId>
	    <artifactId>jetty-maven-plugin</artifactId>
	    <version>9.4.12.RC1</version>
    	</plugin>
    </plugins>
  </build>
然后pom.xml maven build : jetty:run
成功了之后再浏览器中输入localhost:8080将会看到Hello World, 则说明jetty启动成功了。
那如果我们想在打包成功后就将项目发布到web上面怎么配置呢?您请看下面:
<build>
    <finalName>webdemo</finalName>
    <plugins>
    	<plugin>
    	<!-- https://mvnrepository.com/artifact/org.eclipse.jetty/jetty-maven-plugin -->
	    <groupId>org.eclipse.jetty</groupId>
	    <artifactId>jetty-maven-plugin</artifactId>
	    <version>9.4.12.RC1</version>
	    <!-- 设置插件生效的是在package阶段, 并且目标是run -->
	    <executions>
	    	<execution>

	    	<phase>package</phase>
	    	<goals>
	    		<goal>run</goal>
	    	</goals>
	    	</execution>
	    </executions>
    	</plugin>
    </plugins>
  </build>
当然,也可以用tomcat启动:
zh
只需要将坐标改为:
<groupId>org.apache.tomcat.maven</groupId>
          <artifactId>tomcat7-maven-plugin</artifactId>
          <version>2.2</version>