上一节React Native带你实现scrollable-tab-view(二)中我们最后实现了我们scrollable-tab-view的效果为:
我们接下来来实现一下点击某个tab跳转到指定的页面,所以当我们点击了哪个tab我们得回调给scrolltabview,于是我们传入回调函数给DefaultTabBar:
 /**
     * 渲染tabview
     * @private
     */
    _renderTabView() {
        let tabParams = {
            tabs: this._children().map((child)=>child.props.tabLabel),
            activeTab: this.state.currentPage,
        };
        return (
            <DefaultTabBar
                {...tabParams}
                style={[{width: this.state.containerWidth}]}
                onTabClick={(page)=>{
                    alert('您点击了第'+page+'页');
                }}
            />
        );
    }
然后DefaultTabBar.js:
  /**
     * 渲染tab
     * @param name 名字
     * @param page 下标
     * @param isTabActive 是否是选中的tab
     * @private
     */
    _renderTab(name, page, isTabActive) {
        let tabTextStyle = null;
        //如果被选中的style
        if (isTabActive) {
            tabTextStyle = {
                color: 'green'
            };
        } else {
            tabTextStyle = {
                color: 'red'
            };
        }
        let self = this;
        return (
            <TouchableOpacity
                key={name + page}
                style={[styles.tabStyle]}
                onPress={()=>this.props.onTabClick(page)}
            >
                <Text style={[tabTextStyle]}>{name}</Text>
            </TouchableOpacity>
        );
    }
这个应该没有啥难度哈,我们继续往下走,当点击了某个tab让scrollview滑动到指定的位置,也就是(page*this.state.containerWidth):
/**
 * @author YASIN
 * @version [React-Native Pactera V01, 2017/9/5]
 * @date 2017/9/5
 * @description index
 */
import React, {
    Component
} from 'react';
import {
    View,
    Text,
    StyleSheet,
    ScrollView,
    Dimensions,
    TouchableOpacity,
    Animated,
} from 'react-native';
const screenW = Dimensions.get('window').width;
const screenH = Dimensions.get('window').height;
import DefaultTabBar from './DefaultTabBar';
export default class ScrollableTab extends Component {
    static propTypes = {}
    // 构造
    constructor(props) {
        super(props);
        // 初始状态
        this.state = {
            containerWidth: screenW,
            currentPage: 0,//当前页面
        };
    }

    render() {
        return (
            <View
                style={styles.container}
                onLayout={this._onLayout}
            >
                {/*渲染tabview*/}
                {this._renderTabView()}
                {/*渲染主体内容*/}
                {this._renderScrollableContent()}
            </View>
        );
    }

    /**
     * 渲染tabview
     * @private
     */
    _renderTabView() {
        let tabParams = {
            tabs: this._children().map((child)=>child.props.tabLabel),
            activeTab: this.state.currentPage,
        };
        return (
            <DefaultTabBar
                {...tabParams}
                style={[{width: this.state.containerWidth}]}
                onTabClick={(page)=>this.goToPage(page)}
            />
        );
    }

    /**
     * 渲染主体内容
     * @private
     */
    _renderScrollableContent() {
        return (
            <Animated.ScrollView
                ref={(ref) => {
                    this._scrollView = ref;
                }}
                style={{width: this.state.containerWidth}}
                pagingEnabled={true}
                horizontal={true}
                onMomentumScrollBegin={this._onMomentumScrollBeginAndEnd}
                onMomentumScrollEnd={this._onMomentumScrollBeginAndEnd}
            >
                {this.props.children}
            </Animated.ScrollView>
        );
    }

    /**
     * 获取子控件数组集合
     * @param children
     * @returns {*}
     * @private
     */
    _children(children = this.props.children) {
        return React.Children.map(children, (child)=>child);
    }

    /**
     * 获取控件宽度
     * @param e
     * @private
     */
    _onLayout = (e)=> {
        let {width}=e.nativeEvent.layout;
        if (this.state.containerWidth !== width) {
            this.setState({
                containerWidth: width,
            });
        }
    }

    /**
     * scrollview开始跟结束滑动回调
     * @param e
     * @private
     */
    _onMomentumScrollBeginAndEnd = (e) => {
        let offsetX = e.nativeEvent.contentOffset.x;
        let page = Math.round(offsetX / this.state.containerWidth);
        if (this.state.currentPage !== page) {
            this.setState({
                currentPage: page,
            });
        }
    }

    /**
     * 滑动到指定位置
     * @param pageNum page下标
     * @param scrollAnimation 是否需要动画
     */
    goToPage(pageNum, scrollAnimation = true) {
        if (this._scrollView && this._scrollView._component && this._scrollView._component.scrollTo) {
            this._scrollView._component.scrollTo({x: pageNum * this.state.containerWidth, scrollAnimation});
            this.setState({
                currentPage: pageNum,
            });
        }
    }
}
const styles = StyleSheet.create({
    container: {
        width: screenW,
        flex: 1,
        marginTop: 22,
    },
});
然后运行app:
哈哈! 是不是很容易就实现了呢?我们接下来就来实现一下底部线条跟随的效果:
原理很简单,就是监听scrollview的滑动,然后改变view的left的偏移量,我们直接把srollview的滑动跟动画绑定(不懂的小伙伴自己去看文档):
  /**
     * 渲染主体内容
     * @private
     */
    _renderScrollableContent() {
        return (
            <Animated.ScrollView
                ref={(ref) => {
                    this._scrollView = ref;
                }}
                style={{width: this.state.containerWidth}}
                pagingEnabled={true}
                horizontal={true}
                onMomentumScrollBegin={this._onMomentumScrollBeginAndEnd}
                onMomentumScrollEnd={this._onMomentumScrollBeginAndEnd}
                scrollEventThrottle={15}
                onScroll={Animated.event([{
                    nativeEvent: {contentOffset: {x: this.state.scrollXAnim}}
                }], {
                    useNativeDriver: true,
                })}
            >
                {this.props.children}
            </Animated.ScrollView>
        );
    }
可以看到,我们的scrollview的滑动跟动画绑定在一起了:
 onScroll={Animated.event([{
                    nativeEvent: {contentOffset: {x: this.state.scrollXAnim}}
                }], {
                    useNativeDriver: true,
                })}
            >
然后我们在页面初始化完毕后去做动画监听,然后在页面移除的时候去除动画监听:

 componentDidMount() {
        //设置scroll动画监听
        this.state.scrollXAnim.addListener(({value})=> {
            console.log('offsetX-->' + value);
        });
    }

    componentWillUnMount() {
        //移除动画监听
        this.state.scrollXAnim.removeAllListeners();
    }
然后运行代码,看log:
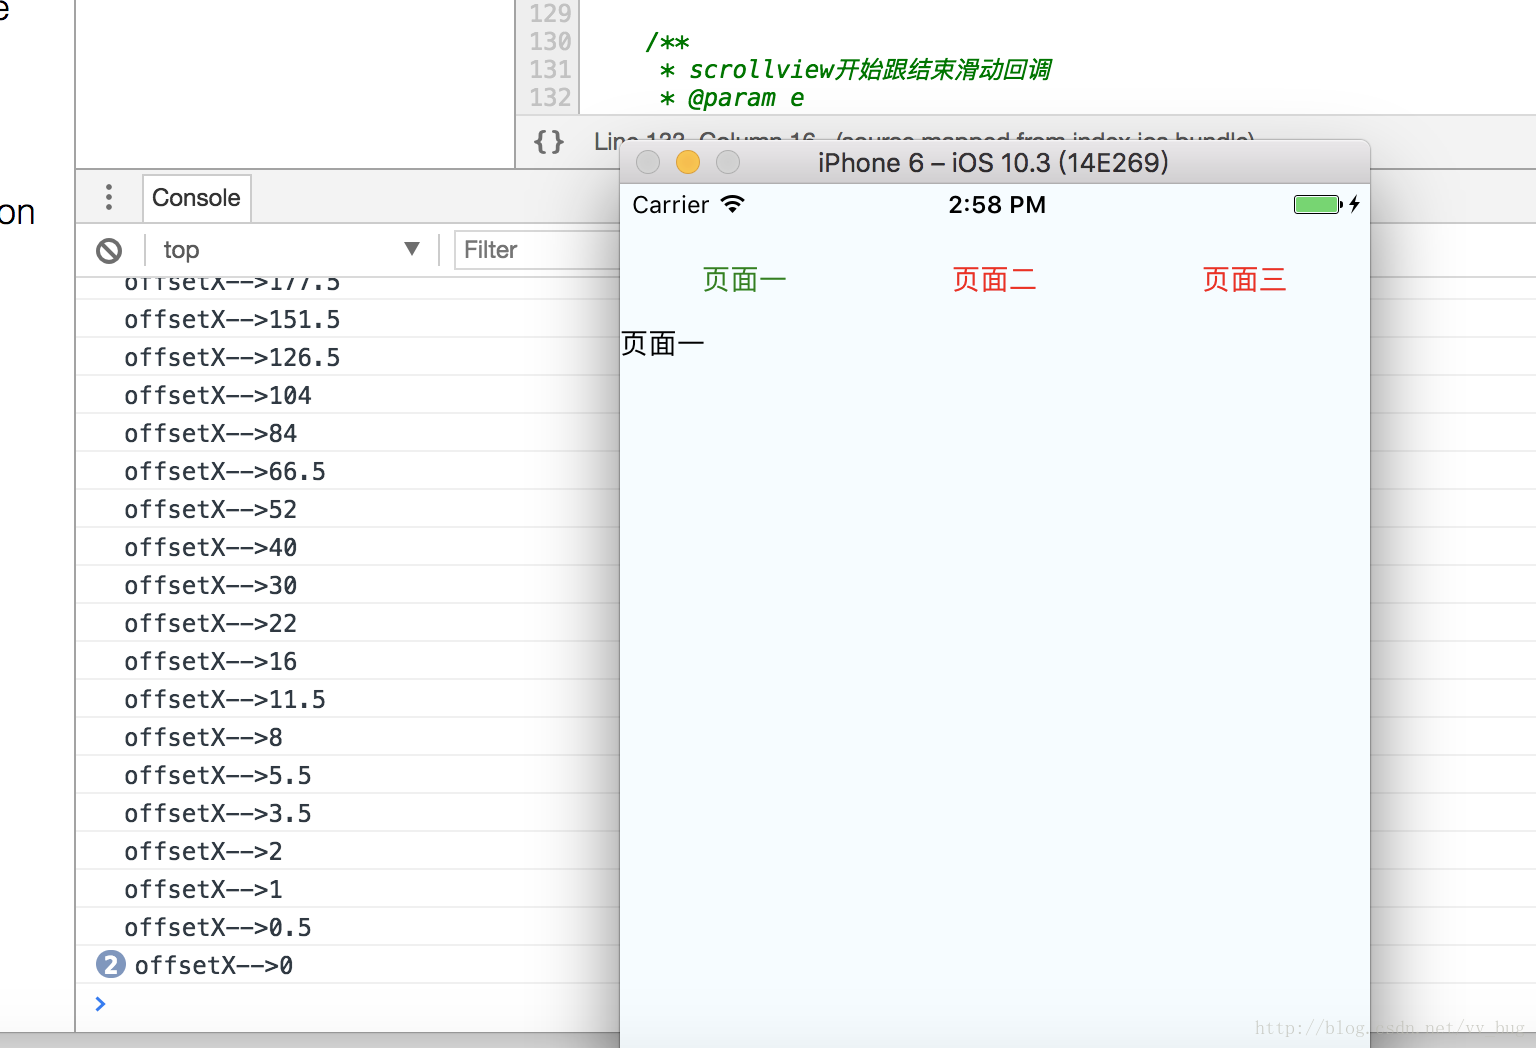
可以看到,我们看到的是scrollview在x轴上的偏移量,我们做一下处理,让offset为(0—>1—->2—->3)这样的改变:
 componentDidMount() {
        //设置scroll动画监听
        this.state.scrollXAnim.addListener(({value})=> {
            let offset = value / this.state.containerWidth;
            console.log('offset-->' + offset);
        });
    }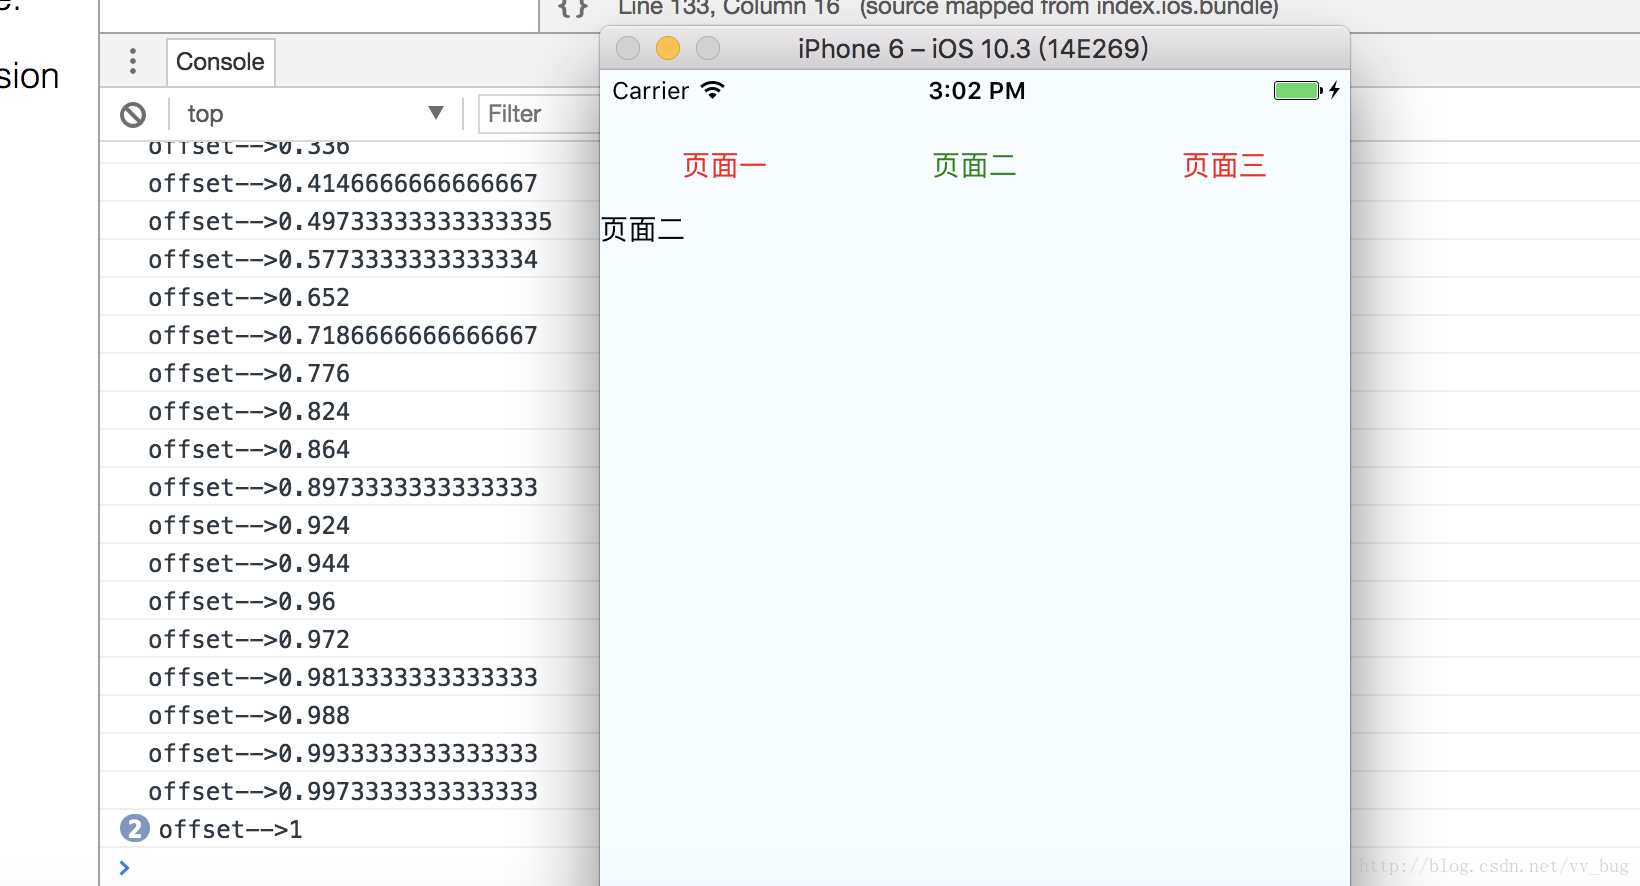
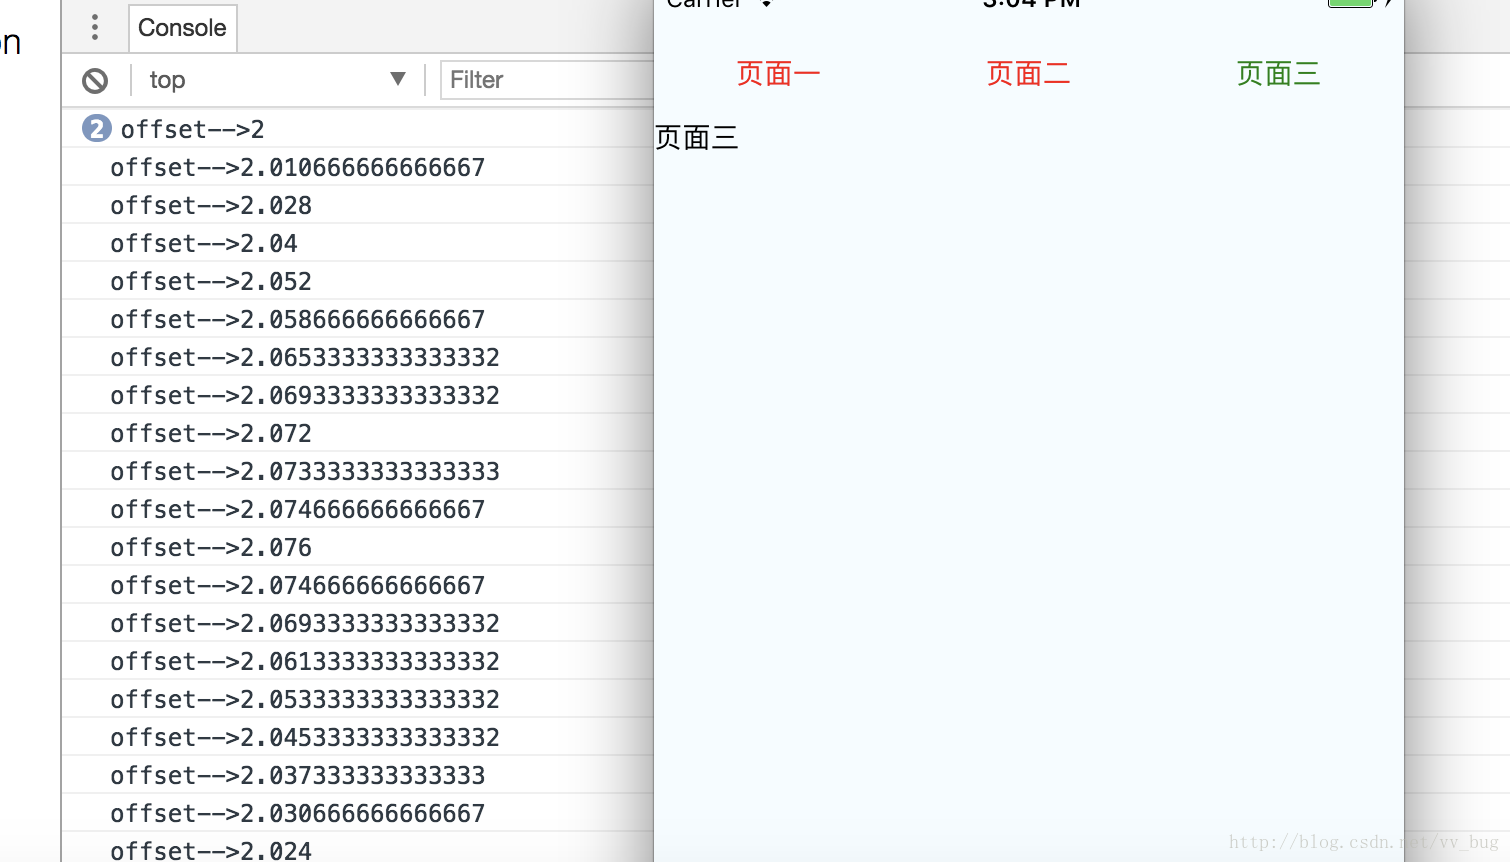
因为ios有bounce效果,所以会出现>2的情况,所以我们直接把iosbounce去掉:
_renderScrollableContent() {
        return (
            <Animated.ScrollView
                ....
                bounces={false}
                scrollsToTop={false}
            >
                {this.props.children}
            </Animated.ScrollView>
        );
    }
然后我们把offset也跟一个动画绑定起来,然后再通过监听动画来查看offset:
 componentDidMount() {
        //设置scroll动画监听
        this.state.scrollXAnim.addListener(({value})=> {
            let offset = value / this.state.containerWidth;
            this.state.scrollValue.setValue(offset);
        });
        this.state.scrollValue.addListener(({value})=>{
            console.log('offset-->' + value);
        })
    }
然后我们把this.state.scrollValue传入给DefaultTabBar组件:
 /**
     * 渲染tabview
     * @private
     */
    _renderTabView() {
        let tabParams = {
            ....
            scrollValue: this.state.scrollValue,
        };
        return (
            <DefaultTabBar
                {...tabParams}
                style={[{width: this.state.containerWidth}]}
                onTabClick={(page)=>this.goToPage(page)}
            />
        );
    }
然后我们在DefaultTabBar中先画出底部线条:
return (
 let tabStyle = {
            width: containerWidth / tabs.length,
            position: 'absolute',
            bottom: 0,
        }
            <View style={[styles.container, this.props.style]}>
                {this.props.tabs.map((name, page) => {
                    const isTabActive = this.props.activeTab === page;
                    return this._renderTab(name, page, isTabActive);
                })}
                <Animated.View
                    style={[styles.tabLineStyle, tabStyle]}
                />
            </View>
        );
} tabLineStyle: {
height: 2,
backgroundColor: 'navy',
}然后我们可以看到:

最后要让线动起来,我们需要给传过来的scrollValue动画一个监听,然后给一个插值器,(0->1->2)—> (0,tabWidth*1,tabWidth*2):
DefaultTabBar:
render() {
let {containerWidth, tabs, scrollValue}=this.props;
//给传过来的动画一个插值器
const left = scrollValue.interpolate({
inputRange: [0, 1,], outputRange: [0, containerWidth / tabs.length,],
});
let tabStyle = {
width: containerWidth / tabs.length,
position: 'absolute',
bottom: 0,
left,
}
return (
<View style={[styles.container, this.props.style]}>
{this.props.tabs.map((name, page) => {
const isTabActive = this.props.activeTab === page;
return this._renderTab(name, page, isTabActive);
})}
<Animated.View
style={[styles.tabLineStyle, tabStyle]}
/>
</View>
);
}
然后运行代码:
DefaultTabBar全部代码:
/**
* @author YASIN
* @version [React-Native Pactera V01, 2017/9/5]
* @date 17/2/23
* @description DefaultTabBar
*/
import React, {
Component, PropTypes,
} from 'react';
import {
View,
Text,
StyleSheet,
TouchableOpacity,
Dimensions,
Animated,
} from 'react-native';
const screenW = Dimensions.get('window').width;
const screenH = Dimensions.get('window').height;
export default class DefaultTabBar extends Component {
static propTypes = {
tabs: PropTypes.array,
activeTab: PropTypes.number,//当前选中的tab
style: View.propTypes.style,
onTabClick: PropTypes.func,
containerWidth: PropTypes.number,
}
// 构造
constructor(props) {
super(props);
// 初始状态
this.state = {};
}
render() {
let {containerWidth, tabs, scrollValue}=this.props;
//给传过来的动画一个插值器
const left = scrollValue.interpolate({
inputRange: [0, 1,], outputRange: [0, containerWidth / tabs.length,],
});
let tabStyle = {
width: containerWidth / tabs.length,
position: 'absolute',
bottom: 0,
left,
}
return (
<View style={[styles.container, this.props.style]}>
{this.props.tabs.map((name, page) => {
const isTabActive = this.props.activeTab === page;
return this._renderTab(name, page, isTabActive);
})}
<Animated.View
style={[styles.tabLineStyle, tabStyle]}
/>
</View>
);
}
/**
* 渲染tab
* @param name 名字
* @param page 下标
* @param isTabActive 是否是选中的tab
* @private
*/
_renderTab(name, page, isTabActive) {
let tabTextStyle = null;
//如果被选中的style
if (isTabActive) {
tabTextStyle = {
color: 'green'
};
} else {
tabTextStyle = {
color: 'red'
};
}
let self = this;
return (
<TouchableOpacity
key={name + page}
style={[styles.tabStyle]}
onPress={()=>this.props.onTabClick(page)}
>
<Text style={[tabTextStyle]}>{name}</Text>
</TouchableOpacity>
);
}
}
const styles = StyleSheet.create({
container: {
width: screenW,
flexDirection: 'row',
alignItems: 'center',
height: 50,
},
tabStyle: {
flex: 1,
alignItems: 'center',
justifyContent: 'center',
},
 tabLineStyle: {
        height: 2,
        backgroundColor: 'navy',
    }
});ScrollableTab全部代码:
/**
 * @author YASIN
 * @version [React-Native Pactera V01, 2017/9/5]
 * @date 2017/9/5
 * @description index
 */
import React, {
    Component
} from 'react';
import {
    View,
    Text,
    StyleSheet,
    ScrollView,
    Dimensions,
    TouchableOpacity,
    Animated,
} from 'react-native';
const screenW = Dimensions.get('window').width;
const screenH = Dimensions.get('window').height;
import DefaultTabBar from './DefaultTabBar';
export default class ScrollableTab extends Component {
    static propTypes = {}
    // 构造
    constructor(props) {
        super(props);
        // 初始状态
        this.state = {
            containerWidth: screenW,
            currentPage: 0,//当前页面
            scrollXAnim: new Animated.Value(0),
            scrollValue: new Animated.Value(0),
        };
    }

    render() {
        return (
            <View
                style={styles.container}
                onLayout={this._onLayout}
            >
                {/*渲染tabview*/}
                {this._renderTabView()}
                {/*渲染主体内容*/}
                {this._renderScrollableContent()}
            </View>
        );
    }

    componentDidMount() {
        //设置scroll动画监听
        this.state.scrollXAnim.addListener(({value})=> {
            let offset = value / this.state.containerWidth;
            this.state.scrollValue.setValue(offset);
        });
    }

    componentWillUnMount() {
        //移除动画监听
        this.state.scrollXAnim.removeAllListeners();
        this.state.scrollValue.removeAllListeners();
    }

    /**
     * 渲染tabview
     * @private
     */
    _renderTabView() {
        let tabParams = {
            tabs: this._children().map((child)=>child.props.tabLabel),
            activeTab: this.state.currentPage,
            scrollValue: this.state.scrollValue,
            containerWidth: this.state.containerWidth,
        };
        return (
            <DefaultTabBar
                {...tabParams}
                style={[{width: this.state.containerWidth}]}
                onTabClick={(page)=>this.goToPage(page)}
            />
        );
    }

    /**
     * 渲染主体内容
     * @private
     */
    _renderScrollableContent() {
        return (
            <Animated.ScrollView
                ref={(ref) => {
                    this._scrollView = ref;
                }}
                style={{width: this.state.containerWidth}}
                pagingEnabled={true}
                horizontal={true}
                onMomentumScrollBegin={this._onMomentumScrollBeginAndEnd}
                onMomentumScrollEnd={this._onMomentumScrollBeginAndEnd}
                scrollEventThrottle={15}
                onScroll={Animated.event([{
                    nativeEvent: {contentOffset: {x: this.state.scrollXAnim}}
                }], {
                    useNativeDriver: true,
                })}
                bounces={false}
                scrollsToTop={false}
            >
                {this.props.children}
            </Animated.ScrollView>
        );
    }

    /**
     * 获取子控件数组集合
     * @param children
     * @returns {*}
     * @private
     */
    _children(children = this.props.children) {
        return React.Children.map(children, (child)=>child);
    }

    /**
     * 获取控件宽度
     * @param e
     * @private
     */
    _onLayout = (e)=> {
        let {width}=e.nativeEvent.layout;
        if (this.state.containerWidth !== width) {
            this.setState({
                containerWidth: width,
            });
        }
    }

    /**
     * scrollview开始跟结束滑动回调
     * @param e
     * @private
     */
    _onMomentumScrollBeginAndEnd = (e) => {
        let offsetX = e.nativeEvent.contentOffset.x;
        let page = Math.round(offsetX / this.state.containerWidth);
        if (this.state.currentPage !== page) {
            this.setState({
                currentPage: page,
            });
        }
    }

    /**
     * 滑动到指定位置
     * @param pageNum page下标
     * @param scrollAnimation 是否需要动画
     */
    goToPage(pageNum, scrollAnimation = true) {
        if (this._scrollView && this._scrollView._component && this._scrollView._component.scrollTo) {
            this._scrollView._component.scrollTo({x: pageNum * this.state.containerWidth, scrollAnimation});
            this.setState({
                currentPage: pageNum,
            });
        }
    }
}
const styles = StyleSheet.create({
    container: {
        width: screenW,
        flex: 1,
        marginTop: 22,
    },
});
有个问题,就是现在我们只有三个页面,但是如果有10多个页面,都显示在srollview中,是不是件很恐怖的事情呢? 所以我们待会要做的就是支持预加载功能,做一些优化,跟android的viewpager实现原理优点像,小伙伴也可以试着实现一下哈。
欢迎入群,欢迎交流,大牛勿喷,下一节见!