前提:安装react-native-scrollable-tab-view和react-native-vector-icons和react-native-swiper
地址:https://github.com/oblador/react-native-vector-icons(图标)
https://github.com/skv-headless/react-native-scrollable-tab-view(顶部侧滑导航)
https://github.com/leecade/react-native-swiper(轮播图)
1:目录结构

2:App.js页
import {AppStackNavigator} from "./navigations/AppNavigators";
export  default AppStackNavigator;
3:AppTabNavigators.js页(路由页)
import React from 'react';
import {
    createStackNavigator,
    createTabNavigator,
} from 'react-navigation';

import Ionicons from 'react-native-vector-icons/Ionicons';


import Welcome from  '../js/pages/WelcomPage';


import  Page1 from '../js/pages/Page1';
import  Page2 from '../js/pages/Page2';
import  Page3 from '../js/pages/Page3';


//底部导航
 const AppTabNavigators =createTabNavigator({
    Page1: {
        screen:Page1,
        navigationOptions: {
            tabBarLabel: 'page1',//底部标题
            tabBarIcon: (({tintColor, focused}) => (//底部图标(具体用法参考官网)
               <Ionicons
                    name={focused?'ios-home':'ios-home-outline'}
                    size={26}
                    style={{color:tintColor}}
               />
            ))
        },

    },
    Page2:{
        screen:Page2,
        navigationOptions:{
            tabBarLabel: 'page2',
            tabBarIcon: (({tintColor, focused}) => (
                <Ionicons
                    name={focused?'ios-people':'ios-people-outline'}
                    size={26}
                    style={{color:tintColor}}
                />
            ))

        }
    },
    Page3:{
        screen:Page3,
        navigationOptions:{
            tabBarLabel: 'page3',
            tabBarIcon: (({tintColor, focused}) => (
                <Ionicons
                    name={focused?'ios-clock':'ios-clock-outline'}
                    size={26}
                    style={{color:tintColor}}
                />
            ))

        }
    }

},{
    tabBarPosition:'bottom',//位置
    tabBarOptions: {
        showIcon: true,//是否显示图标!!!!!!!
        style: {
            height: 45,//底部导航的宽度
            backgroundColor: '#533537',//底部导航的颜色
        },
        labelStyle: {
            fontSize: 12,//字体大小
            marginTop:-2,//字体距离图标大小
        },

    }

});


//顶部导航,主入口,要放在其他导航后面,(加载顺序)
export const AppStackNavigator=createStackNavigator({
    Welcome:{
      screen:Welcome,
      navigationOptions:{
          header:null,
      }
    },
    HomeTab:{//底部导航(也是主页)
        screen:AppTabNavigators,
        navigationOptions:{
            header:null,
        }
    }

} );
4:Welcome.js页(引导页)
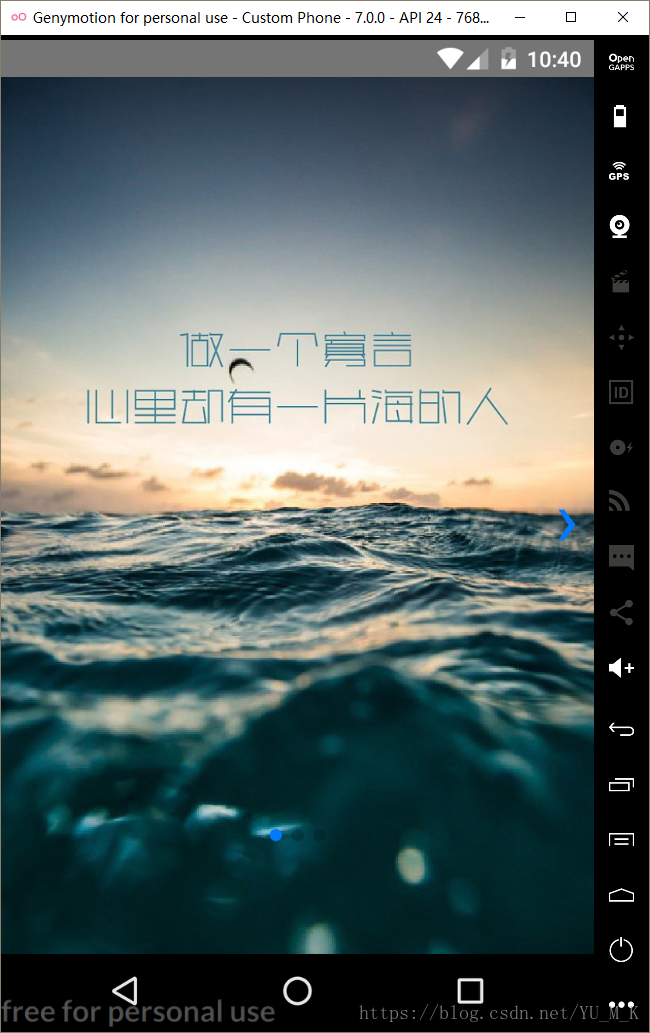

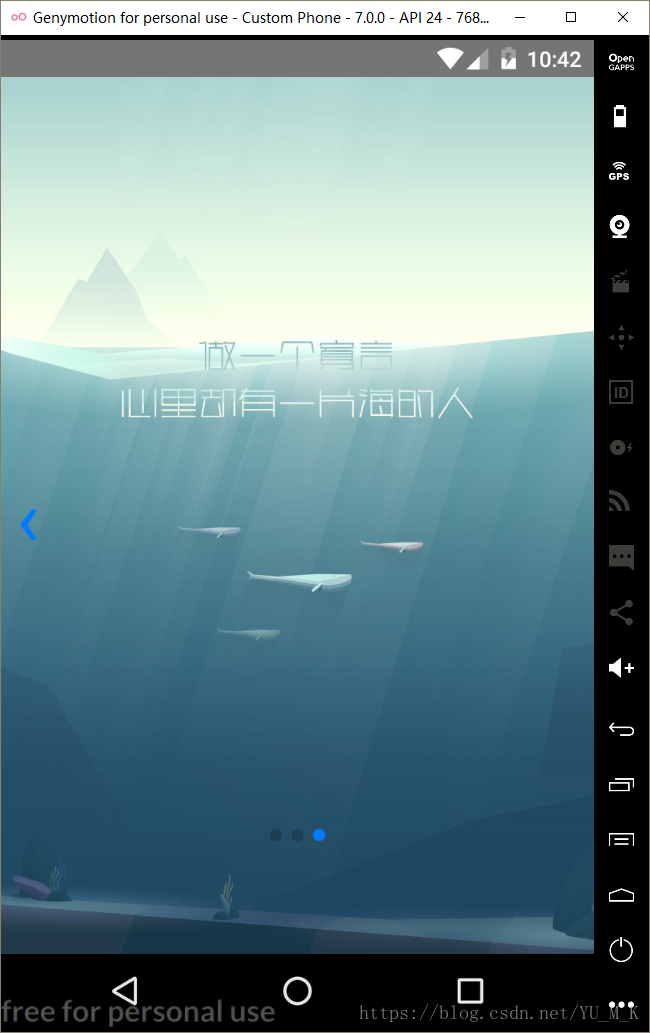
import React, { Component } from 'react'
import {
    View,
    Image,
    Dimensions,
    StyleSheet
} from 'react-native'
import Swiper from 'react-native-swiper';

const { width, height } = Dimensions.get('window');//获取手机的宽和高

const styles =StyleSheet.create( {
    wrapper: {

    },
    container: {
        flex: 1,//必写
    },
    image: {
        width,//等于width:width
        height,
    }
});

export default class WelcomPage extends Component {
    //加载计时器
    componentDidMount(){
        this.timer=setTimeout(()=>{
            this.props.navigation.navigate('HomeTab');//7秒后进入底部导航主页
        },7000)
    }
    //卸载计时器
    componentWillUnmount(){
        this.timer&&clearTimeout(this.timer);//同时为真的才执行卸载
    }
    render () {
        return (
            <View style={styles.container}>
                <Swiper style={styles.wrapper}
                        showsButtons={true}       //为false时不显示控制按钮
                        paginationStyle={{      //小圆点位置
                            bottom: 70
                        }}
                        loop={false}        //如果设置为false,那么滑动到最后一张时,再次滑动将不会滑到第一张图片。
                        autoplay={true}          //自动轮播
                        autoplayTimeout={2}      //每隔2秒切换
                >

                    <Image style={styles.image} source={require('../../images/1.jpg')}/>
                    <Image style={styles.image} source={require('../../images/2.jpg')}/>
                    <Image style={styles.image} source={require('../../images/4.jpg')}/>

                </Swiper>
            </View>
        )
    }
}:
5:Page1.js页
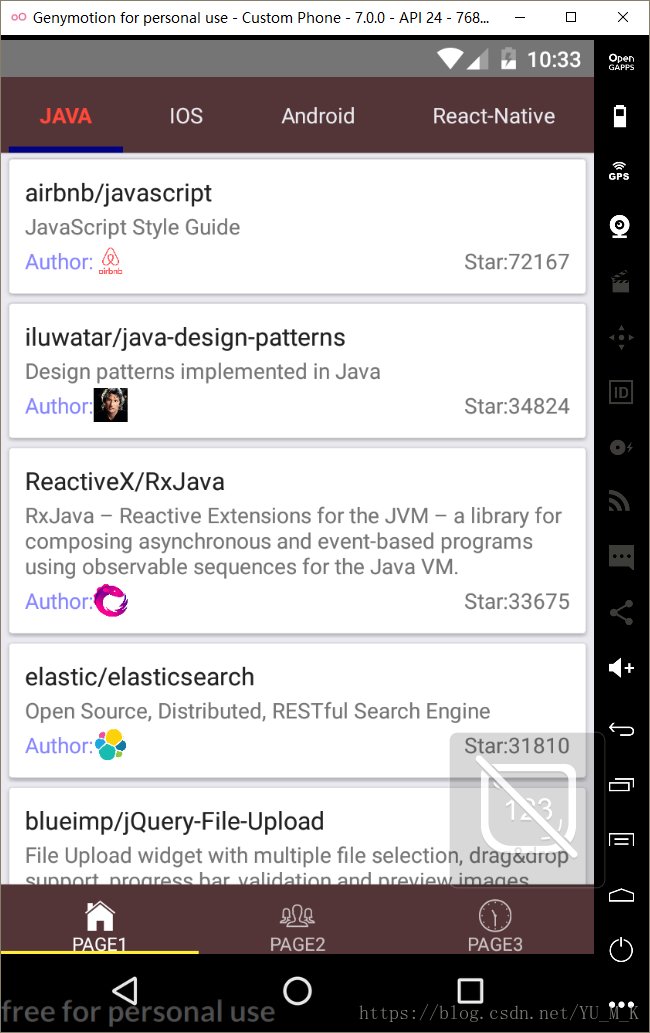

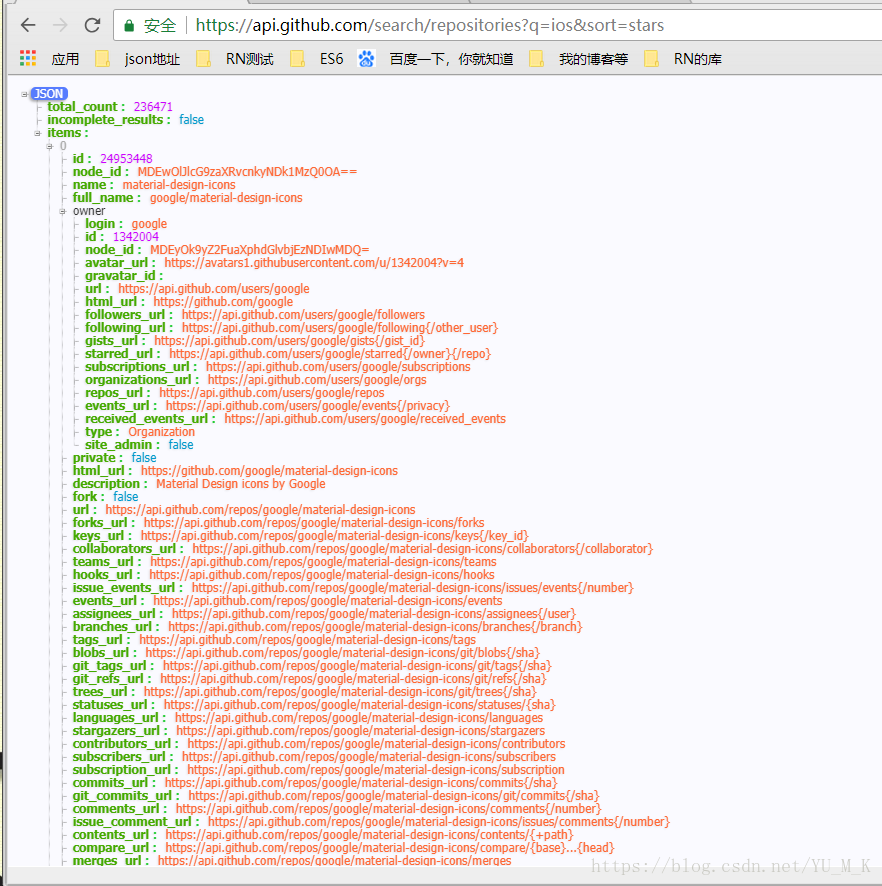
import React, { Component } from 'react';
import {
    StyleSheet,
    Text,
    View,
    ListView,
    Image,
    TouchableOpacity,
} from 'react-native';

import ScrollableTabView, { ScrollableTabBar, } from 'react-native-scrollable-tab-view';

import DataRepository from './DataRepository';//加载封装的获取数据的组件

const Url='https://api.github.com/search/repositories?q=';//url的第一段
//完整的urlhttps://api.github.com/search/repositories?q=React-Native&sort=stars(React-Native是可变的,这也是切割url的原因)
const QUERY_STR='&sort=stars';//url第三段的查询条件

type Props = {};
export  default class Page1 extends Component<Props> {

    render( ) {//渲染函数
        return (
                <ScrollableTabView
                    tabBarBackgroundColor="#533537"
                    tabBarInactiveTextColor={"#e9e9ef"}
                    tabBarActiveTextColor={"#ff473a"}
                    initialPage={0}
                    renderTabBar={() => <ScrollableTabBar />}
                >
                    <PopularTab tabLabel='JAVA'>1</PopularTab>
                    <PopularTab tabLabel='IOS'>2</PopularTab>
                    <PopularTab tabLabel='Android'>3</PopularTab>
                    <PopularTab tabLabel='React-Native'>4</PopularTab>
                </ScrollableTabView>
        );
    }
}
class PopularTab extends Component{
    constructor(props){
        super(props);
        this.dataRepository=new DataRepository();//初始化(获取数据组件)对象
        this.state={//初始数据
            result:'',
            dataSource:new ListView.DataSource({rowHasChanged: (r1, r2) => r1 !== r2}),
            // rowHasChanged(prevRowData, nextRowData):指定我们更新row的策略,一般来说都是prevRowData和nextRowData不相等时更新row
        }
    }
    componentDidMount(){//页面一加载就加载数据
        this.loadData();
    }
    loadData(){//通过完整的url加载数据(通过调用自己定义的加载组件DataRepository)
        let url=this.getUrl();//根据用户输入的text生成完整的url
        this.dataRepository.fetchNetRepository(url)
            .then(result=>{
                this.setState({
                    dataSource:this.state.dataSource.cloneWithRows(result.items)
                    //要更新datasource中的数据,请(每次都重新)调用cloneWithRows方法(如果用到了section,则对应cloneWithRowsAndSections方法)。
                    // 数据源中的数据本身是不可修改的,所以请勿直接尝试修改。
                    // clone方法会自动提取新数据并进行逐行对比(使用rowHasChanged方法中的策略),这样ListView就知道哪些行需要重新渲染了。
                })
            })
            .catch(error=>{
                this.setState({
                    result:JSON.stringify(error)//设置错误
                })
            })
    }
    //生成完整的url
    getUrl(){
        return Url+this.props.tabLabel+QUERY_STR;
    }
    //列表渲染
    renderRow(item) {

        return <TouchableOpacity style={styles.container}>
            <View style={styles.cell_container}>
                <Text style={styles.title}>{item.full_name}</Text>
                <Text style={styles.description}>{item.description}</Text>
                <View style={styles.row}>
                    <View style={styles.row}>
                        <Text style={{color:'#8585ff'}}>Author:</Text>
                        <Image
                            style={{height: 22, width: 22}}
                            source={{uri: item.owner.avatar_url}}
                        />
                    </View>
                    <View style={{justifyContent: 'space-between', flexDirection: 'row'}}>
                        <Text>Star:</Text>
                        <Text>{item.stargazers_count}</Text>
                    </View>
                </View>
            </View>
        </TouchableOpacity>
    }


    //渲染结果
    render(){
        return<View>
           <ListView
                dataSource={this.state.dataSource}//列表渲染数据源
                renderRow={(data)=>this.renderRow(data)}
           />
        </View>
    }
}


const styles = StyleSheet.create({
    container: {
        flex: 1,

    },
    row: {
        justifyContent: 'space-between',
        flexDirection: 'row',
        alignItems: 'center',
    },
    title: {
        fontSize: 16,
        marginBottom: 2,
        color: '#212121',
        flex: 1
    },
    description: {
        fontSize: 14,
        marginBottom: 2,
        color: '#757575'
    },
    cell_container: {
        backgroundColor: 'white',
        padding: 10,
        marginLeft: 5,
        marginRight: 5,
        marginVertical: 3,
        borderColor: '#dddddd',
        borderWidth: 0.5,
        borderRadius: 2,
        //阴影
        shadowColor: 'gray',
        shadowOffset: {width:0.5, height: 0.5},
        shadowOpacity: 0.4,
        shadowRadius: 1,
        elevation:2
    },
});
注意:page1.js的获取数据(fetchNetRepository)是封装在DataRepository.js组件内的
6:DataRepository.js页(封装的获取数据组件)
//封装网络请求
export default class DataRepository{
    fetchNetRepository(url){
        return new Promise((resolve,reject)=>{
            fetch(url)
                .then(response=>response.json())
                .then(result=>{
                    resolve(result)//成功状态则返回数据
                })
                .catch(error=>{
                    reject(error)//失败状态则返回错误
                })
        })
    }
}
7:page2,page3页(忽略)
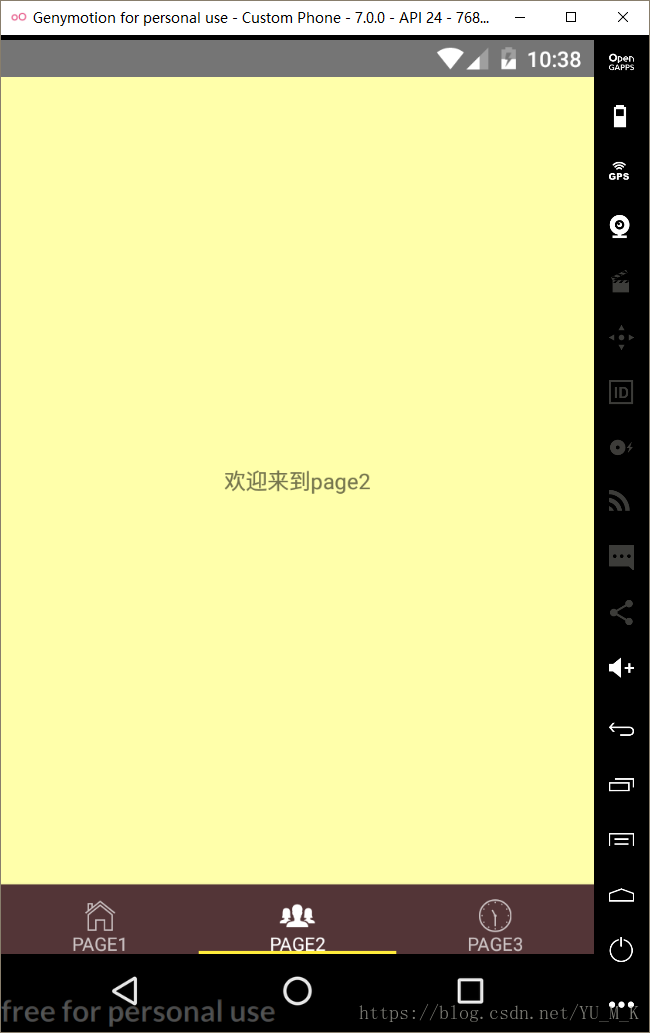
import React, { Component } from 'react';
import {
    StyleSheet,
    Text,
    View,
    Button,
} from 'react-native';


type Props = {};
export default class Page2 extends Component<Props> {

    render() {
        const {navigation}=this.props;
        return (
            <View style={styles.container}>
                <Text>欢迎来到page2</Text>
            </View>
        );
    }
}

const styles = StyleSheet.create({
    container: {
        flex: 1,
        justifyContent: 'center',
        alignItems: 'center',
        backgroundColor: '#ffffaa',
    }
});