写在前面的话 :上一篇文章 我们说到怎样利用Hexo博客框架搭建了一个可以在本地运行的博客网站,下面我们就来谈谈如何将 Hexo 和 GitHub Pages 完美的结合起来使得这样的本地网站可以在远端运行吧
一、GitHub Pages简介
要了解GitHub Pages,首先要了解GitHub。
我们知道,GitHub是一个基于git的代码托管平台,是世界上最大的开源社区,有很多顶尖的国际科技公司选择在GitHub上发表项目,包括Google、Microsoft 、Facebook、Twitter、Apple、Alibaba 等等,所以这里十分强烈的推荐大家使用GitHub去管理自己的代码。
而这里用到的GitHub Pages,其实GitHub的一个功能项,允许用户自定义项目首页替代默认的源码列表,因此,GitHub Pages可以被认为是由用户编写的、托管在GitHub上的静态网页,其足以实现个人博客需要的所有功能 。
二、注册GitHub账号(已经有GitHub账号的请忽略这一步)
登陆 GitHub官网 ,按要求填写好自己的个人信息(包括用户名,邮箱,密码等),然后进行邮箱验证就可以注册GitHub账号了。
完成之后还需要在本地配置一下自己的个人信息,在桌面空白处单击鼠标右键,选择Git Bash Here,打开git bash,输入如下命令(注意要将your_name和your_email替换成自己的信息)
user@machine MINGW64 ~/Desktop
$ git config --global user.name your_name

user@machine MINGW64 ~/Desktop
$ git config --global user.email your_email
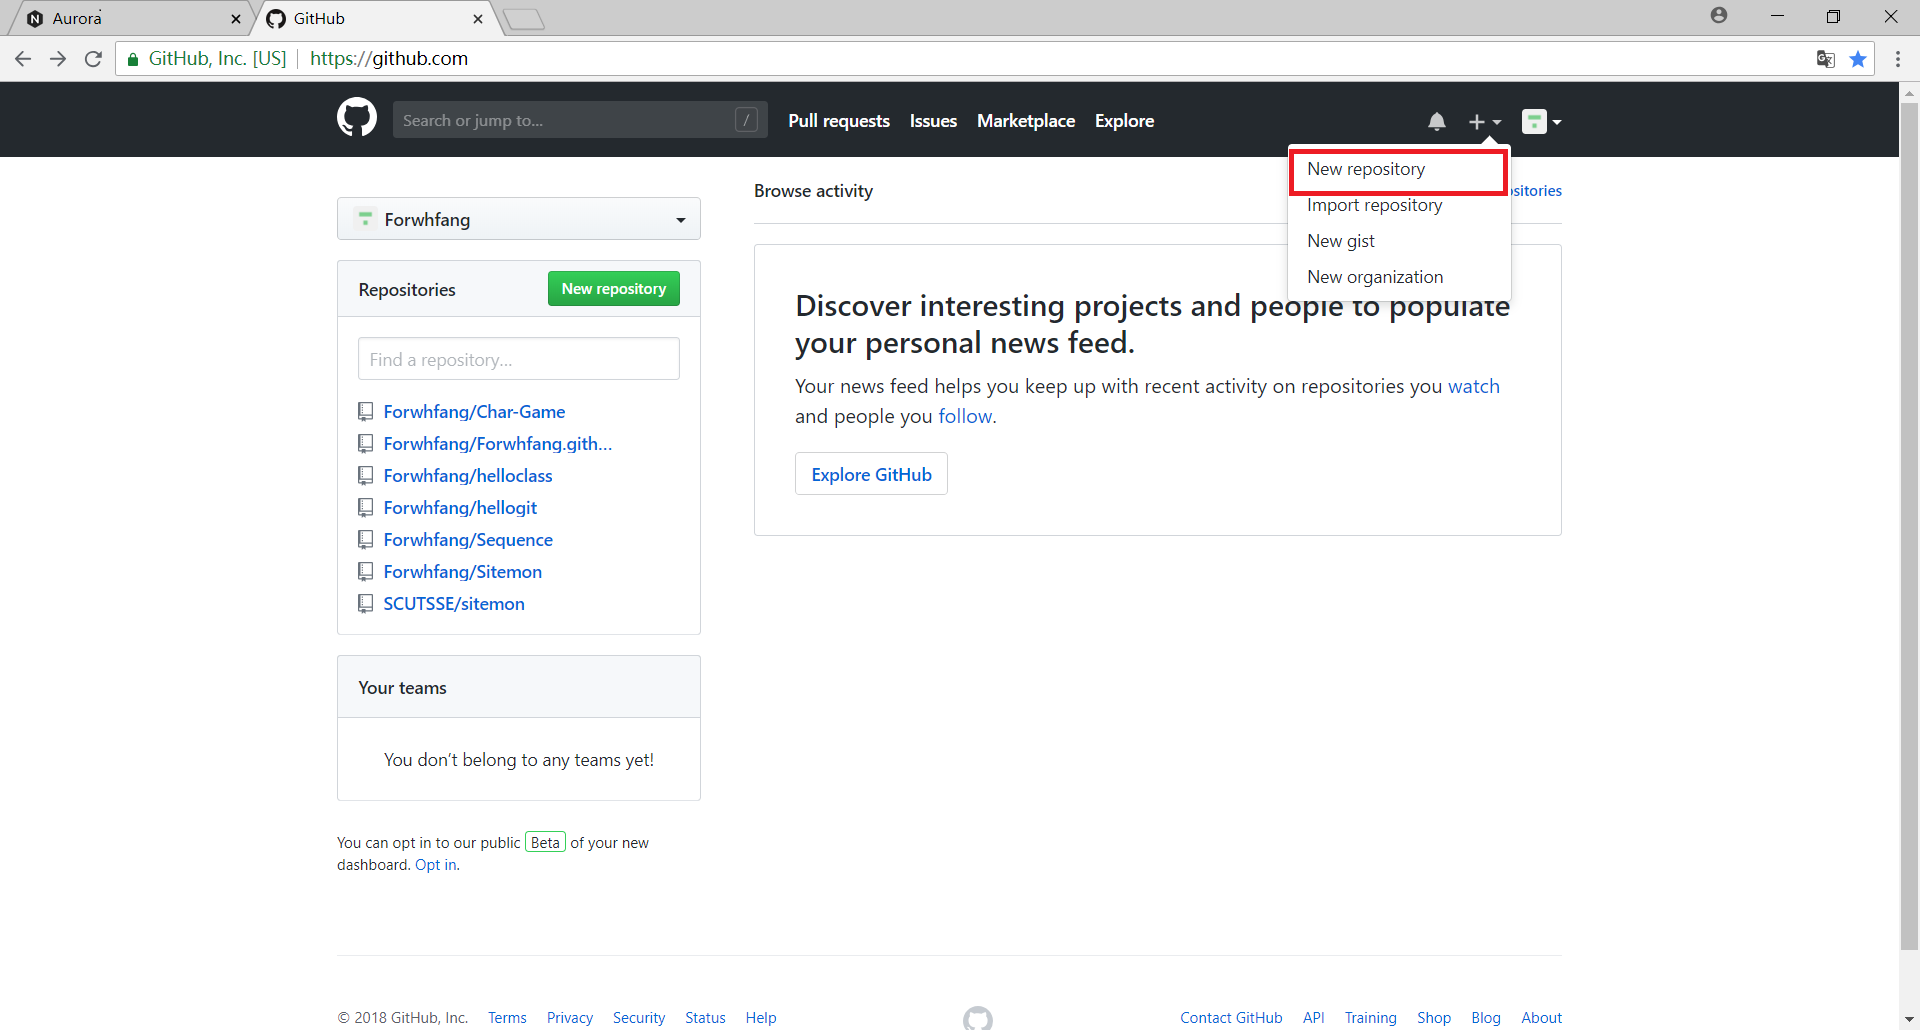
三、创建GitHub仓库
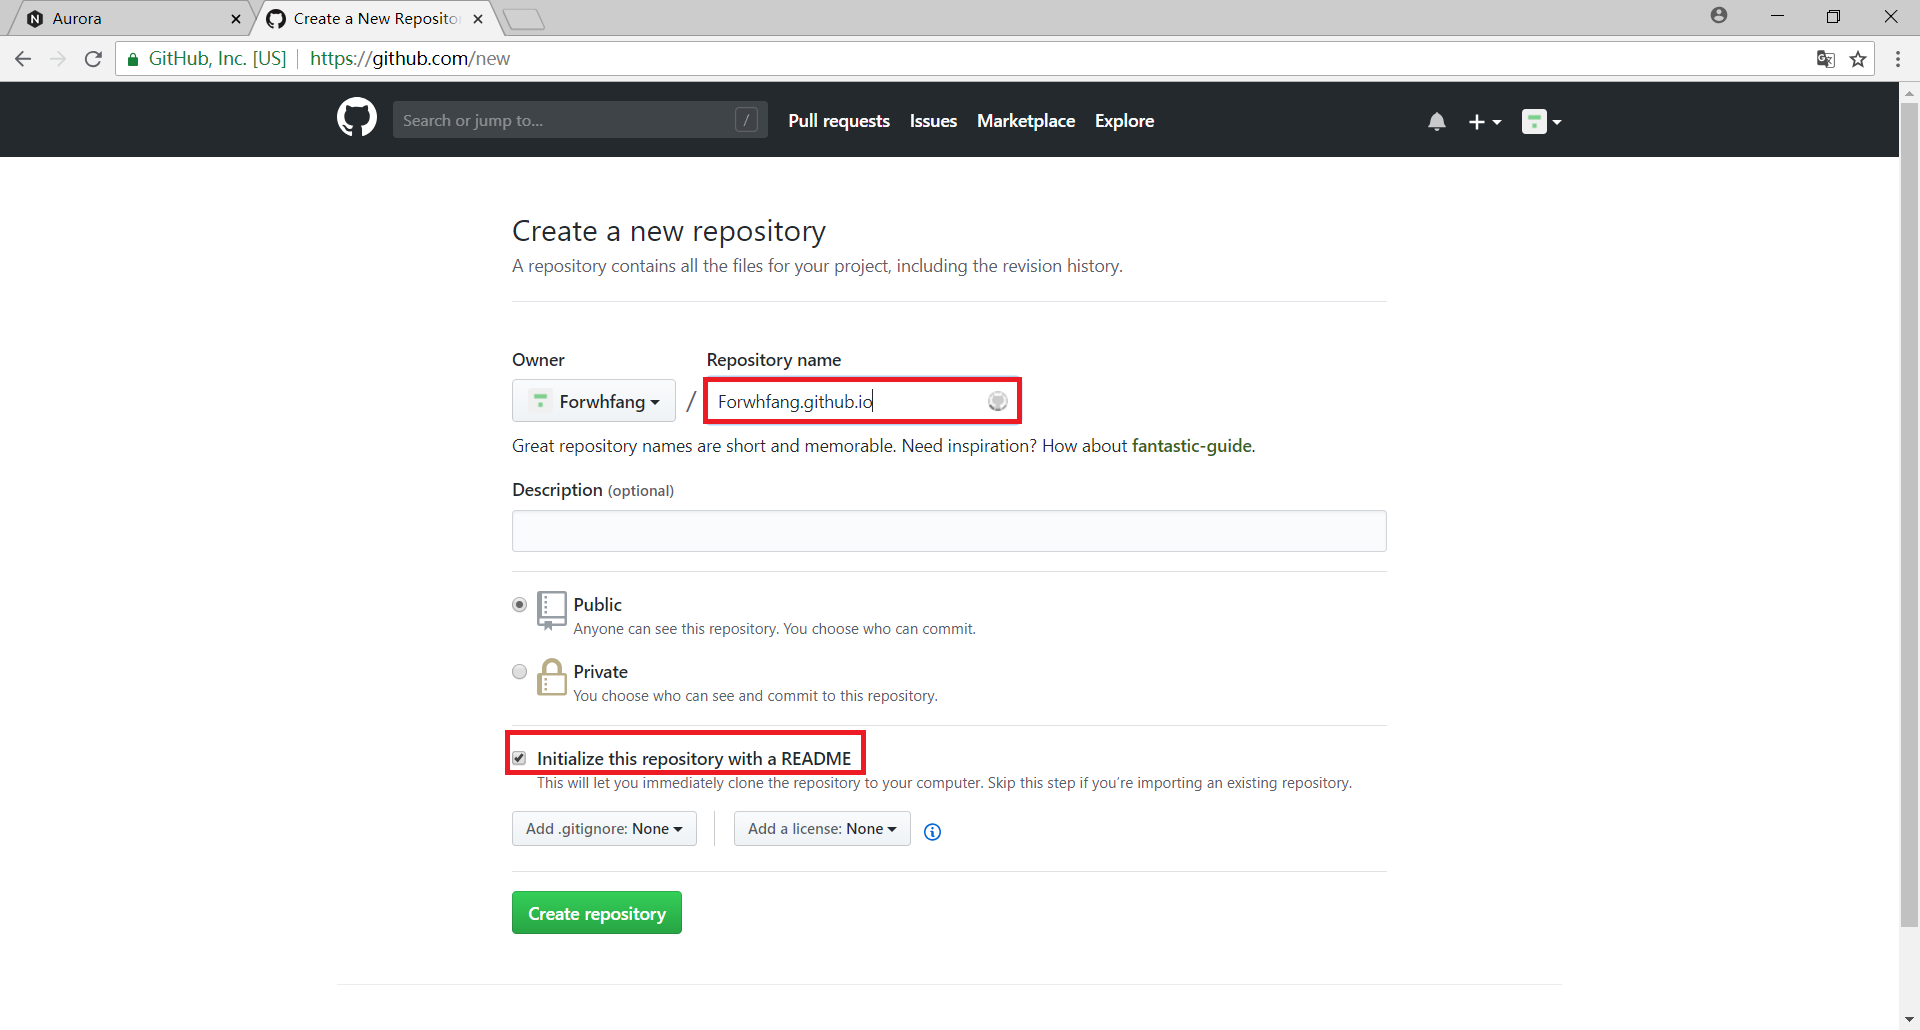
这里要注意Repository naem填写的格式为:username.github.io(其中的username替换成自己的GitHub名称),另外建议勾选Initialize this repository with a README选项
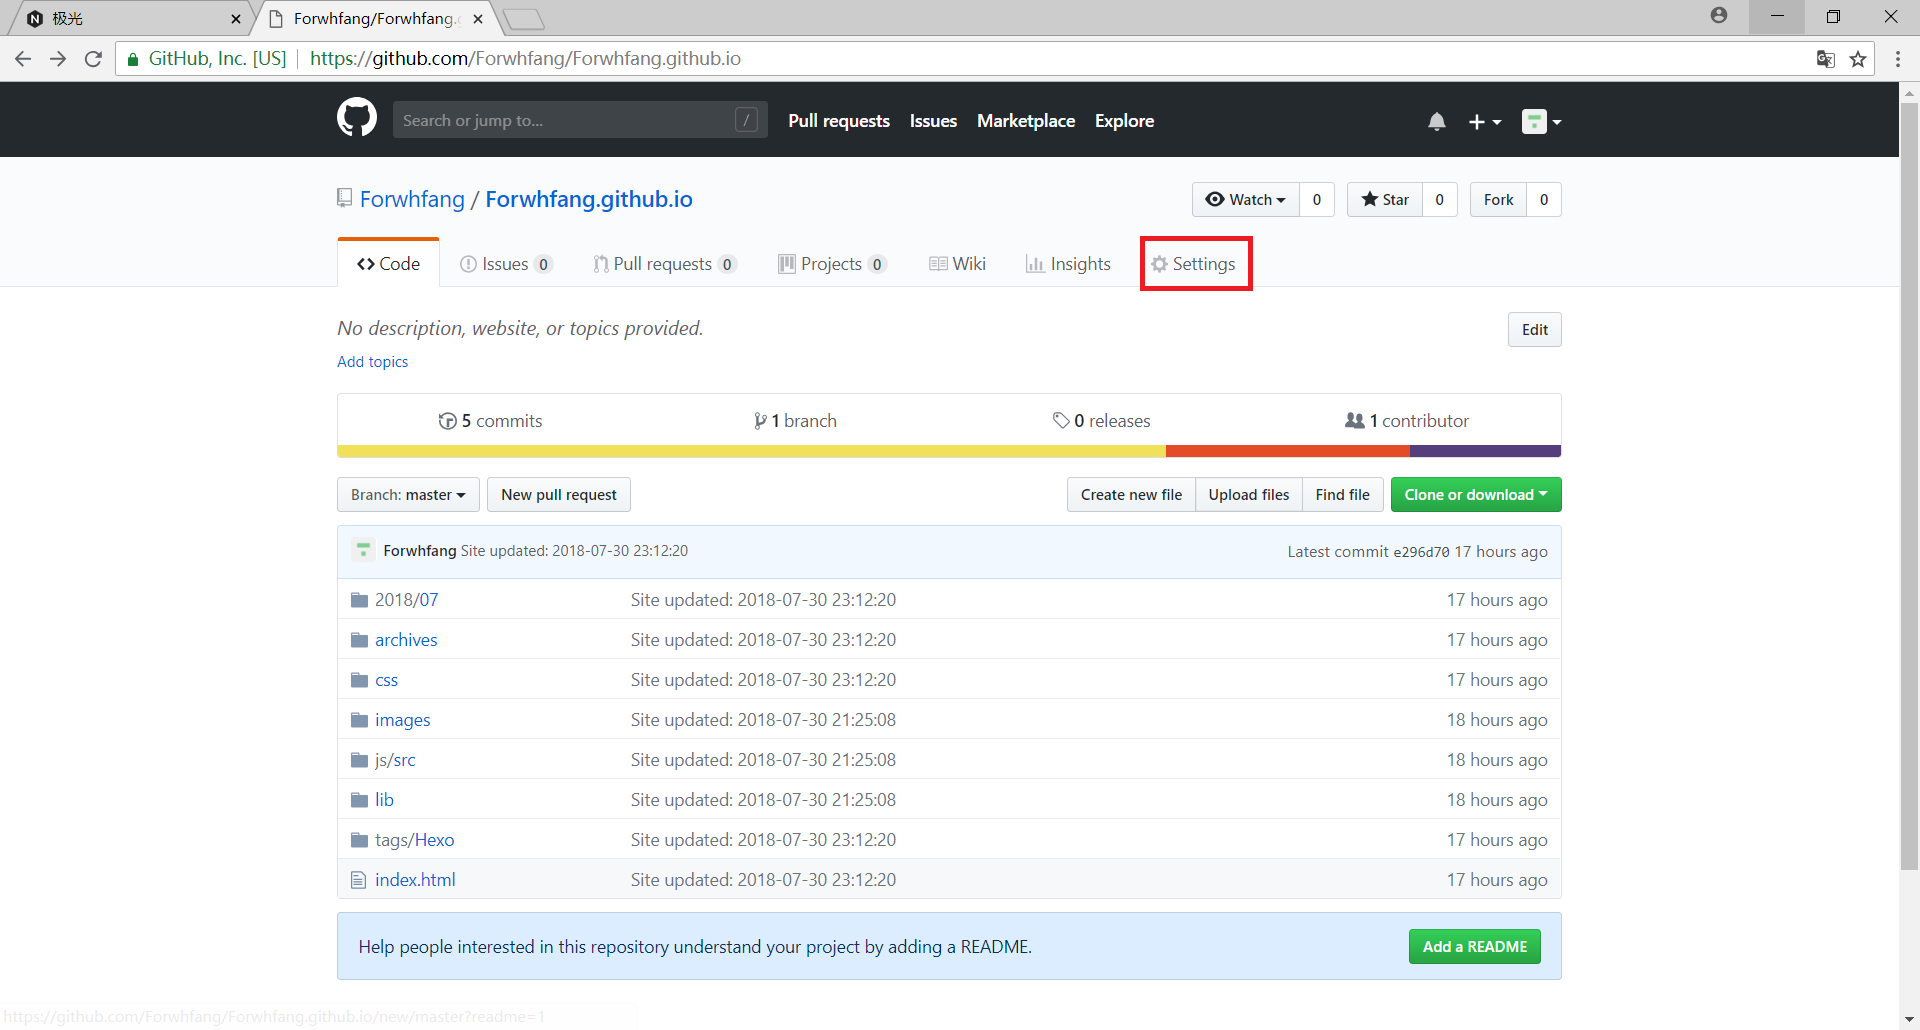
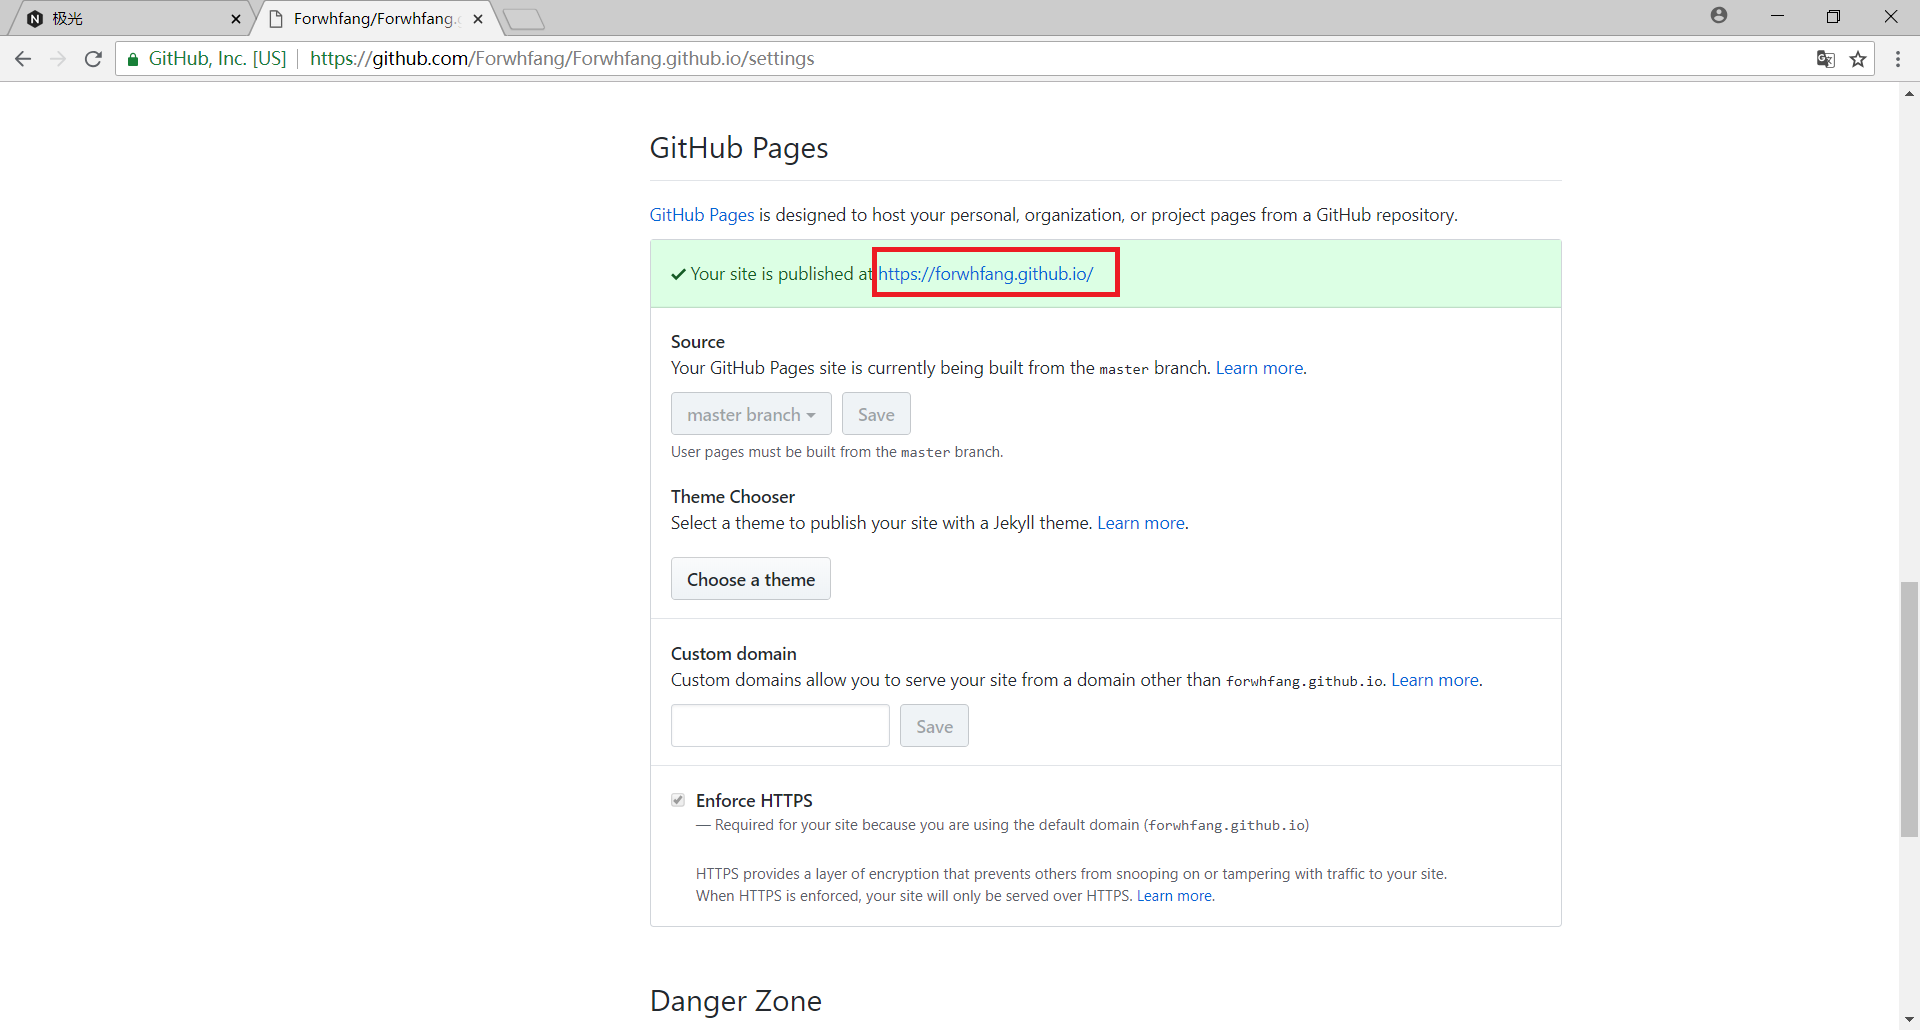
此时打开setting就会看到自己的个人网站已经生成了,网址为 https://username.github.io
四、将Hexo部署到GitHub
1. 安装插件
进入站点根文件夹,打开git shell输入npm install hexo-deployer-git --save命令安装插件
$ npm install hexo-deployer-git --save2. 配置SSH
进入站点根文件夹,打开git bash输入ssh-keygen -t rsa -C "your_email "命令并一路回车获得密钥
# 将your_email替换成自己的邮箱地址
user@machine MINGW64 ~/Desktop/test
$ ssh-keygen -t rsa -C "your_email"
Generating public/private rsa key pair.
Enter file in which to save the key (/c/Users/user/.ssh/id_rsa): <Enter>
Enter passphrase (empty for no passphrase): <Enter>
Enter same passphrase again: <Enter>
Your identification has been saved in /c/Users/user/.ssh/id_rsa.
Your public key has been saved in /c/Users/user/.ssh/id_rsa.pub.
The key fingerprint is:
SHA256:0Is/n+PgAf+mUEhFgTx+nVyJRZ4Pk/nqj3YOnVOAQmE email_address
The key's randomart image is:
+---[RSA 2048]----+
| . o+.E=o. |
| +o o..o= |
| .o..o.oO . |
| ..+..+. = . |
| +.S o .|
| = o o |
| . * o + |
| o *oo.o.. |
| o+=oo+o |
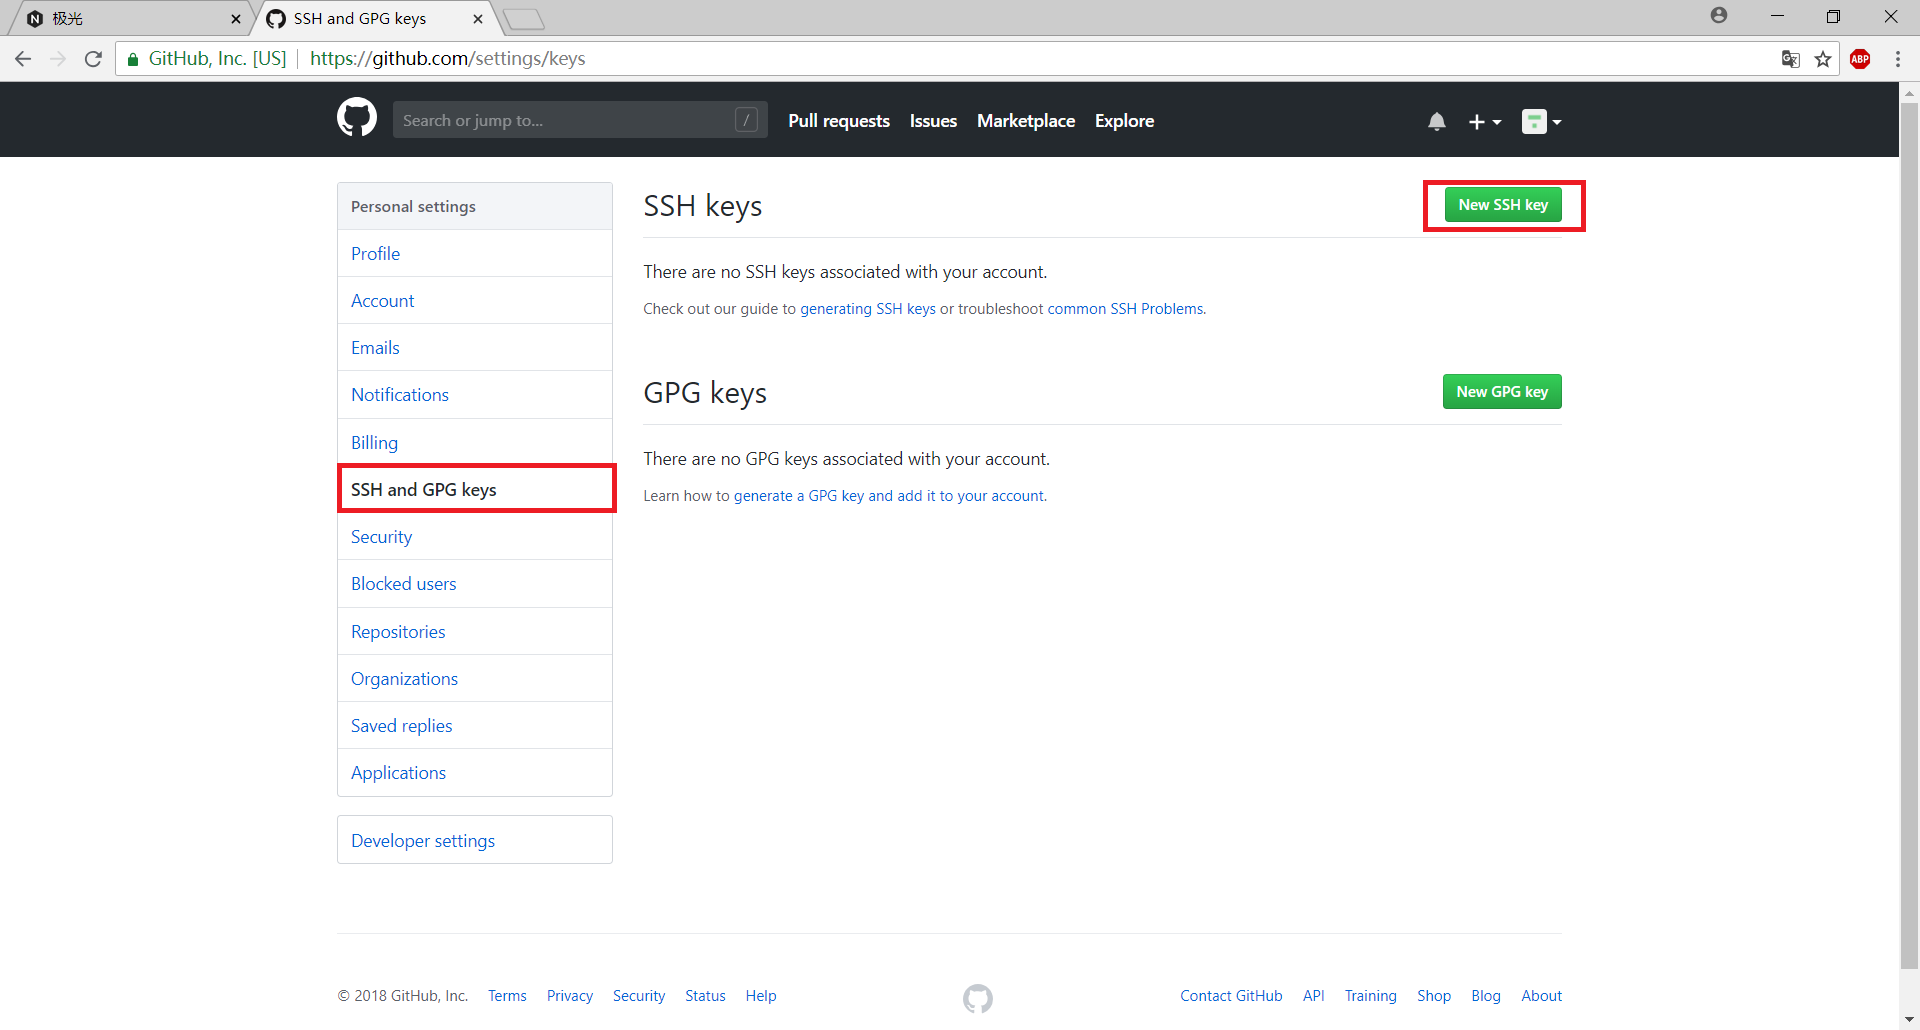
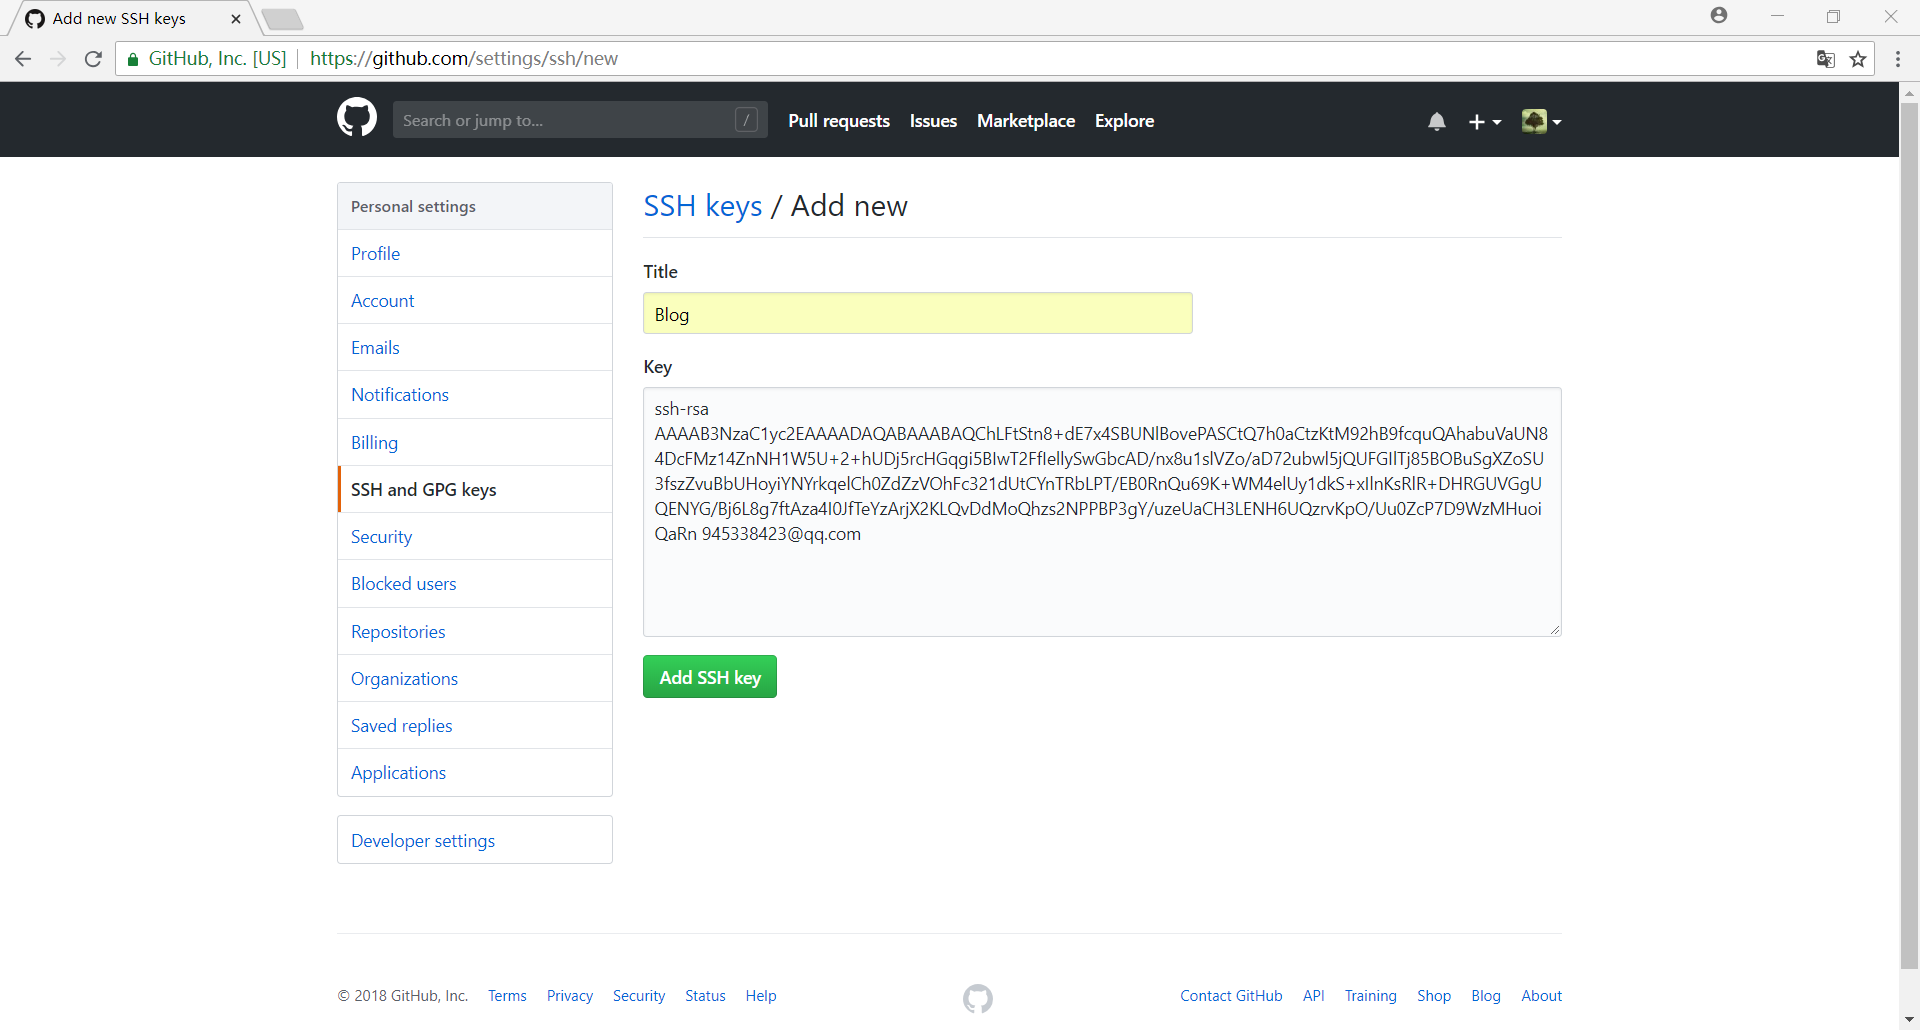
+----[SHA256]-----+完成后根据提示信息中的文件地址找到id_rsa.pub文件并复制里面的内容,然后登录Github,打开Setting,选择SSH and GPG keys,选择New SSh Key,然后将复制的内容添加到Key中(Title可以自己设定)
然后回到站点根文件夹,打开git bash输入ssh -T [email protected]命令验证是否添加成功
user@machine MINGW64 ~/Desktop/test
$ ssh -T [email protected]
The authenticity of host 'github.com (13.250.177.223)' can't be established.
RSA key fingerprint is SHA256:nThbg6kXUpJWGl7E1IGOCspRomTxdCARLviKw6E5SY8.
Are you sure you want to continue connecting (yes/no)? <yes> <Enter>
Warning: Permanently added 'github.com,13.250.177.223' (RSA) to the list of known hosts.
Hi Forwhfang! You've successfully authenticated, but GitHub does not provide shell access.
3. 修改配置信息
打开_config.yml文件,进行如下配置(将username替换成自己的名字)
# Deployment
## Docs: https://hexo.io/docs/deployment.html
deploy:
  type: git
  repo: https://github.com/username/username.github.io.git
  branch: master
4. 发布网页
git bash中输入命令 hexo g 生成静态文件和 hexo d 部署到网站
此时,打开 https://username.github.io 就可以看见已经部署好的网站了,大功告成!
写在后面的话:经过前面的学习,我们已经创建了一个可以在远端运行的博客网站了,但是想要打造一个独特的博客网站这还是远远不够的哦,下一篇文章 我们将更深入的了解一下Hexo框架的配置文件,谢谢大家