这篇文章是我自己写的关于实现springboot,使用的是IntelliJ IDEA 搭建,其中学习了其他博主的文章资料,如果有不理解的地方可以留言。
先简单说一下springboot
springboot其实就是基于spring 的基础上做的一个框架,目的是用来简化新Spring应用的初始搭建以及开发过程。该框架使用了特定的方式来进行配置,从而使开发人员不再需要定义样板化的配置。
使用springboot的好处其实就是简单、快速、方便。仅仅只需要简单的配置就可以快速搭建一套web项目。
搭建项目
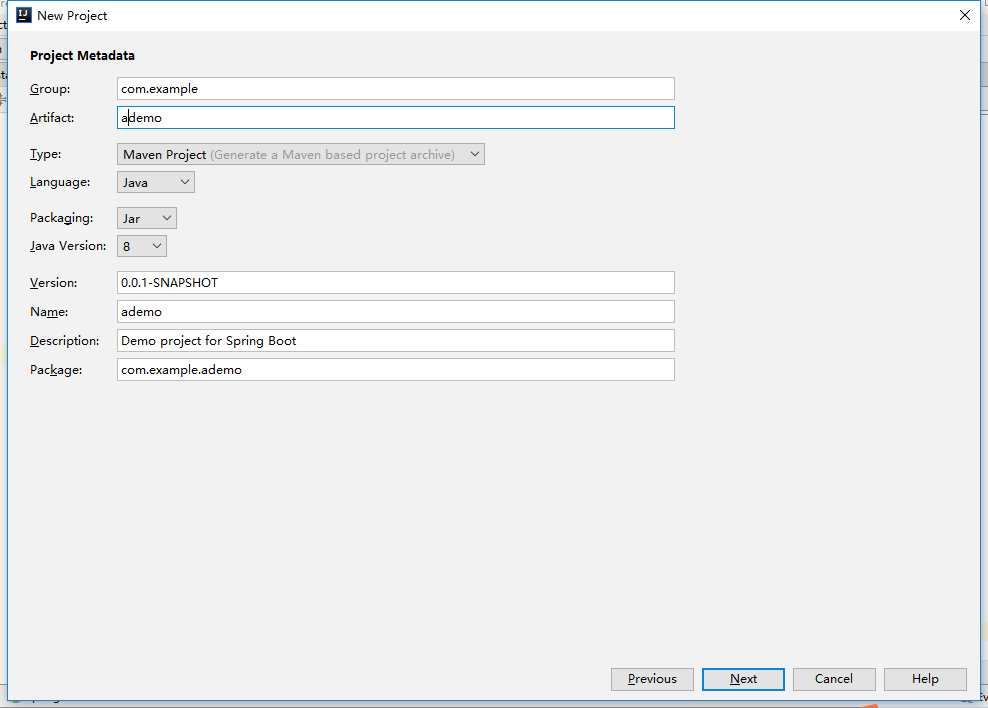
这里我使用的是 idea,点击Create New Project创建项目,选择SPRING Initializr,Next

GroupId 定义了项目属于哪个组;
Artifacted 定义了当前maven项目在组中唯一的ID;
Version 指定了myapp项目的当前版本,SNAPSHOT意为快照,说明该项目还处于开发中,是不稳定的版本。
Name 声明了一个对于用户更为友好的项目名称,不是必须的,推荐为每个pom声明name,以方便信息交流。
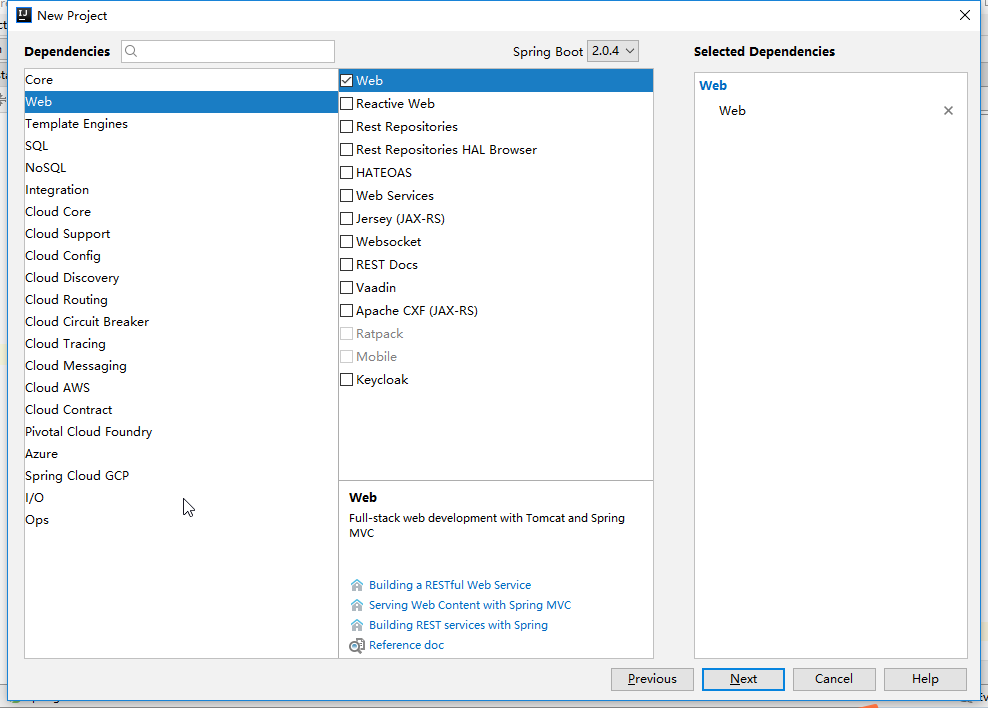
下面选择web,做个helloworld展示
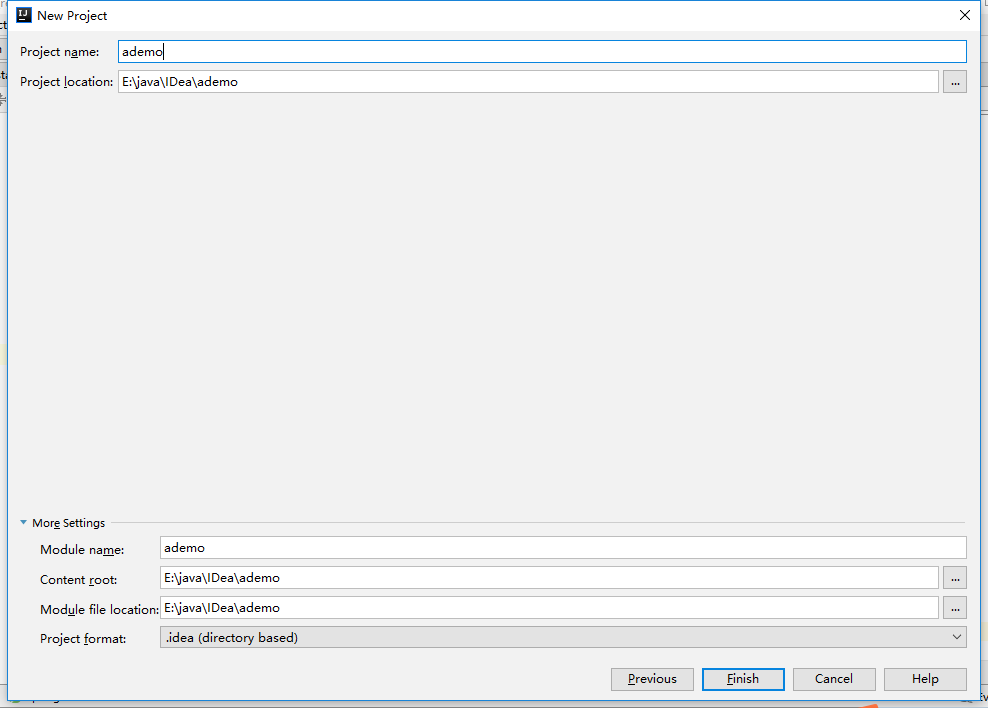
下面Finish就好了
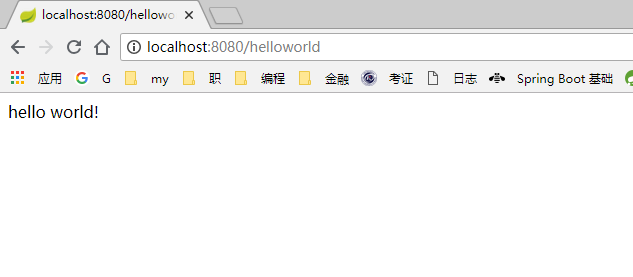
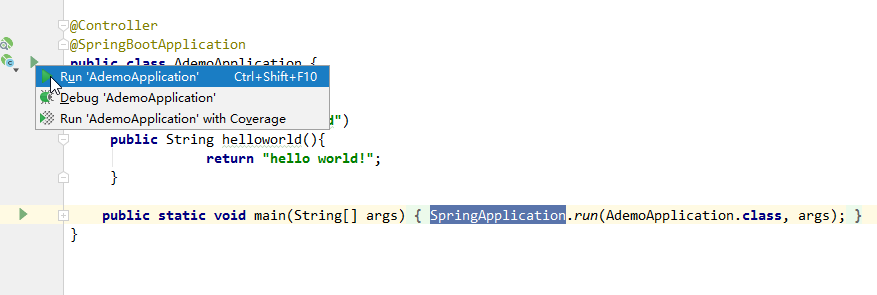
项目搭建好了,我们做一个简单的Helloworld显示,可以直接在运行类DemoApplication上面写方法,要在类上面添加一个@Controller声明,不然会找不到helloworld这个方法,通过@RequestMapping声明的值跳转到页面进行查看
 1 package com.example.demo;
 2
 3 import org.springframework.boot.SpringApplication;
 4 import org.springframework.boot.autoconfigure.SpringBootApplication;
 5 import org.springframework.stereotype.Controller;
 6 import org.springframework.web.bind.annotation.RequestMapping;
 7 import org.springframework.web.bind.annotation.ResponseBody;
 8
 9 @Controller
10 @SpringBootApplication
11 public class DemoApplication {
12
13     @ResponseBody
14     @RequestMapping("/helloworld")
15     public String helloworld(){
16         return "hello world!";
17     }
18
19     public static void main(String[] args) {
20         SpringApplication.run(AdemoApplication.class, args);
21     }
不用配置其他的属性,单击Run'DemoApplication' 让程序运行。
我们到 http://localhost:8080/helloworld 查看结果