一、创建config-server工程
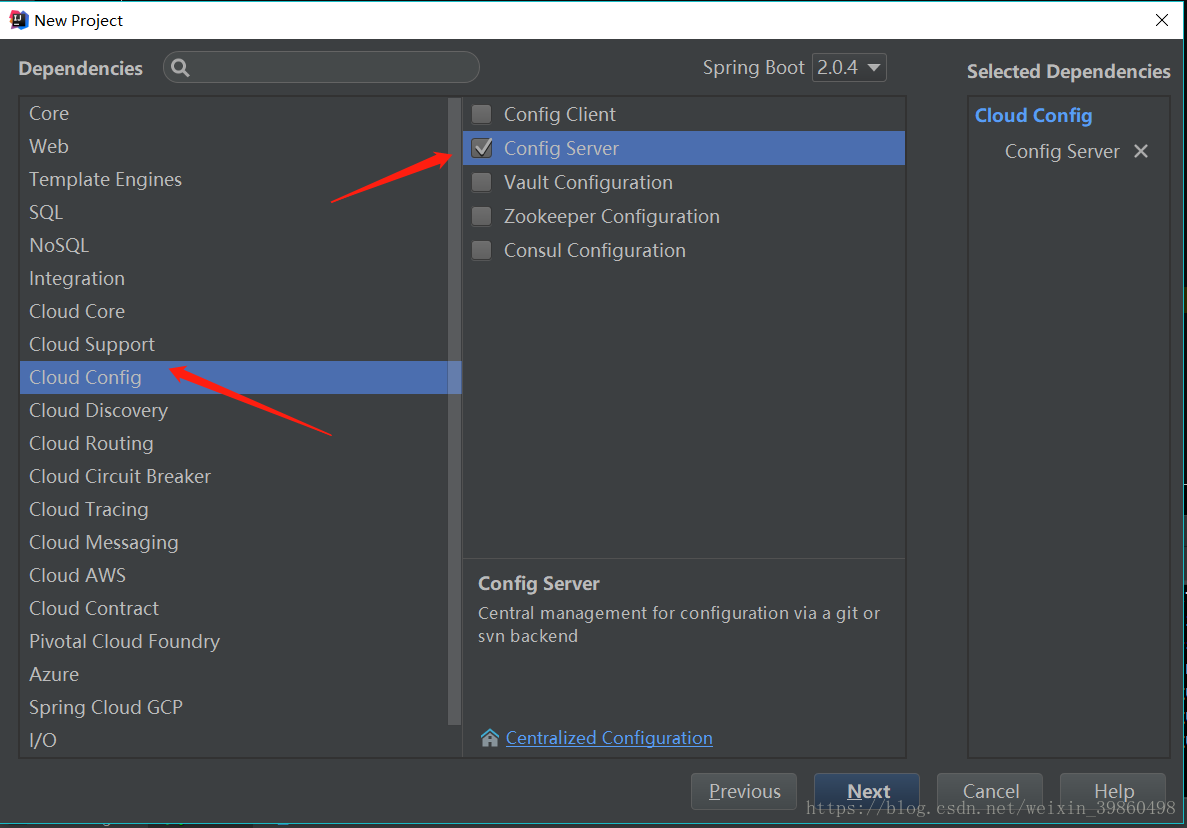
详细步骤参见【springcloud】Eureka的服务端,客户端及高可用,不同之处在于,除了选择Cloud Discovery的Eureka Client外,还需要选择Cloud Config的Config Server
启动类上添加@EnableConfigServer注解
package cn.aaralyn.sellconfig;

import org.springframework.boot.SpringApplication;
import org.springframework.boot.autoconfigure.SpringBootApplication;
import org.springframework.cloud.config.server.EnableConfigServer;
import org.springframework.cloud.netflix.eureka.EnableEurekaClient;

@SpringBootApplication
@EnableEurekaClient
@EnableConfigServer
public class SellConfigApplication {

	public static void main(String[] args) {
		SpringApplication.run(SellConfigApplication.class, args);
	}
}
在码云上创建项目,存放配置文件
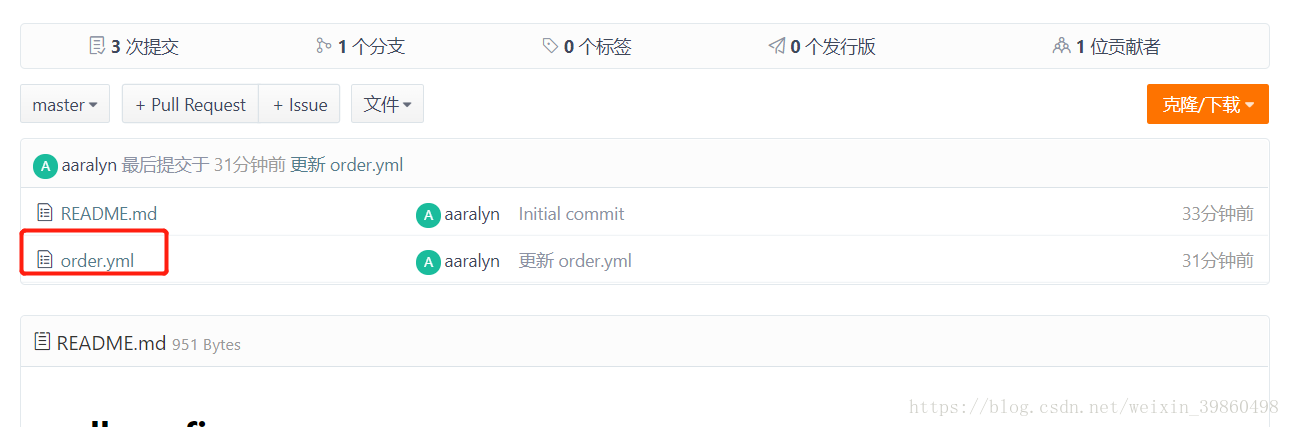
在yml文件中进行配置,如果在码云将项目设置为私有的,需要在配置文件中提供用户名和密码,如果为公开的,则只提供uri即可
server:
  port: 8082
spring:
  application:
    name: sell-config
  cloud:
  #设置配置中心
    config:
      server:
        git:
          uri: https://gitee.com/aaralyn/sell-config
          username: xxxxxx
          password: xxxxxxxxxxxx
eureka:
  client:
    service-url:
      defaultZone: http://localhost:8761/eureka
启动eureka server,启动config项目,进行访问

访问方式
查看启动日志,可以看到访问配置文件有多种方式
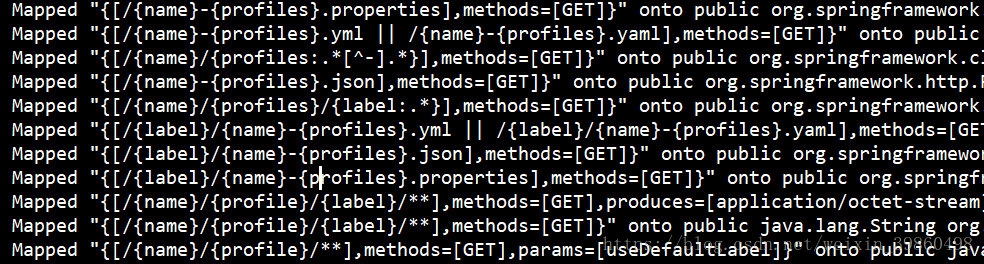
name:服务名
profiles:环境,如开发环境,测试环境
label:为git分支名称,不加时默认为master分支
如,我在git上传的文件是上传到master分支,name=order,profiles为空
我使用http://localhost:8082/order.yml访问,结果如下

使用http://localhost:8082/order-a.yml可以访问到

二、改造之前的订单工程,使其成为config client工程
在pom文件中添加config client 的依赖
<dependency>
    <groupId>org.springframework.cloud</groupId>
    <artifactId>spring-cloud-config-client</artifactId>
</dependency>
将application.yml改为bootstrap.yml,内容改为
spring:
  application:
    name: order
  cloud:
    config:
      discovery:
        enabled: true
        service-id: sell-config #config server工程的应用名称
      profile: dev
文件名改为bootstrap.yml后,应用会优先启动该配置文件
spring.application.name+spring.cloud.config.profile+spring.cloud.config.label用于定位在git中的配置文件
spring.cloud.config.profile默认为空
spring.cloud.config.label默认为master
如上的order+dev可定位到在主分支上,文件名为order-dev的配置文件
至此,改造完成,下面来进行测试
我在码云上又添加了两个yml文件,order-dev.yml和order-test.yml,两个文件增加了相同的配置项:profiles,order-dev.yml的profiles=dev,order-test.yml的profiles=test
创建一个controller,添加下面的代码,测试你目前使用的是哪一个配置文件
    @Value("${profiles}")
    private String  profiles;

    @RequestMapping("profiles")
    public String profiles(){
        return profiles;
    }