全局配置
在app.json中,对小程序进行全局配置。官方文档
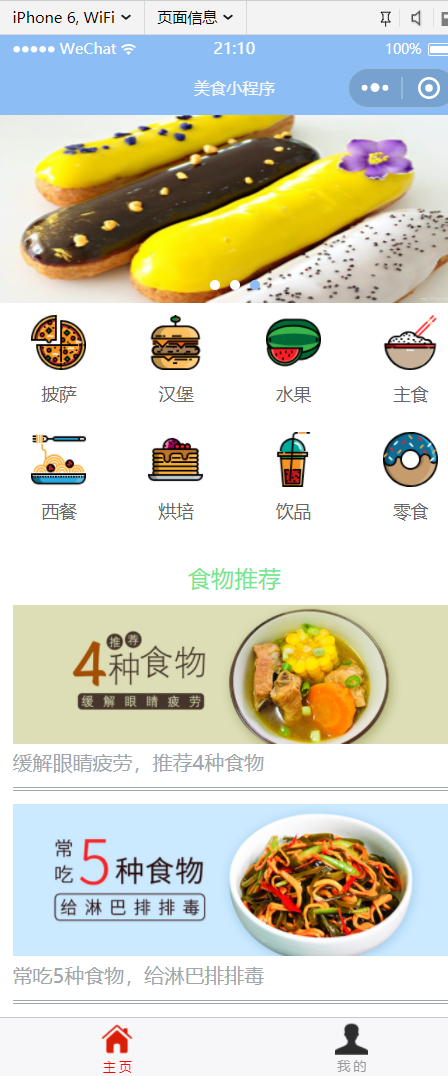
tabBar是对底部/顶部导航栏的配置,图片的icon 大小限制为40kb,建议尺寸为 81px * 81px
去阿里矢量图网站,找到图片,存放到images文件夹中
app.json中的tabBar代码:
"tabBar": {
    "list": [{
      "pagePath": "pages/home/home",
      "text": "主 页",
      "iconPath": "images/home.png",
      "selectedIconPath": "images/home-red.png"
    },{
      "pagePath": "pages/user/user",
      "text": "我 的",
      "iconPath": "images/user.png",
      "selectedIconPath": "images/user-red.png"
      }
    ]
  }
我的底部导航栏:

swiper滑块视图
通过swiper,制作一个轮播图。官方文档
轮播图位于主页的顶部,wxml代码:
<view class='top-swiper'>
<swiper autoplay='true' indicator-dots='true' indicator-color='#fff' indicator-active-color='#8CBEF5' circular='true'>
  <swiper-item wx:for="{{banners}}">
    <image src='{{item.imgUrl}}'></image>
  </swiper-item>
</swiper>
</view>
wxss代码:
swiper-item image {
  width: 100%;
  height: 100%;
}
图片宽高都设为100%,相当于拉伸填充;虽然图片会变形,但无伤大雅。
列表渲染
列表渲染,其实就是for循环。官方文档
页面数据是存放在.js文件,里面的Page.data之内。
将data中的数组之内的数据,以for循环的形式传递到wxml之中,这是我理解的列表渲染。
通过列表渲染,完成了主页的中间部分。
wxml代码:
<view class='navs'>
<view class="nav-item" wx:for="{{icons}}">
  <view>
    <image class='iconPic' src='{{item.imgUrl}}'></image>
  </view>
  <text class='iconTitle'>{{item.name}}</text>
</view>
</view>
wxss代码:
.navs {
  display: flex;
  width: 100%;
  flex-wrap: wrap;
  background-color: #fff;
  margin-bottom: 10px;
}
.nav-item {
  width: 25%;
  padding: 10px;
  display: inline-block;
  text-align: center;
  box-sizing: border-box;
}
.iconPic {
  width: 88rpx;
  height: 88rpx;
}
.iconTitle {
  color: #666;
  font-size: 14px;
}
主页的顶部与中部就完成了:

text组件

image组件
这里用到了mode属性中的widthFix,但要在wxss中对图片的宽度width进行设置。
navigator组件
navigator组件用于页面的跳转。

利用navigator组件,编写主页底部,并完成底部文章的跳转页面。
wxml代码:
<view class='article'>
  <view class='article-top'>食物推荐</view>
  <view class='article-item' wx:for="{{article}}">
    <navigator url='{{item.link}}' open-type='navigate'>
      <image class='articlePic' src='{{item.imgUrl}}' mode='widthFix'></image>
      <view class='articleTitle'>{{item.title}}</view>
    </navigator>
  </view>
</view>
wxss代码:
.article {
  background-color: #fff;
  padding: 10px;
}
.article-top {
  text-align: center;
  color: rgb(116, 230, 144);
}
.article-item {
  padding-bottom: 10px;
  padding-top: 10px;
  border-bottom-style: double;
  border-width: 3px;
  border-color: #A1A7AD;
}
.articlePic {
  width: 100%;
}
.articleTitle {
  font-size: 16px;
  color: #A1A7AD;
}
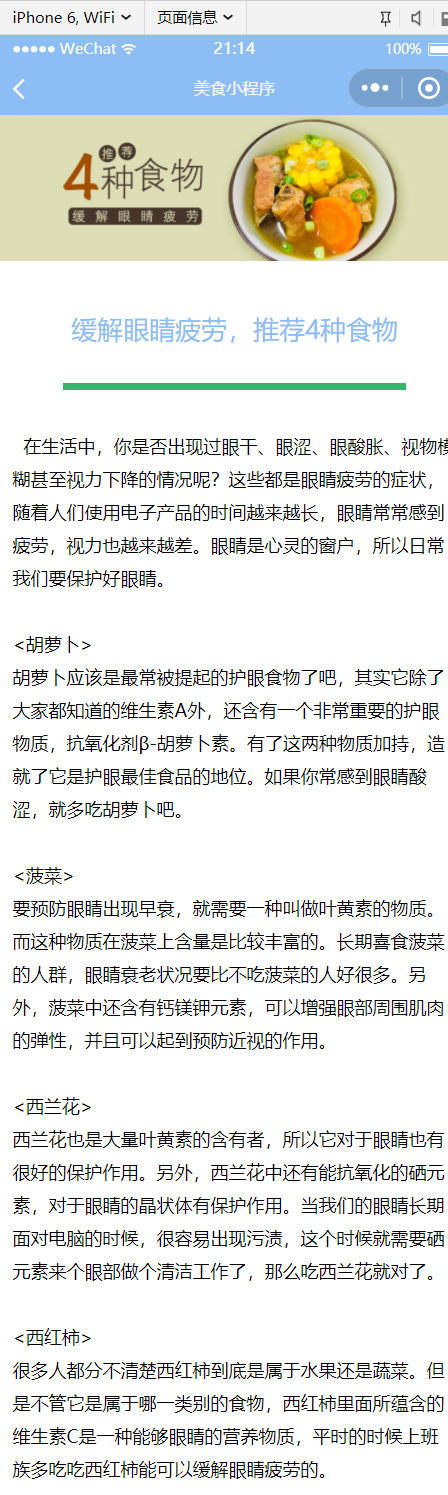
因为两个跳转的页面布局相同,只呈现一个的。
wxml代码:
<view>
  <image class='img' src='{{article.imgUrl}}' mode='widthFix'></image>
</view>

<view>
  <view class='title'>
    <view class='title-bottom'>{{article.title}}</view>
  </view>
  <view class='text'>
    <text decode='true'>{{article.content}}</text>
  </view>
</view>
wxss代码:
.img {
  width: 100%;
}
.title {
  position: relative;
  text-align: center;
  font-size: 26px;
  color: #8CBEF5;
  padding: 15px;
  margin-bottom: 20px;
}
.title-bottom {
  padding: 20px;
}
.title-bottom:after {
  content: "";
  position: absolute;
  left: 50px;
  top: auto;
  bottom: 0;
  right: auto;
  height: 5px;
  width: 275px;
  background-color: #32b66b;
}
.text {
  padding: 10px;
  font-size: 18px;
  line-height: 1.5;
}
这里用到了css中的伪类 :after ,来控制边框的长短。
参考了博客:https://blog.csdn.net/Colossalis_c/article/details/71216339
最终完成后的主页与跳转页:

scroll-view可滚动视图区域
scroll-x属性设为true,允许横向滚动。scroll-left设置横向滚动条位置。
滚动区域基本编写完毕。编写过程中,出现滚动区域无法拖动的问题,待明天解决。