前言
想要使用maven搭建项目,但是国内的网络环境可以想象,还有公司自己开发的jar包等问题,所以需要搭建一个maven的私服,这样便于管理。
找了一些教程,顺便记下来,当做笔记。
本文以Windows系统为例。
1. 下载
官网: https://www.sonatype.com/
下载地址: https://www.sonatype.com/nexus-repository-oss
官方文档: https://help.sonatype.com/repomanager3
下载的时候选择Nexus Repository OSS,带Pro的大家都知道,是收费版。
根据自己的系统选择对应版本,支持OS X,Windows,Unix三大系统。
本文选择的是最新版本 nexus-3.12.0-01-win64.zip,地址https://www.sonatype.com/oss-thank-you-win64.zip
最新的3.x版本除了支持maven,还支持Bower,Docker,Git,npm,NuGet等等。
2. 安装
安装很简单,直接解压到指定目录就可以,绿色版的,但是Windows用户需注意目录路径不能含有中文,空格等字符。
3. 配置
Nexus需要配置的地方不多,但是这个自带jetty,默认端口8081,可能会有端口冲突,找到配置文件修改即可。
进入到nexus安装目录。
# 打开
.\nexus-3.12.0-01-win64\nexus-3.12.0-01\etc\nexus-default.properties
# Jetty 访问端口,默认是8081
application-port=8083
# 本机地址
application-host=0.0.0.0
4. 启动
启动有两种方法,一是直接启动,二是安装成服务。
进入安装目录
C:\Windows\system32>D:

D:\>cd D:\Soft\nexus-3.12.0-01-win64\nexus-3.12.0-01\bin
- 直接启动
D:\Soft\nexus-3.12.0-01-win64\nexus-3.12.0-01\bin>nexus.exe /run第一次启动比较慢,等到打印出来下面的内容就启动成功了。
-------------------------------------------------

Started Sonatype Nexus OSS 3.12.0-01

-------------------------------------------------这个启动成功之后,直接按enter就可以停止服务。
- 安装成服务
D:\Soft\nexus-3.12.0-01-win64\nexus-3.12.0-01\bin>nexus.exe /install nexus
Installed service 'nexus'.
可以直接在服务里面启动,也可以使用下面的命令启动
D:\Soft\nexus-3.12.0-01-win64\nexus-3.12.0-01\bin>nexus.exe /start nexus
Starting service 'nexus'.
5. 使用
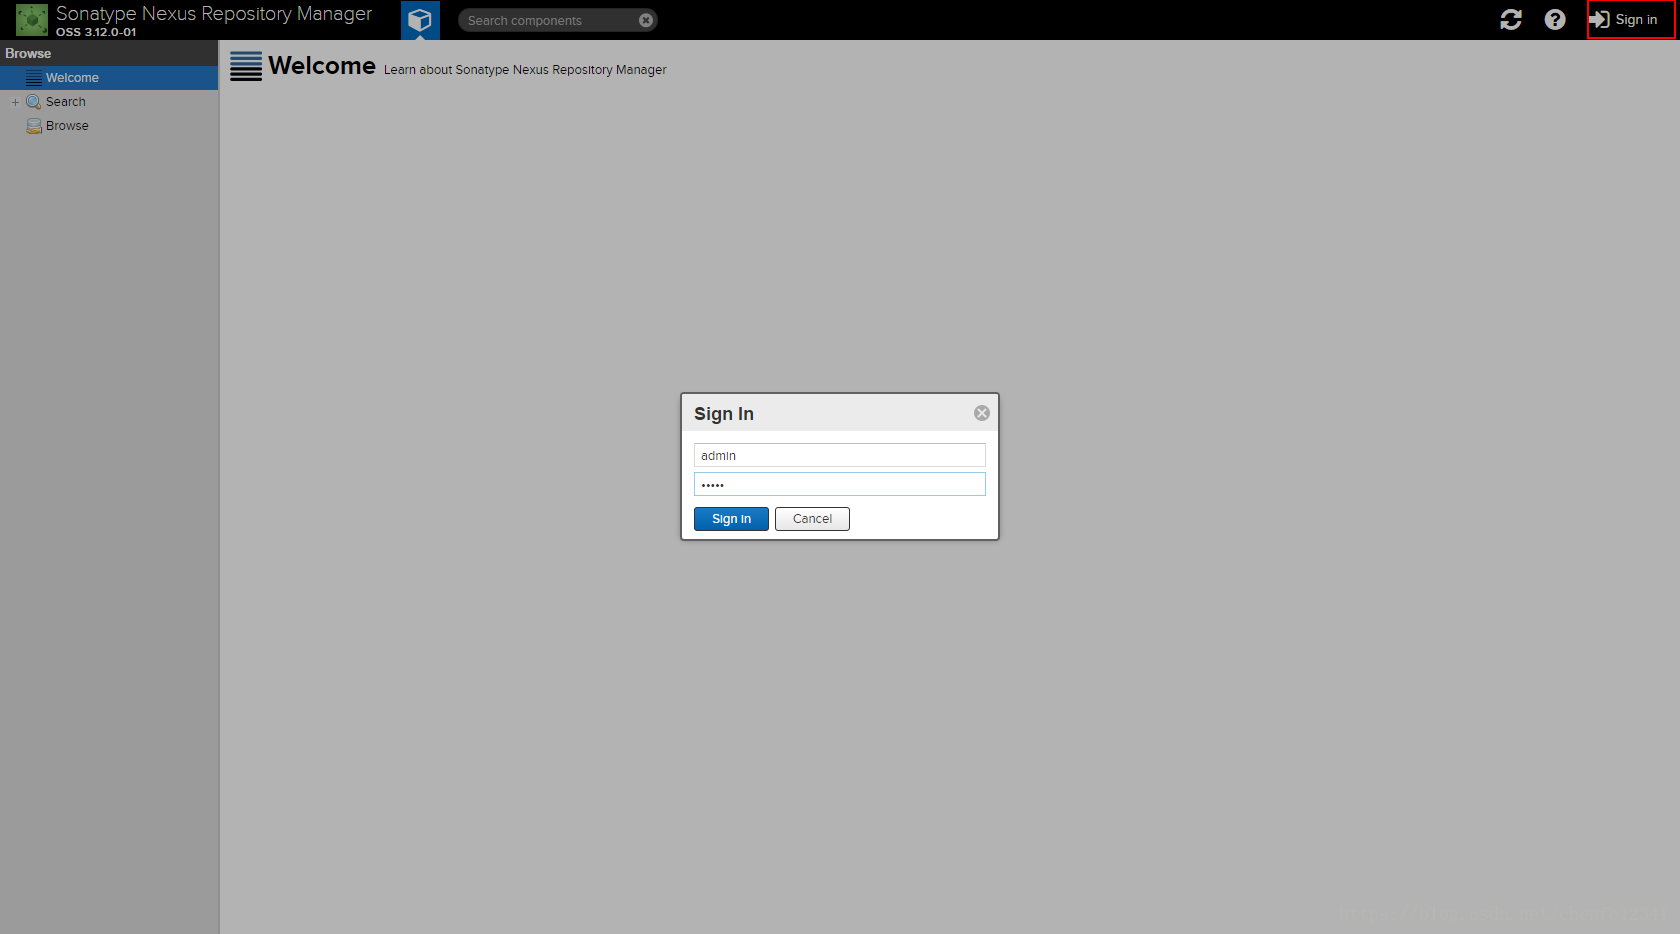
打开 http://localhost:8083/
点击右上角Sign in,输入账号密码,默认是 admin, admin123。
点击齿轮状按钮,可进入配置页面,进入Repository-Repositories:
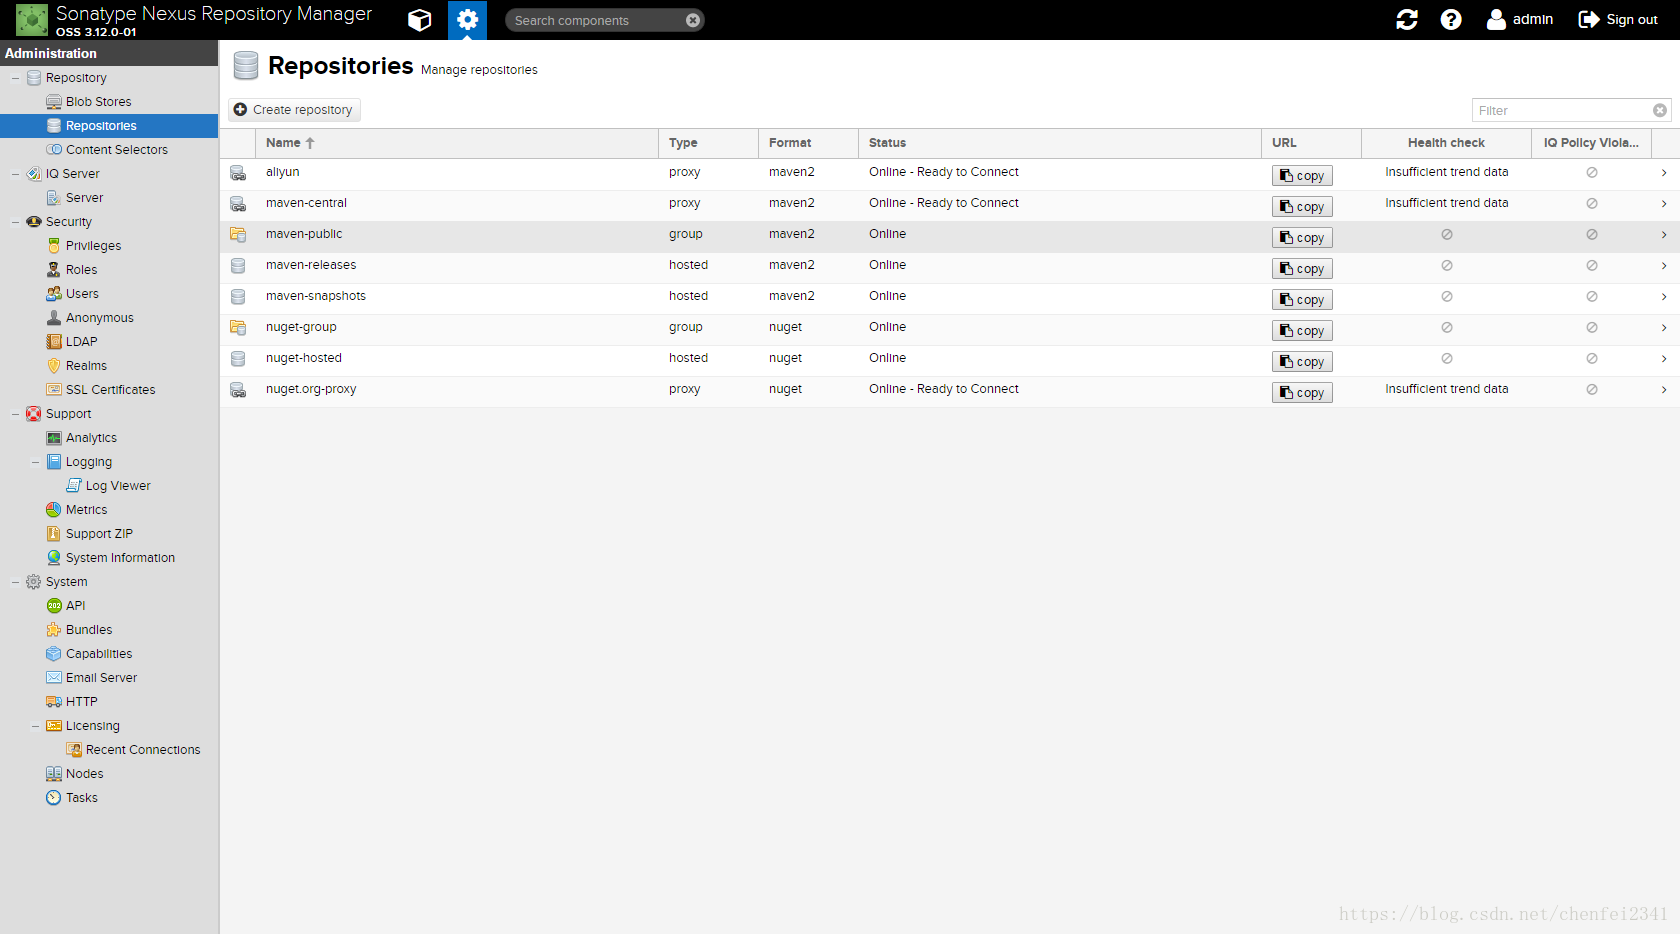
Repository的type属性有:proxy,hosted,group三种。
proxy:即你可以设置代理,设置了代理之后,在你的nexus中找不到的依赖就会去配置的代理的地址中找;
hosted:你可以上传你自己的项目到这里面;
group:它可以包含前面两个,是一个聚合体。一般用来给客户一个访问nexus的统一地址。
简单的说,就是你可以上传私有的项目到hosted,以及配置proxy以获取第三方的依赖(比如可以配置中央仓库的地址)。前面两个都弄好了之后,在通过group聚合给客户提供统一的访问地址。
至于format,因为本文讲的的 Maven Repository ,所以请选择maven2;
你还可以添加一个国内的私有maven库作为代理,避免中央库无法连接,譬如阿里云:
http://maven.aliyun.com/nexus/content/groups/public/
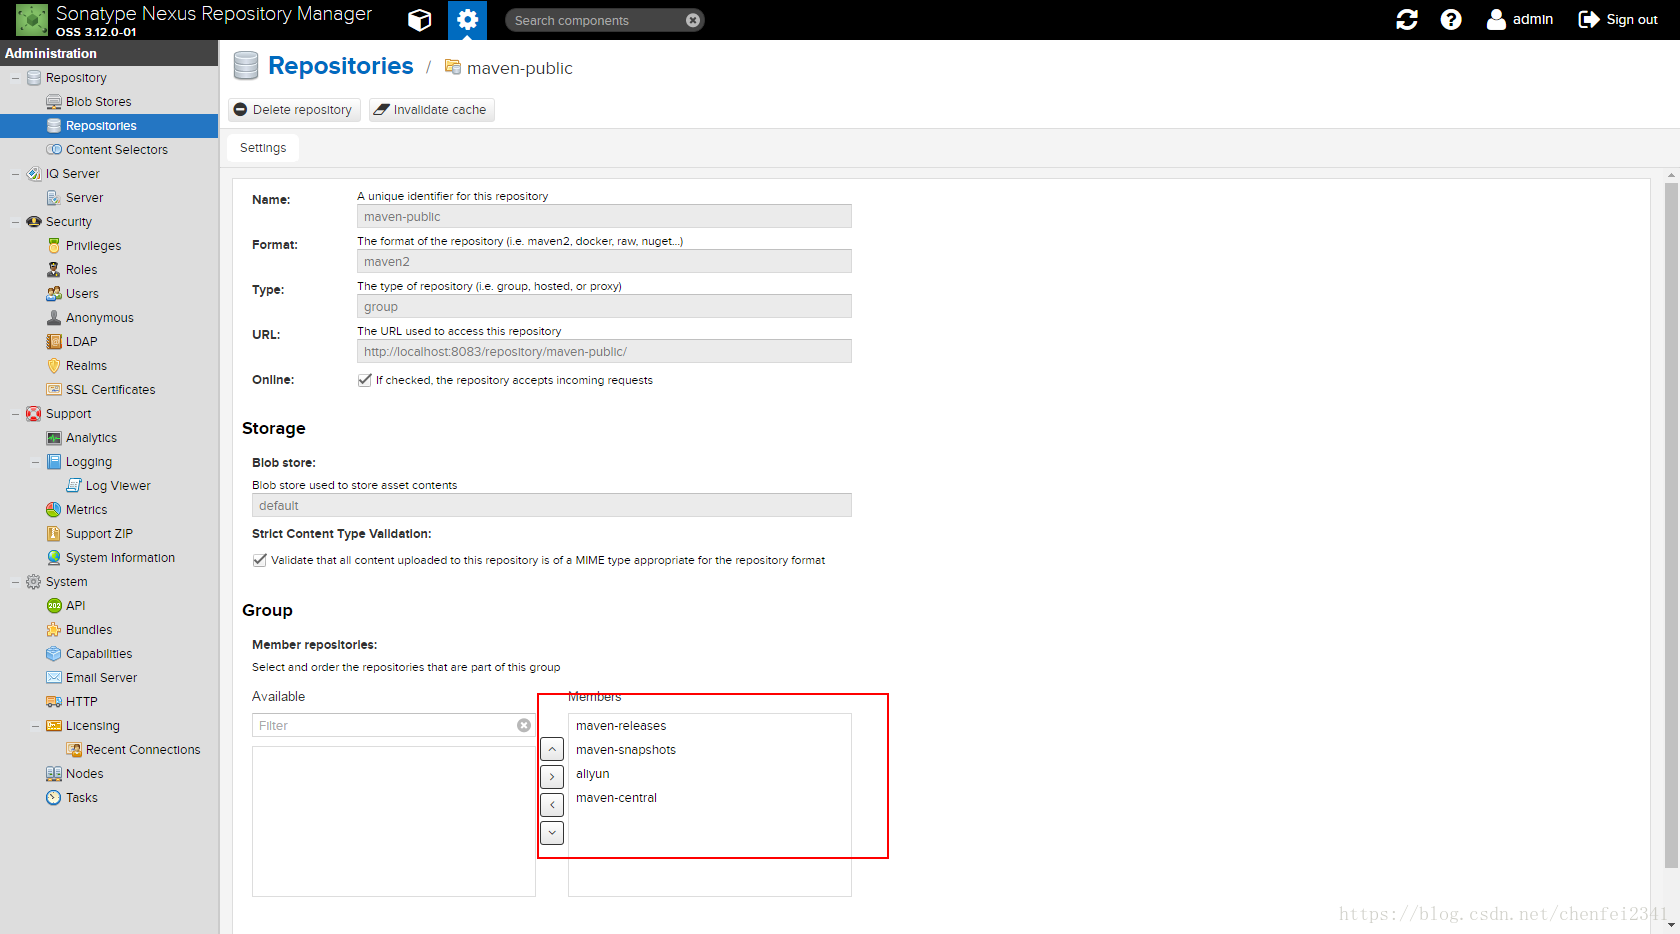
系统默认就有以上几个Repository。点击maven-public 确保已经将 maven-central,maven-releases以及maven-snapshots都包含在里面,如果你自己有自定义库,请确保也在里面。
maven-releases : 默认配置只能上传 release版本的项目
maven-snapshots: 默认配置只能上传 snapshots版本的项目
nuget开头的库: .net使用的库,java不用管
如有特殊要求,可以自己创建一个Version policy 为Mixed的Repository。
以上配置就能满足一般需求了。
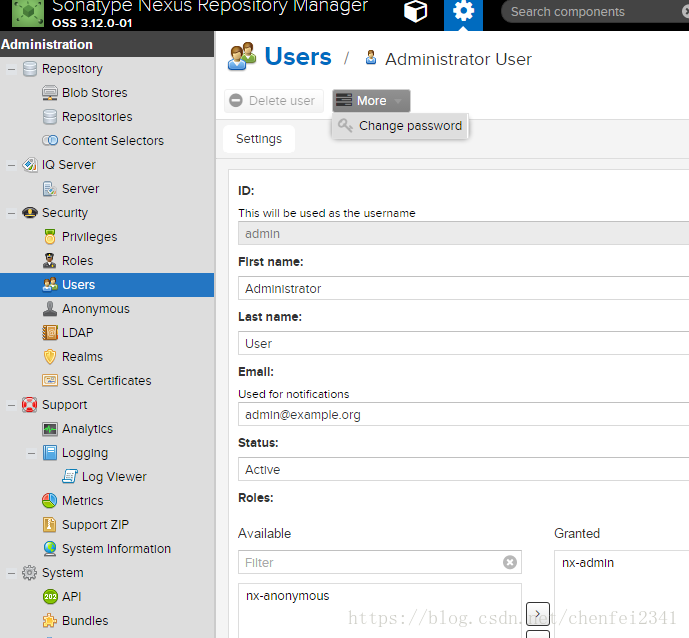
修改用户密码和添加用户
没能找到用户密码的配置,但是在网页是可以修改的,找到 Security > Users , 点击 Create local user 添加新用户,选择用户,点击 More 可以选择修改密码,需要先输入原密码,验证通过熟人新密码。
6. 使用 mvn deploy 向 Nexus服务器 上传项目
- 首先: maven setting.xml配置
<?xml version="1.0" encoding="UTF-8"?>
<settings>
    <localRepository>D:\Soft\apache\maven-repository</localRepository>
    <mirrors>
        <mirror>
            <!--This sends everything else to /public -->
            <id>nexus</id>
            <mirrorOf>*</mirrorOf>
            <url>http://localhost:8083/repository/maven-public/</url>
        </mirror>
    </mirrors>
    <servers>
        <server>
            <id>nexus</id>
            <username>admin</username>
            <password>zxm10@</password>
        </server>
    </servers>
</settings>
localRepository:本地库的地址
mirror:nexus地址
servers:nexus服务器登录名和密码,server可以配置多个,赋予不同权限,例如Release和Snapshot不同
- 1. 使用cmd上传
mvn deploy:deploy-file -DgroupId=com.cxx -DartifactId=fu -Dversion=1.0.0 -Dpackaging=jar -Dfile=%待上传jar地址% -Durl=http://localhost:8081/repository/maven-releases/ -DrepositoryId=nexus -s %MAVEN_HOME%\conf\settings.xml参数说明:
-D: 传入指定参数 分别对应pom中的 groupId,artifactId,version,packaging
file: 本地jar的路径
url: Repository Url (请选择对应release,snapshots或mixed的url)
repositoryId: 对应setting.xml中server id
-s: setting.xml的路径(如果使用默认conf中的setting,则无需配置)
- 2. 使用IDE上传
项目中的pom文件添加
<distributionManagement>
    <repository>
        <id>nexus</id>
        <name>Nexus Release Repository</name>
        <url>http://localhost:8083/repository/maven-releases/</url>
    </repository>
    <snapshotRepository>
        <id>nexus</id>
        <name>Nexus Snapshot Repository</name>
        <url>http://localhost:8083/repository/maven-snapshots/</url>
    </snapshotRepository>
</distributionManagement>
id: 对应setting.xml中server id
name: nexus Repository name
url: nexus Repository url
需要说明的是,我们在Maven项目的pom.xml文件中 ,如果版本号中含有SNAPSHOT,则会自动发布到Snapshots仓库中,例如:
<groupId>cn.xiweiai</groupId>
<artifactId>azkaban-app-deployer</artifactId>
<version>0.0.1-SNAPSHOT</version>
如果将version的值改为不带SNAPSHOT后缀,则会发布到releases仓库中,根据实际需要进行选择。
然后使用IDE自带的Maven deploy就可以了。
- 3. 使用网页上传
选择 方块 > Upload > maven-releases
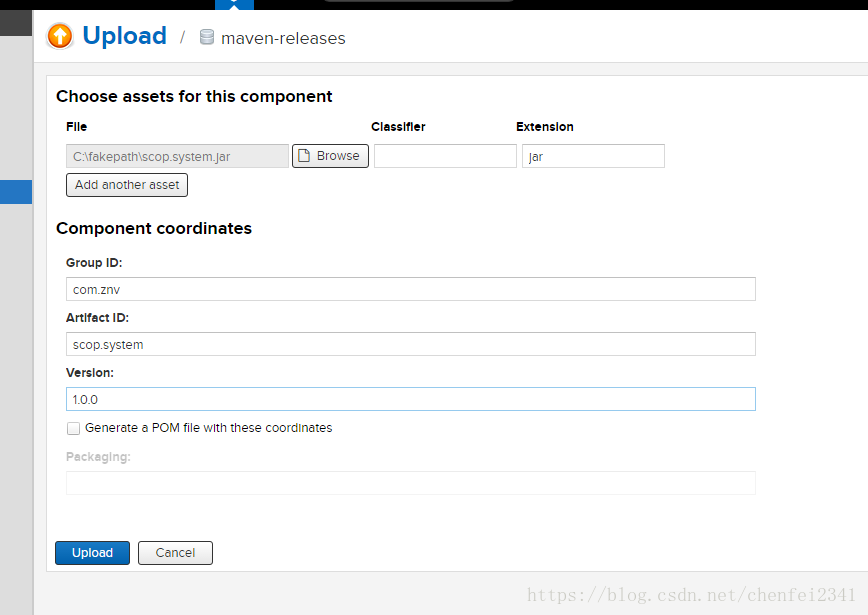
选择文件,输入对应信息,点击上传即可,上传成功即可查看。
7. 默认存储位置
3.x的默认存储变了,原以为下载到本地私服里面的jar包是以.jar格式存储的,就和本地仓储一样,但是用everything搜了半天,没有搜到,查了之后才发现,是以.bytes格式存储的。
存储位置在: 安装目录\sonatype-work\nexus3\blobs
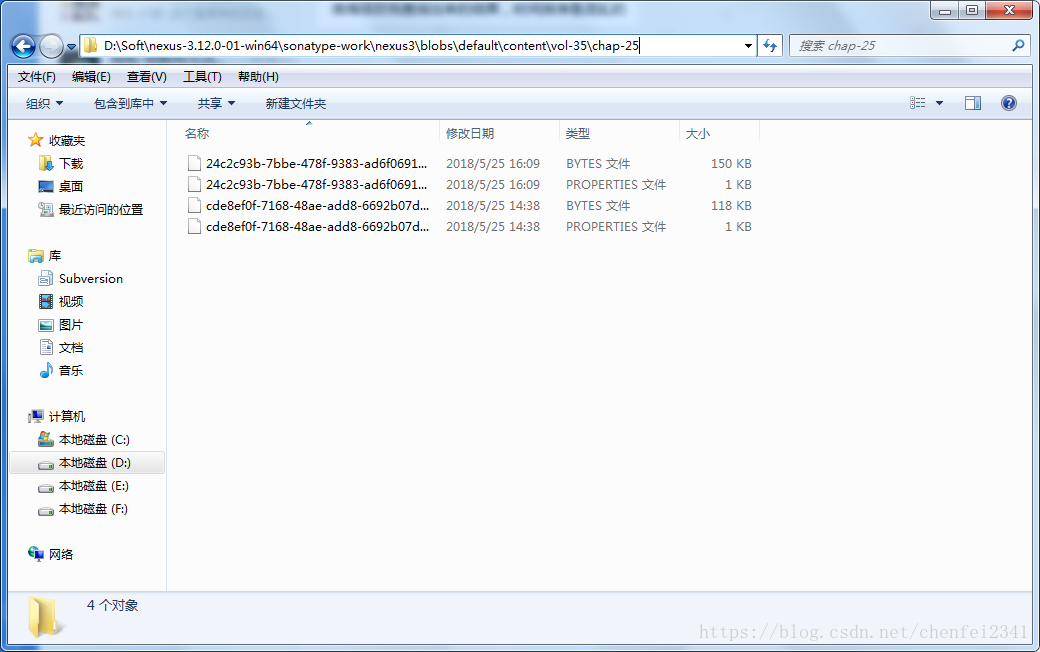
.bytes格式是jar包,.properties格式是jar包信息。
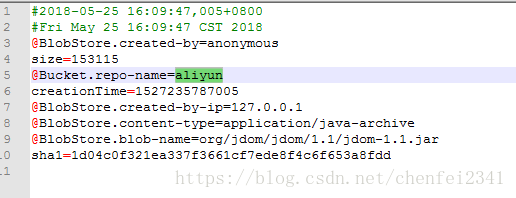
里面存储有下载时间,从哪个中心库下载,下载用户,用户地址,jar包名称,大小等信息。
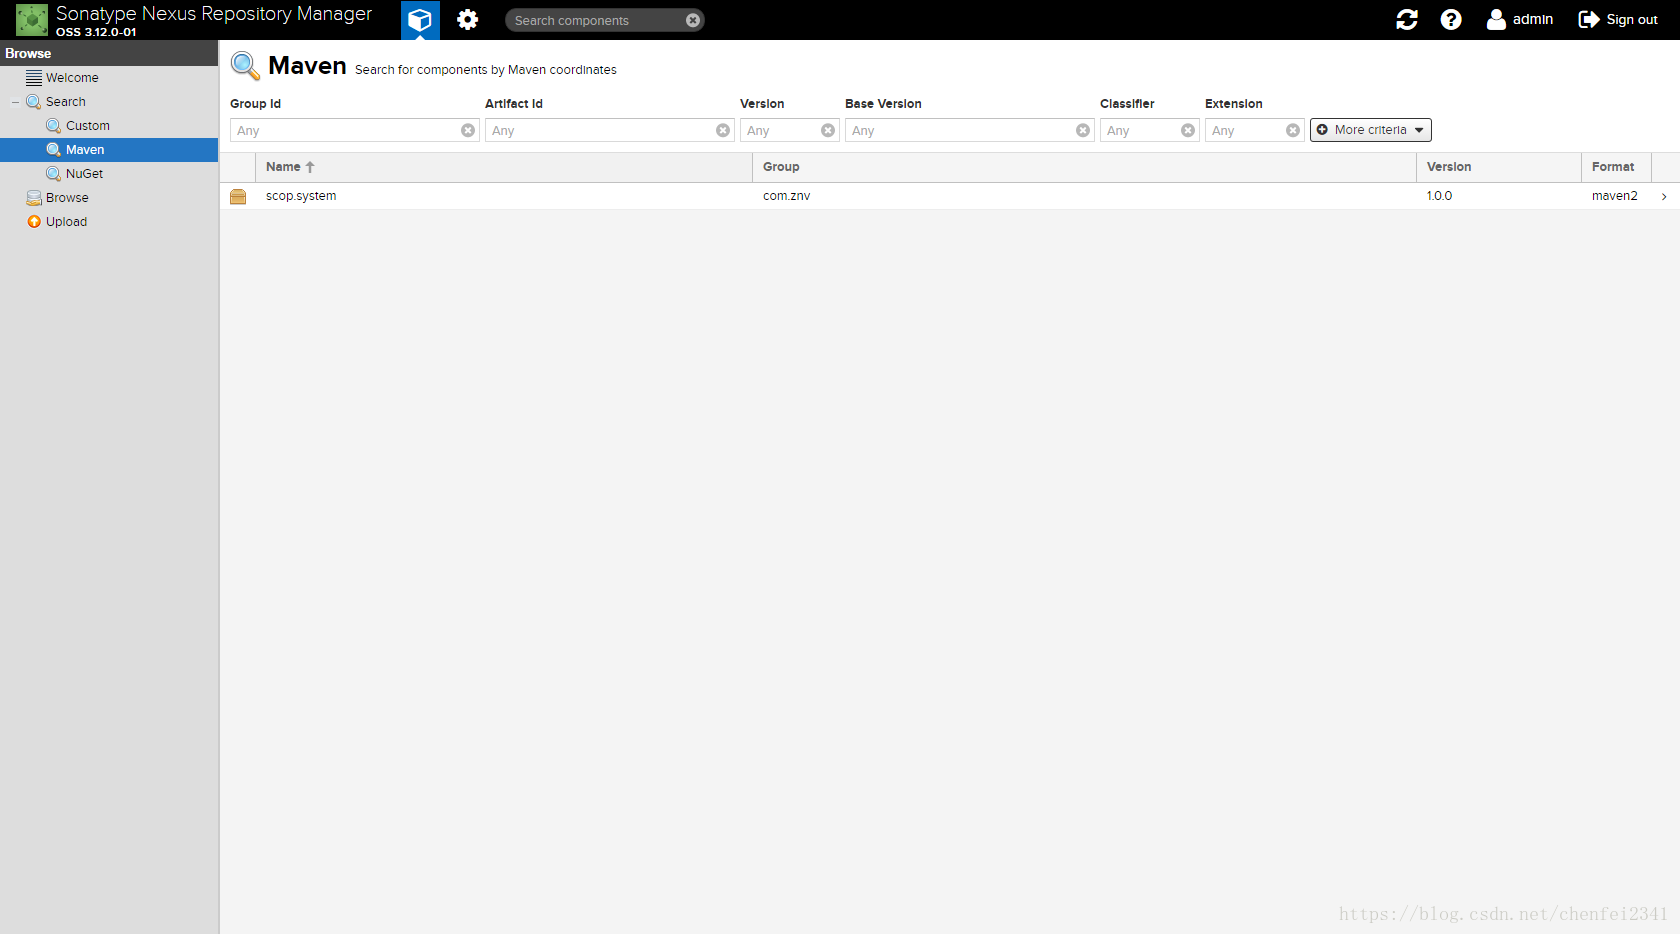
在页面查看此包:

8. Linux配置
下载Nexus Repository Manager软件包:
wget https://sonatype-download.global.ssl.fastly.net/repository/repositoryManager/3/nexus-3.12.0-01-unix.tar.gz
tar xvzf nexus-3.12.0-01-unix.tar.gz
解压缩后可以看到,生成nexus-3.12.0-01和sonatype-work两个目录:
[root@ali-bj01-tst-cluster-004 nexus]# ls
nexus-3.7.0-04  sonatype-work
是这两个目录在同一个目录下,例如我这里是在nexus目录下面。
可以在etc/nexus-default.properties配置文件中,修改对应的配置项,满足实际需要,这里我直接使用默认的,其它可以使用的配置可以参考官网说明。
如果使用自定义的JDK,可以增加如下配置:
export JAVA_HOME=/usr/local/java/jdk1.8.0_144/启动Nexus Repository Manager,执行如下命令:
bin/nexus start