安装和运行Nexus Repository Manager很简单。您可以将存档文件解压缩到您有完全访问权限的目录中,也可以使用Docker映像安装它。
安装包下载:https://help.sonatype.com/repomanager3/download
安装参考文档:https://help.sonatype.com/repomanager3
1, 下载安装包
https://help.sonatype.com/repomanager3/download/download-archives---repository-manager-3
wget https://download.sonatype.com/nexus/3/latest-unix.tar.gz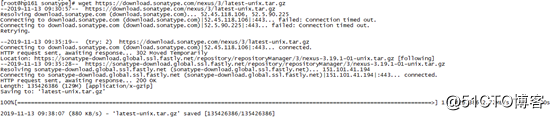
2, 解压
tar xvzf nexus-3.19.1-01-unix.tar.gz
3, 修改默认的配置文件(etc/nexus-default.properties) 【可选】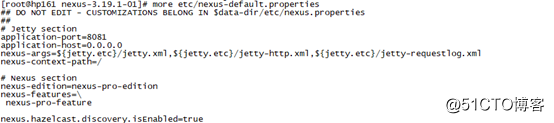
这里主要用于修改端口号
4, 修改默认配置(bin/nexus.vmoptions)【可选】
一般情况下是不需要修改的。
5, 修改jdk配置【可选】
可以编辑bin/nexus脚本,找到“INSTALL4J_JAVA_HOME_OVERRIDE”,删除哈希并指定JDK/JRE的位置。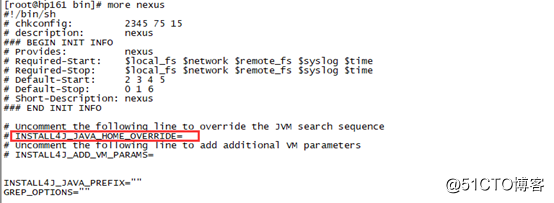
例如:
INSTALL4J_JAVA_HOME_OVERRIDE=/usr/lib/jvm/openjdk-86, 启动
./nexus run使用run会使nexus在当前shell中运行。也可以使用start, stop, restart, force-reload 和status 指令。
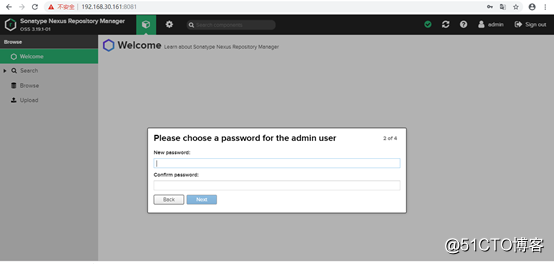
7,访问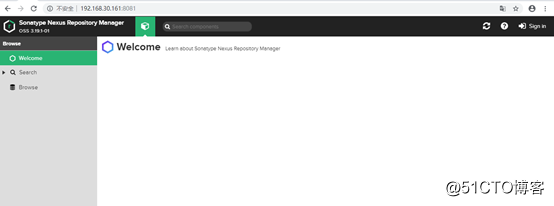
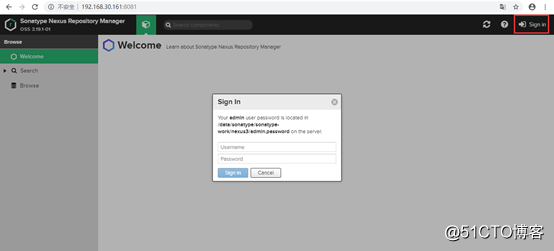
登录密码在文件/data/sonatype/sonatype-work/nexus3/admin.password中。
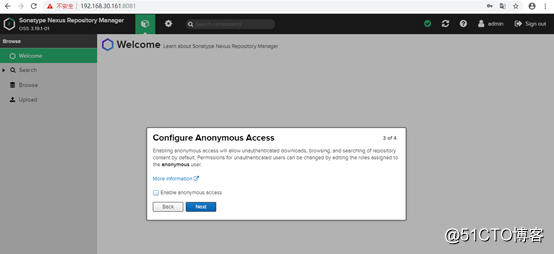
默认情况下,启用匿名访问将允许未经身份验证的下载、浏览和搜索存储库内容。可以通过编辑分配给匿名用户的角色来更改未经身份验证用户的权限。
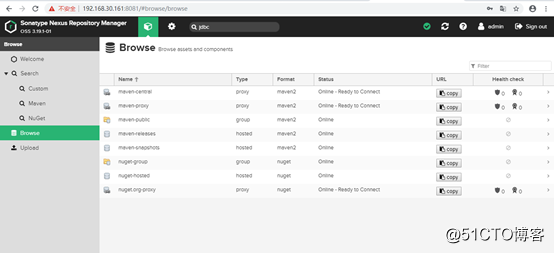
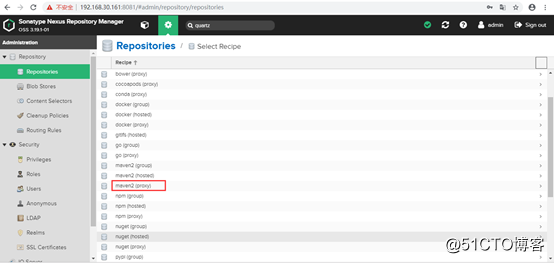
Type列说明:
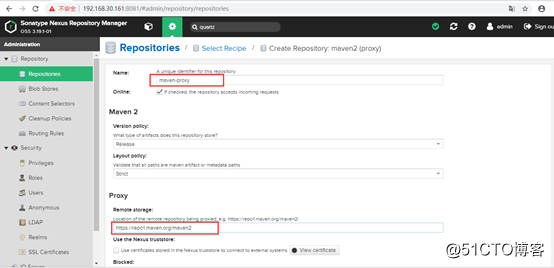
1) Proxy
默认创建了一个通过HTTPS访问中央仓库(https://repo1.maven.org/maven2/)的代理存储库。为了减少重复下载并提高开发人员和CI服务器的下载速度,还应该将访问的所有其他远程存储库代理为代理存储库。
2) hosted
hosted Maven repository可用于部署自己的组件和第三方组件。默认情况下,创建了两个hosted Maven库,分别是maven-releases与maven-snapshots。一个用于发布版本策略,一个用于快照版本策略。
3) group
存储库组允许您使用一个URL公开多个代理和托管存储库以及其他存储库组的聚合内容以进行工具配置。建议使用存储库组将所有Maven存储库从存储库管理器公开给用户,而无需进一步的客户端配置。
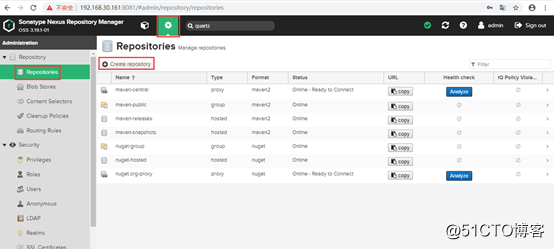
8,仓库的操作
9,Maven中使用
1)编辑Maven的setting.xml文件
<settings>
  <mirrors>
            <!—配置一个镜像用于替代中央仓库 -->
            <mirror>
                <id>nexus</id>
                <name>nexus</name>
                <url>http://192.168.30.161:8081/repository/maven-public/</url>
                <mirrorOf>*</mirrorOf>
            </mirror>
  </mirrors>
  <servers>
            <server>
                <id>nexus</id>
                <username>admin</username>
                <password>123456</password>
            </server>
            <server>
                <id>realeases</id>
                <username>admin</username>
                <password>123456</password>
            </server>
            <server>
                <id>snapshots</id>
                <username>admin</username>
                <password>123456</password>
            </server>
  </servers>
</settings>
2)编辑项目下的pom.xml文件
    <!-- 远程仓库地址 -->
    <pluginRepositories>
        <pluginRepository>
            <id>nexus</id>
            <name>Team Nexus Repository</name>
            <url>http://192.168.30.161:8081/repository/maven-public/</url>
        </pluginRepository>
    </pluginRepositories>
   <!-- 配置远程发布到私服,mvn deploy -->
    <distributionManagement>
        <!-- 定义releases库的坐标 -->
        <repository>
            <id>releases</id>
            <name>Nexus Release Repository</name>
            <url>http://192.168.30.161:8081/repository/maven-releases/</url>
        </repository>
        <!-- 定义snapshots库 -->
        <snapshotRepository>
            <id>snapshots</id>
            <name>Nexus Snapshot Repository</name>
            <url>http://192.168.30.161:8081/repository/maven-snapshots/</url>
        </snapshotRepository>
    </distributionManagement>
插件
<!-- deploy时只上传jar包到远程仓库的配置 -->
            <plugin>
                <artifactId>maven-deploy-plugin</artifactId>
                <version>2.7</version>
                 <configuration>
                                    <!-- 更新元数据 -->
                                    <updateReleaseInfo>true</updateReleaseInfo>
                                </configuration>
                <executions>
                    <execution>
                        <id>default-deploy</id>
                        <phase>deploy</phase>
                        <goals>
                            <goal>deploy</goal>
                        </goals>
                        <!-- skip默认deploy插件的执行 -->
                        <configuration>
                            <skip>true</skip>
                        </configuration>
                    </execution>
                    <execution>
                        <id>deploy-file</id>
                        <phase>deploy</phase>
                        <goals>
                            <goal>deploy-file</goal>
                        </goals>
                        <configuration>
                            <!-- 开发阶段上传到snapshot仓库,上线阶段上传到release仓库 -->
                            <repositoryId>${project.distributionManagement.snapshotRepository.id}</repositoryId>
                            <url>${project.distributionManagement.snapshotRepository.url}</url>
                            <file>${project.build.directory}/${project.artifactId}-${project.version}.jar</file>
                            <groupId>${project.groupId}</groupId>
                            <artifactId>${project.artifactId}</artifactId>
                            <version>${project.version}</version>
                        </configuration>
                    </execution>
                </executions>
            </plugin>
如此,通过mvm deploy就可以将jar包上传到私服仓库下。