一、目标
- 在Centos7环境下成功安装配置Nexus
- 将Nexus配置成服务
- 集成Maven
二、步骤
1、下载
进入sonatype官网选择Unix版本下载(本文下载的是当前最新版本 - 3.7.1-02)
将下载的文件上传至服务器 /usr/local/src 目录
2、解压安装
$ tar -zxvf nexus-3.7.1-02-unix.tar.gz解压后发现有两个文件夹,nexus-3.7.1-02 以及 sonatype-work,其中 nexus-3.7.1-02 是应用程序,而 sonatype-work 则是 nexus 的默认数据存储目录。
$ mkdir /usr/local/nexus
$ mv /usr/local/src/nexus-3.7.1-02 /usr/local/nexus/
其实这时已经可以启动 nexus
$ /usr/local/nexus/nexus-3.7.1-02/bin/nexus run3、配置成服务
但是这个启动命令有点繁琐,接下来进行优化
- 修改nexus路径,方便配置,也可以防止以后版本升级需要同步修改环境变量配置的麻烦
$ cd /usr/local/nexus
$ ln -s nexus-3.7.1-02 nexus- 添加 NEXUS_HOME 环境变量
$ vim /etc/profile在最后面添加
export NEXUS_HOME=/usr/local/nexus/nexus
使新加入的内容生效
$ source /etc/profile- 添加本地JDK(JDK安装请参考 Centos7安装JDK)
$ vim ./nexus/bin/nexus在文件中找到 INSTALL4J_JAVA_HOME_OVERRIDE 这一行(这一行默认被注释),添加上自己的JDK路径
INSTALL4J_JAVA_HOME_OVERRIDE=/usr/local/jdk
- 配置以 nexus 用户启动应用
nexus 官网建议不要使用 root 帐户启动应用,所以创建一个 nexus 用户
$ useradd nexus修改 nexus 配置,使用 nexus 作为应用启动的帐户
$ vim ./nexus/bin/nexus.rc将内容修改为
run_as_user=”nexus”
修改 nexus 的目录权限
$ chown nexus nexus- 配置Linux服务
这里选用 chkconfig 的方式进行配置
$ ln -s $NEXUS_HOME/bin/nexus /etc/init.d/nexus
cd /etc/init.d
chkconfig --add nexus
chkconfig --levels 345 nexus on
以服务的方式启动 nexus
service nexus start三、结果校验
访问地址 http://localhost:8081 进入到一个很酷炫的界面,然后就会跳转至下图所示页面
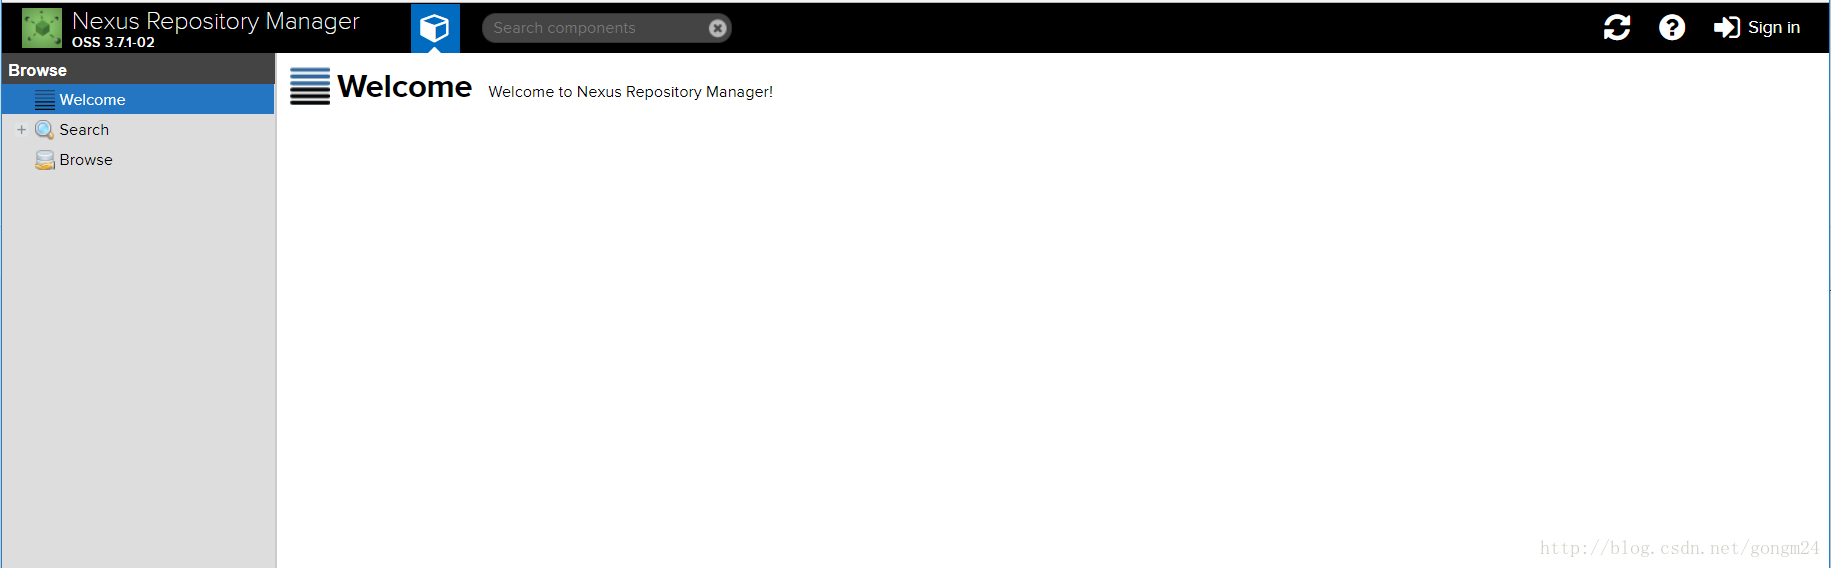
点击右上角进行登录,用户名为:admin,密码为:admin123
四、扩展操作
集成Maven
1、修改本地Maven配置文件
打开本地 %M2_HOME%\conf\settings.xml 文件
- 设置本地仓库位置
<localRepository>d:\maven\repo-dev</localRepository>- 设置 Server
<server>
  <id>nexus-releases</id>
  <username>admin</username>
  <password>admin123</password>
</server>
<server>
  <id>nexus-snapshots</id>
  <username>admin</username>
  <password>admin123</password>
</server>- 设置 Nexus 镜像(localhost 修改为安装 Nexus 的服务器地址)
<mirror>
  <id>nexus</id>
  <mirrorOf>*</mirrorOf>
  <url>http://localhost:8081/repository/maven-public/</url>
</mirror>- 设置 Profile(localhost 修改为安装 Nexus 的服务器地址)
<profile>
  <id>nexus-resp</id>
  <repositories>
    <repository>
      <id>nexus-releases</id>
      <url>http://localhost:8081/repository/maven-releases/</url>
      <releases><enabled>true</enabled></releases>
      <snapshots><enabled>false</enabled></snapshots>
    </repository>
    <repository>
    <id>nexus-snapshots</id>
    <url>http://localhost:8081/repository/maven-snapshots/</url>
      <releases><enabled>false</enabled></releases>
      <snapshots><enabled>true</enabled></snapshots>
    </repository>
  </repositories>
  <pluginRepositories>
    <pluginRepository>
      <id>nexus-plugin</id>
      <url>http://localhost:8081/repository/maven-public/</url>
      <releases><enabled>true</enabled></releases>
      <snapshots><enabled>false</enabled></snapshots>
    </pluginRepository>
  </pluginRepositories>
</profile>- 设置默认激活的 profile
<activeProfiles>
  <activeProfile>nexus-resp</activeProfile>
</activeProfiles>
2、修改工程pom文件
在工程的pom文件中添加
<distributionManagement>
    <repository>
        <id>nexus-releases</id>
        <name>Team Nexus Release Repository</name>
        <url>http://localhost:8081/repository/maven-releases/</url>
    </repository>
    <snapshotRepository>
        <id>nexus-snapshots</id>
        <name>Team Nexus Snapshot Repository</name>
        <url>http://localhost:8081/repository/maven-snapshots/</url>
    </snapshotRepository>
</distributionManagement>

<repositories>
    <repository>
        <id>nexus-public</id>
        <name>Nexus public Repository</name>
        <url>http://localhost:8081/repository/maven-public</url>
    </repository>
</repositories>
操作完成,执行 mvn deploy,应该就可以 Nexus 上查找到你当前项目了。