前言
这里不讲JsBridge的好处,只说说如何引入到项目中,并且需要注意的地方。
1.先在项目build文件中引入JsBridge;
ext.runAsApp = true
apply from: 'https://raw.githubusercontent.com/luckybilly/CC/master/cc-settings.gradle'
android {
    compileSdkVersion 24
    defaultConfig {
        minSdkVersion 15
        targetSdkVersion 26
        versionCode 1
        versionName "1.0"
        testInstrumentationRunner "android.support.test.runner.AndroidJUnitRunner"
    }
    buildTypes {
        release {
            minifyEnabled false
            proguardFiles getDefaultProguardFile('proguard-android.txt'), 'proguard-rules.pro'
        }
    }
}
dependencies {

    //**JsBridge 第一步**
    compile 'com.github.lzyzsd:jsbridge:1.0.4'

}
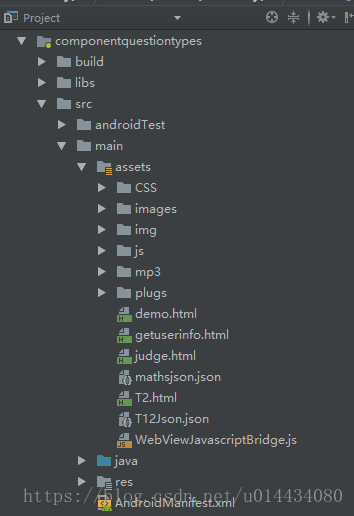
2.将WebViewJavascriptBridge.js 拷贝到assets文件夹下如图。
3.在布局文件中使用。
<?xml version="1.0" encoding="utf-8"?>
<LinearLayout xmlns:android="http://schemas.android.com/apk/res/android"
    xmlns:app="http://schemas.android.com/apk/res-auto"
    android:layout_width="match_parent"
    android:layout_height="match_parent"
    android:orientation="horizontal">

    <!--第三步-->
    <com.github.lzyzsd.jsbridge.BridgeWebView
        android:id="@+id/mwebview"
        android:layout_width="match_parent"
        android:layout_height="match_parent" />

</LinearLayout>
好了,JsBridge已经引入到项目中了。build下看看。
Duang,日志区提示如下:

出现这个错误,是因为这个JsBridge库放在**jitPack.io上,我们在项目中添加依赖的时候必须在root gradle中添加maven { url “https://jitpack.io” },如下:
allprojects {
    repositories {
        google()
        jcenter()
        maven { url "https://jitpack.io" }
    }
}
再次build,就可以用了。
小计:
上面maven的位置必须是在root gradle中的allprojects中声明。buildscript中的repositories和allprojects的repositories的区别如下:
1、 buildscript里是gradle脚本执行所需依赖,分别是对应的maven库和插件
2、 allprojects里是项目本身需要的依赖,比如我们现在要依赖这里maven库的JsBridge库,那么我应该将maven { url “https://jitpack.io” }写在这里,而不是buildscript 中,不然找不到。