版本号: 1.0.0-beta.12
Hello Mobile Navigation
我们使用React Navigation为Android和iOS构建一个简单的聊天应用程序。
配置和安装
首先,确保将使用React Native(ps:原文太扯).接下来,创建一个新项目并添加:react-navigation# Create a new React Native App
react-native init SimpleApp
cd SimpleApp
# Install the latest version of react-navigation from npm
npm install --save react-navigation
# Run the new app
react-native run-android # or:
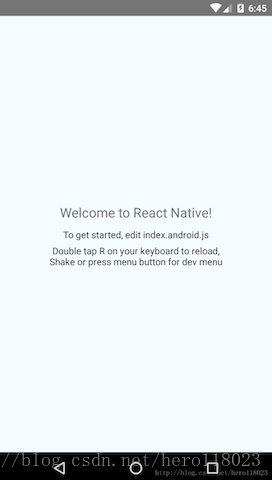
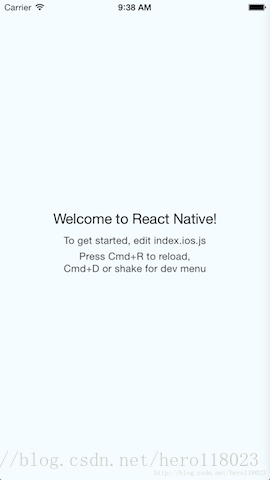
react-native run-ios 验证您是否可以成功查看到在iOS和/或Android上运行的裸示例应用程序:
为了在Android和iOS之间共享代码,删除掉index.ios.js和index.andorid.js的实际代码,使用import './App'来实现具体的代码现在来创建‘App.js’
介绍Stack Navigator
对于我们的应用程序,我们希望使用这个方法,因为我们需要一个概念性的“栈”导航,每个新屏幕都放在堆栈顶部,并返回从堆栈顶部移除一个屏幕。我们从一个屏幕开始:StackNavigator
import React from 'react';
import {
AppRegistry,
Text,
} from 'react-native';
import { StackNavigator } from 'react-navigation';
class HomeScreen extends React.Component {
static navigationOptions = {
title: 'Welcome',
};
render() {
return <Text>Hello, Navigation!</Text>;
}
}
const SimpleApp = StackNavigator({
Home: { screen: HomeScreen },
});
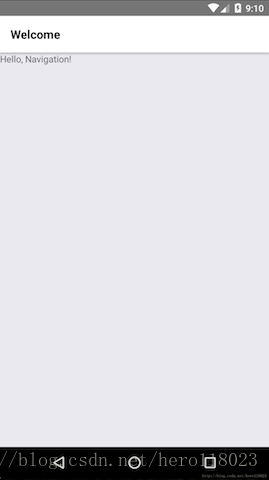
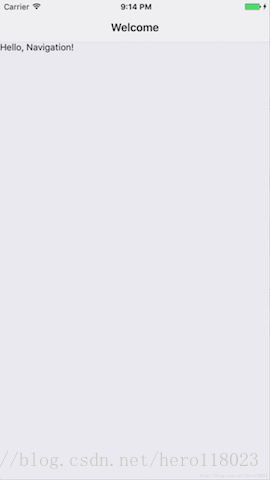
AppRegistry.registerComponent('SimpleApp', () => SimpleApp); title是static navigationOptions里配置的标题内容,这里有许多选项来配置导航器中的界面显示,现在iPhone和Android应用都会出现相同的界面:
添加新屏幕
在我们的文件中,我们添加一个新屏幕:ChatScreen
class ChatScreen extends React.Component {
  static navigationOptions = {
    title: 'Chat with Lucy',
  };
  render() {
    return (
      <View>
        <Text>Chat with Lucy</Text>
      </View>
    );
  }
}
在HomeScreen中添加一个button,使用routeName Chat关联到ChatScreen.
class HomeScreen extends React.Component {
  static navigationOptions = {
    title: 'Welcome',
  };
  render() {
    const { navigate } = this.props.navigation;
    return (
      <View>
        <Text>Hello, Chat App!</Text>
        <Button
          onPress={() => navigate('Chat')}
          title="Chat with Lucy"
        />
      </View>
    );
  }
}
我们正在使用从screen navigation prop获得的导航函数转向ChatScreen.但是这需要在StackNavigator中注册像下面这样:
const SimpleApp = StackNavigator({
  Home: { screen: HomeScreen },
  Chat: { screen: ChatScreen },
});
现在你就可以跳转到新的界面以及返回


传递参数
写死名称到ChatScreen不是很理想,如果我们可以传递一个名称来代替,那将会更有用,所以让我们这样做。
除了在导航功能中指定目标routeName之外,我们还可以传递将放入新路由的参数。首先,我们将编辑我们的HomeScreen 组件以将user参数传递到路由中。
class HomeScreen extends React.Component {
  static navigationOptions = {
    title: 'Welcome',
  };
  render() {
    const { navigate } = this.props.navigation;
    return (
      <View>
        <Text>Hello, Chat App!</Text>
        <Button
          onPress={() => navigate('Chat', { user: 'Lucy' })}
          title="Chat with Lucy"
        />
      </View>
    );
  }
}
然后,我们可以编辑我们的ChatScreen组件以显示通过路由传递的user参数:
class ChatScreen extends React.Component {
  // Nav options can be defined as a function of the screen's props:
  static navigationOptions = ({ navigation }) => ({
    title: `Chat with ${navigation.state.params.user}`,
  });
  render() {
    // The screen's current route is passed in to `props.navigation.state`:
    const { params } = this.props.navigation.state;
    return (
      <View>
        <Text>Chat with {params.user}</Text>
      </View>
    );
  }
}
现在,您可以在导航到聊天屏幕时看到名称。尝试改变HomeScreen的user参数,看看会发生什么!


扫描二维码关注公众号,回复:
2332726 查看本文章
