转载于:https://blog.csdn.net/mr_curry/article/details/51804072
如何快糙好猛的使用Shiqi.Yu老师的公开人脸检测库(附源码)
前言
本次编写所用的库为于仕祺老师免费提供的人脸检测库。真心好用,识别率和识别速度完全不是Opencv自带的程序能够比拟的。将其配合Opencv的EigenFace算法,基本上可以形成一个小型的毕业设计。(我是学机械的啊喂!!)
准备工作
1、下载在GitHub上的人脸检测库。我不提供百度云,只提供网址:https://github.com/ShiqiYu/libfacedetection。
2、配置好Opencv。
配置人脸检测库
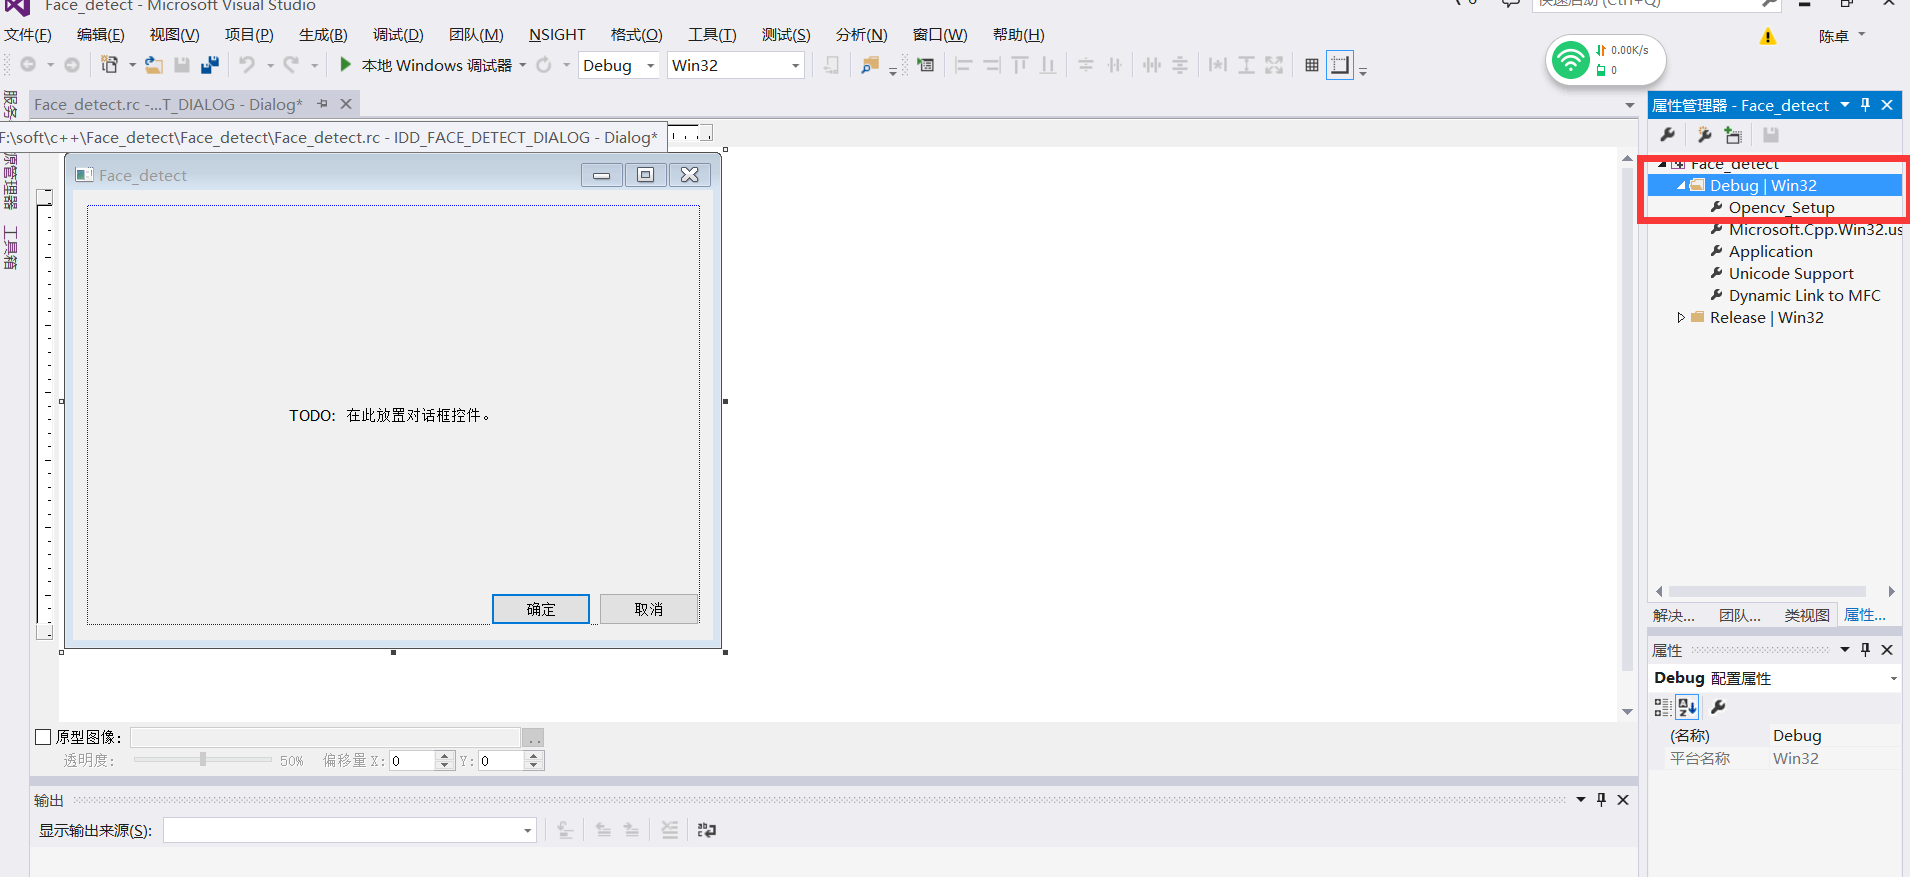
1、新建一个MFC程序。
2、添加Opencv的属性表。(即配置Opencv)
3、新建一个属性表,命名为libfacedetect。需要注意的是,libfacedetect只可用Win32平台。在VC++目录添加libfacedetect_master中include文件夹和lib库的位置。 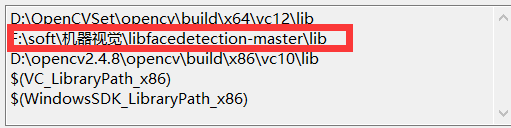
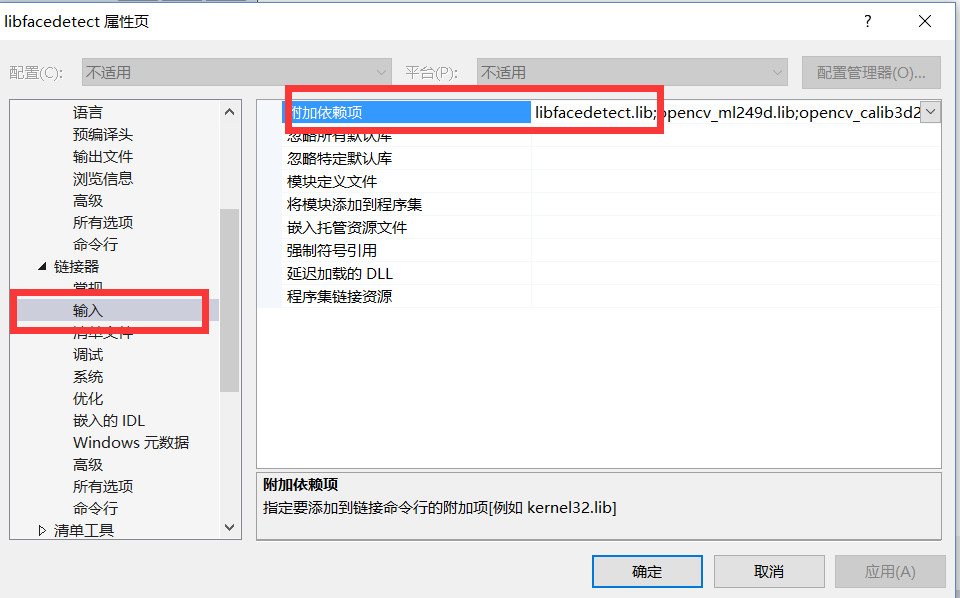
4、在链接器中添加附加依赖项。

试编写
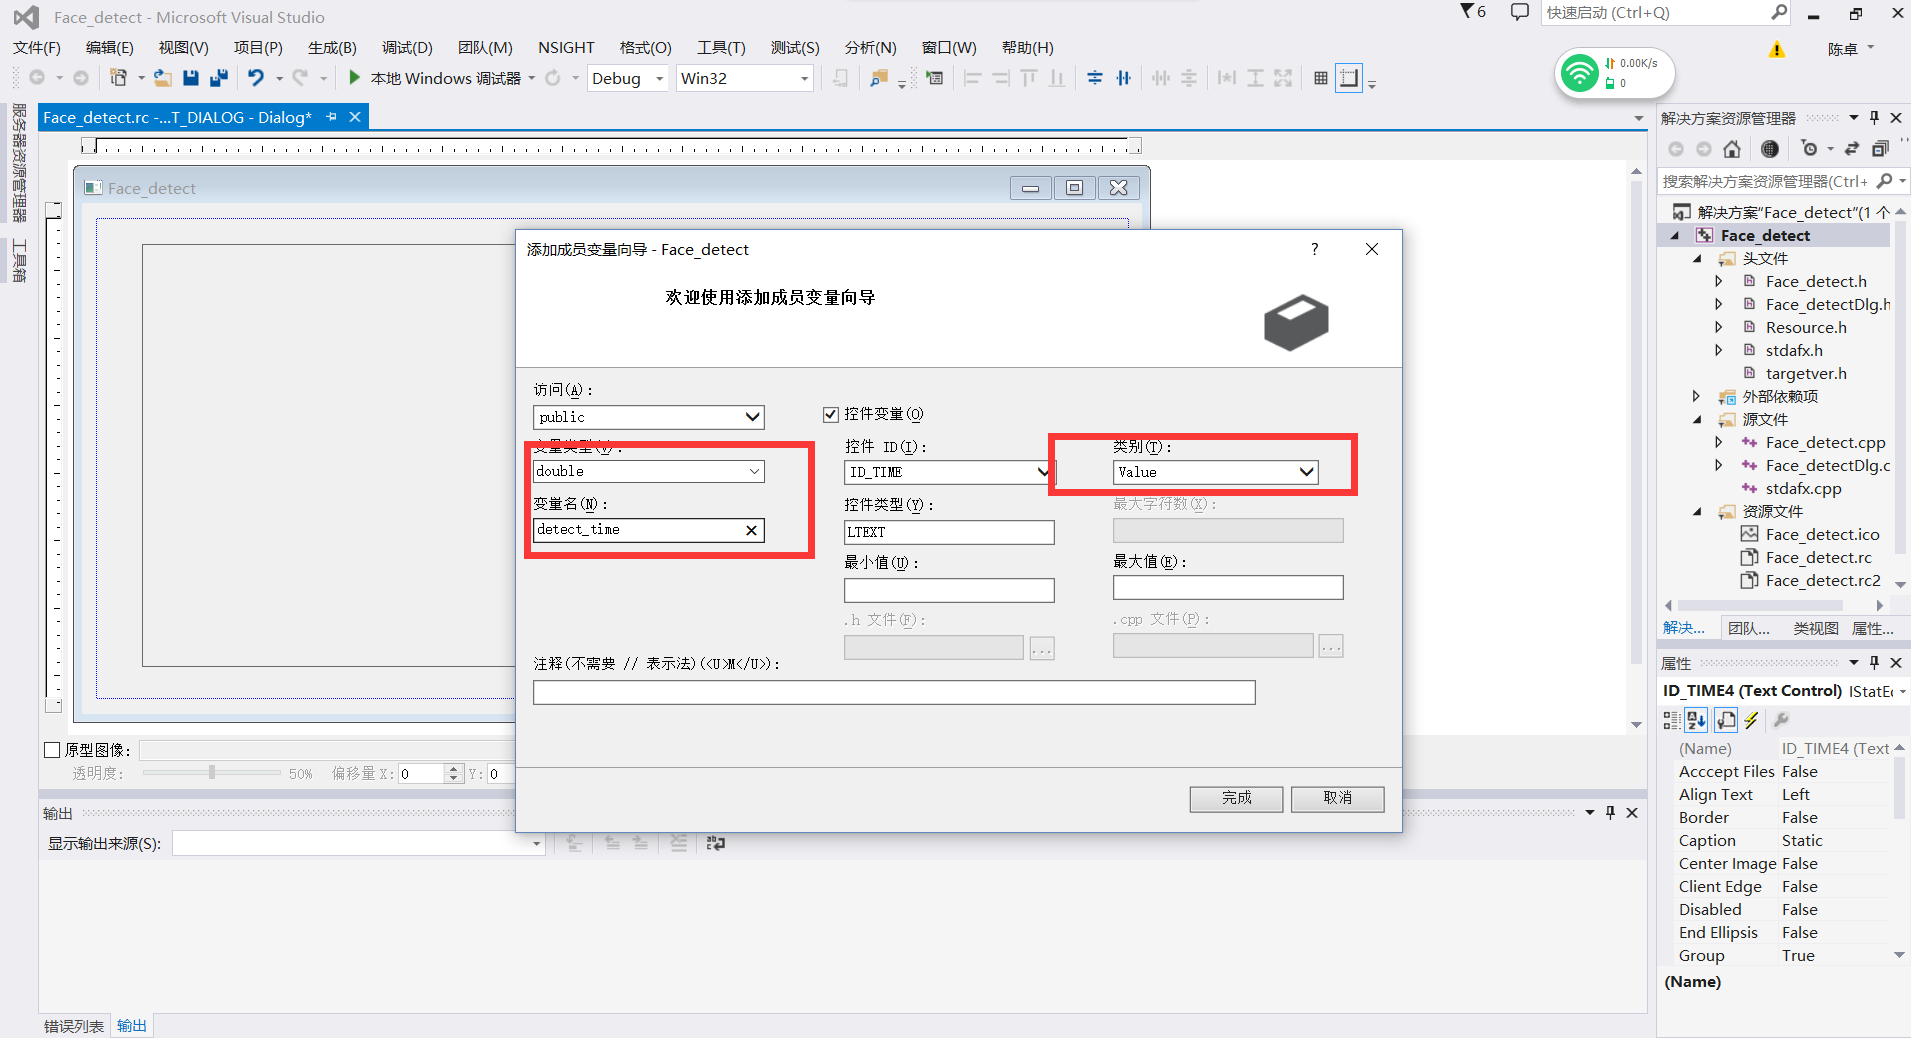
1、向MFC中添加一个picture控件,一个button控件,两个Static Text控件。而后向其中一个Static Text添加变量。
2、双击button控件,进行代码页面,编写代码。
添加头文件:
 #include <opencv.hpp>
 #include "facedetect-dll.h"
 #pragma comment(lib,"libfacedetect.lib")
using namespace cv;- 1
- 2
- 3
- 4
增添一个函数:
void detectAndDisplay(Mat frame)
{
Mat gray;
cvtColor(frame, gray, CV_BGR2GRAY);
int * pResults = NULL;
pResults = facedetect_frontal_tmp((unsigned char*)(gray.ptr(0)), gray.cols, gray.rows, gray.step,
1.2f, 5, 24);
printf("%d faces detected.\n", (pResults ? *pResults : 0));//重复运行
//print the detection results
for (int i = 0; i < (pResults ? *pResults : 0); i++)
{
short * p = ((short*)(pResults + 1)) + 6 * i;
int x = p[0];
int y = p[1];
int w = p[2];
int h = p[3];
int neighbors = p[4];
printf("face_rect=[%d, %d, %d, %d], neighbors=%d\n", x, y, w, h, neighbors);
Point left(x, y);
Point right(x + w, y + h);
rectangle(frame, left, right, Scalar(230, 255, 0), 4);
}
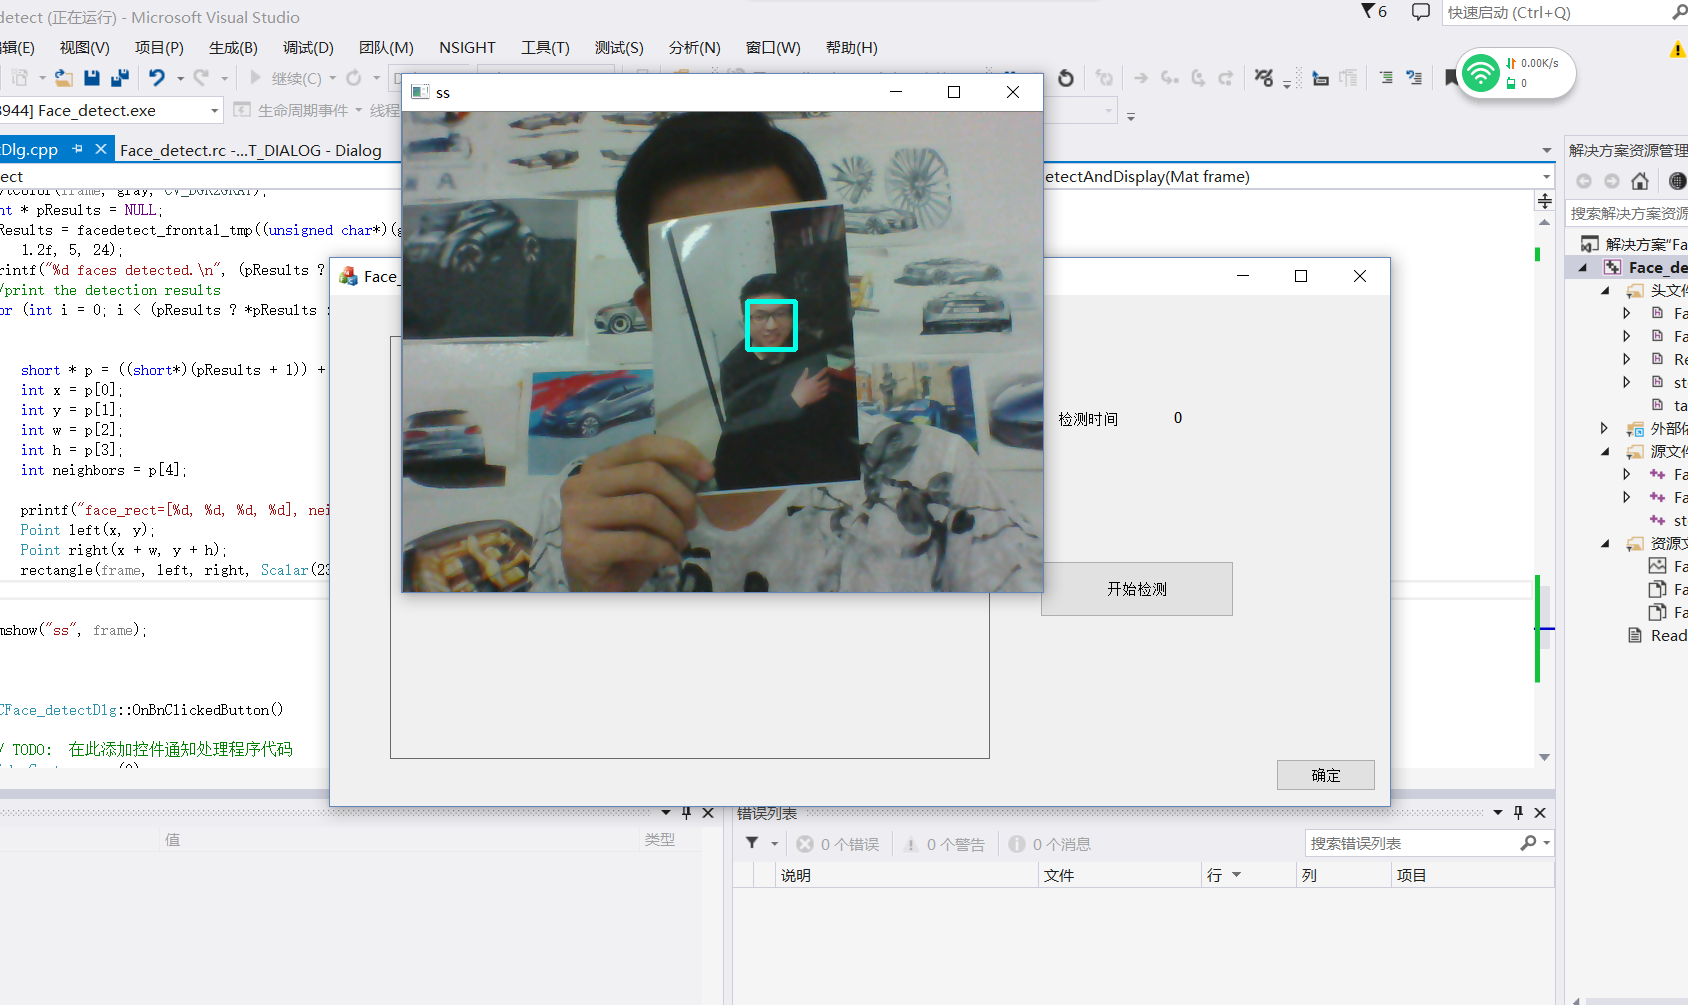
imshow("ss", frame);
}在按钮事件中填写代码:
VideoCapture cap(0);
    Mat frame;
    while (1)
    {
        //load an image and convert it to gray (single-channel)
        //Mat gray = imread("lena.png");//it is necessary that must have CV_LOAD_IMAGE_GRAYSCALE
        //cvtColor(gray, gray, CV_BGR2GRAY);//CV_LOAD_IMAGE_GRAYSCALE IS SAME AS CV_BGR2GRAY
        cap >> frame;
        if (!frame.empty())
        {
            detectAndDisplay(frame);
        }
        int c = waitKey(10);
        if ((char)c == 'c') { break; }
}- 1
- 2
- 3
- 4
- 5
- 6
- 7
- 8
- 9
- 10
- 11
- 12
- 13
- 14
- 15
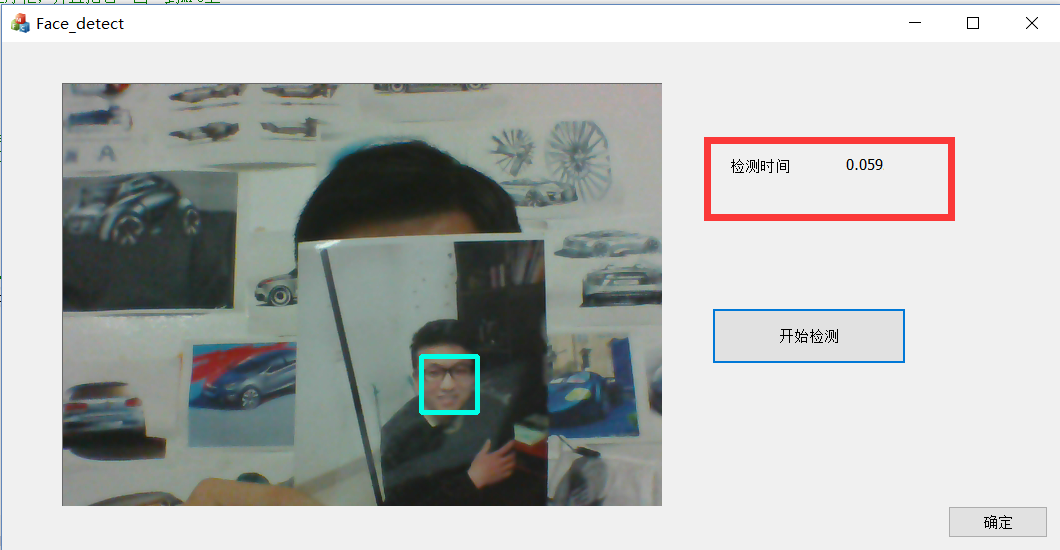
(非本人照片)
可以看到,已经检测成功,不过没有在控件上显示。
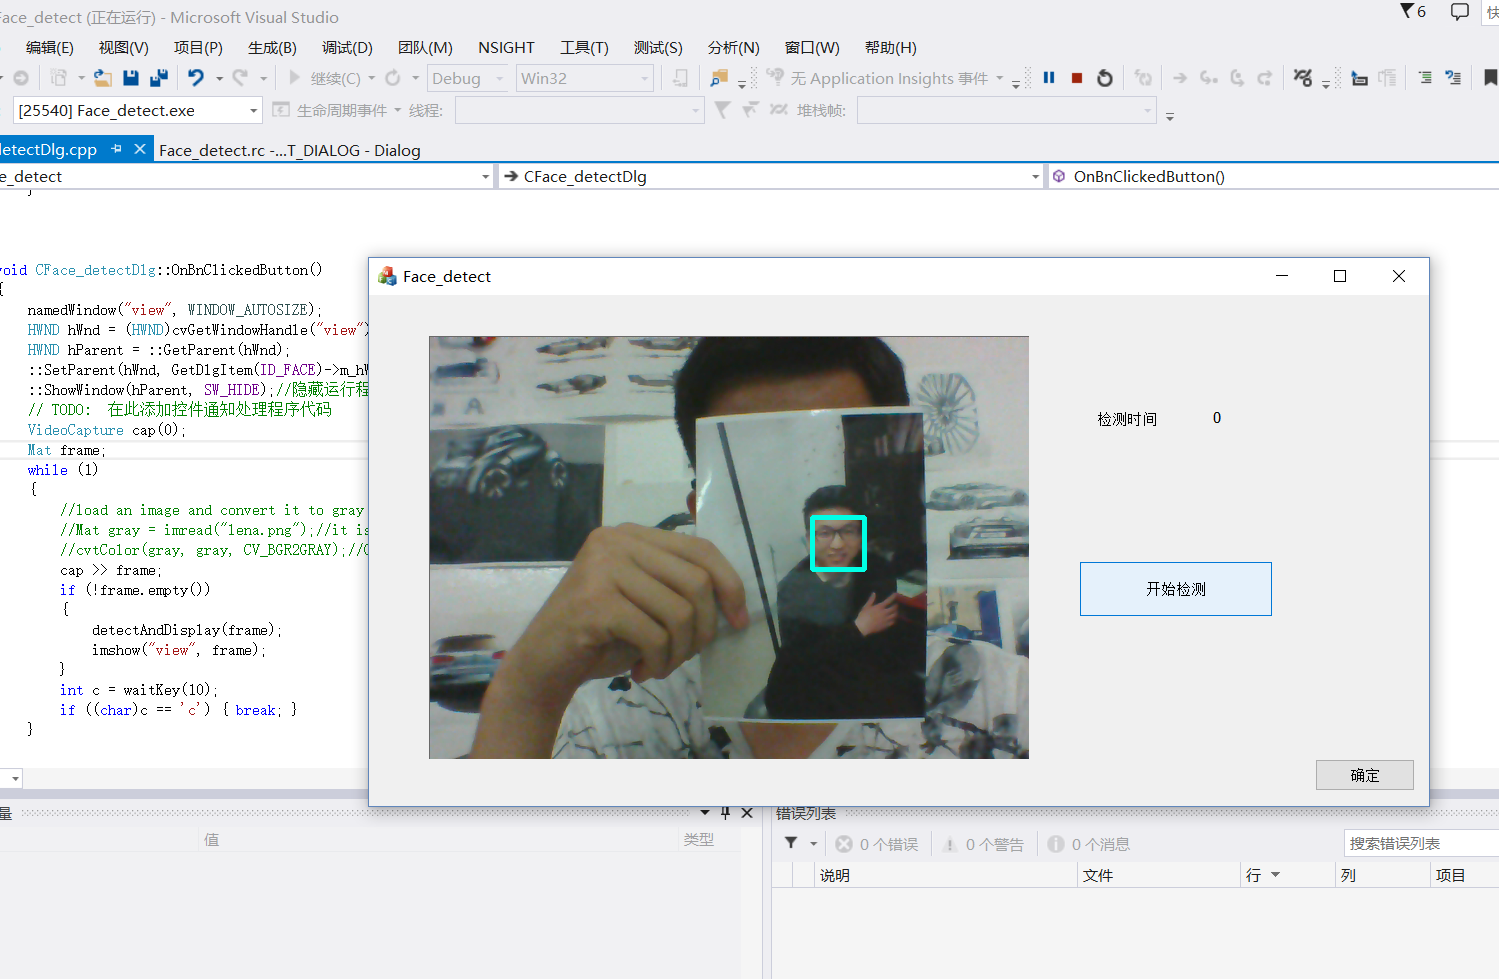
可以通过添加来让其显示到框上。
namedWindow("view", WINDOW_AUTOSIZE);
    HWND hWnd = (HWND)cvGetWindowHandle("view");
    HWND hParent = ::GetParent(hWnd);
::SetParent(hWnd, GetDlgItem(ID_FACE)->m_hWnd);- 1
- 2
- 3
- 4
我们来看看这个函数逆天的检测时间:增添检测时间的代码:
t = (double)cvGetTickCount();
t = (double)cvGetTickCount() - t;
detect_time = t / 1000 / ((double)cvGetTickFrequency()*1000.);
UpdateData(FALSE);- 1
- 2
- 3
- 4
于老师最近有一篇文章中写到,他的这个人脸检测库是基于LBP与Boost相结合的。所以如果我们选取了足够多,足够好的样本,参数设置正确的话,识别效果从理论上也能远远高于Opencv自带的。此外就是在最近做项目的过程中,发现人脸检测这一端还是不能用深度学习的方法,其一是DL目前还没有能够很方面移植的硬件,其二是如果在云端进行的话,传输速度将会对识别效率造成影响。