一,集成步骤:
1.极光推送官网,注册,登录,创建应用,用项目包名获取AppKey:
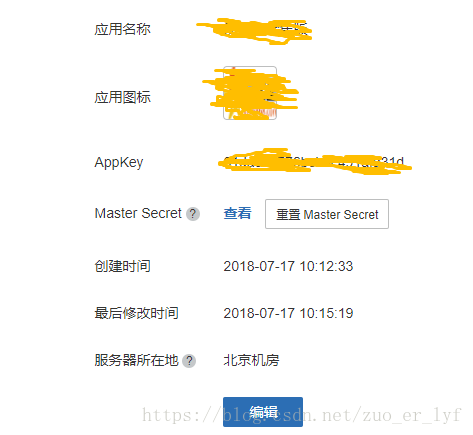
注:包名必须与项目的包名一致
2.在 module 的 gradle 中添加依赖和支持:
android {
    ......
    defaultConfig {
        applicationId "com.xxx.xxx" //JPush上注册的包名.
        ......

        ndk {
            //选择要添加的对应cpu类型的.so库。
            abiFilters 'armeabi', 'armeabi-v7a', 'arm64-v8a'
            // 还可以添加 'x86', 'x86_64', 'mips', 'mips64'
        }

        manifestPlaceholders = [
            JPUSH_PKGNAME : applicationId,
            JPUSH_APPKEY : "你的appkey", //JPush上注册的包名对应的appkey.
            JPUSH_CHANNEL : "developer-default", //暂时填写默认值即可.
        ]
        ......
    }
    ......
}

dependencies {
    ......

    compile 'cn.jiguang.sdk:jpush:3.1.1'  // 此处以JPush 3.1.1 版本为例。
    compile 'cn.jiguang.sdk:jcore:1.1.9'  // 此处以JCore 1.1.9 版本为例。
    ......
}
3.确认android studio的 Project 根目录的主 gradle 中配置了jcenter支持。(新建project默认配置就支持)
buildscript {
    repositories {
        jcenter()
    }
    ......
}

allprojets {
    repositories {
        jcenter()
    }
}
4.定义接收器:MyReceiver:
public class MyReceiver extends BroadcastReceiver {
    private static final String TAG = "JPush";

    @Override
    public void onReceive(Context context, Intent intent) {

        Bundle bundle=intent.getExtras();
        if(JPushInterface.ACTION_REGISTRATION_ID.equals(intent.getAction())){
            String regId=bundle.getString(JPushInterface.EXTRA_REGISTRATION_ID);
            Log.i(TAG, "[MyReceiver] 接收Registration Id : " + regId);
        }else if(JPushInterface.ACTION_MESSAGE_RECEIVED.equals(intent.getAction())) {
            Log.i(TAG, "[MyReceiver] 接收到推送下来的自定义消息: " + bundle.getString(JPushInterface.EXTRA_MESSAGE));
            String type2 = bundle.getString(JPushInterface.EXTRA_EXTRA);
            Log.i(TAG, "[MyReceiver] 接收到推送下来的自定义消息内容: " + type2);
        }else if(JPushInterface.ACTION_NOTIFICATION_RECEIVED.equals(intent.getAction())){
            Log.i(TAG, "[MyReceiver] 接收到推送下来的通知");

        }else if(JPushInterface.ACTION_NOTIFICATION_OPENED.equals(intent.getAction())){
            Log.i(TAG, "[MyReceiver] 用户点击打开了通知");
        }
    }


    //send msg to MainActivity
    private void processCustomMessage(Context context, Bundle bundle) {
        //省略了

    }
}
5.初始化SDK,创建Application文件,(注意:必须要在配置文件进行配置)
public class MyApliction extends Application {

    @Override
    public void onCreate() {
        super.onCreate();

        //初始化sdk
        JPushInterface.setDebugMode(true);//正式版的时候设置false,关闭调试
        JPushInterface.init(this);

        //建议添加tag标签,发送消息的之后就可以指定tag标签来发送了
        Set<String> set = new HashSet<>();
        set.add("yzx");//名字任意,可多添加几个
        JPushInterface.setTags(this, set, null);//设置标签
    }
}
6.配置 AndroidManifest.xml,(您应用的包名:填写自己的项目包名)
<?xml version="1.0" encoding="utf-8"?>
<manifest xmlns:android="http://schemas.android.com/apk/res/android"
    xmlns:tools="http://schemas.android.com/tools"
    package="您应用的包名">
    <uses-sdk android:minSdkVersion="9" android:targetSdkVersion="23" />

    <!-- Required -->
    <permission
        android:name="您应用的包名.permission.JPUSH_MESSAGE"
        android:protectionLevel="signature" />

    <!-- Required -->
    <uses-permission android:name="您应用的包名.permission.JPUSH_MESSAGE" />
    <uses-permission android:name="android.permission.RECEIVE_USER_PRESENT" />
    <uses-permission android:name="android.permission.INTERNET" />
    <uses-permission android:name="android.permission.WAKE_LOCK" />
    <uses-permission android:name="android.permission.READ_PHONE_STATE" />
    <uses-permission android:name="android.permission.WRITE_EXTERNAL_STORAGE" />
    <uses-permission android:name="android.permission.READ_EXTERNAL_STORAGE" />
    <uses-permission android:name="android.permission.VIBRATE" />
    <uses-permission android:name="android.permission.MOUNT_UNMOUNT_FILESYSTEMS" />
    <uses-permission android:name="android.permission.ACCESS_NETWORK_STATE" />
    <uses-permission android:name="android.permission.WRITE_SETTINGS" />
    <uses-permission android:name="android.permission.ACCESS_WIFI_STATE" />

    <!-- Optional. Required for location feature -->
    <uses-permission android:name="android.permission.SYSTEM_ALERT_WINDOW" /> <!-- 用于开启 debug 版本的应用在6.0 系统上 层叠窗口权限 -->
    <uses-permission android:name="android.permission.ACCESS_COARSE_LOCATION" />
    <uses-permission android:name="android.permission.CHANGE_WIFI_STATE" />
    <uses-permission android:name="android.permission.ACCESS_FINE_LOCATION" />
    <uses-permission android:name="android.permission.ACCESS_LOCATION_EXTRA_COMMANDS" />
    <uses-permission android:name="android.permission.CHANGE_NETWORK_STATE" />
    <uses-permission android:name="android.permission.GET_TASKS" />

    <application
        android:icon="@drawable/ic_launcher"
        android:label="@string/app_name"
        android:name="Your Application Name">//配置上面的Application

        <!-- Required SDK 核心功能-->
        <!-- 可配置android:process参数将PushService放在其他进程中 -->
        <service
            android:name="cn.jpush.android.service.PushService"
            android:enabled="true"
            android:exported="false" >
            <intent-filter>
                <action android:name="cn.jpush.android.intent.REGISTER" />
                <action android:name="cn.jpush.android.intent.REPORT" />
                <action android:name="cn.jpush.android.intent.PushService" />
                <action android:name="cn.jpush.android.intent.PUSH_TIME" />
            </intent-filter>
        </service>


    <!-- since 3.0.9 Required SDK 核心功能-->
        <provider
            android:authorities="您应用的包名.DataProvider"
            android:name="cn.jpush.android.service.DataProvider"
            android:exported="true"
        />

        <!-- since 1.8.0 option 可选项。用于同一设备中不同应用的JPush服务相互拉起的功能。 -->
        <!-- 若不启用该功能可删除该组件,将不拉起其他应用也不能被其他应用拉起 -->
         <service
             android:name="cn.jpush.android.service.DaemonService"
             android:enabled="true"
             android:exported="true">
             <intent-filter >
                 <action android:name="cn.jpush.android.intent.DaemonService" />
                 <category android:name="您应用的包名"/>
             </intent-filter>
         </service>

         <!-- since 3.1.0 Required SDK 核心功能-->
          <provider
               android:authorities="您应用的包名.DownloadProvider"
               android:name="cn.jpush.android.service.DownloadProvider"
               android:exported="true"
           />

        <!-- Required SDK核心功能-->
        <receiver
            android:name="cn.jpush.android.service.PushReceiver"
            android:enabled="true" >
          <intent-filter android:priority="1000">
                <action android:name="cn.jpush.android.intent.NOTIFICATION_RECEIVED_PROXY" />
                <category android:name="您应用的包名"/>
            </intent-filter>
            <intent-filter>
                <action android:name="android.intent.action.USER_PRESENT" />
                <action android:name="android.net.conn.CONNECTIVITY_CHANGE" />
            </intent-filter>
            <!-- Optional -->
            <intent-filter>
                <action android:name="android.intent.action.PACKAGE_ADDED" />
                <action android:name="android.intent.action.PACKAGE_REMOVED" />
                <data android:scheme="package" />
            </intent-filter>
        </receiver>

        <!-- Required SDK核心功能-->
        <activity
            android:name="cn.jpush.android.ui.PushActivity"
            android:configChanges="orientation|keyboardHidden"
            android:theme="@android:style/Theme.NoTitleBar"
            android:exported="false" >
            <intent-filter>
                <action android:name="cn.jpush.android.ui.PushActivity" />
                <category android:name="android.intent.category.DEFAULT" />
                <category android:name="您应用的包名" />
            </intent-filter>
        </activity>
        <!-- SDK核心功能-->
        <activity
            android:name="cn.jpush.android.ui.PopWinActivity"
            android:configChanges="orientation|keyboardHidden"
            android:exported="false"
            android:theme="@style/MyDialogStyle">
            <intent-filter>
                <category android:name="android.intent.category.DEFAULT" />
                <category android:name="您应用的包名" />
            </intent-filter>
        </activity>

        <!-- Required SDK核心功能-->
        <service
            android:name="cn.jpush.android.service.DownloadService"
            android:enabled="true"
            android:exported="false" >
        </service>

        <!-- Required SDK核心功能-->
        <receiver android:name="cn.jpush.android.service.AlarmReceiver" />


        <!-- User defined. 用户自定义的广播接收器-->
         <receiver
             android:name="您自己定义的Receiver"
             android:enabled="true">
             <intent-filter>
                 <!--Required 用户注册SDK的intent-->
                 <action android:name="cn.jpush.android.intent.REGISTRATION" />
                 <!--Required 用户接收SDK消息的intent-->
                 <action android:name="cn.jpush.android.intent.MESSAGE_RECEIVED" />
                 <!--Required 用户接收SDK通知栏信息的intent-->
                 <action android:name="cn.jpush.android.intent.NOTIFICATION_RECEIVED" />
                 <!--Required 用户打开自定义通知栏的intent-->
                 <action android:name="cn.jpush.android.intent.NOTIFICATION_OPENED" />
                 <!-- 接收网络变化 连接/断开 since 1.6.3 -->
                 <action android:name="cn.jpush.android.intent.CONNECTION" />
                 <category android:name="您应用的包名" />
             </intent-filter>
         </receiver>

        <!-- Required. For publish channel feature -->
        <!-- JPUSH_CHANNEL 是为了方便开发者统计APK分发渠道。-->
        <!-- 例如: -->
        <!-- 发到 Google Play 的APK可以设置为 google-play; -->
        <!-- 发到其他市场的 APK 可以设置为 xxx-market。 -->
        <meta-data android:name="JPUSH_CHANNEL" android:value="developer-default"/>
        <!-- Required. AppKey copied from Portal -->
        <meta-data android:name="JPUSH_APPKEY" android:value="您应用的Appkey"/>
    </application>
</manifest>
注:可能会遇见问题:
Error:Execution failed for task ':greencar:processDebugManifest'.

> Manifest merger failed withmultiple errors, see logs
解决方法:
在manifest根标签上加入xmlns:tools="http://schemas.android.com/tools",并在Manifest.xml的application标签下添加tools:replace="android:icon, android:label, android:theme"。(并不能解决所有问题)
最好的方法是:查看右下角的gradle console区域里面的日志信息,跟着改就可以了。如下:

详细错误代码式例:
E:\code\YxzWholeSale\app\src\main\AndroidManifest.xml:74:13-36 Error:
	Attribute provider#cn.jpush.android.service.DataProvider@exported value=(true) from AndroidManifest.xml:74:13-36
	is also present at [cn.jiguang.sdk:jpush:3.1.1] AndroidManifest.xml:116:13-37 value=(false).
	Suggestion: add 'tools:replace="android:exported"' to <provider> element at AndroidManifest.xml:71:9-75:15 to override.
意思是,AndroidManifest.xml文件74行处代码报错,建议在AndroidManifest.xml文件71行出添加tools:replace="android:exported"
这只是其中的一个错误,可能还会有其他的问题,都可以用此方法解决。
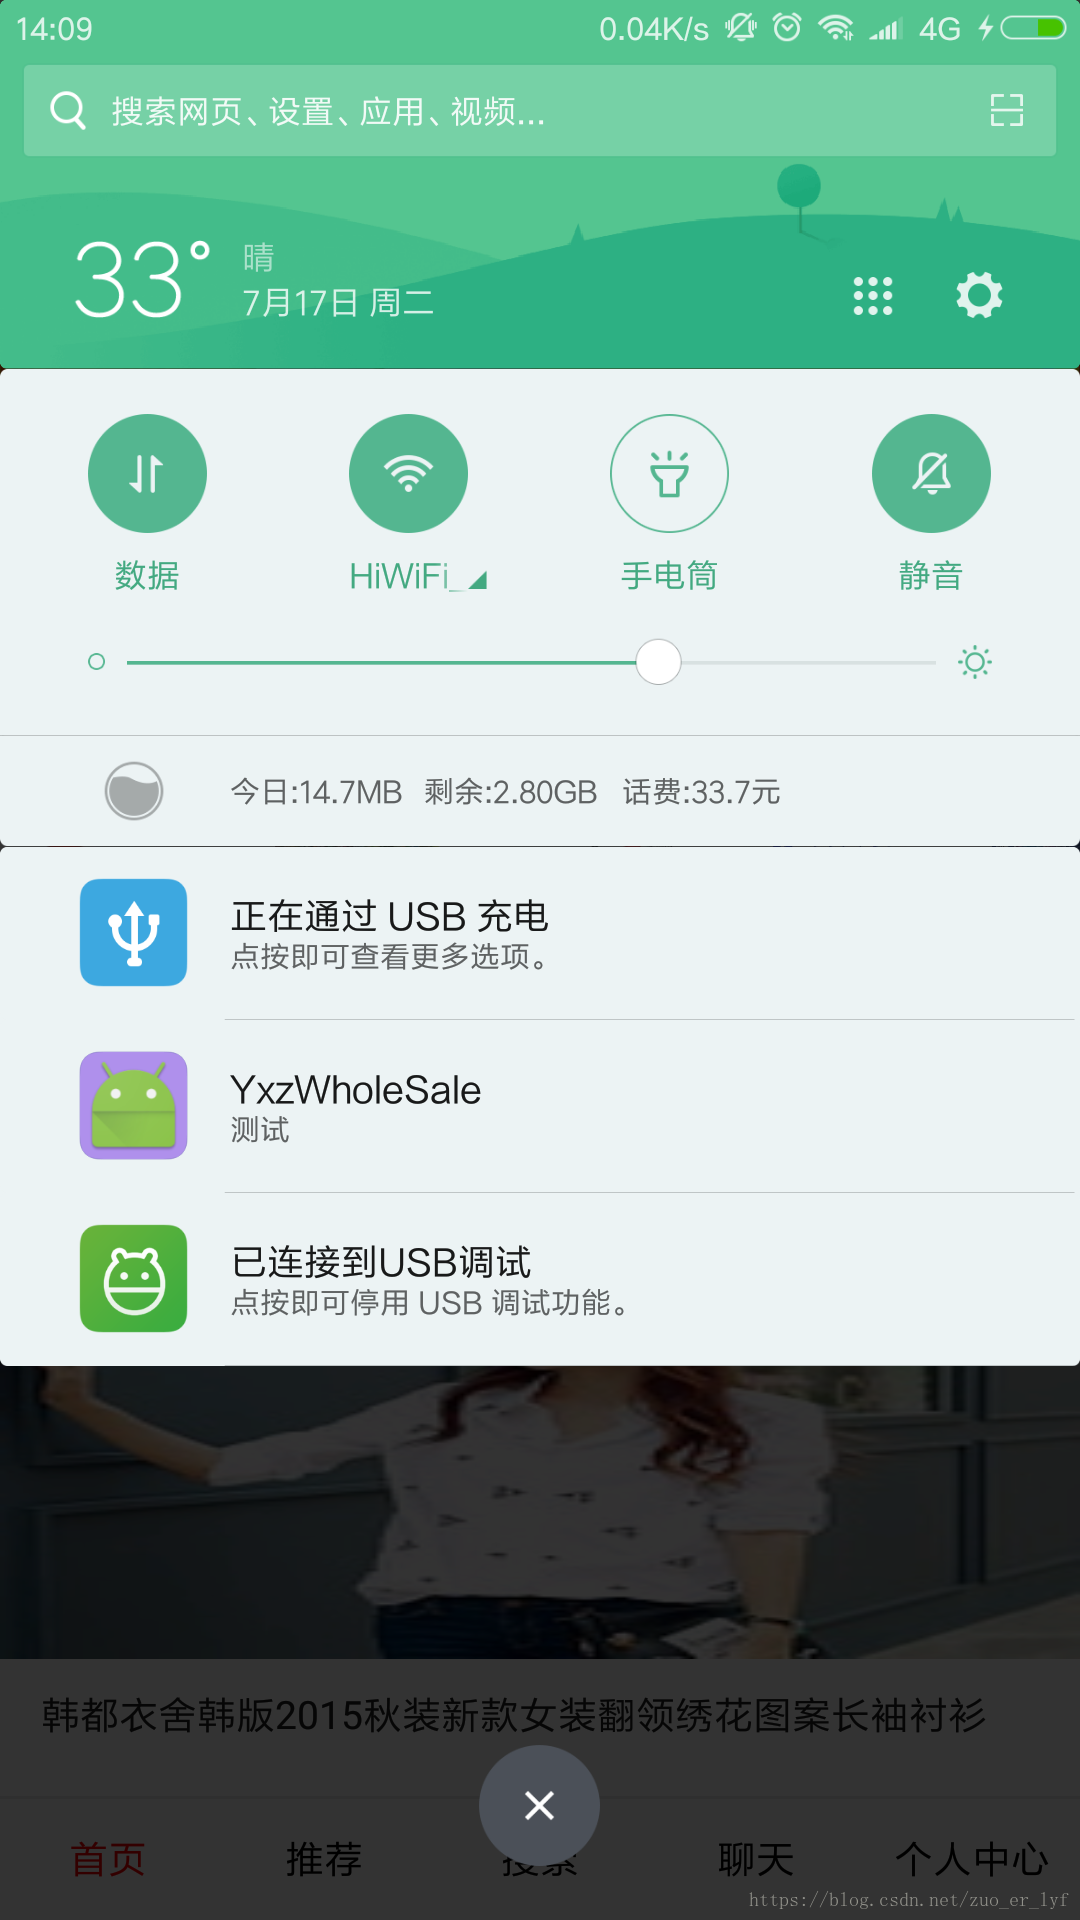
到这里基本是集成完成了,可以在极光推送官网进行推送验证:

接收通知消息效果图:
二,自定义通知栏消息样式
极光推送有提供:CustomPushNotificationBuilder 进行自定义样式设置:
public class JpushNotifictionUtil {
 /**
     * 自定义通知栏
     *
     * @param context
     * @param number     自定义样式编号
     * @param layoutId   布局Id
     * @param iconTipId  指定最顶层状态栏小图标
     * @param iconShowId 指定下拉状态栏时显示的通知图标
     */
    public static void customPushNotification(Context context, int number,
                                              int layoutId, int iconTipId, int iconShowId) {
        // 指定定制的 Notification Layout
        CustomPushNotificationBuilder builder = new CustomPushNotificationBuilder(
                context, layoutId, R.id.custom_push_notification_icon,
                R.id.custom_push_notification_title,
                R.id.custom_push_notification_text);


        // 指定最顶层状态栏小图标
        builder.statusBarDrawable = iconTipId;

        // 指定下拉状态栏时显示的通知图标
        builder.layoutIconDrawable = iconShowId;


        JPushInterface.setPushNotificationBuilder(number, builder);

    }
}
可在MainActivity中调用:(关键代码)
 @Override
    protected int getContentId() {
        return R.layout.activity_main;
    }

    @Override
    protected void init() {
        super.init();

        JpushNotifictionUtil.customPushNotification(this,1,R.layout.custom_push_notification,R.drawable.icon_home2,R.drawable.icon_home2);


    }
自定义样式布局:R.layout.custom_push_notification:
<?xml version="1.0" encoding="utf-8"?>
<LinearLayout xmlns:android="http://schemas.android.com/apk/res/android"
android:layout_width="fill_parent"
android:layout_height="fill_parent"
android:gravity="center_vertical"
android:background="@color/bggray"
android:orientation="horizontal">
<RelativeLayout
android:layout_width="match_parent"
android:layout_height="wrap_content"
android:orientation="vertical">
<ImageView
android:id="@+id/custom_push_notification_icon"
android:layout_width="40dp"
android:layout_height="40dp"
android:layout_centerVertical="true" />
<LinearLayout
android:layout_width="match_parent"
android:layout_height="wrap_content"
android:layout_centerVertical="true"
android:layout_marginLeft="5dp"
android:layout_toRightOf="@+id/custom_push_notification_icon"
android:orientation="vertical">
<TextView
android:id="@+id/custom_push_notification_title"
android:layout_width="wrap_content"
android:layout_height="wrap_content"
android:textColor="#A4C638"
android:textSize="14sp" />
<TextView
android:id="@+id/custom_push_notification_text"
android:layout_width="wrap_content"
android:layout_height="wrap_content"
android:textColor="#FFB6FF"
android:textSize="14sp" />
</LinearLayout>
</RelativeLayout>
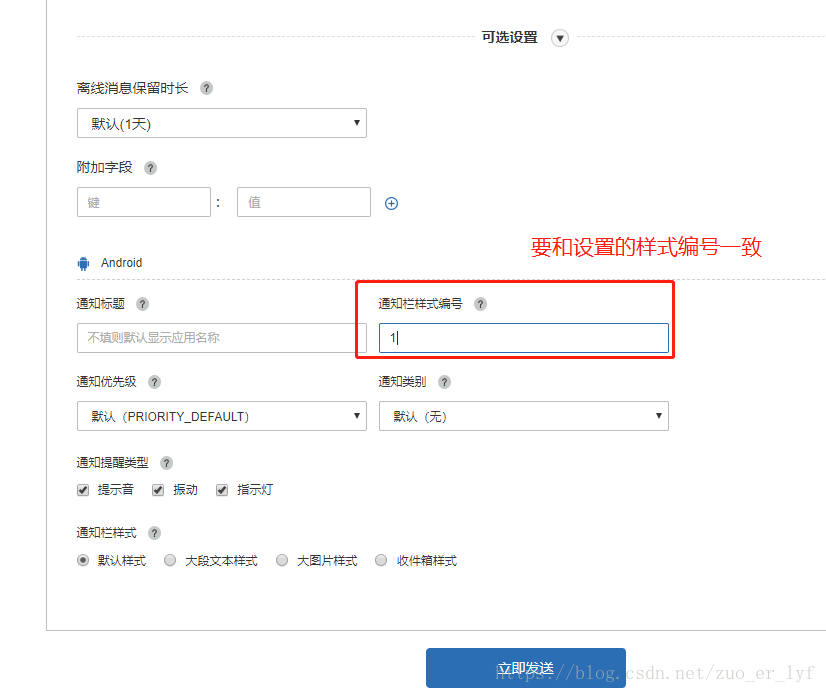
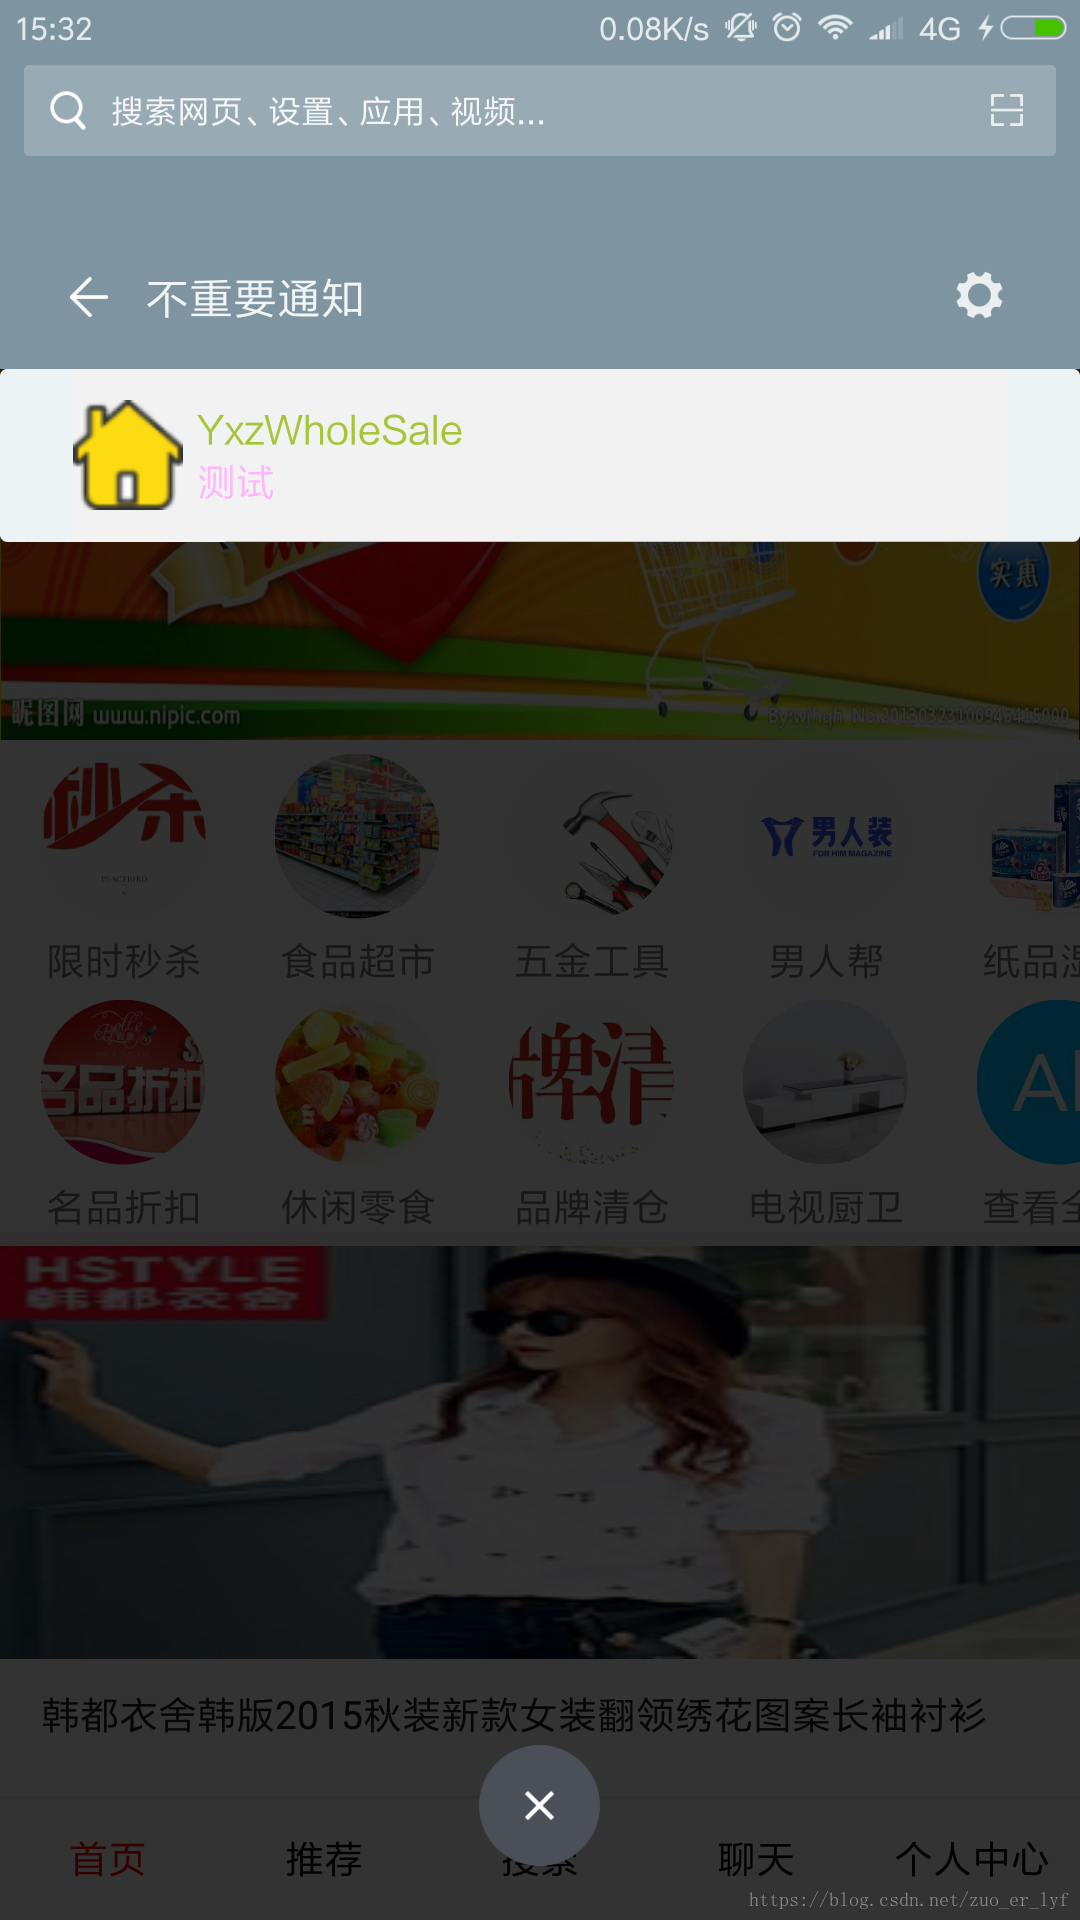
</LinearLayout>自定义推送验证:
效果图:
三,另外提及一点消息通知栏的富文本,一般消息通知栏默认一行,要实现双指下拉显示全部,需要服务器后台,消息推送的时候,进行参数配置:
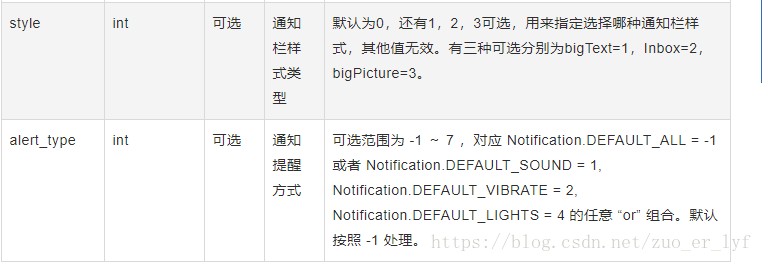
文档地址:https://docs.jiguang.cn/jpush/server/push/rest_api_v3_push/#message