labelme官方链接:https://github.com/wkentaro/labelme
下载工程:
git clone --recursive https://github.com/wkentaro/labelme.git
第一步,安装anaconda。一路回车,yes,完成安装。装完添加下anaconda 的路径,source ~/.bashrc生效即可。
第二步,按照官方说明,我装的是anaconda2。
# python2
conda create --name=labelme python=2.7
source activate labelme
# conda install -c conda-forge pyside2
conda install pyqt
pip install labelme
# if you'd like to use the latest version. run below:
# pip install git+https://github.com/wkentaro/labelme.git
首先,输入
conda create --name=labelme python=2.7
中间让提示装什么,选择回车或yes装上就好了。

输入
source activate labelme

然后输入
conda install pyqt
提示是选择“y”,安装所需软件

输入
pip install labelme
第三步,安装docker,按照官方文档配置即可。
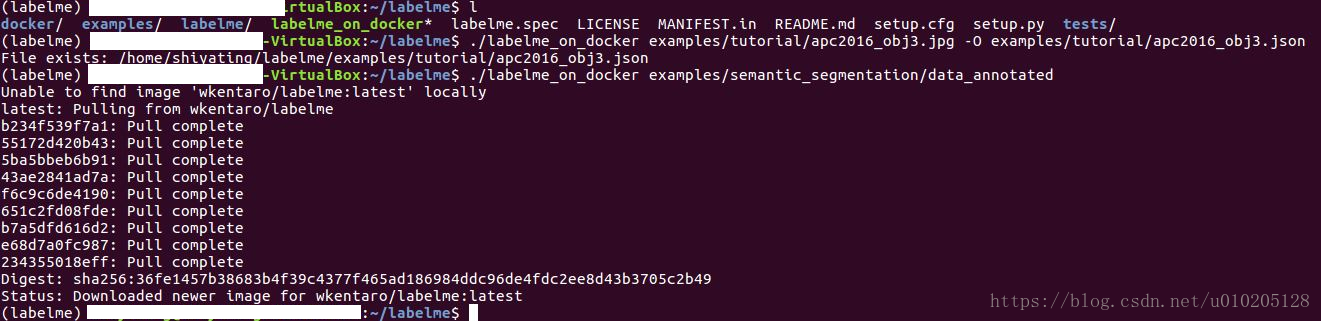
第四步,依次输入以下命令
cd labelme(就是你下载lableme的路径)
wget https://raw.githubusercontent.com/wkentaro/labelme/master/labelme/cli/on_docker.py -O labelme_on_docker
chmod u+x labelme_on_docker

./labelme_on_docker examples/tutorial/apc2016_obj3.jpg -O examples/tutorial/apc2016_obj3.json
./labelme_on_docker examples/semantic_segmentation/data_annotated
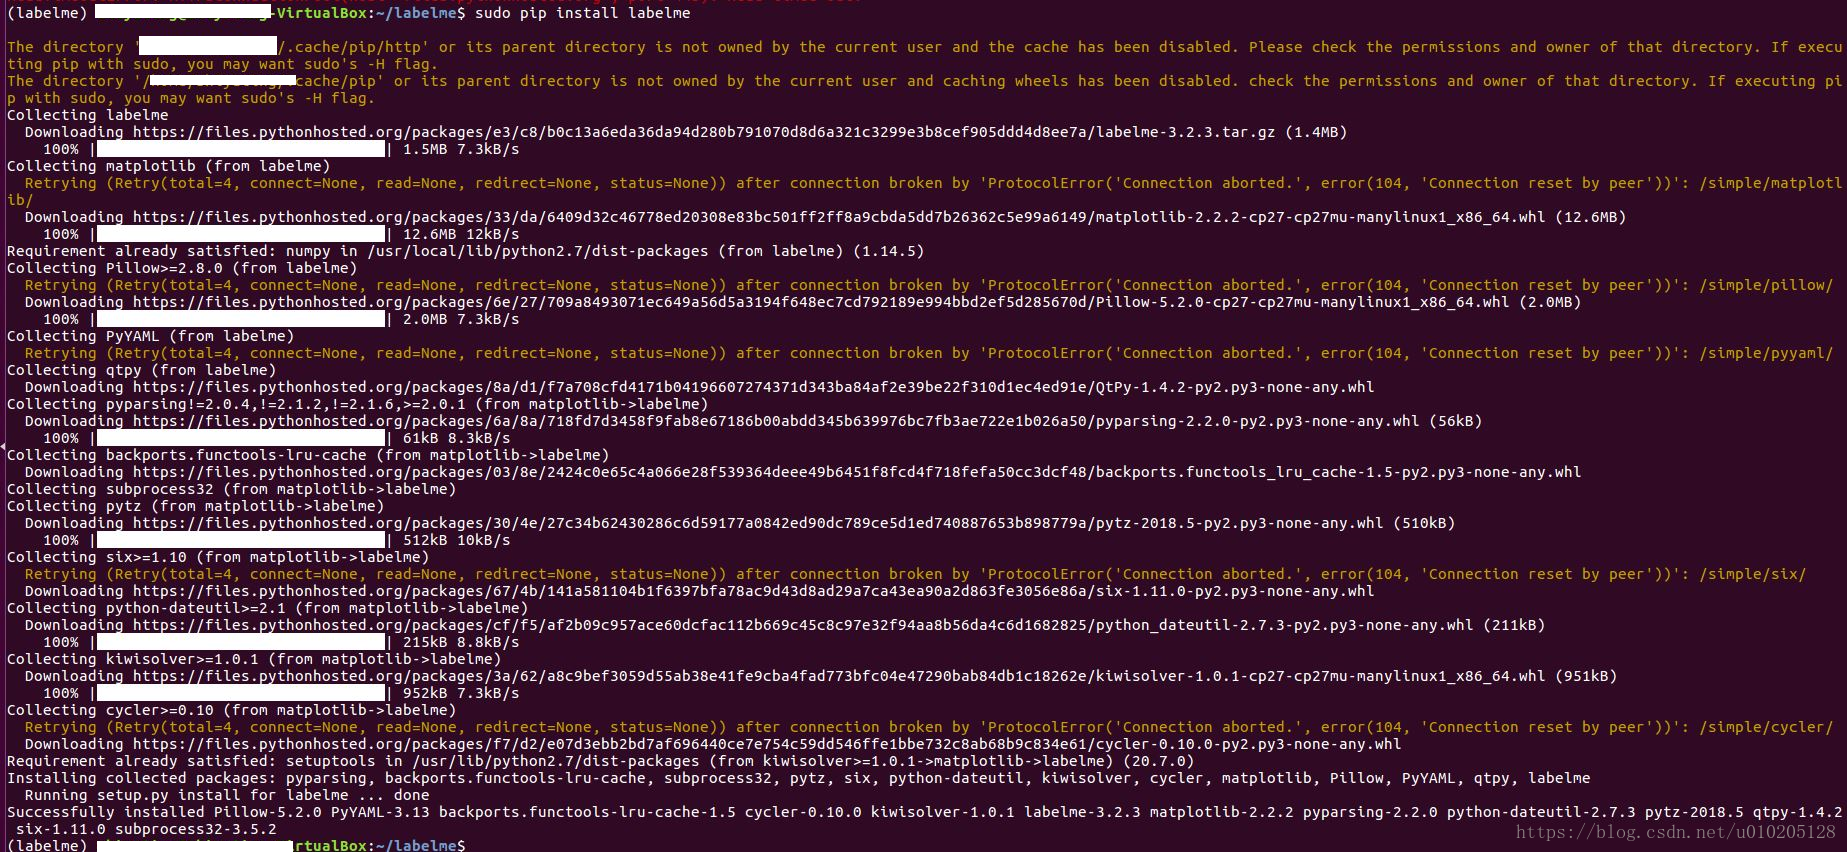
第五步,配置ubuntu,运行如下代码。在执行过程中按提示安装依赖就可以了。
# Ubuntu 14.04 / Ubuntu 16.04
# Python2
# sudo apt-get install python-qt4  # PyQt4
sudo apt-get install python-pyqt5  # PyQt5
sudo pip install labelme
第六步,使用工具。
labelme # just open gui
# tutorial (single image example)
cd examples/tutorial
labelme apc2016_obj3.jpg  # specify image file
labelme apc2016_obj3.jpg -O apc2016_obj3.json  # close window after the save
labelme apc2016_obj3.jpg --nodata  # not include image data but relative image path in JSON file
labelme apc2016_obj3.jpg \
  --labels highland_6539_self_stick_notes,mead_index_cards,kong_air_dog_squeakair_tennis_ball  # specify label list

# semantic segmentation example
cd examples/semantic_segmentation
labelme data_annotated/  # Open directory to annotate all images in it
labelme data_annotated/ --labels labels.txt  # specify label list with a file