最近公司要求图片上传需要压缩,以前直接使用组件不能满足使用了,于是决定自定义个图片上传组件。
可以实现动态传入url,设置压缩率,接收回传参数。 压缩也质量还不错。
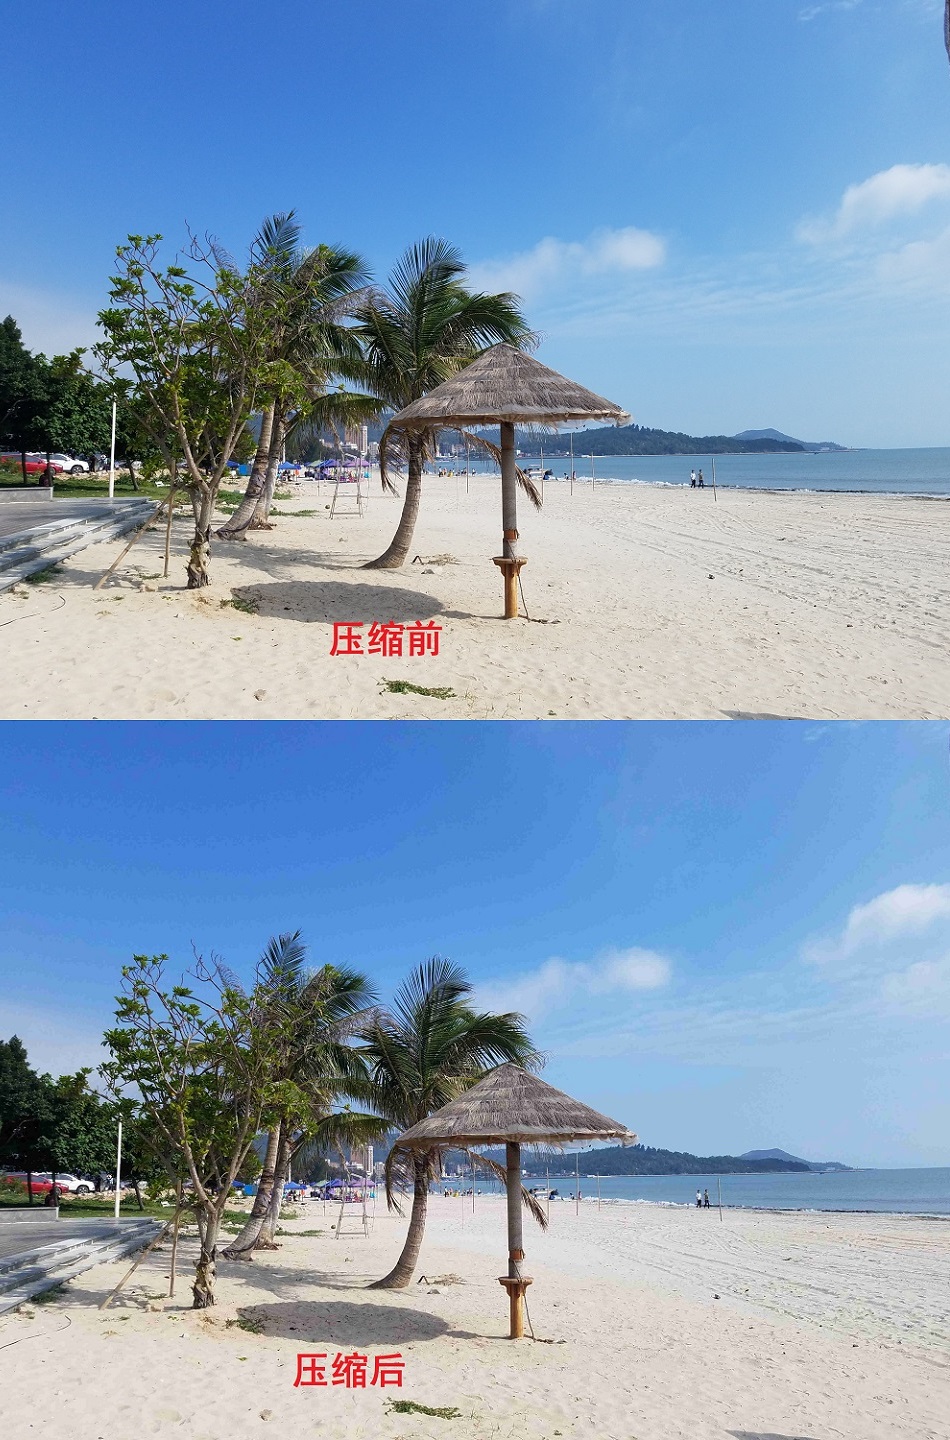
先上效果图
效果如下

压缩质量还不错,4.37M到550k 压缩率更是达到了87% ,这省了不少流量和服务器硬盘啊,哈哈
1.组件html
定义了图片上传增加按钮,将原有的input标签样式进行了更改,图片显示也进行样式更改,利用vue2.0的v-for可以对图片进行动态增加和删除。
<div class="flex-img" id="img-arr">
                <div class="upload-img" v-for="(imgstr,index) in imgStrArr"><i class="smui-icon smui-icon-cancel" @click="deleImg(index)"></i><img style="width:65px;height:65px" :src="imgstr"/></div>
                <div class="upload-add-img" style="position:relative;">
                    <i class="smui-icon smui-icon-camera">
                        <div class="img-input">
                            <input type="file" id="img-upload-file" name="myfile"  @change="UpladFile(url,quality)" class="img-file" accept="image/x-png, image/jpg, image/jpeg, image/gif"/>
                        </div>
                    </i>
                </div>
 </div>
2.组件css
主要input标签样式进行了更改,布局使用了flex布局。flex布局非常适用于移动端布局。
添加图片按钮使用了相对布局包含绝对布局,将input和自定义的图标进行重合。
.img-upload{
        .flex-img{
                display: -webkit-box;
                display: -ms-flexbox;
                display: flex;
        }
        .upload-img{
            margin-left: 10px;
            margin-top: 10px;
            background: #fff;
            border: 1px solid #ddd;
            border-radius: 3px;
            width: 72px;
            height: 72px;
            text-align: center;
            font-size: 32px;
            position: relative;
            line-height: 74px;
            .smui-icon-cancel{
                position: absolute;
                top: -10px;
                left: 60px;
                font-size: 16px;
                color: #ccc;
            }
            img{
                margin: 3px;
            }
        }
        .upload-add-img{
            margin:5px 15px 5px 10px;
            background: #FFFFFF;
            border: 1px solid #DDDDDD;
            border-radius: 3px;
            width: 80px;
            height: 80px;
            text-align: center;
            font-size: 32px;
            color: #ccc;
            line-height: 62px;
        }
        .img-input{
            width:70px;
            height:70px;
            position: absolute;
            margin: auto;
            top: 0;
            left: 0;
            bottom: 0;
            right: 0;
            //background: #03c

        }
        .img-file {
            width:70px;
            height:70px;
            opacity:0;/*设置此控件透明度为零,即完全透明*/
            filter:alpha(opacity=0);/*设置此控件透明度为零,即完全透明针对IE*/
            //font-size:100px;
            position:absolute;/*绝对定位,相对于 .input */
            top:0;
            right:0;
        }
    }
3.核心js代码,实现图片压缩和图片上传
基本步骤如下:
1.input标签选择图片
2.获取到file
3.利用fileReader()读取图片信息(大小,图片内容)
4.根据大小判断是否需要压缩,大于1M进行压缩,小于1M直接上传
//进行压缩具体讲解
4.1fileReader.onload运行后会将图片转换为base64编码
4.2创建image对象将base64编码作为源导入,这里调用image的onload方法,在方法内部创建cavas画布,从新绘制图片(canvas.toDataURL('image/jpeg', quality);quality值越小,所绘制出的图像越模糊),绘制完成重新生成新的base64图片。这里的图片就是压缩过后的图片。
4.3将以base64的图片url数据转换为Blob
5.创建XMLHttpRequest 对象 post提交Blob图片
6.回调接收返回值
export default {
        // url上传地址  quality 质量比例 默认 0.7  0-1
        props:['url','quality'],
		name: 'imgUpload',
		data() {
			return {
        		xhr:{},
				ot:0,
				oloaded:0,
                imgStrArr:[],
                reportRecordId:''
			}
		},
		methods:{
			deleImg(i){
				this.imgStrArr.pop(i);
			},
				/*
			三个参数
			file:一个是文件(类型是图片格式),
			w:一个是文件压缩的后宽度,宽度越小,字节越小
			objDiv:一个是容器或者回调函数
			photoCompress()
			*/
			photoCompress(file,w,objDiv){
				var _this=this;
				var ready=new FileReader();
				/*开始读取指定的Blob对象或File对象中的内容. 当读取操作完成时,readyState属性的值会成为DONE,如果设置了onloadend事件处理程序,则调用之.同时,result属性中将包含一个data: URL格式的字符串以表示所读取文件的内容.*/
				ready.readAsDataURL(file);
				ready.onload=function(){
					var	re=this.result;
					_this.canvasDataURL(re,w,objDiv)
				}
			},
			//重新绘制图片
			canvasDataURL(path, obj, callback){
				var img = new Image();
				img.src = path;
				img.onload = function(){
					var that = this;
					// 默认按比例压缩
					var w = that.width,
						h = that.height,
						scale = w / h;
					w = obj.width || w;
					h = obj.height || (w / scale);
					var quality = 0.7;  // 默认图片质量为0.7
					//生成canvas
					var canvas = document.createElement('canvas');
					var ctx = canvas.getContext('2d');
					// 创建属性节点
					var anw = document.createAttribute("width");
					anw.nodeValue = w;
					var anh = document.createAttribute("height");
					anh.nodeValue = h;
					canvas.setAttributeNode(anw);
					canvas.setAttributeNode(anh);
					ctx.drawImage(that, 0, 0, w, h);
					// 图像质量
					if(obj.quality && obj.quality <= 1 && obj.quality > 0){
						quality = obj.quality;
					}
					// quality值越小,所绘制出的图像越模糊
					var base64 = canvas.toDataURL('image/jpeg', quality);
					// 回调函数返回base64的值
					callback(base64);
				}
			},
			/**
			 * 将以base64的图片url数据转换为Blob
			 * @param urlData
			 *            用url方式表示的base64图片数据
			 */
			convertBase64UrlToBlob(urlData){
				var arr = urlData.split(','), mime = arr[0].match(/:(.*?);/)[1],
					bstr = atob(arr[1]), n = bstr.length, u8arr = new Uint8Array(n);
				while(n--){
					u8arr[n] = bstr.charCodeAt(n);
				}
				return new Blob([u8arr], {type:mime});
			},
			//上传文件方法
			UpladFile(url,quality) {
                console.log(url)
                console.log(quality)
				if(this.imgStrArr.length>2){
					return;
				}
				var fileObj = document.getElementById("img-upload-file").files[0]; // js 获取文件对象
				console.log('file',fileObj)
				//var url = "http://10.118.62.42:8090/mobile/json/quickReport/upload.ht"; // 接收上传文件的后台地址
                //var url=this.url;
				var form = new FormData(); // FormData 对象
				var _this=this;
				if(fileObj.size/1024 > 1025) { //大于1M,进行压缩上传
					this.$loading.show({
							text: 0 + '%'
					});
					this.photoCompress(fileObj, {
						quality: quality
					}, function(base64Codes){
						//console.log("压缩后:" + base.length / 1024 + " " + base);
						var bl = _this.convertBase64UrlToBlob(base64Codes);
						//console.log("base64Codes",base64Codes);
						_this.imgStrArr.push(base64Codes);
						form.append("file", bl, "file_"+Date.parse(new Date())+".jpg"); // 文件对象
						_this.xhr = new XMLHttpRequest();  // XMLHttpRequest 对象
                        _this.xhr.open("post", url, true); //post方式,url为服务器请求地址,true 该参数规定请求是否异步处理。
                        _this.xhr.setRequestHeader('reportRecordId',_this.reportRecordId);
						_this.xhr.upload.onprogress = _this.progressFunction;//【上传进度调用方法实现】
						_this.xhr.onload = _this.uploadComplete; //请求完成
						_this.xhr.onerror =  _this.uploadFailed; //请求失败

						_this.xhr.upload.onloadstart = function(){//上传开始执行方法
							_this.ot = new Date().getTime();   //设置上传开始时间
							_this.oloaded = 0;//设置上传开始时,以上传的文件大小为0
						};

						_this.xhr.send(form); //开始上传,发送form数据
					});
				}else{ //小于等于1M 原图上传
					var reader = new FileReader();
					reader.readAsDataURL(fileObj);
					reader.onload=function(){
						_this.imgStrArr.push(this.result);//this.result是base64编码
						//console.log(this.result);
					}
					form.append("file", fileObj); // 文件对象
					_this.xhr = new XMLHttpRequest();  // XMLHttpRequest 对象
                    _this.xhr.open("post", url, true); //post方式,url为服务器请求地址,true 该参数规定请求是否异步处理。
                    _this.xhr.setRequestHeader('reportRecordId',_this.reportRecordId);
					_this.xhr.upload.onprogress = _this.progressFunction;//【上传进度调用方法实现】
					_this.xhr.onload = _this.uploadComplete; //请求完成
					_this.xhr.onerror =  _this.uploadFailed; //请求失败

					_this.xhr.upload.onloadstart = function(){//上传开始执行方法
						_this.ot = new Date().getTime();   //设置上传开始时间
						_this.oloaded = 0;//设置上传开始时,以上传的文件大小为0
					};
					_this.xhr.send(form); //开始上传,发送form数据
				}
			},

			//上传成功响应
			uploadComplete(evt) {
				//服务断接收完文件返回的结果
				//console.log('回复',evt.target.responseText);
				var data = JSON.parse(evt.target.responseText);
				//console.log('回复',data);
				if(data.reportRecordId) {
					this.reportRecordId=data.reportRecordId;
					//传递数据给父组件
					this.$emit('uplodCallBack',data.reportRecordId)
					this.$toast.show({
						type:'text',
						text: '文件上传成功',
						time:1000
					})
				}else{
					this.$toast.show({
						type:'text',
						text: '文件上传失败',
						time:1000
					});
					this.imgStrArr.pop();
				}

			},
			//上传失败
			uploadFailed(evt) {
				this.$toast.show({
						type:'text',
						text: '文件上传失败',
						time:1000
				});
				this.imgStrArr.pop();
			},
			//取消上传
			cancleUploadFile(){
				this.xhr.abort();
			},
			//上传进度实现方法,上传过程中会频繁调用该方法
			progressFunction(progressEvent) {
				if (progressEvent.lengthComputable) {
					var num = Math.round(progressEvent.loaded / progressEvent.total * 100);
					console.log("num=" + num);
					if(num < 100){
						this.$loading.show({
							text: num + '%'
						})
					}else{
						this.$loading.hide();
					}
				}
			}
		}
	}
上面三部分就是组件的部分
4.组件的使用
将组件引入并注册,就可以在父组件或父页面上使用了
例如 我这个demo中直接使用注册和soImgUpoad标签就可以了
:url 范问后台的 url:quality压缩的质量 0-1之间可选quality值越小,所绘制出的图像越模糊 也就压缩率越高
@uploadCallback回调函数,图片上传成功后会调用该函数(默认传回后台返回参数)
<div id="app">
    <img-upload :url="'http://XXX'" @uploadCallback="imgUplodCallBack" :quality="0.3"></img-upload>
</div>
import soImgUpload from '@/components/imgUpload'
export default {
components: {
imgUpload
},
data() {
return {
}
},
methods:{
imgUplodCallBack(r){
console.log('r',r);
}
}
}5.总结
组件编写需要熟悉组件间的数据传递,这里用到了
1.父组件传递数据给子组件 通过props
2.子组件调用父组件方法 通过 this.$emit();
图片压缩用到了FileRerader对象和image对象,使用canvas重化图片,是用base64编码,需要熟悉base64编码和图片之间的转换。
图片上传用到了XMLHttpRequest()
这些都是至少需要了解的
参考博客:https://www.cnblogs.com/007sx/p/7583202.html