1、简介
https://github.com/assimp/assimp
Open Asset Import Library 是一个库,用于将各种 3D 文件格式加载为共享的内存格式。它支持 40 多种用于导入的文件格式和越来越多的用于导出的文件格式选择。

一个非常流行的模型导入库是Assimp,它是Open Asset Import Library(开放的资产导入库)的缩写。Assimp能够导入很多种不同的模型文件格式(并也能够导出部分的格式),它会将所有的模型数据加载至Assimp的通用数据结构中。

当Assimp加载完模型之后,我们就能够从Assimp的数据结构中提取我们所需的所有数据了。由于Assimp的数据结构保持不变,不论导入的是什么种类的文件格式,它都能够将我们从这些不同的文件格式中抽象出来,用同一种方式访问我们需要的数据。

为 C 和 C++ 提供了 API。与其他语言(C#、Java、Python、Delphi、D)有各种绑定。Assimp 还可以在 Android 和 iOS 上运行。 此外,Assimp 还具有各种网格后处理工具:法线和切线空间生成、三角测量、顶点缓存局部优化、去除退化基元和重复顶点、按基元类型排序、合并冗余材料等等。
2、下载编译
https://github.com/assimp/assimp
https://github.com/assimp/assimp/blob/master/Build.md
https://assimp-docs.readthedocs.io/en/latest/about/quickstart.html#assimp-static-lib
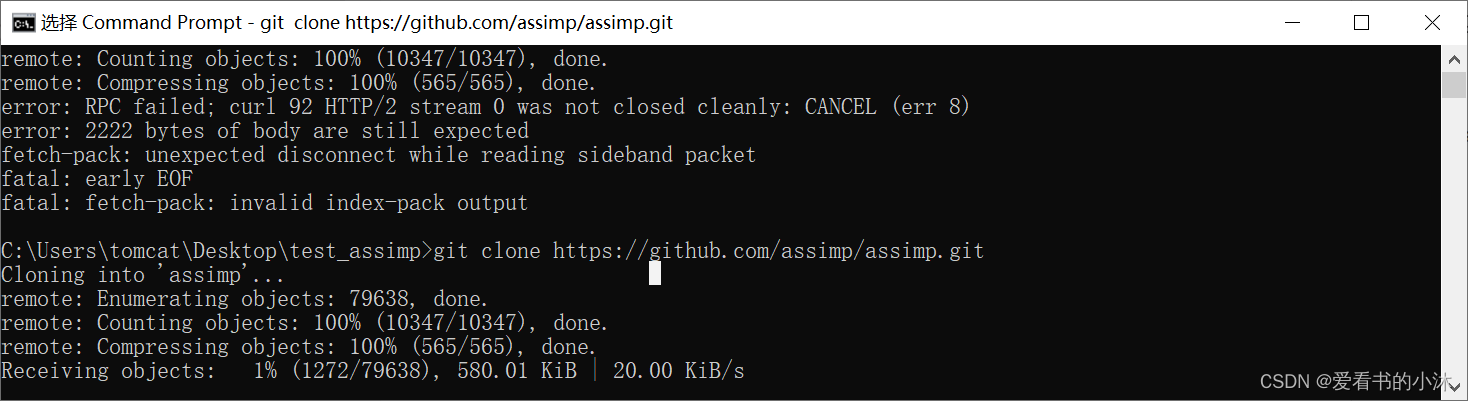
- 下载代码
git clone https://github.com/assimp/assimp.git
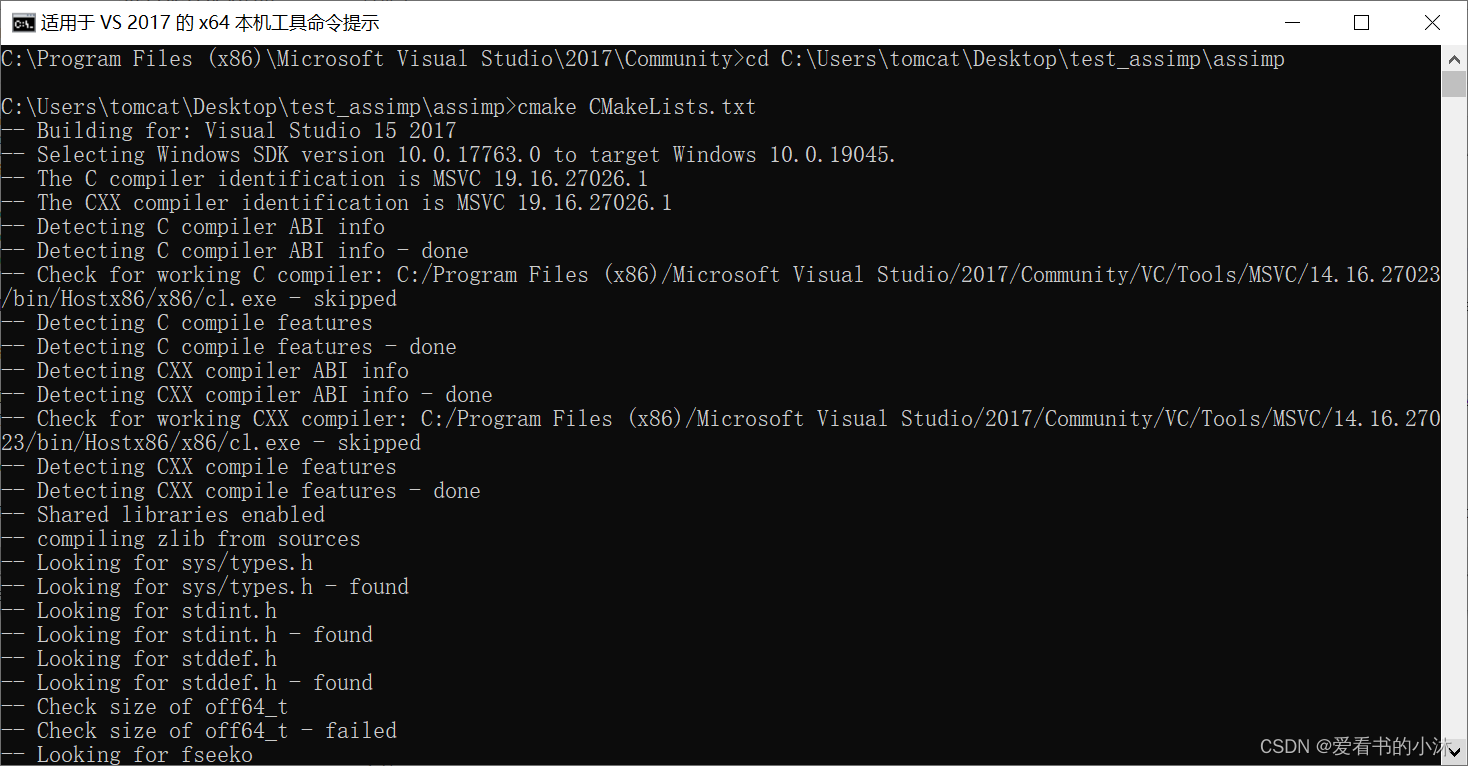
- 构建工程
cd assimp
cmake CMakeLists.txt
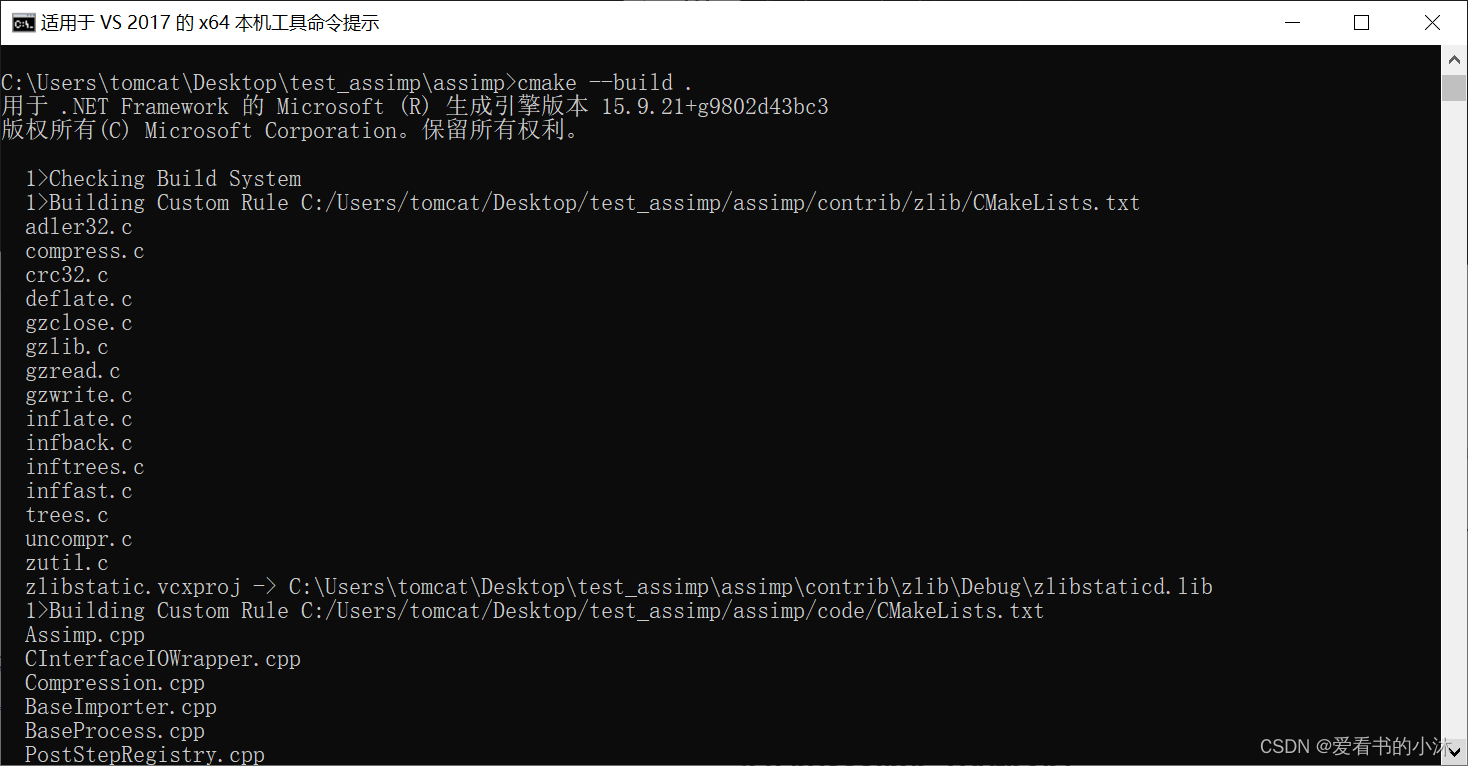
cmake --build .
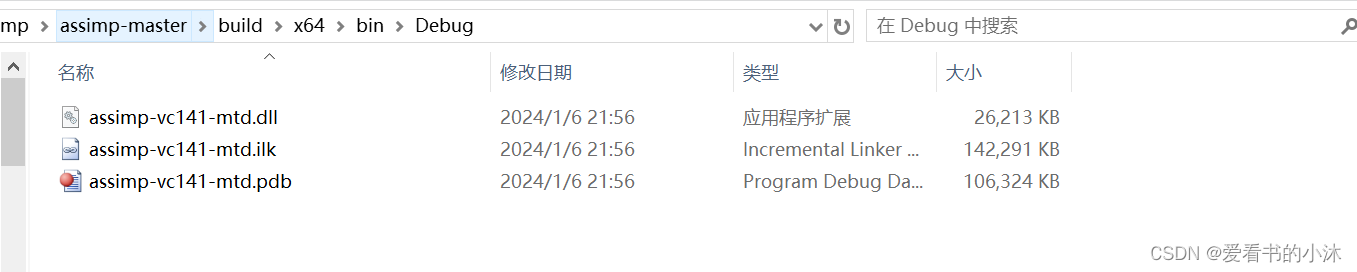
编译生成文件如下:

3、代码测试
3.1 C++
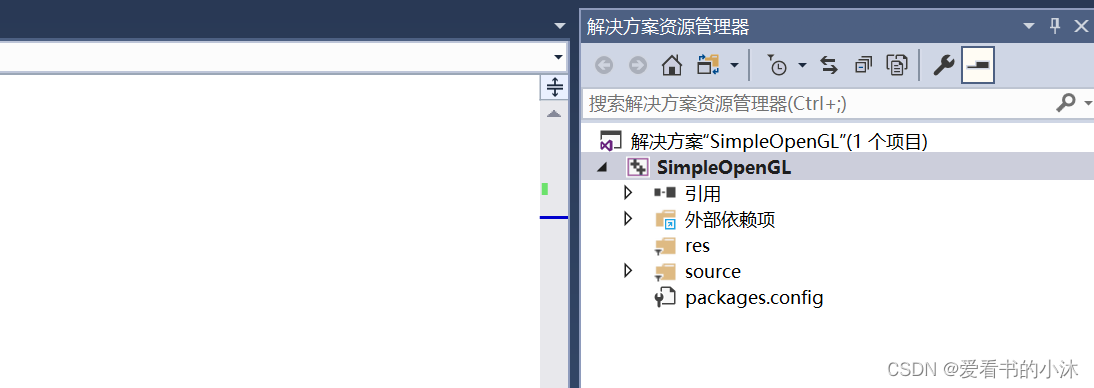
编译了assimp库文件之后,再使用它自带的测试工程进行测试如下:
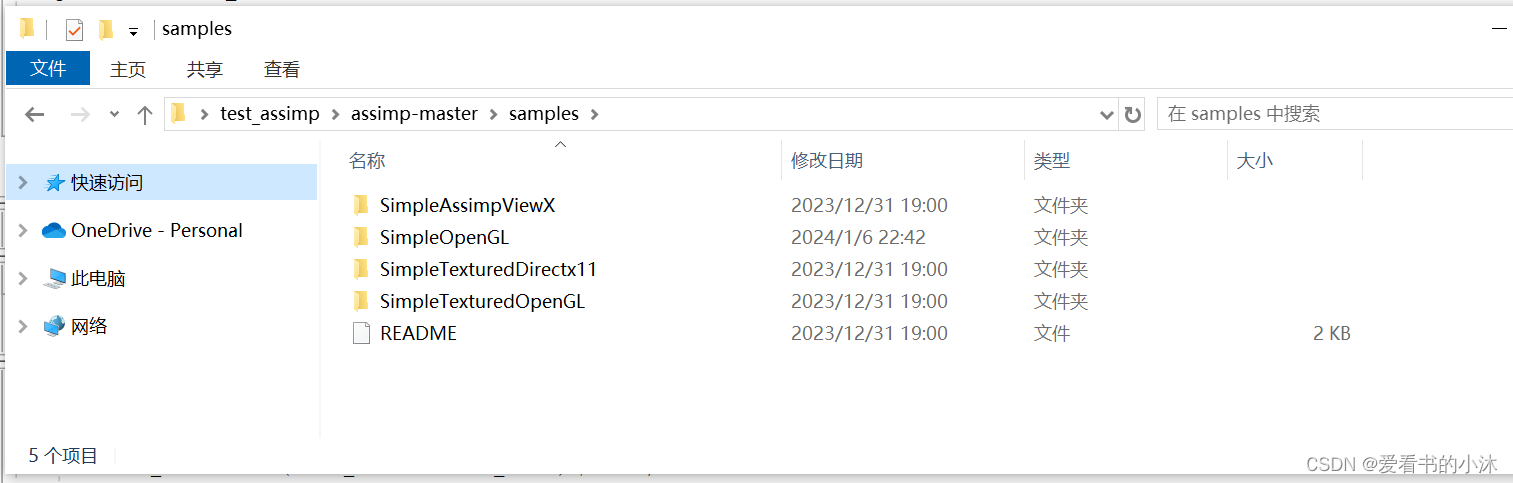
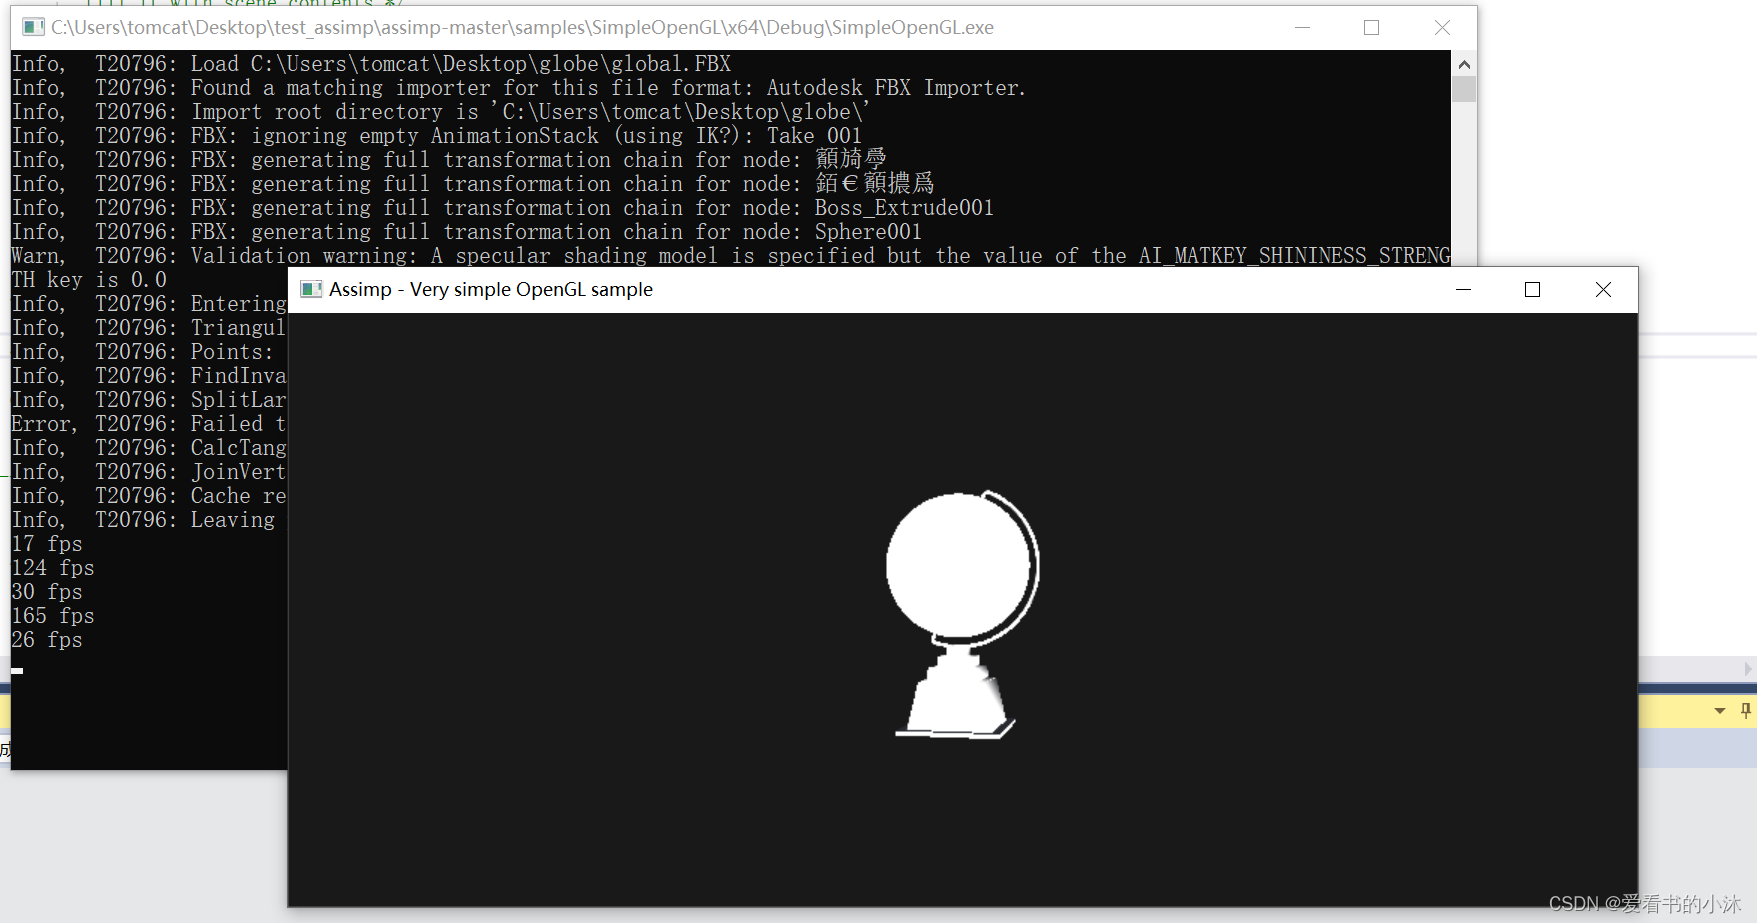
比如SimpleOpenGL示例打开如下:
编译运行如下:
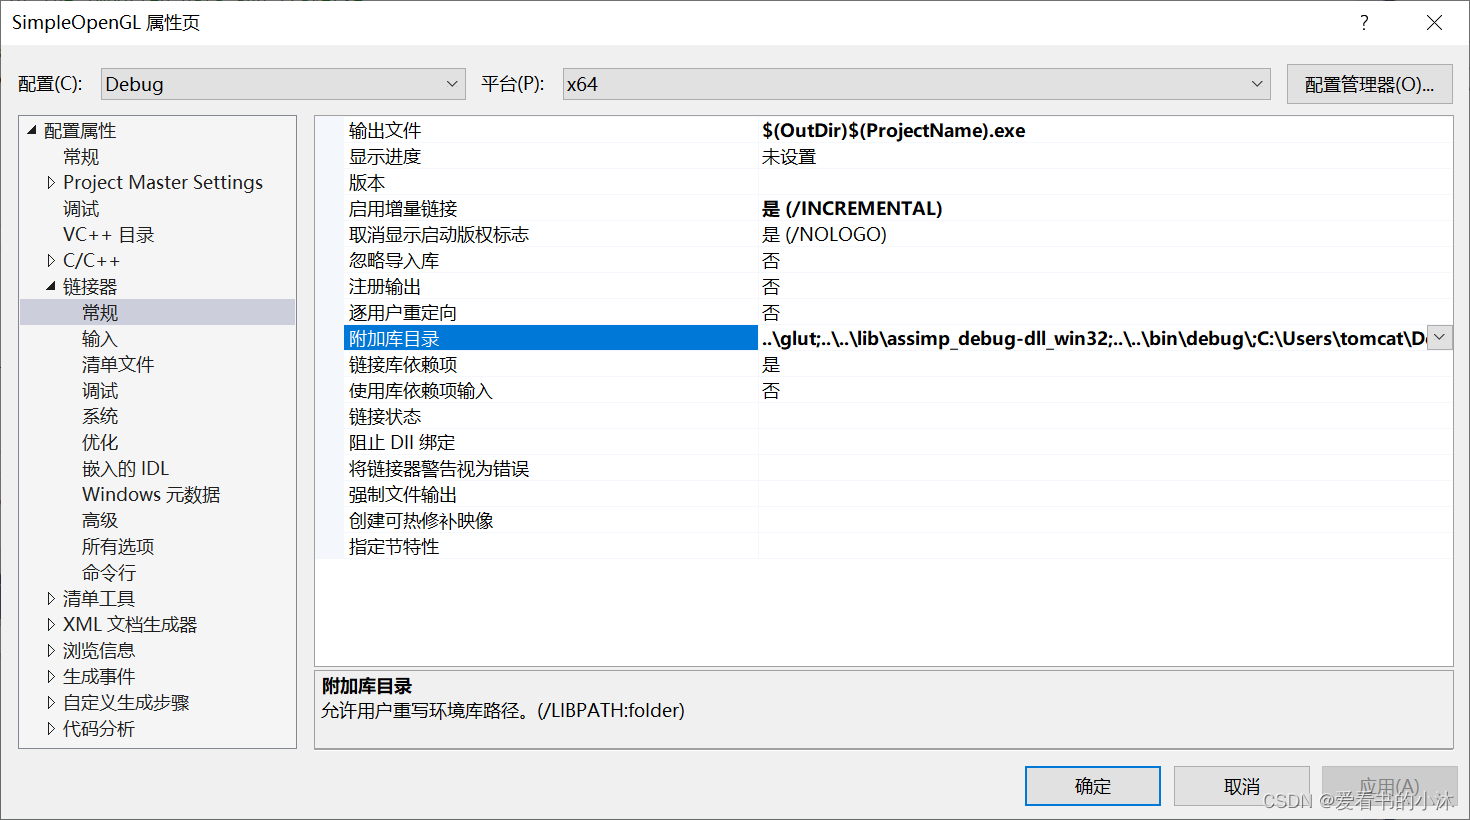
vs2017工程的参数设置的注意事项:
项目配置:
a. 项目属性 ----> C/C++ —> 附加包含目录 —> your_path\assimp-master\include
b. 项目属性 ----> 链接器 —> 常规 —> 附加库目录 —> your_path\lib
c. 项目属性 ----> 链接器 —> 输入 —> 附加依赖项 —> assimp-vc141-mtd.lib
这里使用一个更为简单的例子进行说明assimp开发流程如下:
#include <stdlib.h>
#include <stdio.h>

#include <assimp/postprocess.h> // Post processing flags
#include <assimp/scene.h> // Output data structure
#include <assimp/Importer.hpp> // C++ importer interface
#include <iostream>


#pragma comment(lib, "assimp-vc141-mtd.lib")

void LoadFinish(const aiScene *scene) {


    std::cout << "LoadFinish ! NumVertices : " << (*(scene->mMeshes))->mNumVertices << std::endl;
}

bool LoadModel(const std::string &pFile) {


    // Create an instance of the Importer class
    Assimp::Importer importer;

    // And have it read the given file with some example postprocessing
    // Usually - if speed is not the most important aspect for you - you'll
    // probably to request more postprocessing than we do in this example.
    const aiScene *scene = importer.ReadFile(pFile,
            aiProcess_CalcTangentSpace |
                    aiProcess_Triangulate |
                    aiProcess_JoinIdenticalVertices |
                    aiProcess_SortByPType);

    // If the import failed, report it
    if (!scene) {


        std::cout << importer.GetErrorString() << std::endl;
        return false;
    }

    // Now we can access the file's contents.
    LoadFinish(scene);

    // We're done. Everything will be cleaned up by the importer destructor
    return true;
}

int main() {


    LoadModel("C:\\Users\\tomcat\\Desktop\\globe\\globe.obj");

    return 0;
}
运行代码如下:

3.2 pyassimp(Python)
https://github.com/assimp/assimp/blob/master/port/PyAssimp/README.md
一个简单的 Python 包装器,用于访问 Assimp,用于访问库。 需要 Python >= 2.6。
PyAssimp 带有一个简单的 3D 查看器,显示如何加载和显示 3D 使用基于着色器的 OpenGL 管道进行建模。
PyAssimp 需要一个 assimp 动态库(在 windows、linux、macOS 上)才能工作。
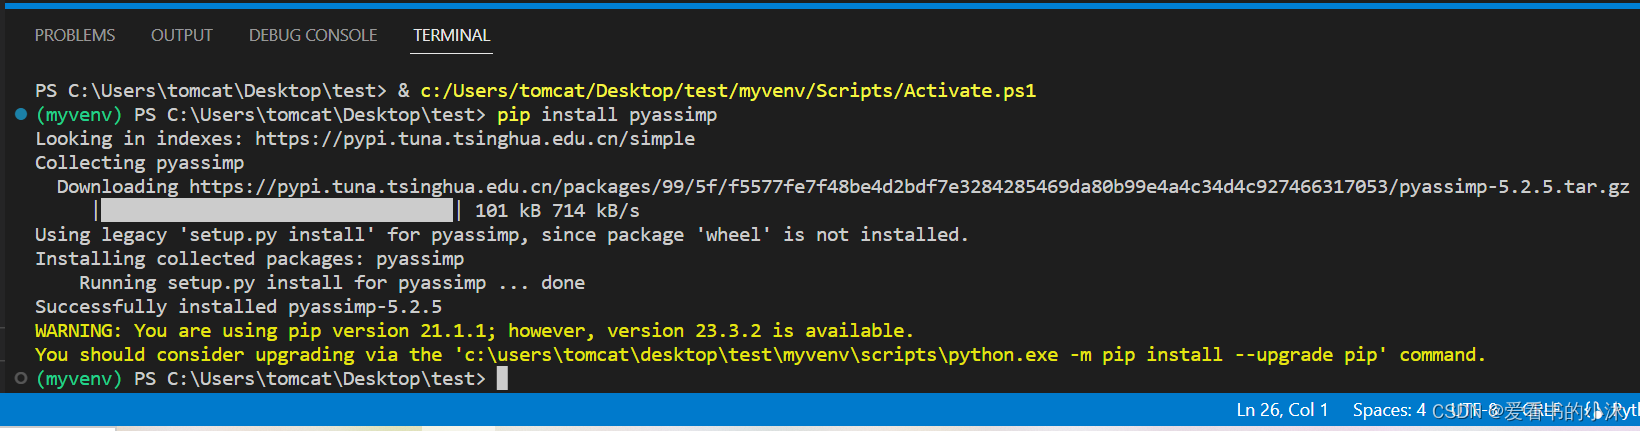
- 安装:PyAssimp
python setup.py install
# or
pip install pyassimp
- 要加载一个名为 第一个网格的顶点
from pyassimp import load
with load('hello.3ds') as scene:

  assert len(scene.meshes)
  mesh = scene.meshes[0]

  assert len(mesh.vertices)
  print(mesh.vertices[0])
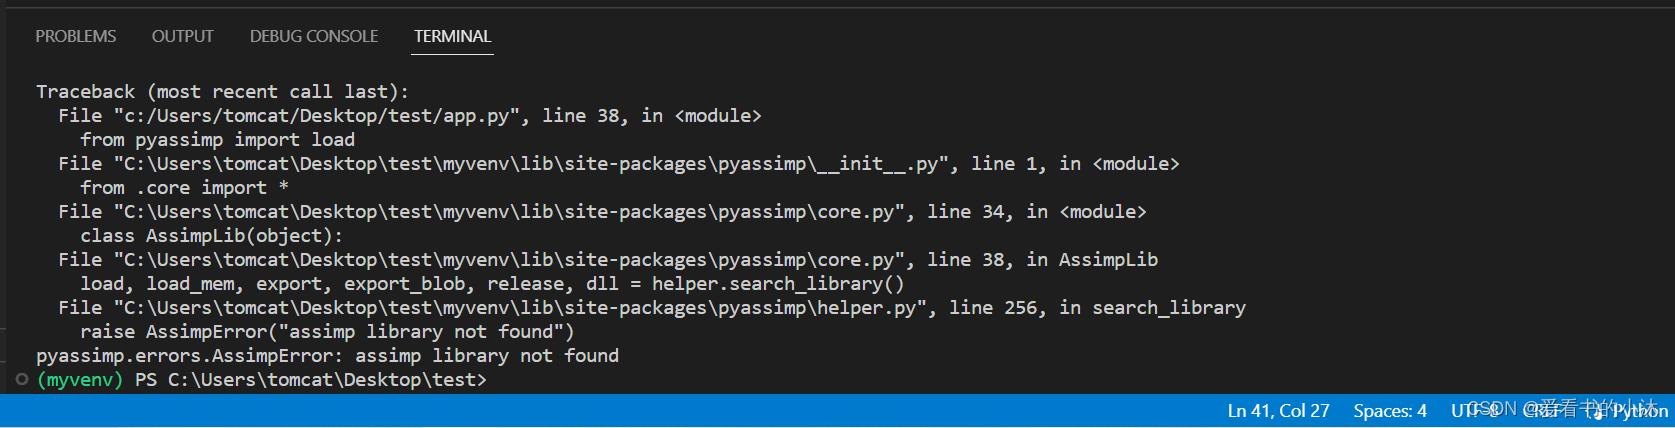
运行发生错误,提示assimp库文件不存在。
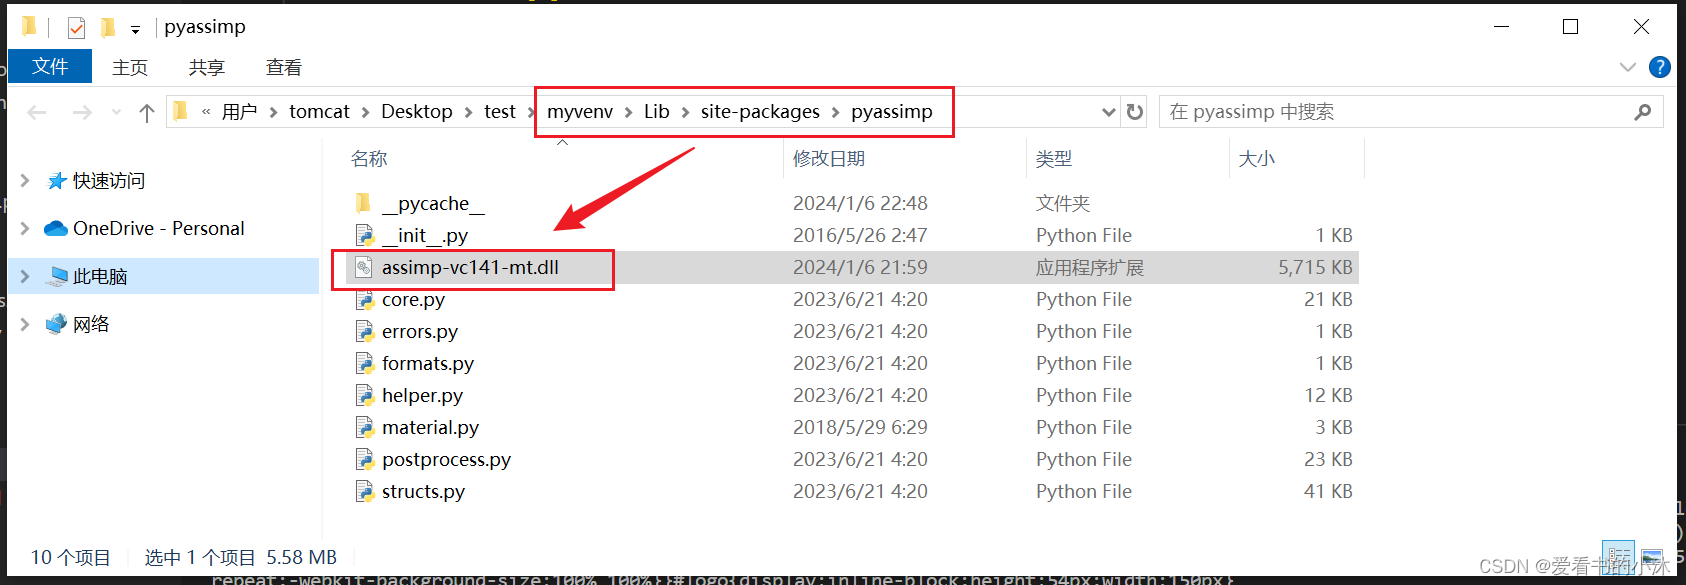
将上面编译生成的文件assimp-vc141-mt.dll放在下面文件夹里面。
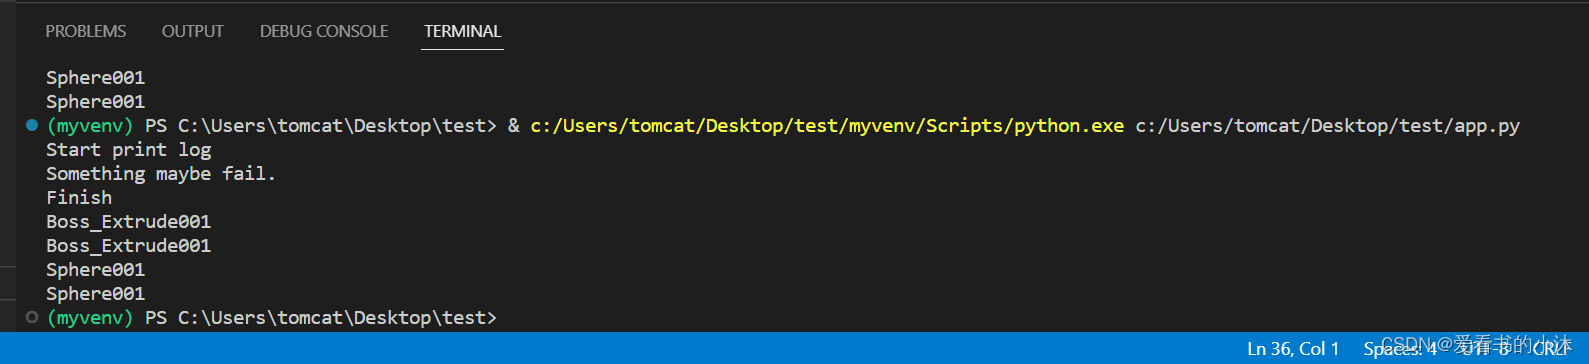
再重新编译运行代码如下:

- 另一个列出“顶级节点”的示例
from pyassimp import load
with load('hello.3ds') as scene:

  for c in scene.rootnode.children:
      print(str(c))
运行代码如下:
结语
如果您觉得该方法或代码有一点点用处,可以给作者点个赞,或打赏杯咖啡;╮( ̄▽ ̄)╭
如果您感觉方法或代码不咋地//(ㄒoㄒ)//,就在评论处留言,作者继续改进;o_O???
如果您需要相关功能的代码定制化开发,可以留言私信作者;(✿◡‿◡)
感谢各位大佬童鞋们的支持!( ´ ▽´ )ノ ( ´ ▽´)っ!!!