opencv学习笔记(四):基本的绘图函数
文章目录
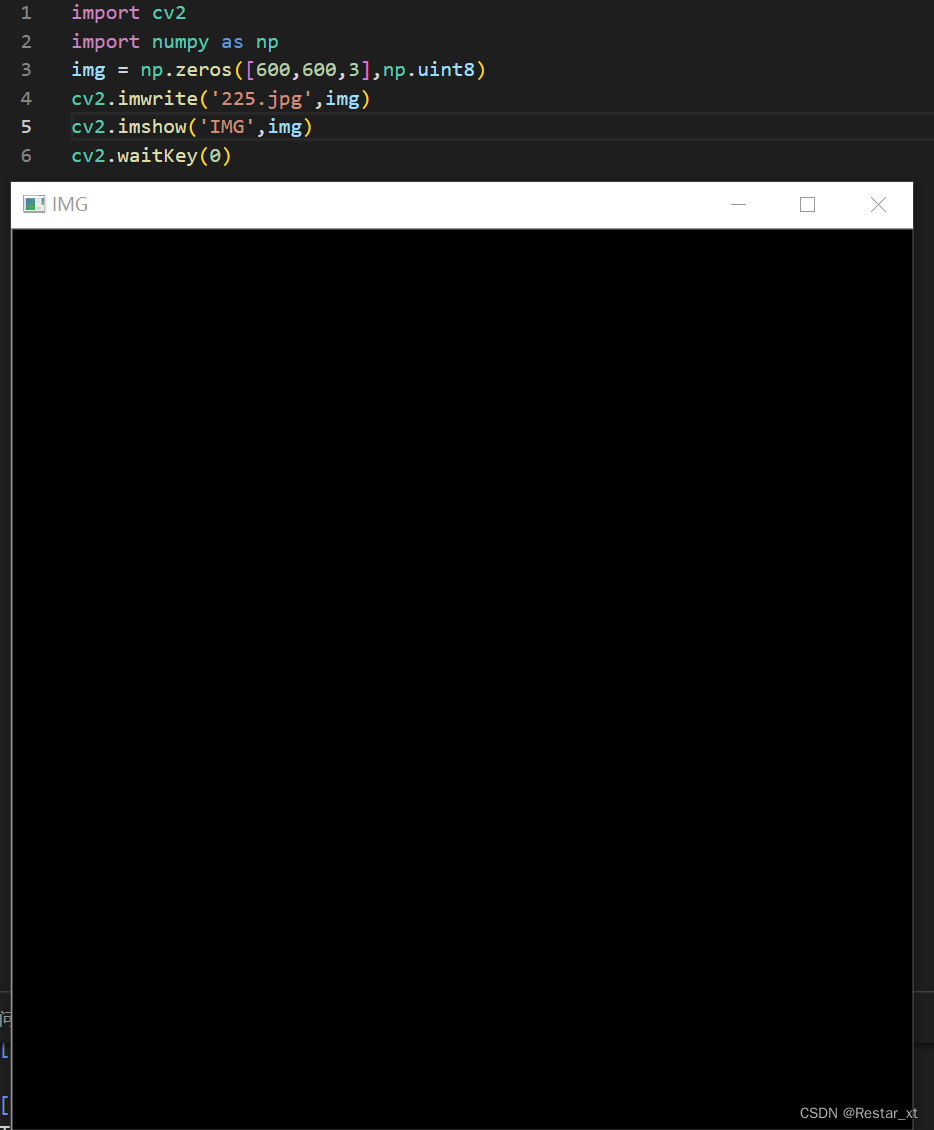
写在前面,为方便绘制时观察图形,我们首先要创建一个空白图像,此处调用numpy库进行创建
import cv2
import numpy as np
img = np.zeros([600,600,3],np.uint8)
cv2.imwrite('225.jpg',img)
cv2.imshow('IMG',img)
cv2.waitKey(0)
运行结果如下:一张600*600*3的纯黑图片被创建,并保存在工程文件夹内,命名为225.jpg
绘制直线 cv2.line()
函数原型:cv2.line(img,起点坐标,终点坐标,颜色,线宽)
参数说明:img:读取的图片
         起点坐标:直线的起点坐标,三通道图像为(xx,xx,x),灰度图像为(xx,xx)
         终点坐标:直线的起点坐标,三通道图像为(xx,xx,x),灰度图像为(xx,xx)
         颜色:直线颜色的表示,如RGB下黑色(0,0,0),白色(255,255,255);
         线宽:整数值,代表线宽,单位为px(像素值)
在黑色600*600图片上绘制起点为(0,0,0),终点为(299,299,299),线宽5px的白线
import cv2
import numpy as np
Img = cv2.imread('225.jpg',cv2.IMREAD_UNCHANGED)
Img = cv2.line(Img,(0,0),(299,299),(255,255,255),5)
cv2.imshow('draw',Img);
cv2.waitKey(0);
运行结果如下:

绘制矩形 cv2.rectangle()
函数原型:cv2.rectangle(矩形左上顶点坐标值,矩形右下顶点坐标值,颜色,线宽)
参数说明:可类比绘制直线函数
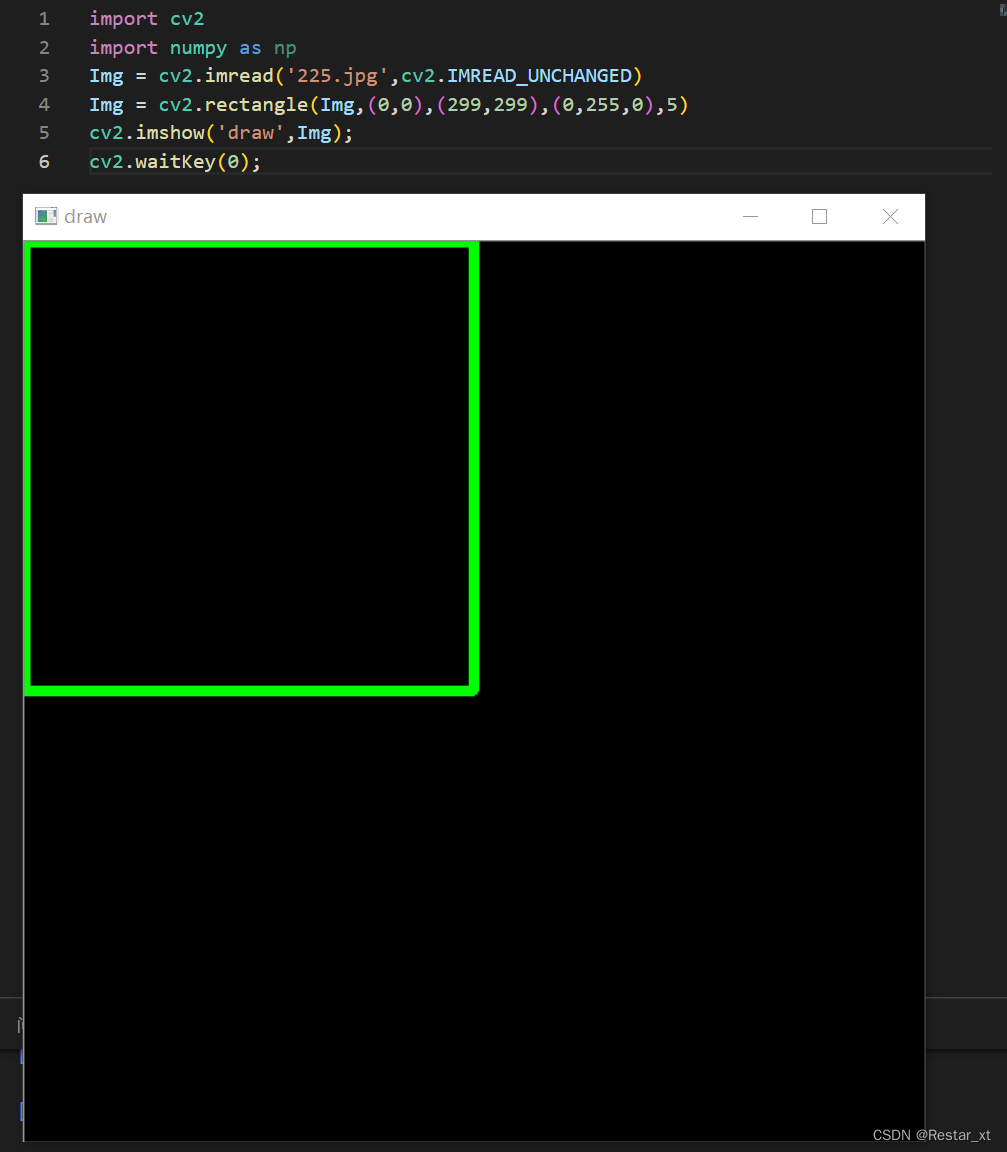
绘制普通矩形
在黑色600*600图片上绘制左上顶点为(0,0,0),右下顶点为(299,299,299),线宽5px的绿色矩形
import cv2
import numpy as np
Img = cv2.imread('225.jpg',cv2.IMREAD_UNCHANGED)
Img = cv2.rectangle(Img,(0,0),(299,299),(0,255,0),5)
cv2.imshow('draw',Img);
cv2.waitKey(0);
运行结果如下:
绘制渐变矩形
import cv2
import numpy as np
img = np.zeros((512,512,3),np.uint8) //创建一个512*512*3的黑色背景
flag = 1
while flag:
    for a in range(0,256):
        cv2.rectangle(img,(350,0),(500,128),(a,255-a,a),3)//根据几何关系确定五个矩形的位置,其颜色随for循环变化
        cv2.rectangle(img,(0,0),(150,128),(a,255-a,a),3)
        cv2.rectangle(img,(0,350),(150,478),(a,255-a,a),3)
        cv2.rectangle(img,(350,350),(500,478),(a,255-a,a),3)
        cv2.rectangle(img,(165,180),(315,308),(a,255-a,a),3)
        cv2.namedWindow('img',cv2.WINDOW_NORMAL)//创建窗口
        cv2.resizeWindow('img',(1000,1000))//更改窗口大小
        cv2.imshow('img',img)
        if cv2.waitKey(1) == ord('q')://中断跳出
            flag -=1
            break
cv2.destroyAllWindows()
运行效果如下:

绘制圆形 cv.circle()
函数原型:cv2.circle(中心坐标,半径,颜色,线宽)
参数说明:可类比绘制直线函数
在黑色600*600图片上绘制中心(299,299),半径299,线宽5px的红色圆形
import cv2
import numpy as np
img = cv2.imread('225.jpg',cv2.IMREAD_UNCHANGED)
img = cv2.circle(img,(299,299),299,(0,0,255),5)
cv2.imshow('img',img)
cv2.waitKey(0)
运行结果如下:

绘制椭圆 cv2.ellipse()
Draws a simple or thick elliptic arc or fills an ellipse sector.
函数原型:ellipse(InputOutputArray 	img,
                Point 	center,
                Size 	axes,
                double 	angle,
                double 	startAngle,
                double 	endAngle,
                const Scalar & 	color,
                int 	thickness = 1,
                int 	lineType = LINE_8,
                int 	shift = 0
                )
参数说明:
img	        Image.
center	        Center of the ellipse.
axes	        Half of the size of the ellipse main axes.
angle	        Ellipse rotation angle in degrees.
startAngle      Starting angle of the elliptic arc in degrees.
endAngle        Ending angle of the elliptic arc in degrees.
color	        Ellipse color.
thickness	Thickness of the ellipse arc outline, if positive. Otherwise, this indicates that a filled ellipse sector is to be drawn.
lineType	Type of the ellipse boundary. See LineTypes
shift	        Number of fractional bits in the coordinates of the center and values of axes.

参数说明:
img         要展示的图像
center      椭圆中心坐标(x,y)
axes        椭圆主轴的一半(a/2,b/2)
angle       椭圆顺时针旋转的角度
startAngle  椭圆开始的角度
endAngle    椭圆结束的角度
color       颜色
thickness   线宽(px)
linetype    椭圆边界类型
shift       中心坐标和轴值中的分数位数
绘制普通椭圆
在黑色600*600图片上绘制中心(299,299),长轴200,短轴100,线宽5px的蓝色椭圆

import cv2
import numpy as np
img = cv2.imread('225.jpg',cv2.IMREAD_UNCHANGED)
cv2.ellipse(img,(299,299),(200,100),0,0,360,(255,0,0),5,cv2.LINE_AA,0 )
cv2.imshow('img',img)
cv2.waitKey(0)
运行结果如下:

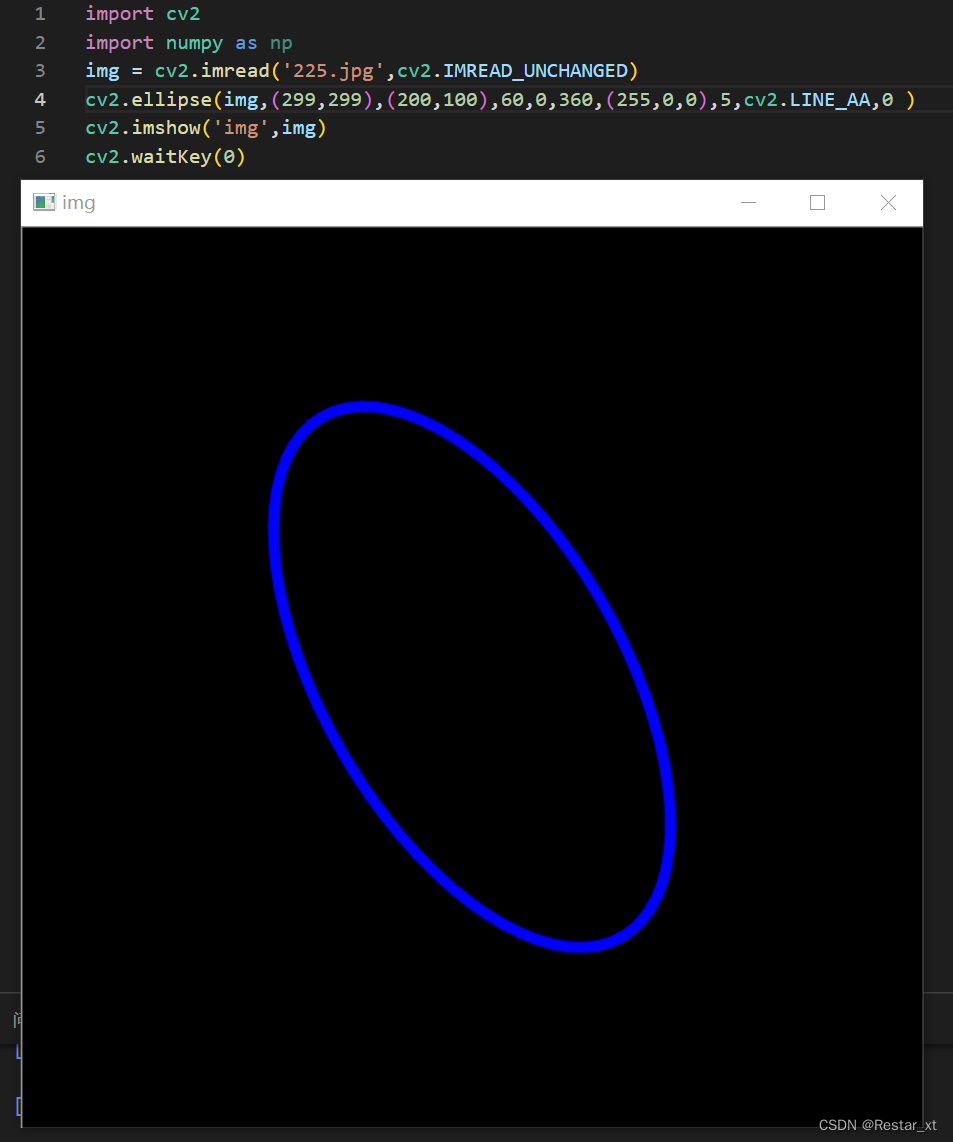
改变椭圆angle参数
在黑色600*600图片上绘制中心(299,299),长轴200,短轴100,线宽5px,顺时针旋转60°的蓝色椭圆
import cv2
import numpy as np
img = cv2.imread('225.jpg',cv2.IMREAD_UNCHANGED)
cv2.ellipse(img,(299,299),(200,100),60,0,360,(255,0,0),5,cv2.LINE_AA,0 )
cv2.imshow('img',img)
cv2.waitKey(0)
运行结果如下:
改变椭圆startAngle与endAngle
在黑色600*600图片上绘制中心(299,299),长轴200,短轴100,线宽5px,30°到270°的实心蓝色椭圆
import cv2
import numpy as np
img = cv2.imread('225.jpg',cv2.IMREAD_UNCHANGED)
cv2.ellipse(img,(299,299),(200,100),0,30,270,(255,0,0),-1,cv2.LINE_AA,0 )
cv2.imshow('img',img)
cv2.waitKey(0)
运行结果如下:

注意,如何绘制实心图形呢?只需将thickness参数赋为-1即可。
注意,这里不讨论更改椭圆中linetype参数,这里涉及到opencv中的线型,具体可以参看:OpenCV里的线型-lineType(如:8连通、4连通)
绘制多边形 cv2.polylines()
函数原型:cv.polylines(img, pts, isClosed, color[, thickness[, lineType[, shift]]])
参数说明:
img	        Image.
pts	        Array of polygonal curves.
isClosed Flag indicating whether the drawn polylines are closed or not. If they are closed, the function draws a line from the last vertex of each curve to its first vertex.
color	        Polyline color.
thickness	Thickness of the polyline edges.
lineType	Type of the line segments. See LineTypes
shift	        Number of fractional bits in the vertex coordinates.
重点说明:pts是点的集合,以列表形式填入
绘制一个多边形:
import cv2
import numpy as np
img = np.zeros((256,256,3),np.uint8)  //创建一个256*256的三通道黑色画布
pts = np.array([[10,3],[48,19],[60,3],[98,19]],np.int32)//点的集合,格式必须为np.int32
pts = pts.reshape((-1,1,2))//数组形状更改,可以看numpy库reshap的用法
cv2.polylines(img,[pts],True,(0,255,255),2)
cv2.imshow('image',img)
cv2.waitKey(0)
运行结果如下:

写在最后:
1.opencv中关于图形绘制仍有其他函数,且本文章提到的几个函数中还有部分函数参数省略并未介绍甚至程序中并未赋值,这是因为这些函数在缺少相关参数时,opencv中默认了这些参数的取值,在缺少这些参数的情况下仍可使用。具体哪些参数可以省略,可以查看相应函数的API手册。
2.另外,绘制椭圆还有其他实现方式,例如调用cv2.ellipse,但入口参数为旋转矢量,用于绘制旋转矩形的内切椭圆。