第一步:安装
yarn add @wangeditor/editor
# 或者 npm install @wangeditor/editor --save


yarn add @wangeditor/editor-for-vue@next
# 或者 npm install @wangeditor/editor-for-vue@next --save
第二步:使用
// html

<div class="editor-box">
    <Toolbar style="border-bottom: 1px solid #ccc" :editor="editorRef":defaultConfig="toolbarConfig" mode="default" />
    <Editor
        style="height: 440px; overflow-y: hidden"
        v-model="valueHtml"
        :defaultConfig="editorConfig"
        mode="default"
        @onCreated="handleCreated"
    />
</div>
<script setup>
import { getCurrentInstance, ref, onMounted, shallowRef, reactive, onBeforeUnmount } from "vue"
import "@wangeditor/editor/dist/css/style.css"
import { Editor, Toolbar } from "@wangeditor/editor-for-vue"
const { proxy } = getCurrentInstance()
/**
* 富文本编辑器
* @param {Object} editorConfig 编辑器配置
* @param {String} valueHtml 输入内容
* @param {Object} toolbarConfig 工具栏配置
* @param {Function} createEditor 创建编辑器
* @param {Function} createToolbar 创建工具栏
* @param {Function} handleChange 编辑器内容变化
*/
const editorRef = shallowRef() // 编辑器实例,必须用 shallowRef
const valueHtml = ref("") // 内容 HTML
const toolbarConfig = {
excludeKeys: ["insertLink", "insertImage", "editImage", "viewImageLink", "insertVideo", "emotion", "fullScreen"],
}
const editorConfig = { placeholder: "请输入内容...", MENU_CONF: {} }
const handleCreated = (editor) => {
editorRef.value = editor // 记录 editor 实例,重要!
}
// 自定义上传
editorConfig.MENU_CONF["uploadImage"] = {
async customUpload(file, insertFn) {
let data = new FormData()
data.append("from", "article")
data.append("image", file)
proxy.$axios
.post("upload/image", data)
.then((res) => {
if (res.data.code == 0) {
let url = proxy.imgUrl + res.data.data.path
insertFn(url) // 最后插入图片 insertFn(url, alt, href),alt:描述,href:链接,后面非必填
} else {
proxy.$util.messages(res.data.msg, "error")
}
})
.catch((err) => {})
},
}
// 自定义上传视频
const videoLoading = ref(false)
editorConfig.MENU_CONF["uploadVideo"] = {
async customUpload(file, insertFn) {
videoLoading.value = true
let data = new FormData()
data.append("file", file)
proxy.$axios
.post("upload/video", data)
.then((res) => {
videoLoading.value = false
if (res.data.code == 0) {
let url = proxy.imgUrl + res.data.data.path
insertFn(url) // 最后插入视频 insertFn(url poster)
} else {
proxy.$message({ message: res.data.msg, type: "error" })
}
})
.catch((err) => {
videoLoading.value = false
})
},
}
// 组件销毁时,也及时销毁编辑器
onBeforeUnmount(() => {
const editor = editorRef.value
if (editor == null) return
editor.destroy()
})
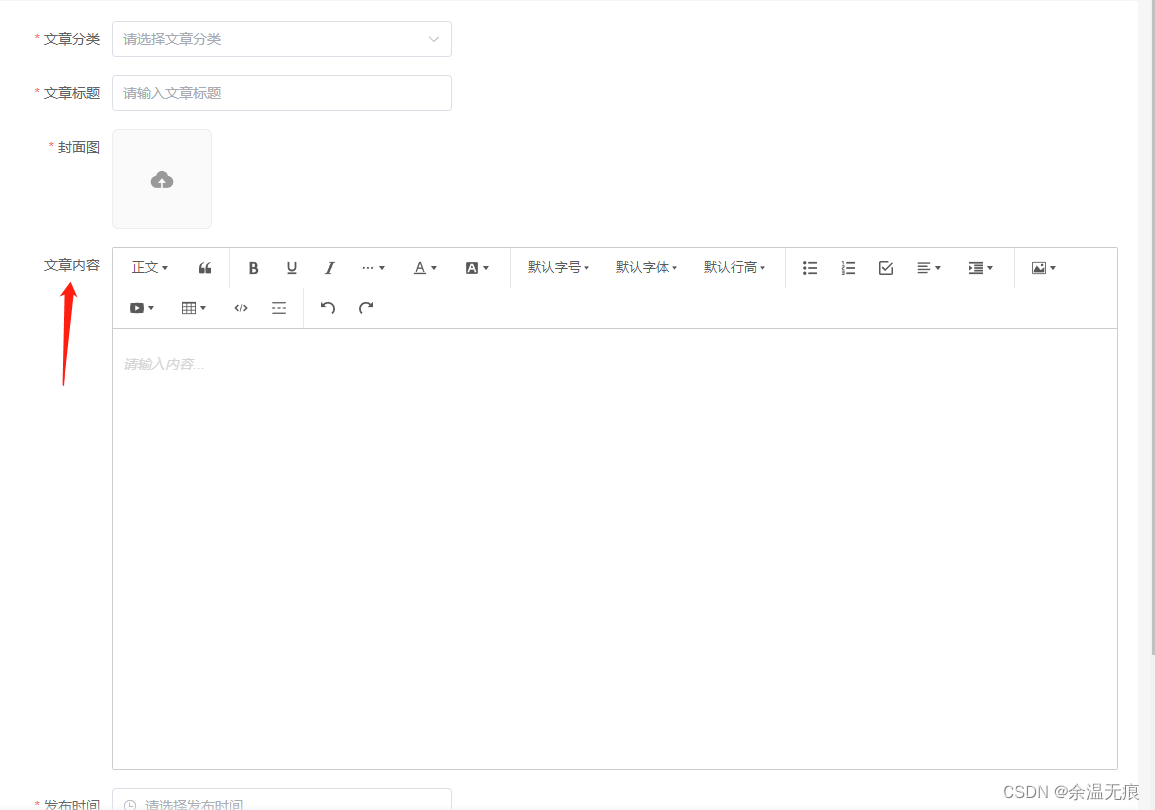
</script>最终效果图:
第四:工具栏配置
进入官方demo:https://www.wangeditor.com/demo/index.html
打开之后,按F12在控制台输入 toolbar.getConfig() 查看工具栏的默认配置。
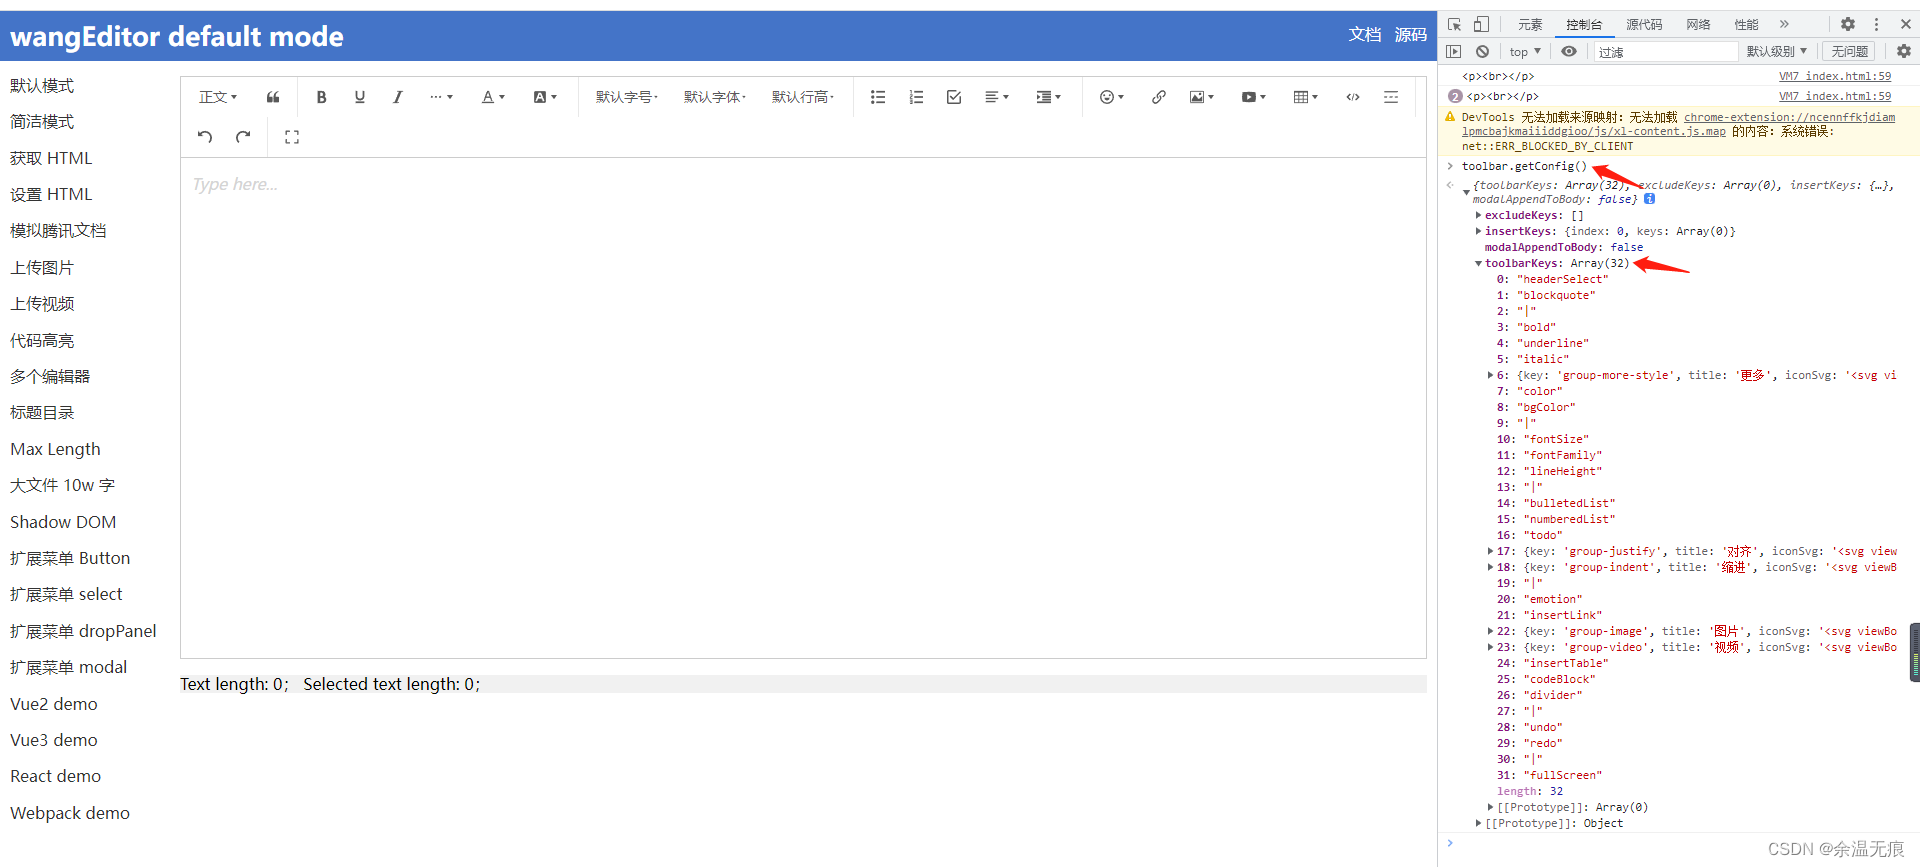
如果有不需要的工具栏项,可以在 toolbarConfig.excludeKeys中配置
// 排除不需要的菜单
const toolbarConfig = {
    excludeKeys: ["insertLink", "insertImage", "editImage", "viewImageLink", "group-video", "emotion", "fullScreen"],
}