目录
前言
本文将介绍在Vue中父子组件如何进行通信
父组件传子组件 ---- props
这里先介绍父组件如何向子组件传递数据
首先创建脚手架Cli
创建父组件App.vue和子组件SonX.vue
注册好子组件并在父组件中使用
子组件
导出子组件
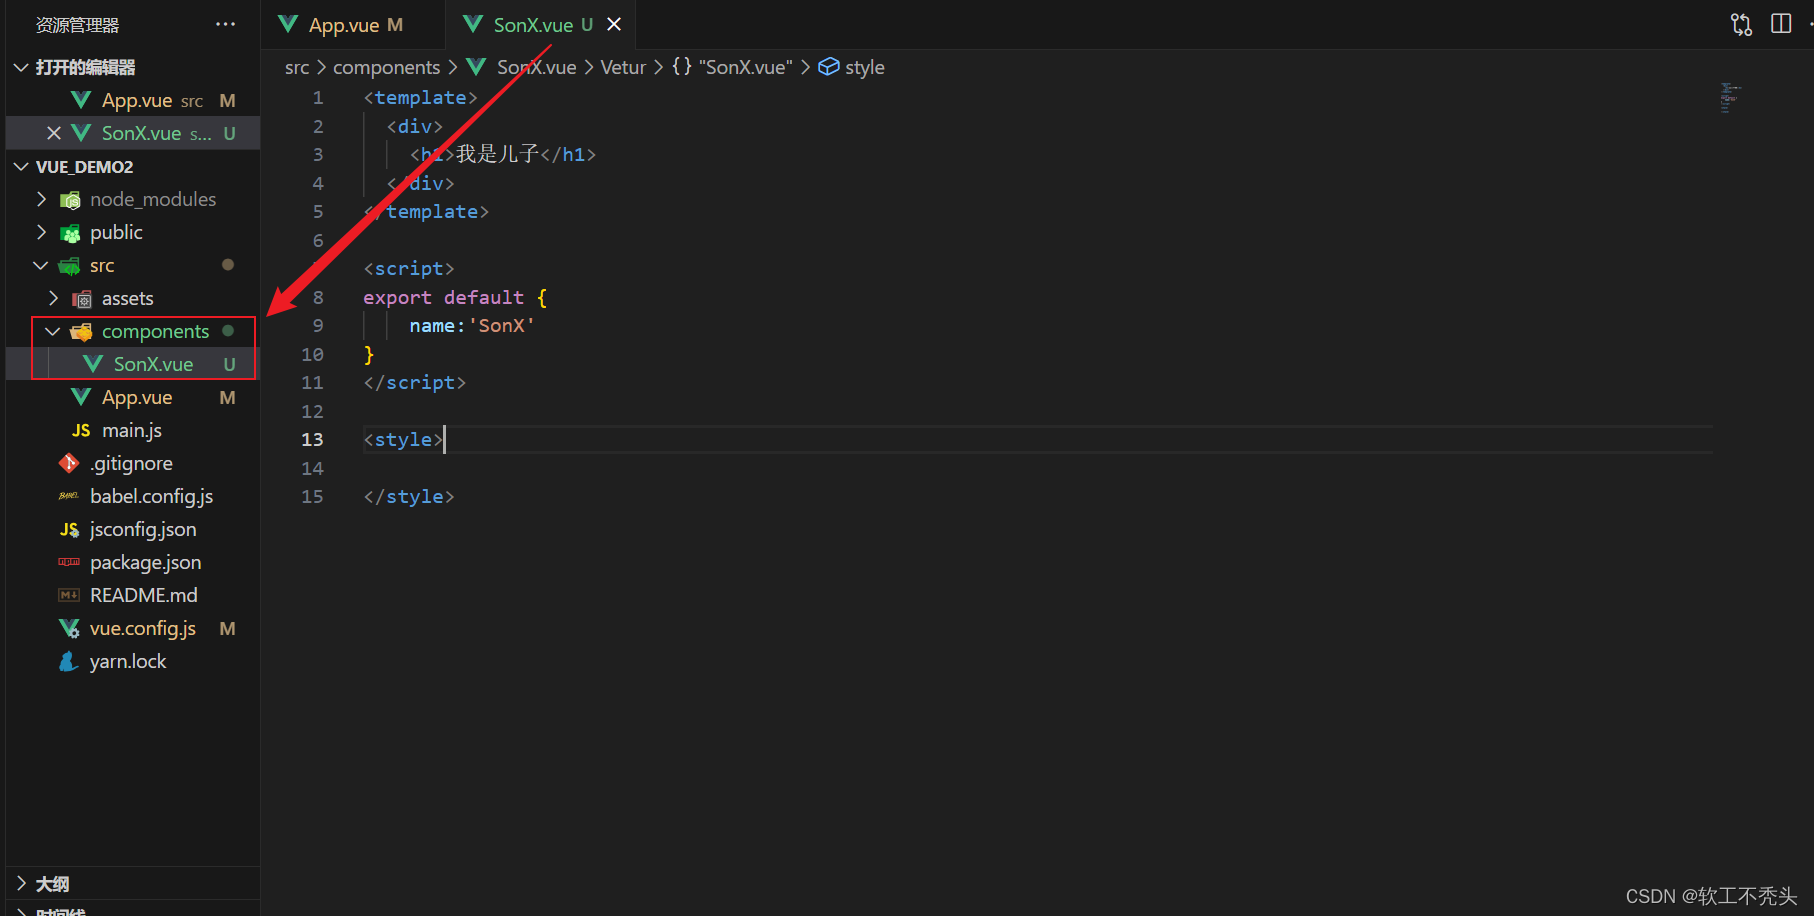
<template>
  <div>
    <h1>我是儿子</h1>
  </div>
</template>

<script>
export default {
    name:'SonX'
}
</script>

<style>

</style>
父组件
导入子组件并注册使用
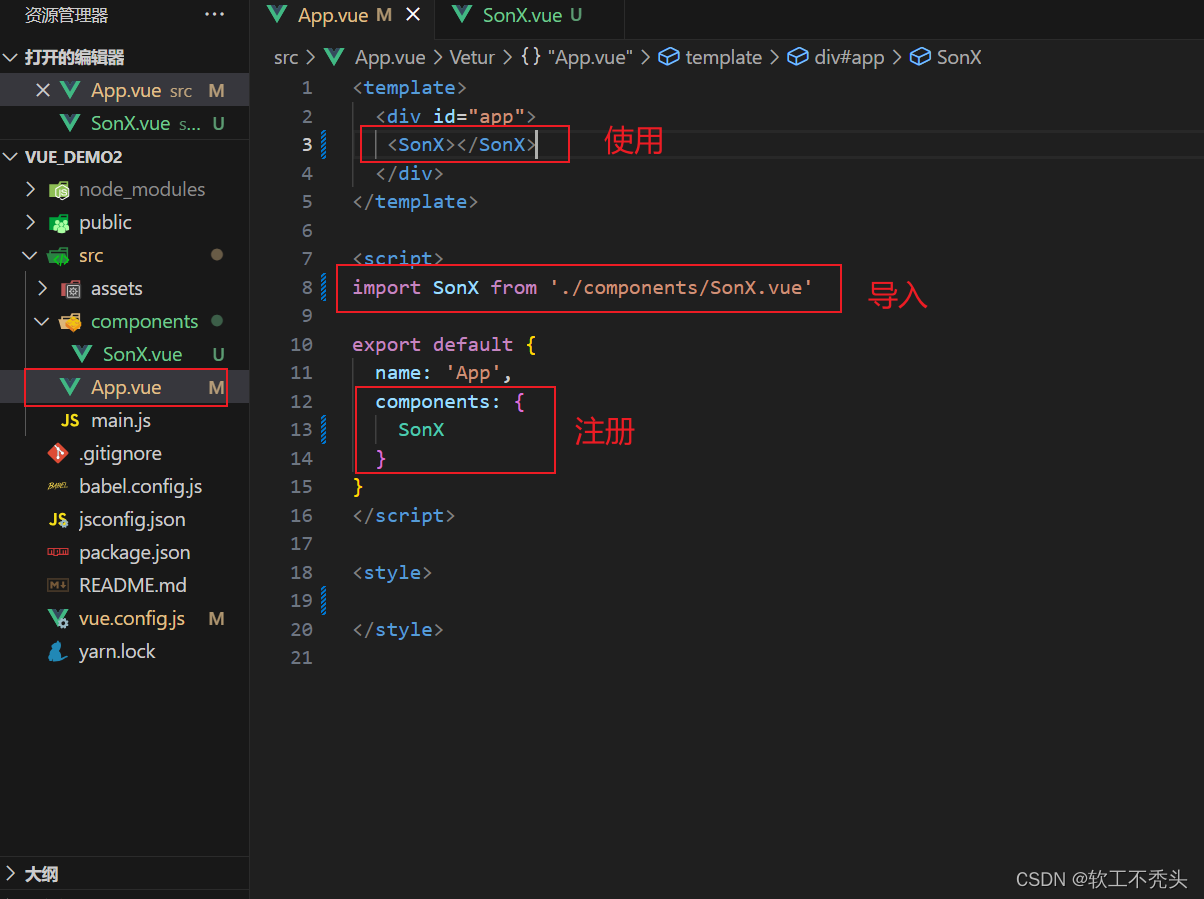
<template>
<div id="app">
<SonX></SonX>
</div>
</template>
<script>
import SonX from './components/SonX.vue'
export default {
name: 'App',
components: {
SonX
}
}
</script>
<style>
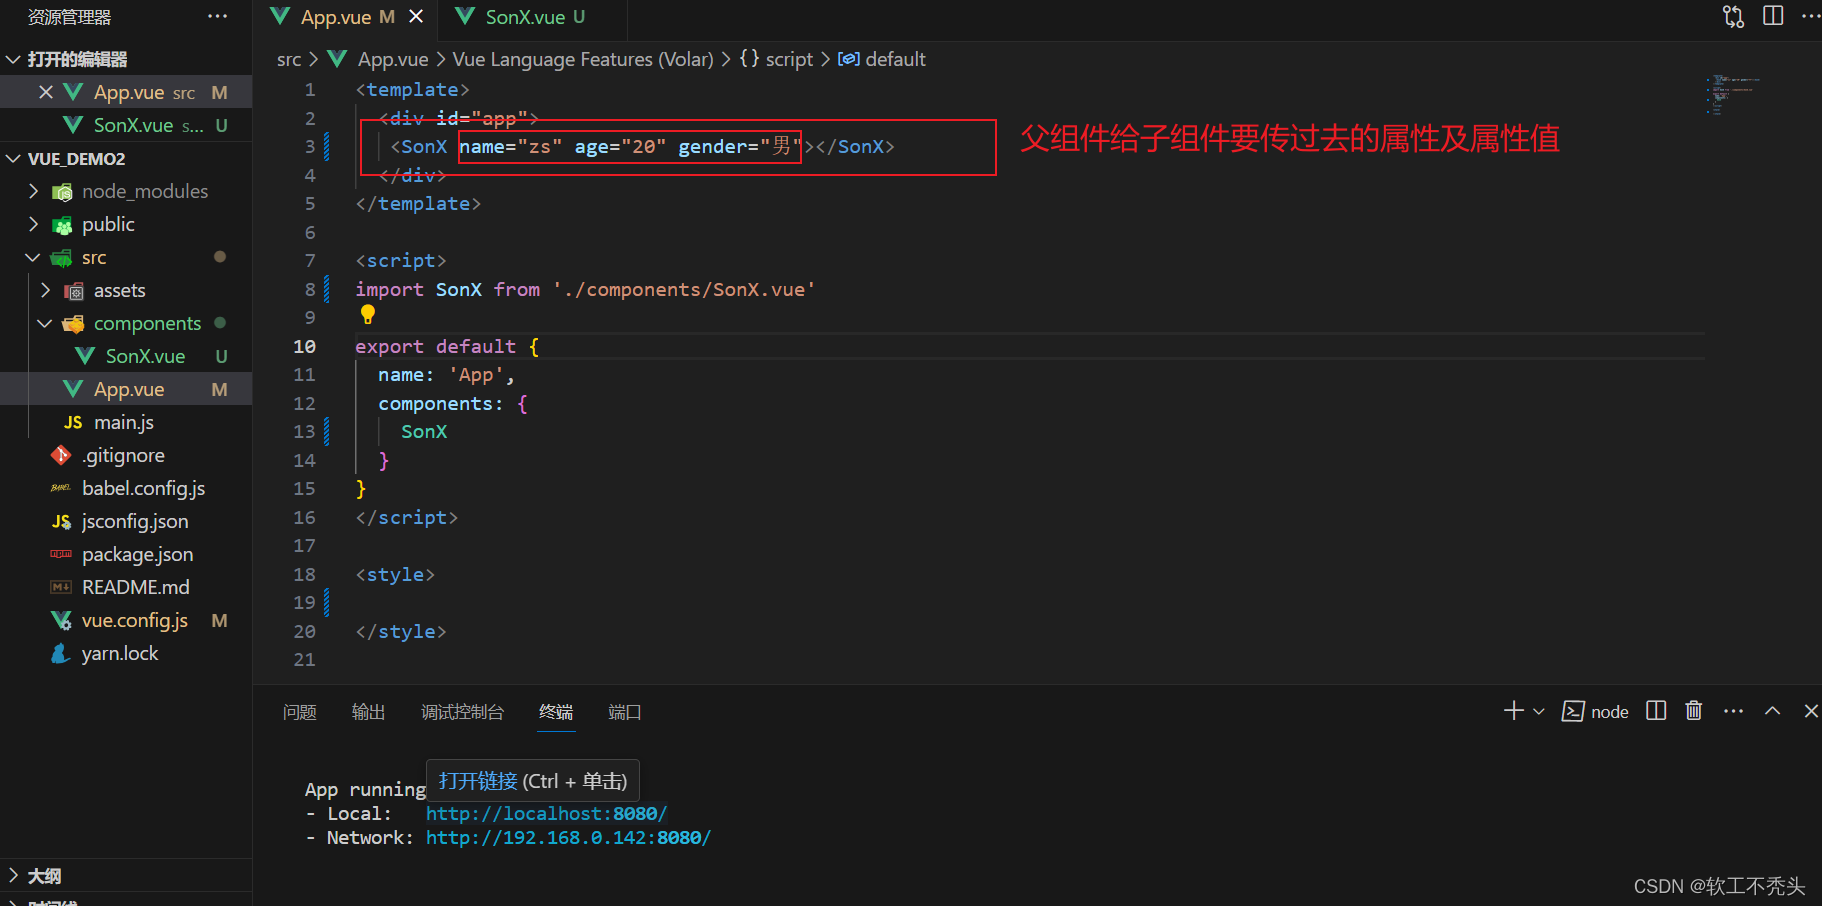
</style>给要传递数据的子组件绑定要传过去的属性及属性值
仅在子组件上添加属性
<template>
  <div id="app">
   <SonX name="zs" age="20" gender="男"></SonX>
  </div>
</template>
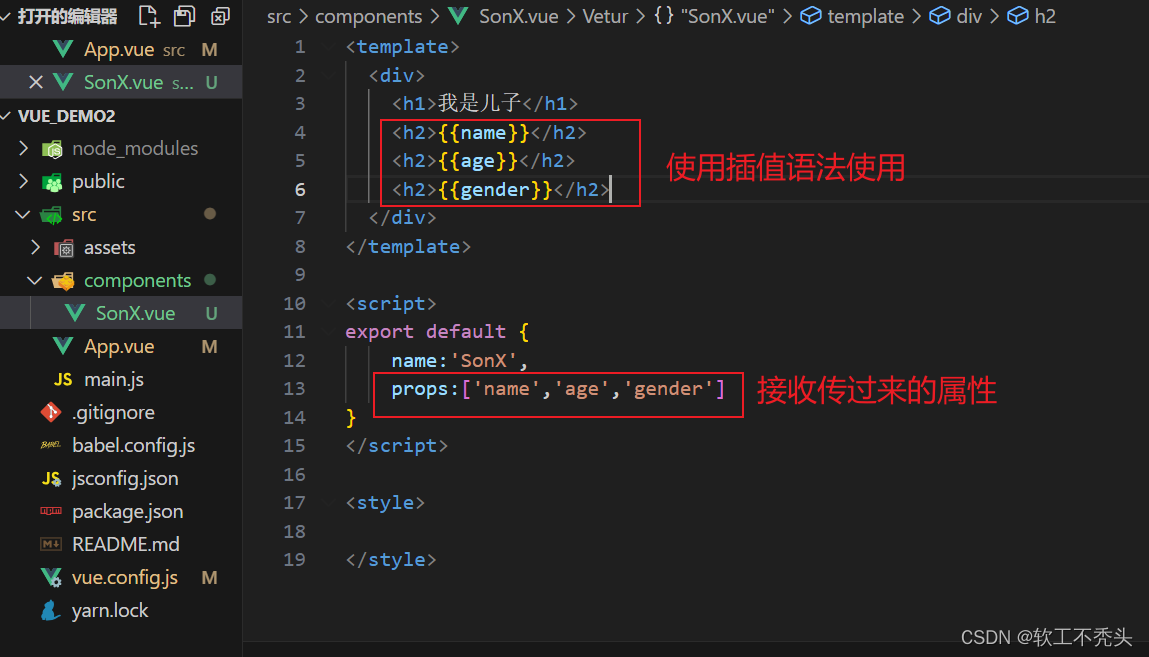
在子组件中使用props配置项接收
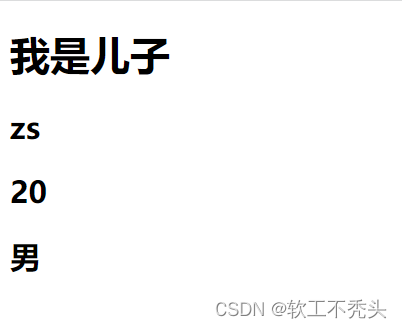
<template>
  <div>
    <h1>我是儿子</h1>
    <h2>{

    {name}}</h2>
    <h2>{

    {age}}</h2>
    <h2>{

    {gender}}</h2>
  </div>
</template>

<script>
export default {
    name:'SonX',
    props:['name','age','gender']
}
</script>

<style>

</style>
效果
成功渲染到页面上
props配置项
注意:不要直接修改props中的数据
简单接收,直接采用数组形式接收:
props:['name','age','gender']
添加类型限制:
props:{
name:String,
age:Number,
gender:String
}
当添加了类型限制后,如果父组件传过去属性值不符合就会报错
如下,父组件传过去的age='20'是字符串,并不是数字,所以就报错了
添加类型限制,并且还可以添加默认值,还可以添加必要性:
props:{
name:{
type:String,
required:true
},
age:{
type:Number,
default:20
},
gender:{
type:String,
required:true
}
}
添加了默认值和必要性,当添加必要性时,如果没有传递就会报错,添加了默认值,如果没有传递该属性,子组件就会使用默认值

子组件传父组件 ---- 组件的自定义事件
在父组件中
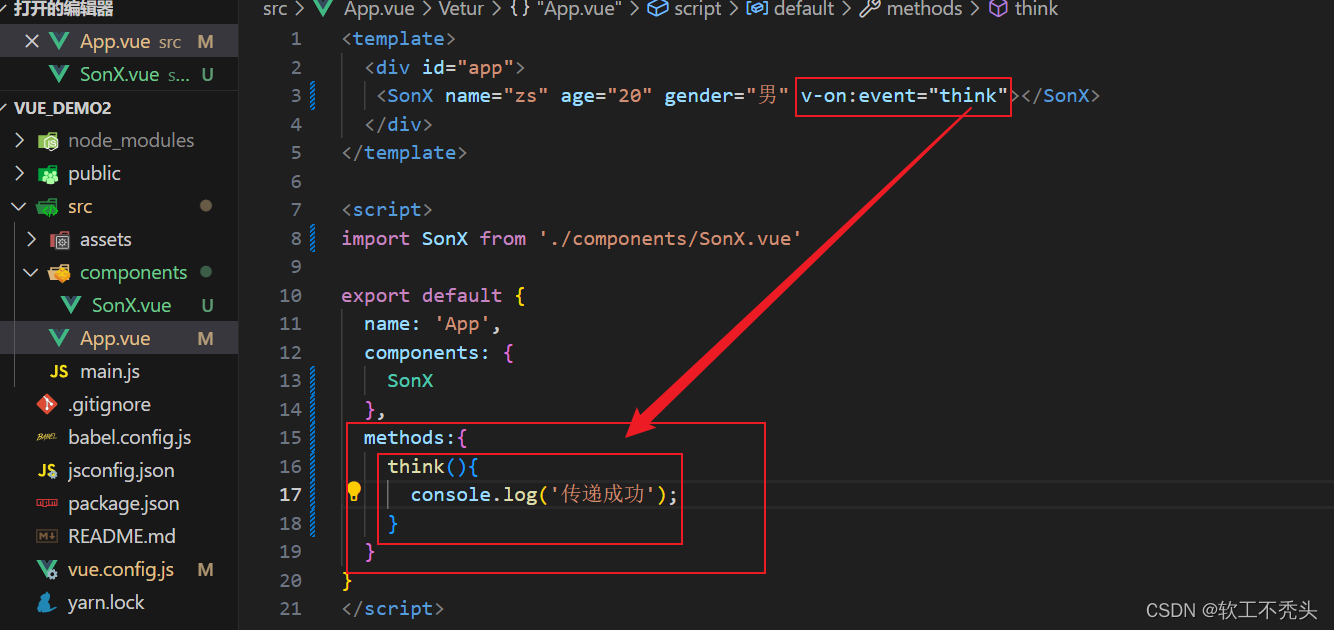
先在子组件上自定义一个事件
v-on:事件名='函数' 或 @事件名="函数"
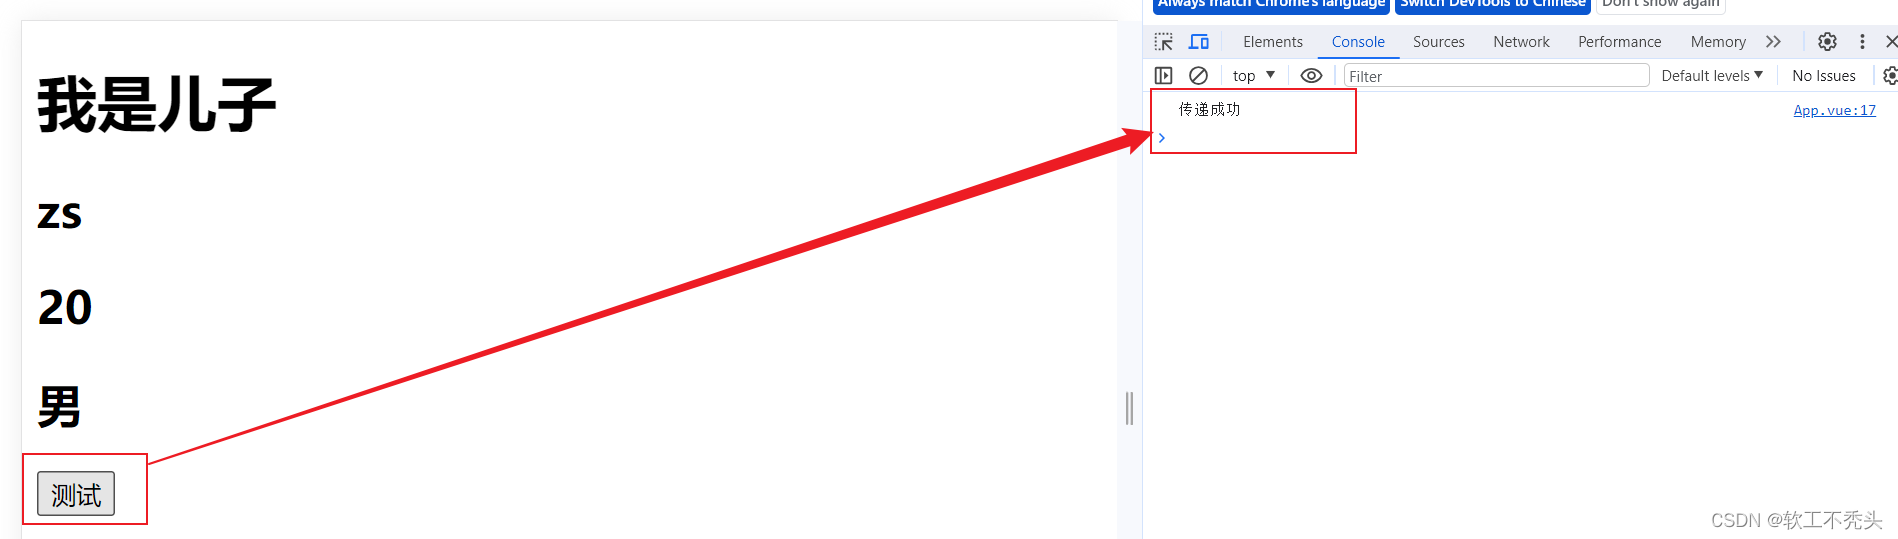
<template>
  <div id="app">
   <SonX name="zs" age="20" gender="男" v-on:event="think"></SonX>
  </div>
</template>

<script>
import SonX from './components/SonX.vue'

export default {
  name: 'App',
  components: {
    SonX
  },
  methods:{
    think(){
      console.log('传递成功');
    }
  }
}
</script>

<style>

</style>
在子组件中
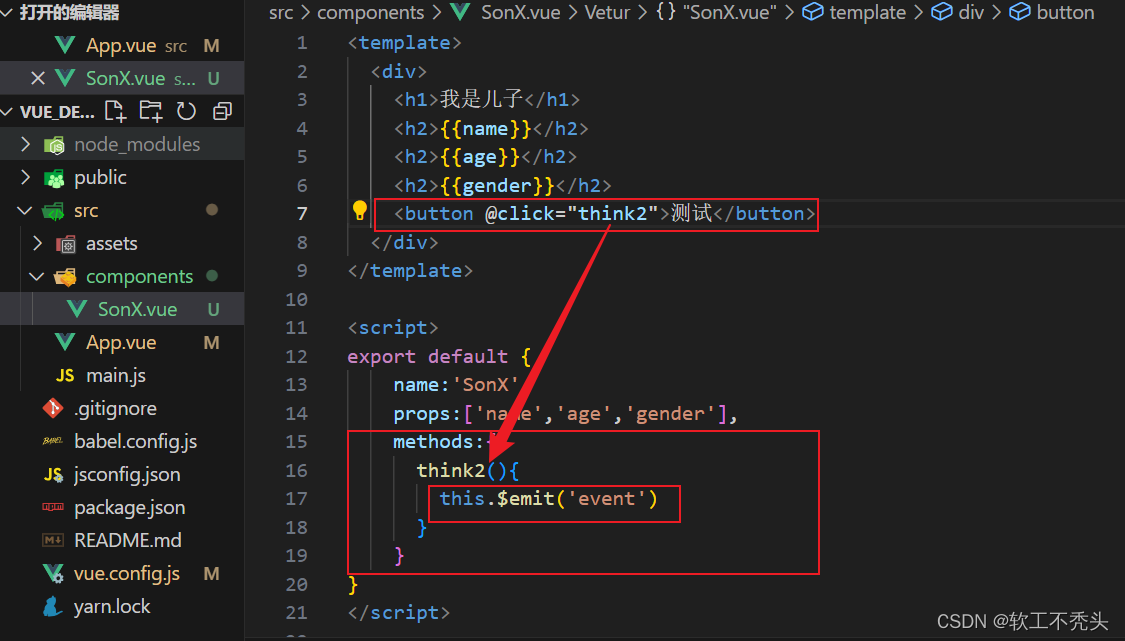
用以下方法进行对自定义事件的执行
this.$emit('自定义的事件名')
<template>
  <div>
    <h1>我是儿子</h1>
    <h2>{

    {name}}</h2>
    <h2>{

    {age}}</h2>
    <h2>{

    {gender}}</h2>
    <button @click="think2">测试</button>
  </div>
</template>

<script>
export default {
    name:'SonX',
    props:['name','age','gender'],
    methods:{
      think2(){
        this.$emit('event')
      }
    }
}
</script>
子组件向父组件传递数据
子组件中
this.$emit('自定义的事件名',传递的参数)
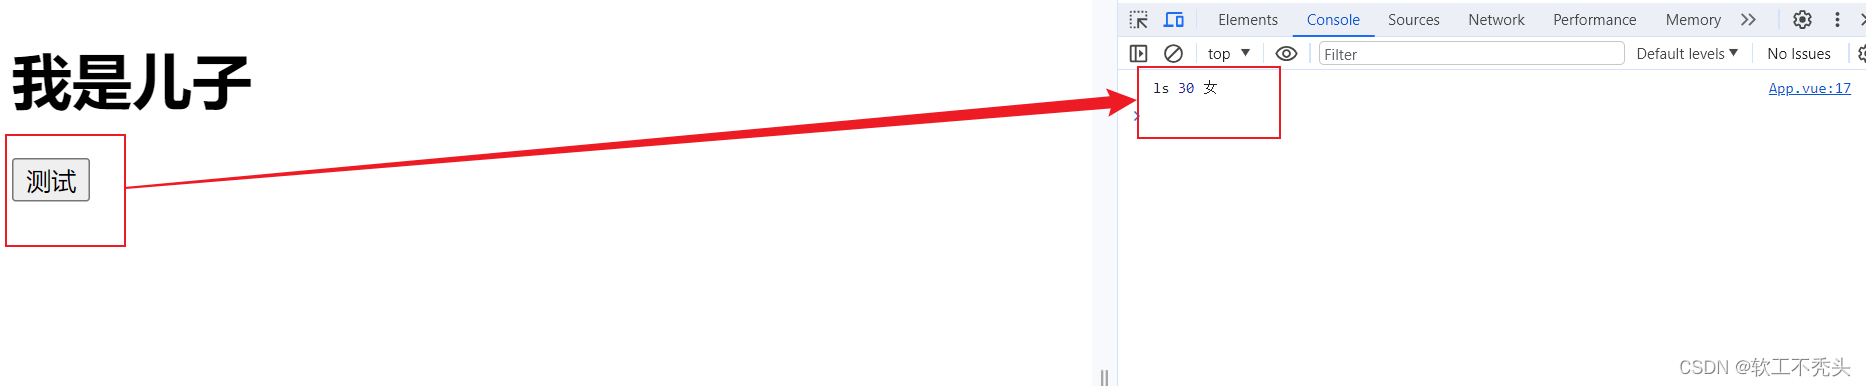
<template>
  <div>
    <h1>我是儿子</h1>
    <button @click="think2">测试</button>
  </div>
</template>

<script>
export default {
    name:'SonX',
    data(){
     return {
      name:'ls',
      age:30,
      gender:'女'
     }
    },
    methods:{
      think2(){
        this.$emit('event',this.name,this.age,this.gender)
      }
    }
}
</script>

父组件中
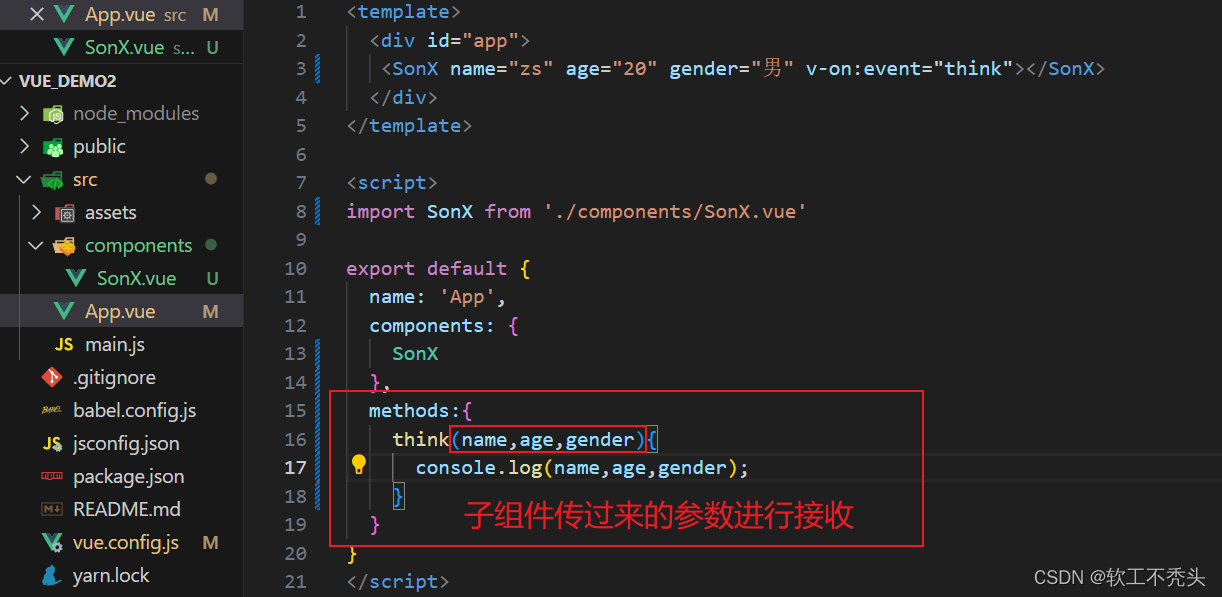
对子组件中传过来的数据进行接收
<template>
  <div id="app">
   <SonX name="zs" age="20" gender="男" v-on:event="think"></SonX>
  </div>
</template>

<script>
import SonX from './components/SonX.vue'

export default {
  name: 'App',
  components: {
    SonX
  },
  methods:{
    think(name,age,gender){
      console.log(name,age,gender);
    }
  }
}
</script>
成功接收并打印出来

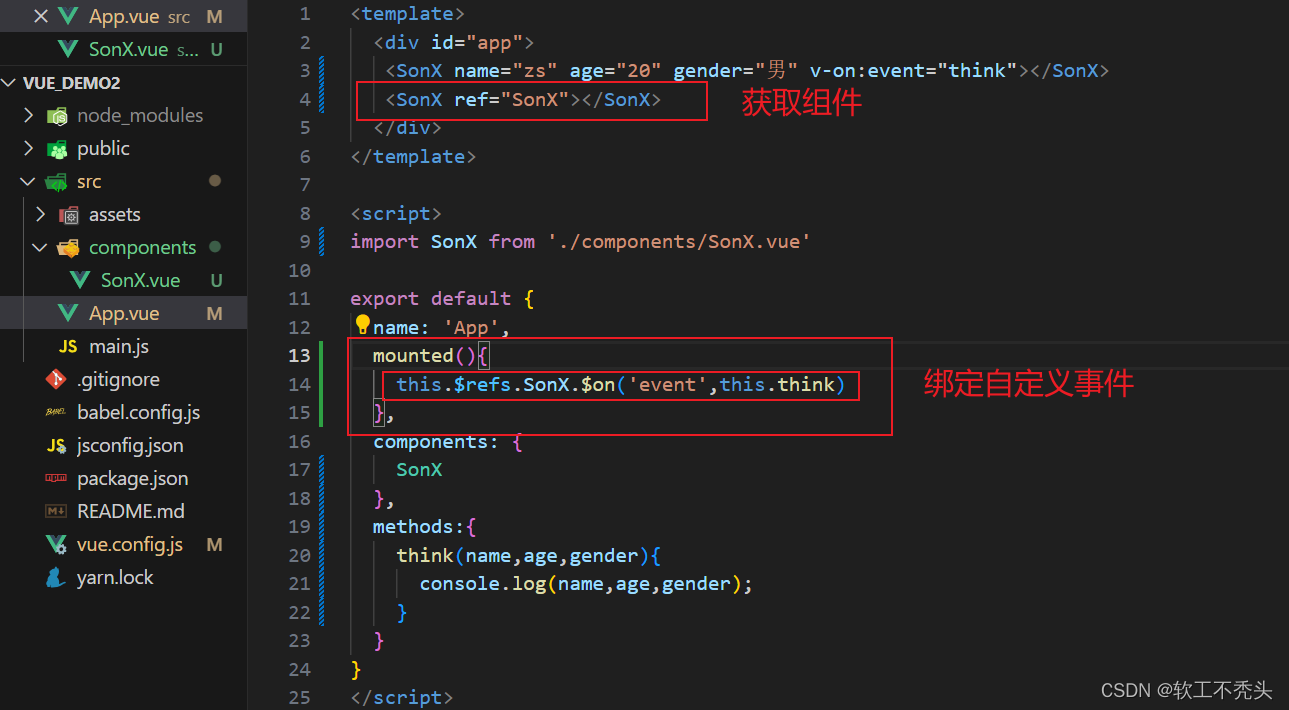
通过代码来绑定自定义事件
先通过ref获取子组件
ref='组件名'
在mounted钩子函数中
this.$refs.ref获取到的组件名.$on('自定义事件名',回调函数)
<template>
  <div id="app">
   <SonX ref="SonX"></SonX>
  </div>
</template>

<script>
import SonX from './components/SonX.vue'

export default {
  name: 'App',
  mounted(){
    this.$refs.SonX.$on('event',this.think)
  },
  components: {
    SonX
  },
  methods:{
    think(name,age,gender){
      console.log(name,age,gender);
    }
  }
}
</script>
在页面上渲染