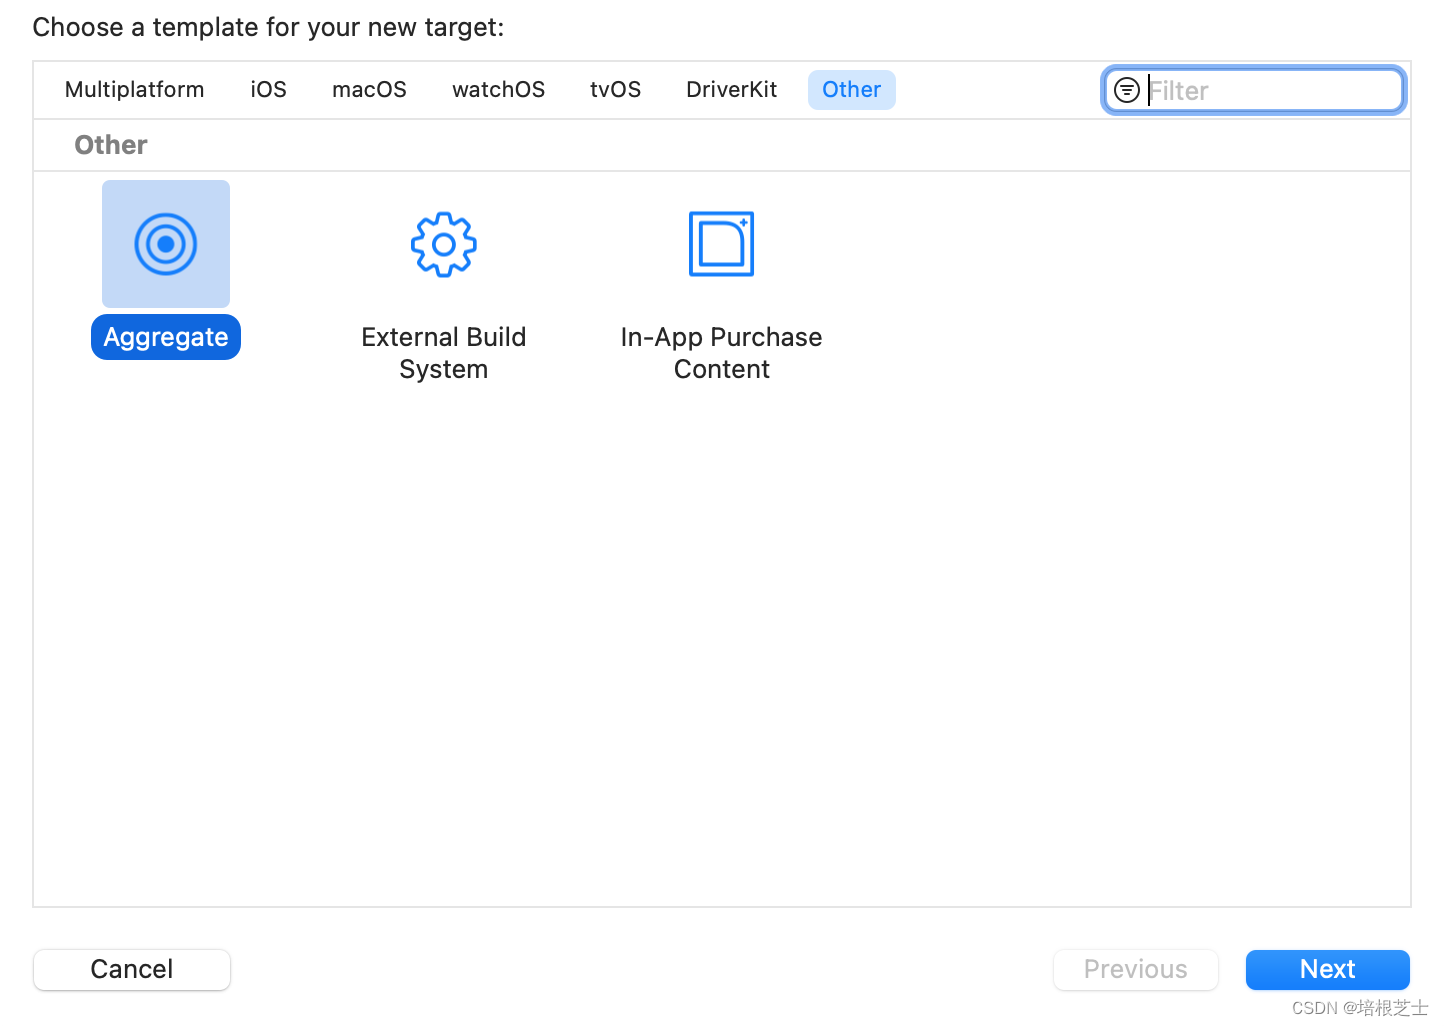
新建framework项目


设置生成fat包,包括模拟器x86_64和arm64
Buliding Settings -> Architectures -> Build Active Architecture Only 设置为NO
设置打包环境,选择release
edit Scheme -> run -> Build configuration 设置为 Release

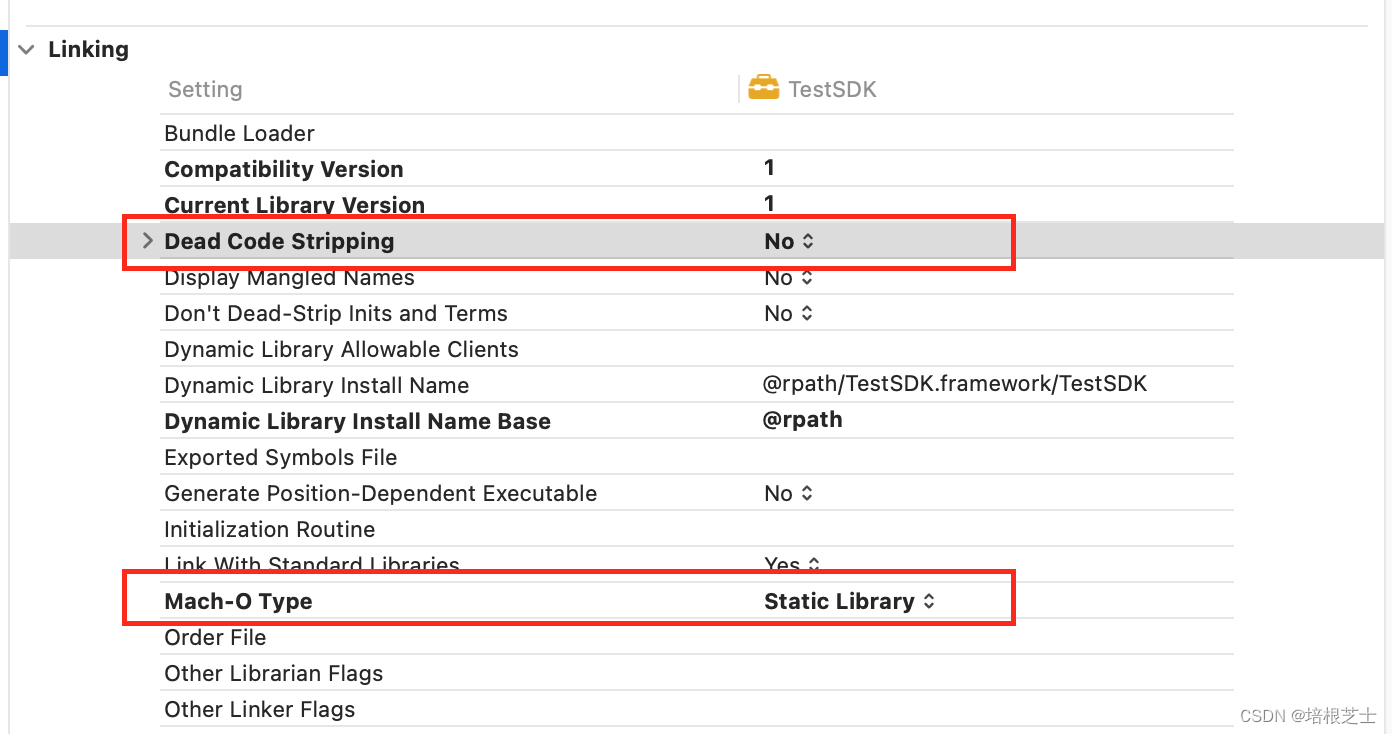
设置静态库
Buliding Settings -> Linking -> Dead Code Stripping 设置为NO
Buliding Settings -> Linking -> Mach-O Type 设置为Static Library
 创建打包合并framework脚本

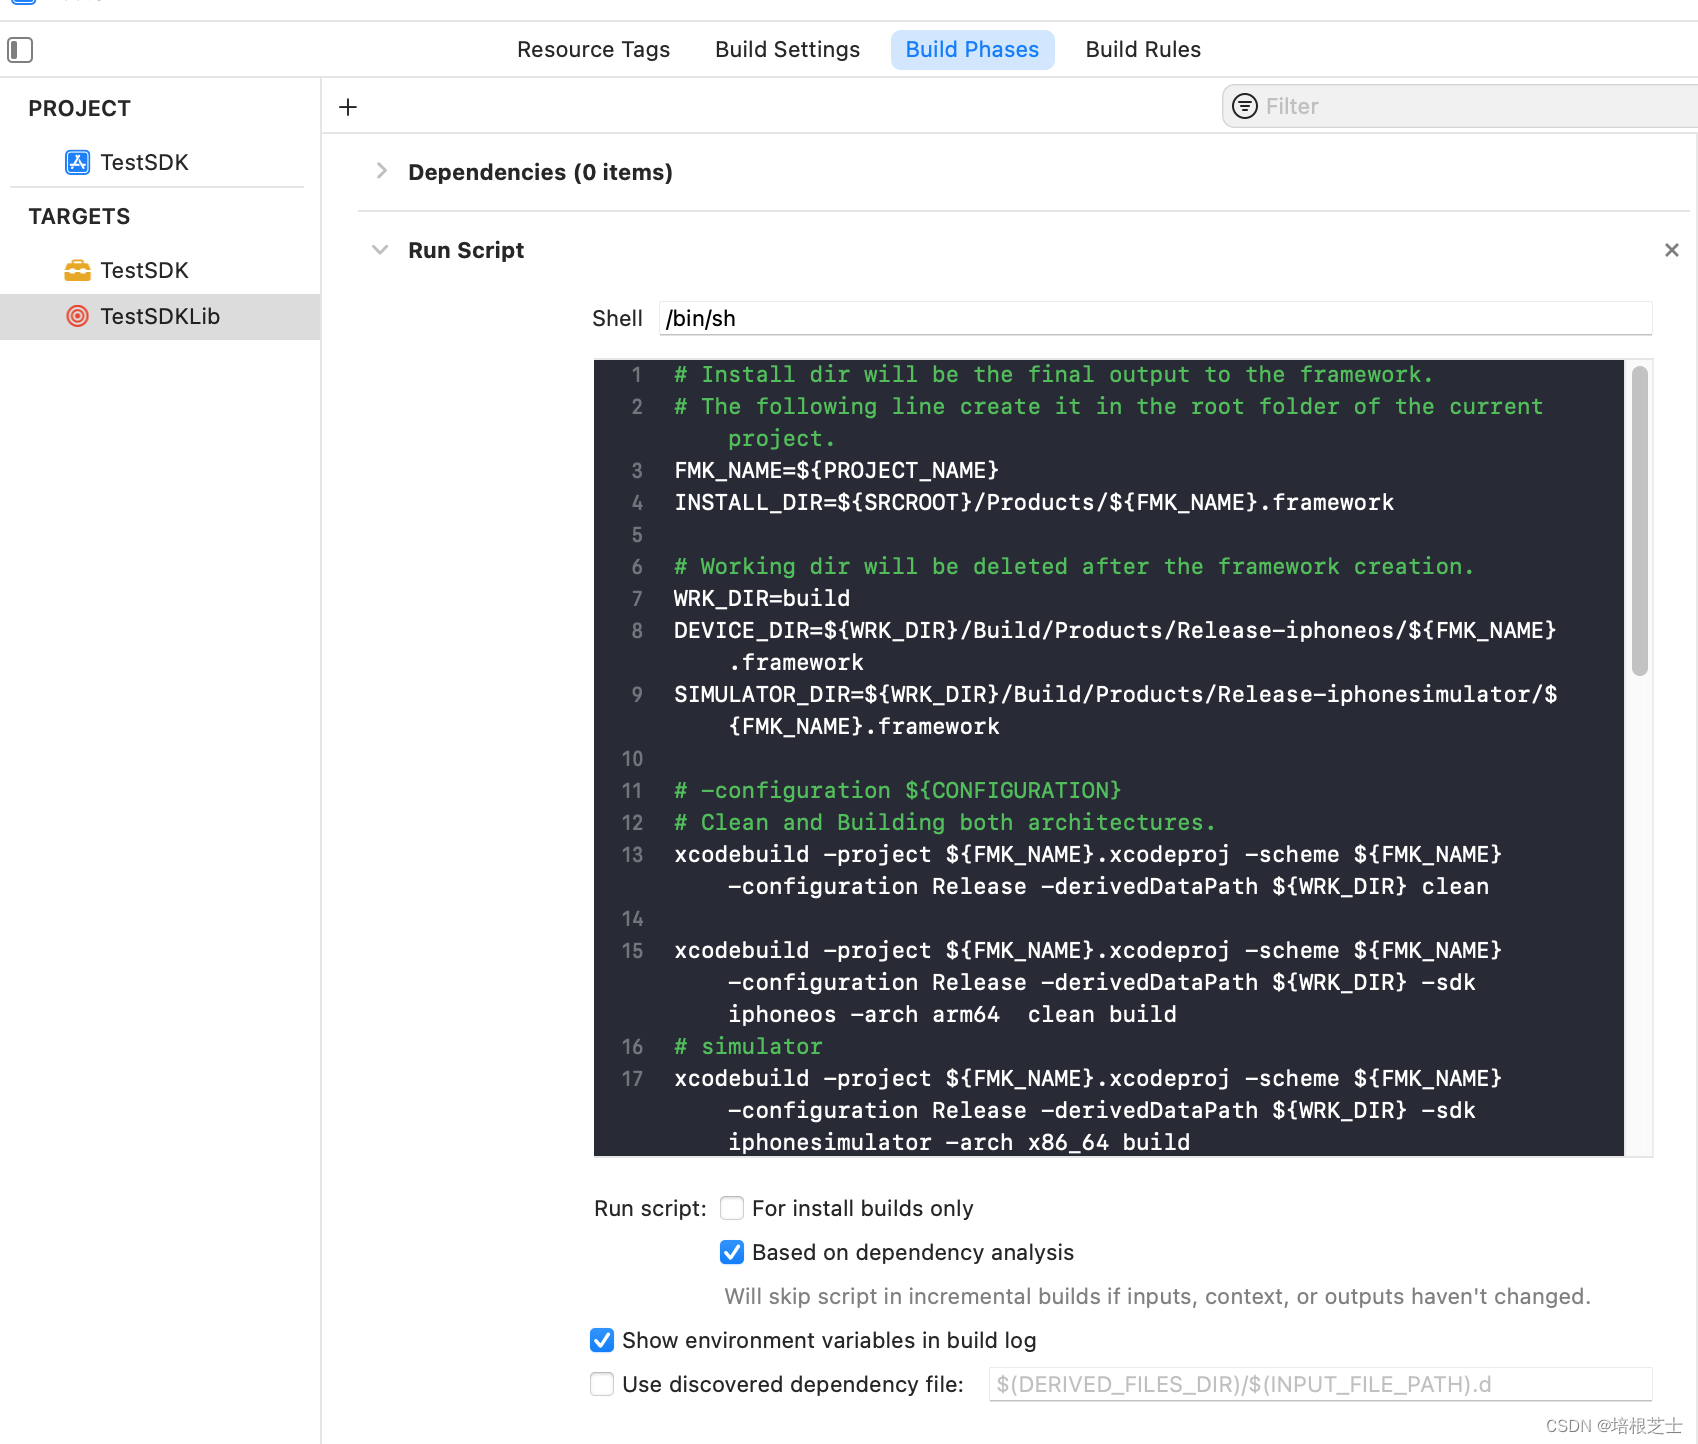
添加打包+合成脚本代码:
# Install dir will be the final output to the framework.
# The following line create it in the root folder of the current project.
FMK_NAME=${PROJECT_NAME}
INSTALL_DIR=${SRCROOT}/Products/${FMK_NAME}.framework

# Working dir will be deleted after the framework creation.
WRK_DIR=build
DEVICE_DIR=${WRK_DIR}/Build/Products/Release-iphoneos/${FMK_NAME}.framework
SIMULATOR_DIR=${WRK_DIR}/Build/Products/Release-iphonesimulator/${FMK_NAME}.framework

# -configuration ${CONFIGURATION}
# Clean and Building both architectures.
xcodebuild -project ${FMK_NAME}.xcodeproj -scheme ${FMK_NAME}  -configuration Release -derivedDataPath ${WRK_DIR} clean

xcodebuild -project ${FMK_NAME}.xcodeproj -scheme ${FMK_NAME} -configuration Release -derivedDataPath ${WRK_DIR} -sdk iphoneos -arch arm64  clean build
# simulator
xcodebuild -project ${FMK_NAME}.xcodeproj -scheme ${FMK_NAME} -configuration Release -derivedDataPath ${WRK_DIR} -sdk iphonesimulator -arch x86_64 build

# Cleaning the oldest.
if [ -d "${INSTALL_DIR}" ]
then
rm -rf "${INSTALL_DIR}"
fi


mkdir -p "${INSTALL_DIR}"

cp -R "${DEVICE_DIR}/" "${INSTALL_DIR}/"

# Uses the Lipo Tool to merge both binary files (i386 + armv6/armv7) into one Universal final product.
lipo -create "${DEVICE_DIR}/${FMK_NAME}" "${SIMULATOR_DIR}/${FMK_NAME}" -output "${INSTALL_DIR}/${FMK_NAME}"

cp -R "${SIMULATOR_DIR}/Modules/${FMK_NAME}.swiftmodule" "${INSTALL_DIR}/Modules/"

#rm -r "${WRK_DIR}"

open "${SRCROOT}/Products/"
运行脚本,生成的framework会在项目根目录的Products文件夹下。
如果要打包成xcframework,可以在xcodebuild之后执行下面脚本
xcodebuild -create-xcframework -framework "${DEVICE_DIR}" -framework "${SIMULATOR_DIR}" -output "${INSTALL_DIR}"需要将Build Settings -> Build Libraries for Distribution这个选项设置为 Yes,否则 framework 中不会包含 .swiftmodule 文件,会报下面这个错误:
No 'swiftinterface' files found within '/Users/XXX/XXXX/build/Build/Products/Release-iphonesimulator/XXXXX.framework/Modules/XXXXX.swiftmodule'.
添加swift类到工程
TestTool.swift
import UIKit

// 可以在模块外被调用
public class TestTool: NSObject {


    // 只能在模块中被调用
    func HelloWorld(withParam param: String) -> Void {
        print(param)
    }

    // 可以在模块外被调用,只能在swift中被调用
    public func publicSayHelloWorld() {
        print("sayHelloWorld")
    }

    open func openSayHelloWorld() {
        print("sayHelloWorld")
    }

    // @objc public 同时修饰,才能在OC项目中被调用;并且也能被swift项目调用
    @objc public func sayHelloWorldToOC() {
        print("sayHelloWorldToOC")
    }
}
注意添加public修饰符到class,将类暴露出来
右键生成的framework,选择显示包内容,打开Headers目录下的XXXX-Swift.h,能找到刚刚添加的TestTool。
SWIFT_CLASS("_TtC7TestSDK8TestTool")
@interface TestTool : NSObject
- (void)sayHelloWorldToOC;
- (nonnull instancetype)init OBJC_DESIGNATED_INITIALIZER;
@end
添加第三方package依赖
选择project->Package Dependencies->Add Package,添加第三方package依赖。

引用package包的时候需要添加@_implementationOnly,否则打包后的framework在使用时会报错。
import Foundation
@_implementationOnly import MapboxCoreNavigation
Swift和OC代码混编
一般 Swift 项目调用 OC 代码,需要建立桥接文件,但在制作Framework时不允许使用桥接文件。
将OC头文件添加到 Build Phases -> Headers -> Public 中
在xxx.h头文件中添加OC头文件
#import <TestSDK/CVWrapper.h>将xxx.h头文件添加到 Build Phases -> Headers -> Public 中