这个简单的AR项目效果是,通过给定一张静态图片作为要视频中要替换的目标物品,当在视频中检测到图片中的物体时,通过单应矩阵做投影,将视频中的物体替换成一段视频播放。这个项目的所有素材来自自己的手机拍的视频。
静态图片:
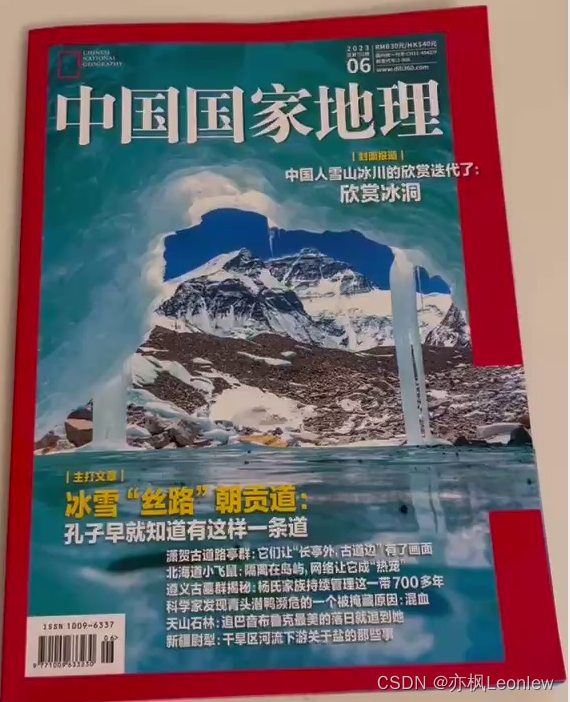
当我在原视频中检测到这本书时,会将书替换成另一个视频里的内容。
关于opencv里的透视投影,单应矩阵等概念,请自行百度。下面是代码:
import cv2 as cv
import numpy as np

videoOriginal = cv.VideoCapture("../../SampleVideos/NationalGeography.mp4")
videoReplace = cv.VideoCapture("../../SampleVideos/Milo1.mp4")
targetImg = cv.imread("./book.png", cv.IMREAD_COLOR)
targetH,targetW,targetC = targetImg.shape

#创建ORB对象
orb = cv.ORB_create(nfeatures=1500)
#提取ORB关键点和特征描述符
kpImg,descsImg = orb.detectAndCompute(targetImg, None)
#调试:绘制关键点
#imgDebug = cv.drawKeypoints(targetImg, kpImg, None)
#cv.imshow("ORB Keypoints", imgDebug)
#匹配距离阈值
matchDistanceThr = 0.75

while True:
    ret,frame = videoOriginal.read()
    if ret == False:
        break;
    #frameAug表示最终合成的增强现实的结果图片
    frameAug = frame.copy()


    ret,frameReplace = videoReplace.read()
    if ret == False:
        break;
    #将视频大小调整到和待替换目标图片大小
    frameReplace = cv.resize(frameReplace, (targetW,targetH), interpolation=cv.INTER_AREA)

    kpVideo,descsVideo = orb.detectAndCompute(frame, None)
    #frame = cv.drawKeypoints(frame, kpVideo, None)
    #进行特征匹配
    bf = cv.BFMatcher()
    matches = bf.knnMatch(descsImg, descsVideo, k=2)
    goodMatches = []
    for m,n in matches:
        if m.distance < matchDistanceThr * n.distance:
            goodMatches.append(m)
    #print(len(goodMatches))
    #调试:绘制匹配结果
    imgFeatureMatching = cv.drawMatches(targetImg, kpImg, frame, kpVideo, goodMatches, None, flags=2)

    #找到单应矩阵
    #首先找到srcPts和dstPts
    if (len(goodMatches) > 20):
        srcPts = np.float32([kpImg[m.queryIdx].pt for m in goodMatches]).reshape(-1,1,2)
        dstPts = np.float32([kpVideo[m.trainIdx].pt for m in goodMatches]).reshape(-1,1,2)
        #找到单应矩阵
        matrix,mask = cv.findHomography(srcPts, dstPts, cv.RANSAC, 5)
        #print(matrix)
        #映射targetImg的四个角点到目标平面
        targetPts = np.float32([[0,0],[0,targetH],[targetW,targetH],[targetW, 0]]).reshape(-1,1,2)
        targetOnVideoPts = cv.perspectiveTransform(targetPts, matrix)
        #print("Target shape:", targetImg.shape)
        #print("Frame shape:", frame.shape)
        #print(targetPts)
        #print('maps to:')
        #print(targetOnVideoPts)
        #print()
        #绘制待替换目标图像的位置映射到视频帧后的边框结果
        imgTargetOnVideoBox = cv.polylines(frame, [np.int32(targetOnVideoPts)], True, (255,0,255), 3)
        #调用warpPerspective将要替换的视频文件帧图像投影到视频帧的图像
        imgWarp = cv.warpPerspective(frameReplace, matrix, (frame.shape[1],frame.shape[0]))

        #获得掩码图
        #首先将视频帧中要替换的区域内容的mask标记为全1(白色)
        maskForReplace = np.zeros((frame.shape[0],frame.shape[1]), np.uint8)
        cv.fillPoly(maskForReplace, [np.int32(targetOnVideoPts)], (255,255,255))
        #获得原视频帧内容的mask,将maskForReplace取反即可
        maskForVideo = cv.bitwise_not(maskForReplace)
        #生成增强现实的帧
        frameAug = cv.bitwise_and(frameAug, frameAug, mask = maskForVideo)
        frameAug = cv.bitwise_or(imgWarp, frameAug)

    cv.imshow('Augmented Video', frameAug)
    cv.moveWindow('Augmented Video',  imgFeatureMatching.shape[1],0)
    cv.imshow('FeatureMatchResult', imgFeatureMatching)
    cv.moveWindow('FeatureMatchResult', 0,0)
    #cv.imshow('Mask For Video', maskForVideo)
    #cv.imshow('Mask For Replace', maskForReplace)
    #cv.imshow('WarpImage', imgWarp)
    #cv.moveWindow("WarpImage", 800,0)
    #cv.imshow('TargetOnVideo', imgTargetOnVideoBox)

    #cv.imshow('VideoPlayer', frame)
    if cv.waitKey(33) & 0xFF == ord('q'):
        break;

videoOriginal.release()
videoReplace.release()
cv.destroyAllWindows()
运行结果:
Python Opencv实践简单的AR项目