Pyside6可视化界面
安装Pyside6
激活之前的虚拟环境yolov5
在该环境的终端输入以下命令

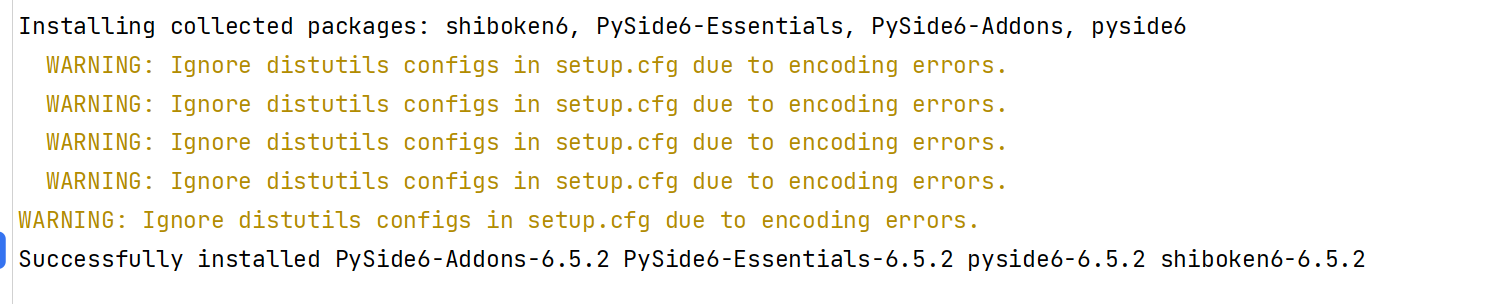
pip install -i https://pypi.tuna.tsinghua.edu.cn/simple pyside6
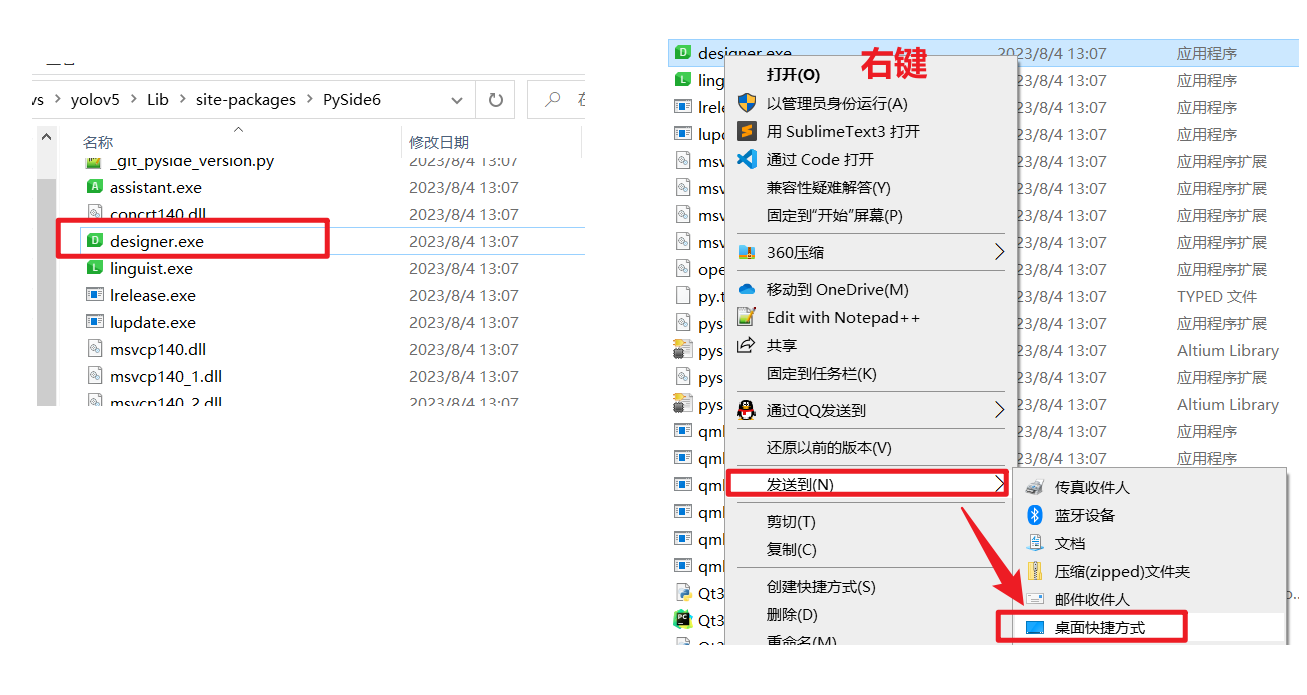
输入where python找到当前使用的Python的路径

找到该路径下的designer.exe文件(/Lib/site-packages/PySide6/designer.exe),然后发送到桌面创建快捷方式
UI设计
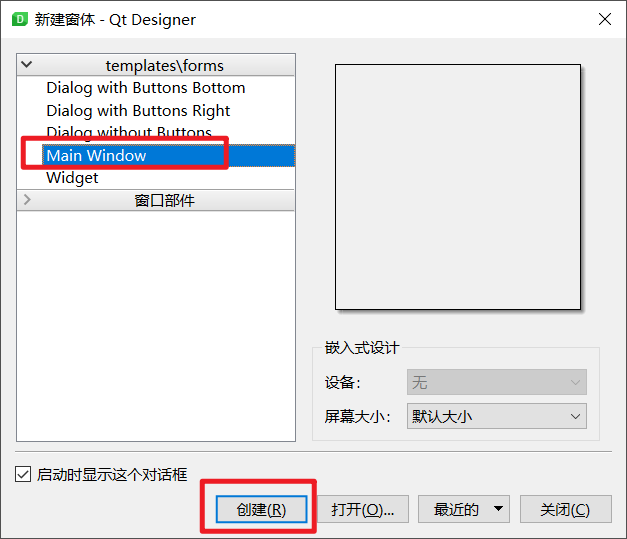
- 打开designer
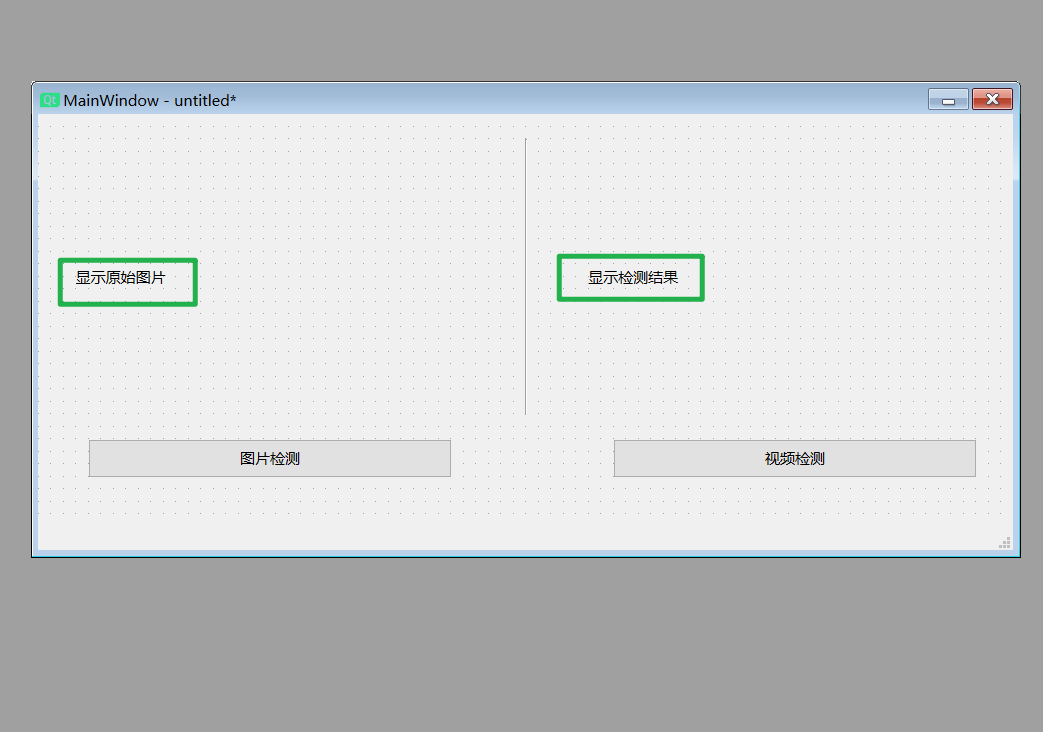
- 选择Main Window
- 移除菜单栏

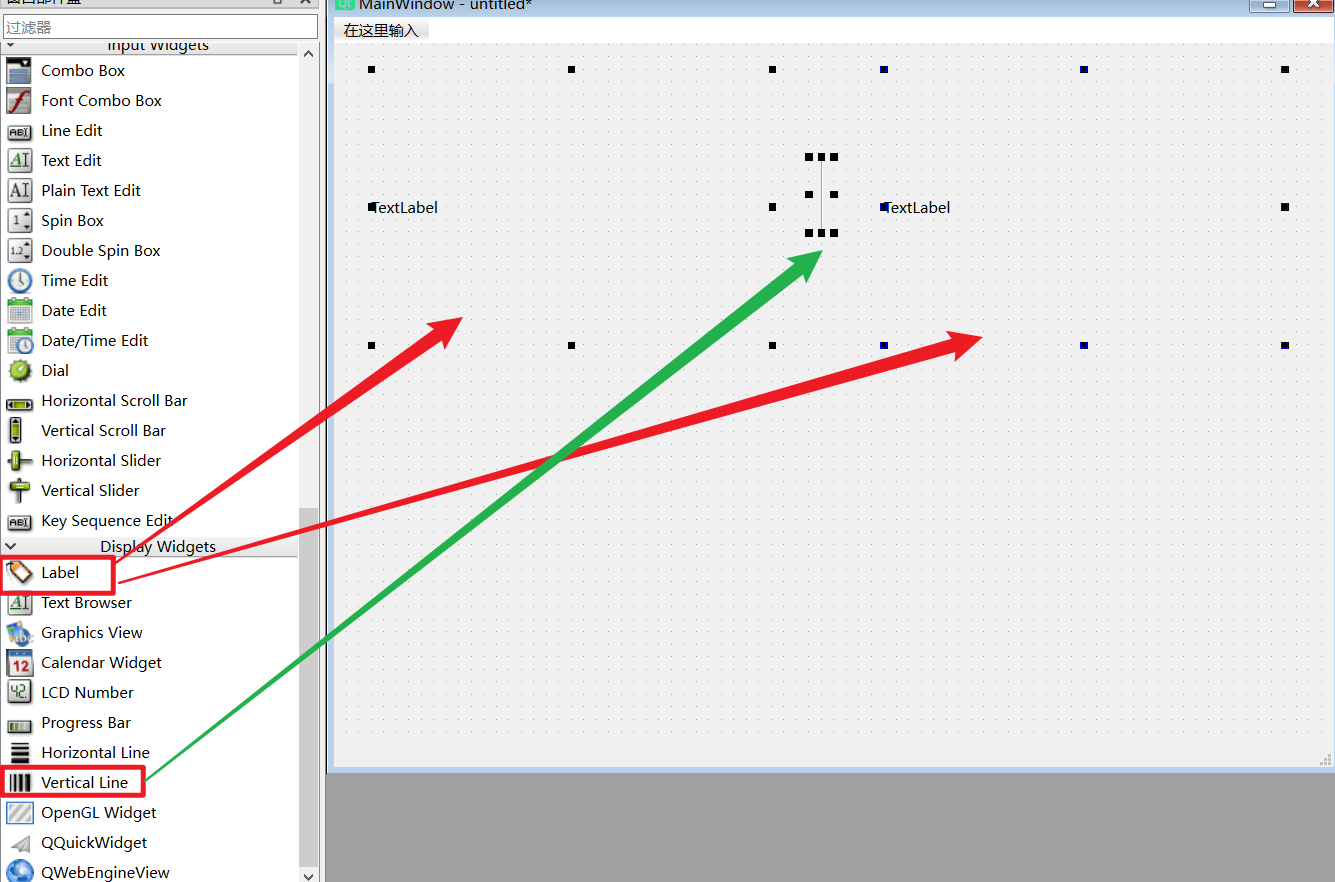
- 拖两个label个一个line进来
- 拖两个button进入,并进行命名
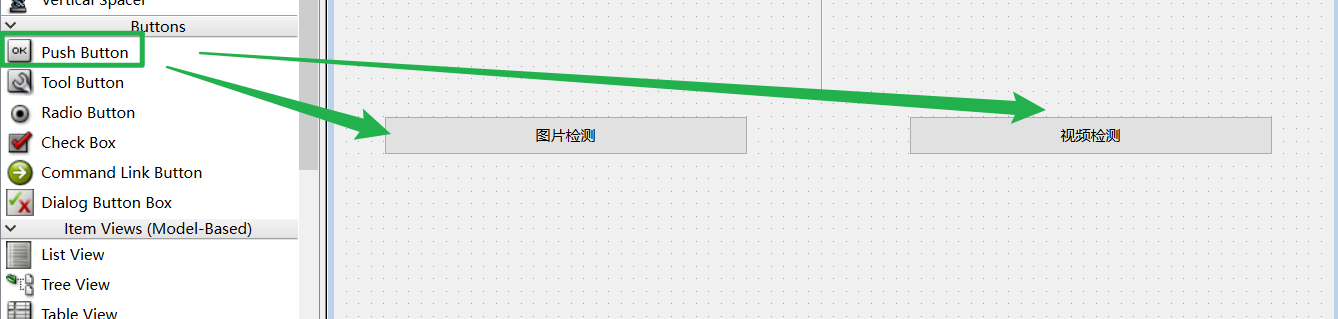
- 调整界面,填写两个label里面文件,将界面调小一些
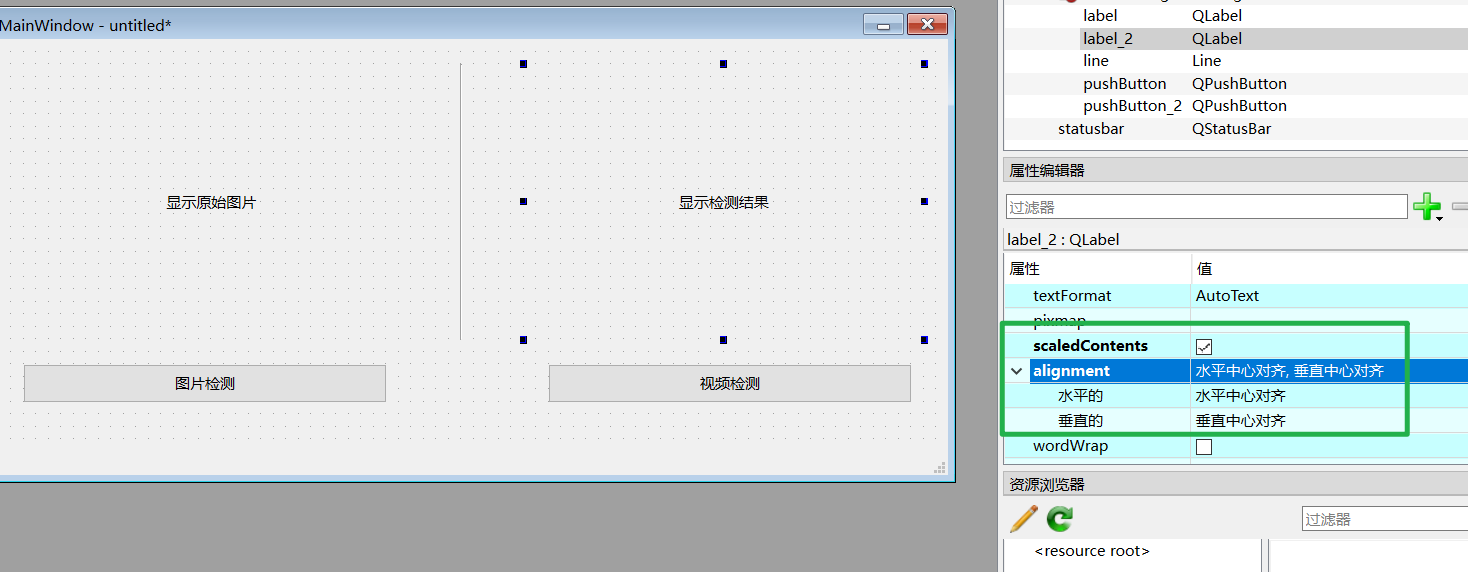
- 居中对齐,同时勾选scaledContents
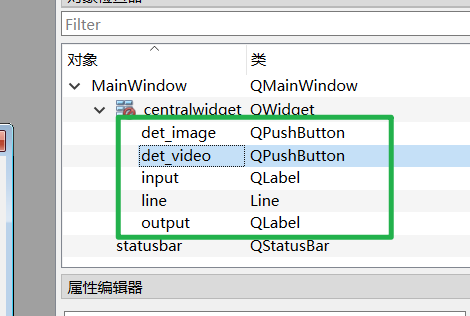
- 元素名称更改
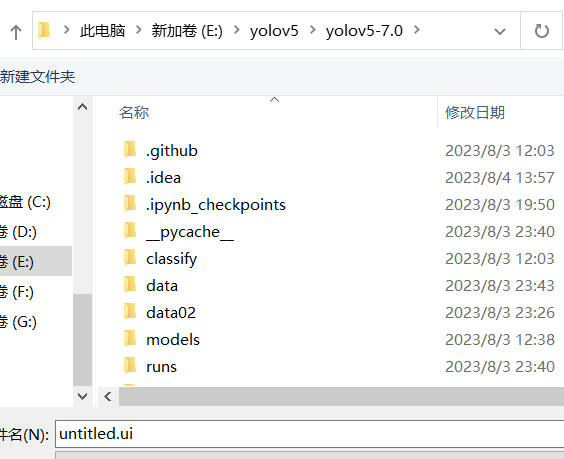
- Ctrl+S保存,保存到上一部分训练数据集的文件内
设置Pyside6-uic 工具
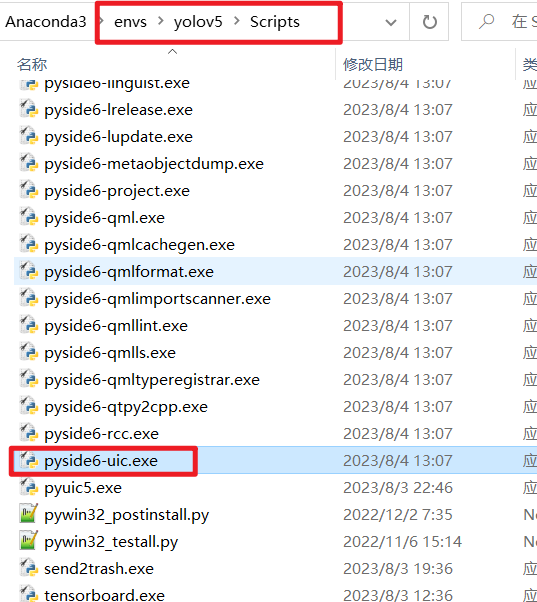
- 在当前虚拟环境的Python路径下,打开
Scripts文件夹夹,找到pyside6-uic.exe,记住当前路径
- 创建工具
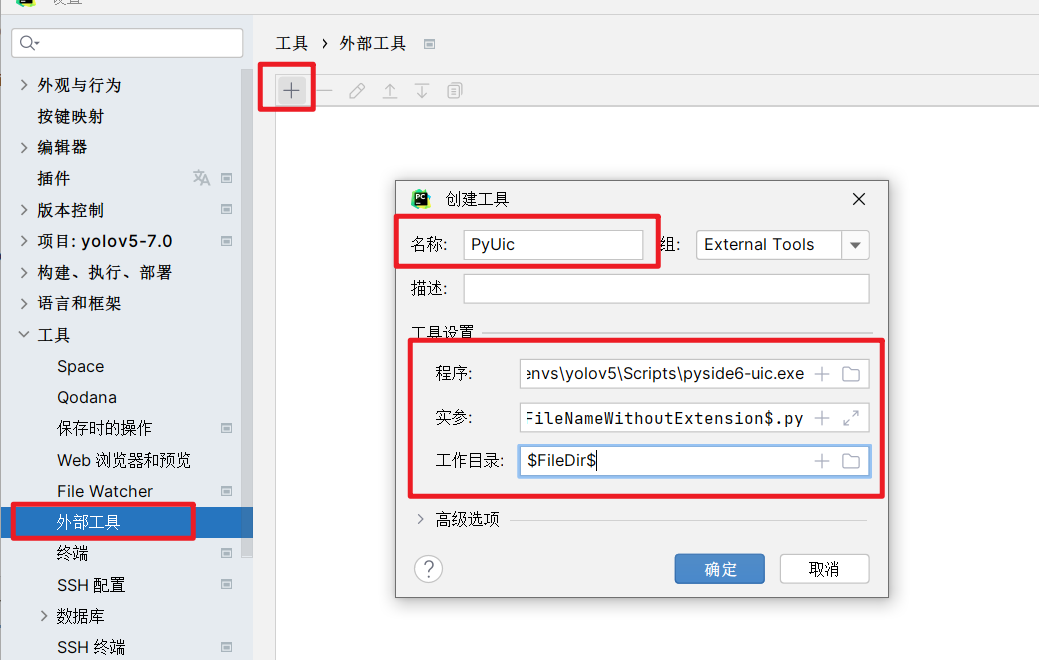
名称:PyUic(可自己定义)
程序:E:\kaifa\Anaconda3\envs\yolov5\Scripts\pyside6-uic.exe
实参:$FileName$ -o $FileNameWithoutExtension$.py
工作目录: $FileDir$
- 使用该工具
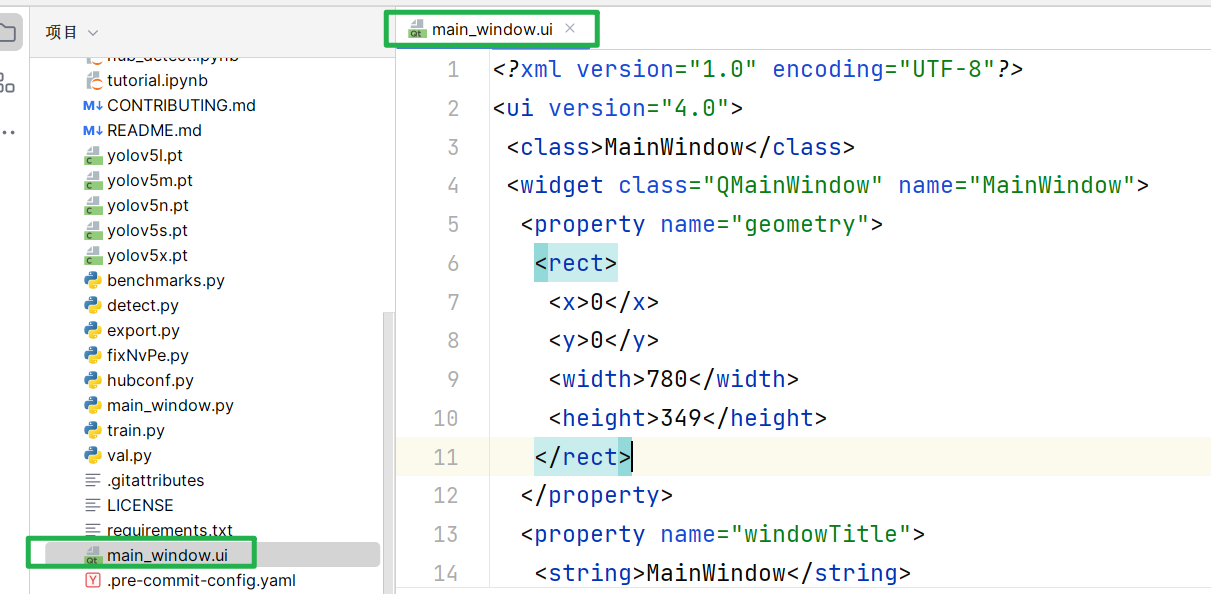
先在pycharm中打开刚才生成的ui文件
双击打不开的话,把文件拖到右边就可以打开了
然后在【工具】选项卡下的【external tools】下,点击【PyUic】(这个名称是你刚才自己设计的)
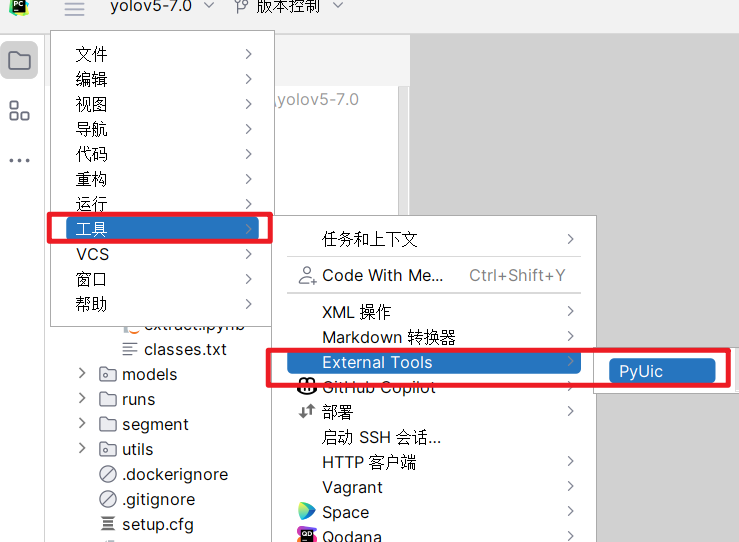
如果生成了相同文件名的.py文件,即说明设置成功

编写运行程序
创建模板文件base_ui.py
import sys
import torch
from PySide6.QtGui import QPixmap, QImage
from PySide6.QtWidgets import QMainWindow, QApplication, QFileDialog

from main_window import Ui_MainWindow #main_windows是刚才生成的ui对用的Python文件名

def convert2QImage(img):
    height, width, channel = img.shape
    return QImage(img, width, height, width * channel, QImage.Format_RGB888)

class MainWindow(QMainWindow, Ui_MainWindow):
    def __init__(self):
        super(MainWindow, self).__init__()
        self.setupUi(self)

if __name__ == "__main__":
    app = QApplication(sys.argv)

    window = MainWindow()
    window.show()

    app.exec()
编译运行,弹出窗口说明成功
编写内部具体功能的代码
讲解视频:YOLOv5 Pyside6可视化界面
import sys
import cv2
import torch
from PySide6.QtGui import QPixmap, QImage
from PySide6.QtWidgets import QMainWindow, QApplication, QFileDialog
from PySide6.QtCore import QTimer

from main_window import Ui_MainWindow  # main_windows是刚才生成的ui对用的Python文件名


def convert2QImage(img):
    height, width, channel = img.shape
    return QImage(img, width, height, width * channel, QImage.Format_RGB888)


class MainWindow(QMainWindow, Ui_MainWindow):
    def __init__(self):
        super(MainWindow, self).__init__()
        self.setupUi(self)
        self.model = torch.hub.load("./", "custom", path="runs/train/exp/weights/best.pt", source="local")
        self.video = None
        self.timer = QTimer()
        self.timer.setInterval(1)
        self.bind_slots()  # 绑定槽函数

    def image_pred(self, file_path): # 图片检测
        results = self.model(file_path)
        image = results.render()[0]
        return convert2QImage(image)

    def open_image(self): # 打开图片
        print("点击了检测图片按钮")
        self.timer.stop()  # 停止视频检测
        file_path = QFileDialog.getOpenFileName(self, dir="./data02/images/train", filter="*.jpg;*.png;*.jpeg")
        if file_path[0]:
            file_path = file_path[0]
            qimage = self.image_pred(file_path)
            self.input.setPixmap(QPixmap(file_path))
            self.output.setPixmap(QPixmap.fromImage(qimage))

    def video_pred(self):  # 视频检测
        ret, frame = self.video.read()
        if not ret:
            self.timer.stop()
        else:
            frame = cv2.cvtColor(frame, cv2.COLOR_BGR2RGB)
            self.input.setPixmap(QPixmap.fromImage(convert2QImage(frame)))
            results = self.model(frame)
            image = results.render()[0]
            self.output.setPixmap(QPixmap.fromImage(convert2QImage(image)))

    def open_video(self):  # 打开视频
        print("点击了检测视频!")
        file_path = QFileDialog.getOpenFileName(self, dir="./data02", filter="*.mp4")
        if file_path[0]:
            file_path = file_path[0]
            self.video = cv2.VideoCapture(file_path)
            self.timer.start()

    def bind_slots(self):  # 绑定槽函数
        self.det_image.clicked.connect(self.open_image)
        self.det_video.clicked.connect(self.open_video)
        self.timer.timeout.connect(self.video_pred)


if __name__ == "__main__":
    app = QApplication(sys.argv)

    window = MainWindow()
    window.show()

    app.exec()
Gradio搭建Web GUI
安装Gradio
激活之前的虚拟环境yolov5
在该环境的终端输入以下命令
pip install -i https://pypi.tuna.tsinghua.edu.cn/simple gradio
实现
新建gradio_demo.py文件
输入图片、输出图片、预测函数
Gradio不支持实时检测
import torch
import gradio as gr

model = torch.hub.load("./", "custom", path="runs/train/exp/weights/best.pt", source="local")

title = "基于Gradio的YOLOv5演示项目"

desc = "这是一个基于Gradio的YOLOv5演示项目,非常简洁,非常方便!"

base_conf, base_iou = 0.25, 0.45


def det_image(img, conf_thres, iou_thres):
    model.conf = conf_thres
    model.iou = iou_thres
    return model(img).render()[0]


gr.Interface(
    inputs=["image", gr.Slider(minimum=0, maximum=1, value=base_conf), gr.Slider(minimum=0, maximum=1, value=base_iou)],
    outputs=["image"],
    fn=det_image,
    title=title,
    description=desc,
    live=True,
    examples=[["./data02/images/train/30.jpg", base_conf, base_iou],
              ["./data02/images/train/60.jpg", 0.3, base_iou]]
).launch(share=True)
如果想发布到网上,设置share=True参数,但是运行的时候会因为网络原因,报出下面的错误,可以通过提示的网址下载对应文件,重命名后放到相应的目录下,重新运行
