文章目录
前言
本篇文章来讲解opencv读取MP4文件和摄像头数据,opencv主要用于处理图像数据那么本篇文章就来讲解opencv读取MP4文件和摄像头数据。
一、waitKey函数
waitKey()函数是OpenCV中常用的一个函数,它用于等待用户按键输入,并返回用户按下的键值。下面我将为您详细解释waitKey()函数的功能和使用。
waitKey()函数的基本语法如下:
int waitKey(int delay = 0);
参数说明:
delay:表示等待按键的时间(以毫秒为单位)。默认值为0,表示无限等待用户按键。如果设置一个正整数值,等待指定时间后会自动返回。
waitKey()函数的返回值是一个整数,表示用户按下的键值。通常情况下,我们会将返回值与用户可能按下的按键进行比较,以执行相应的操作。
二、VideoCapture类
VideoCapture类是OpenCV中用于从视频文件或摄像头中读取视频流的类。它提供了一系列函数和方法,使您能够读取视频流的帧并进行处理。下面我将为您详细解释VideoCapture类及其常用函数。
VideoCapture类的基本语法如下:
VideoCapture video("filename");  // 从文件中读取视频流
VideoCapture video(deviceID);    // 从摄像头设备中读取视频流
参数说明:
filename:表示要读取的视频文件的路径。
deviceID:表示要读取的摄像头设备的索引。通常,0表示默认摄像头设备。
VideoCapture类的常用函数如下:
1.isOpened():检查视频流是否成功打开。
if (video.isOpened())
{


    // 视频成功打开
}
2.read():读取视频流的下一帧。
Mat frame;
video.read(frame);  // 将下一帧视频存储在Mat对象中
3.set(CAP_PROP_X, value):设置视频流的属性。
video.set(CAP_PROP_FRAME_WIDTH, 640);   // 设置帧宽度为640
video.set(CAP_PROP_FRAME_HEIGHT, 480);  // 设置帧高度为480
4.get(CAP_PROP_X):获取视频流的属性值。
double width = video.get(CAP_PROP_FRAME_WIDTH);   // 获取帧宽度
double height = video.get(CAP_PROP_FRAME_HEIGHT);  // 获取帧高度
5.release():释放视频流资源。
video.release();
读取MP4文件:
#include <iostream>
#include <opencv2/opencv.hpp>

using namespace std;
using namespace cv;

int main(int argc, char** argv)
{


    VideoCapture video("1.mp4");

    if (!video.isOpened())
    {


        printf("Failed to open video file.\n");
        return -1;
    }

    while (1)
    {


        Mat frame;
        if (!video.read(frame))
            break;

        // 处理视频帧

        imshow("Frame", frame);

        if (waitKey(30) == 27)
            break;
    }

    video.release();

	return 0;
}
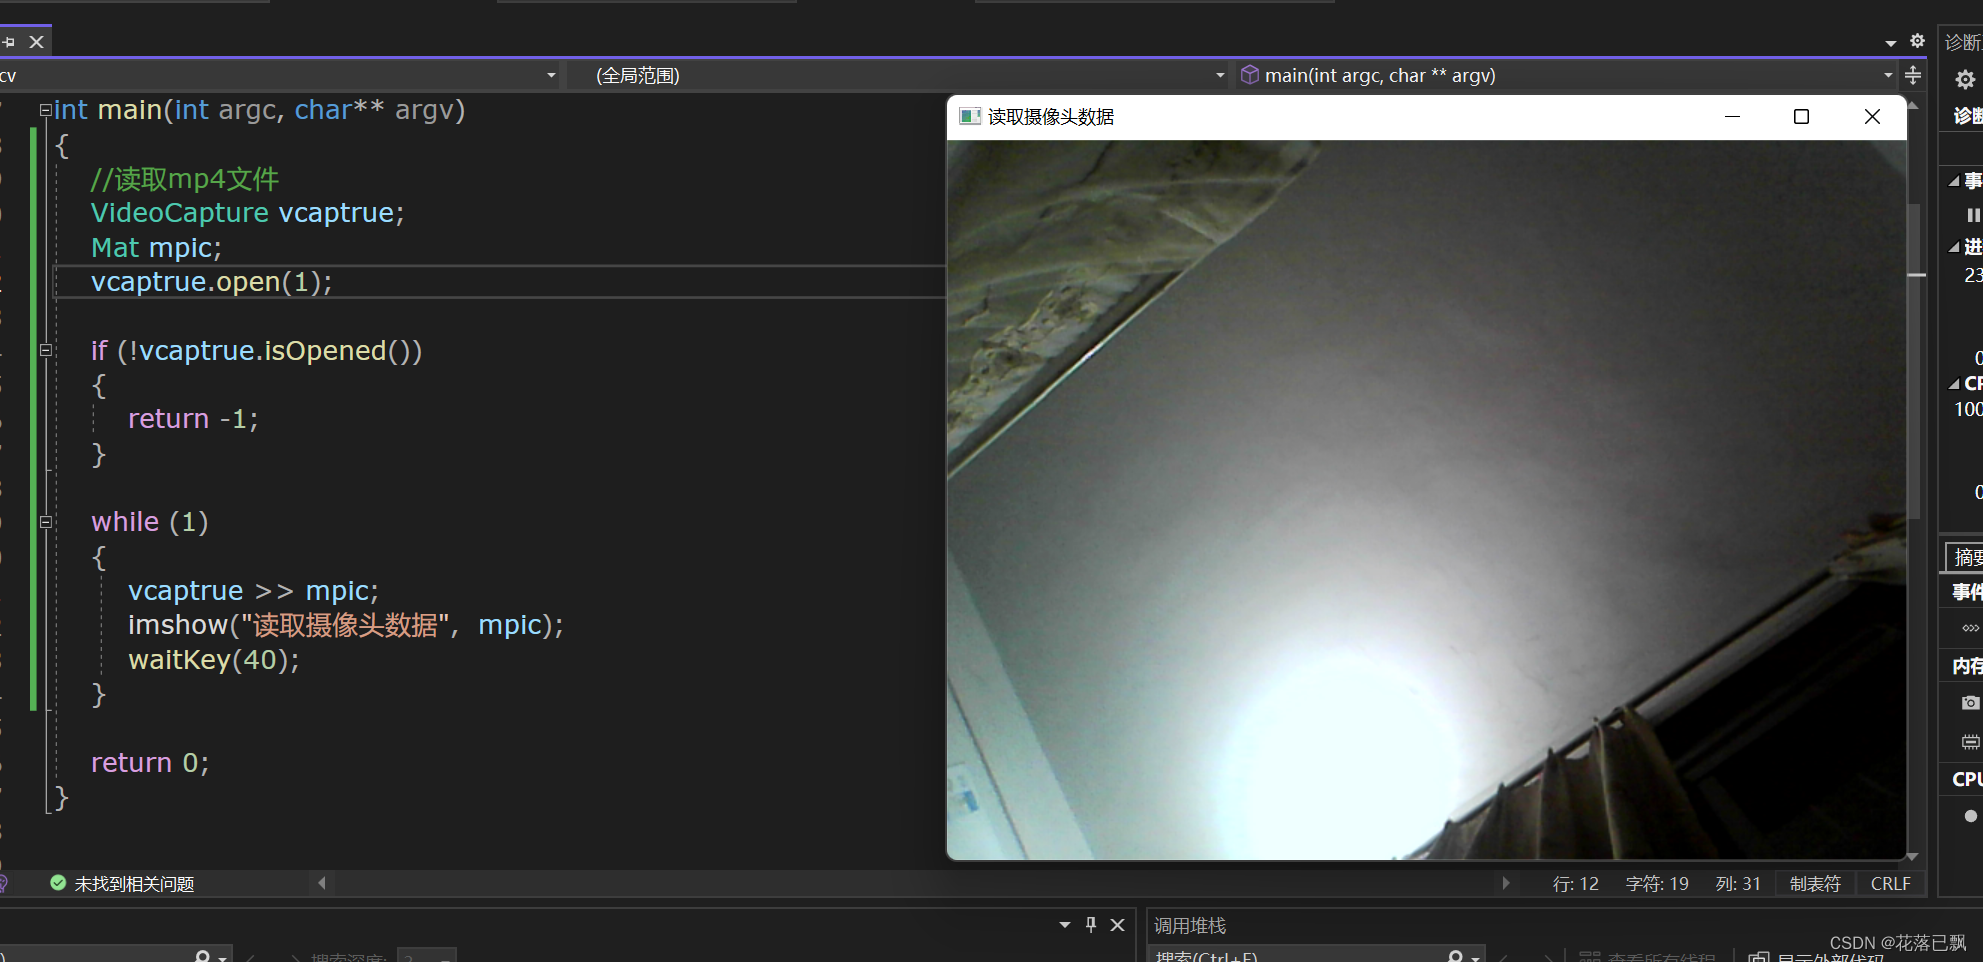
读取摄像头数据:
#include <iostream>
#include <opencv2/opencv.hpp>

using namespace std;
using namespace cv;

int main(int argc, char** argv)
{


	VideoCapture vcaptrue;
	Mat mpic;
	vcaptrue.open(1);//打开摄像头

	if (!vcaptrue.isOpened())
	{


		return -1;
	}

	while (1)
	{


		vcaptrue >> mpic;
		imshow("读取摄像头数据",  mpic);
		waitKey(40);
	}

	return 0;
}
运行效果:
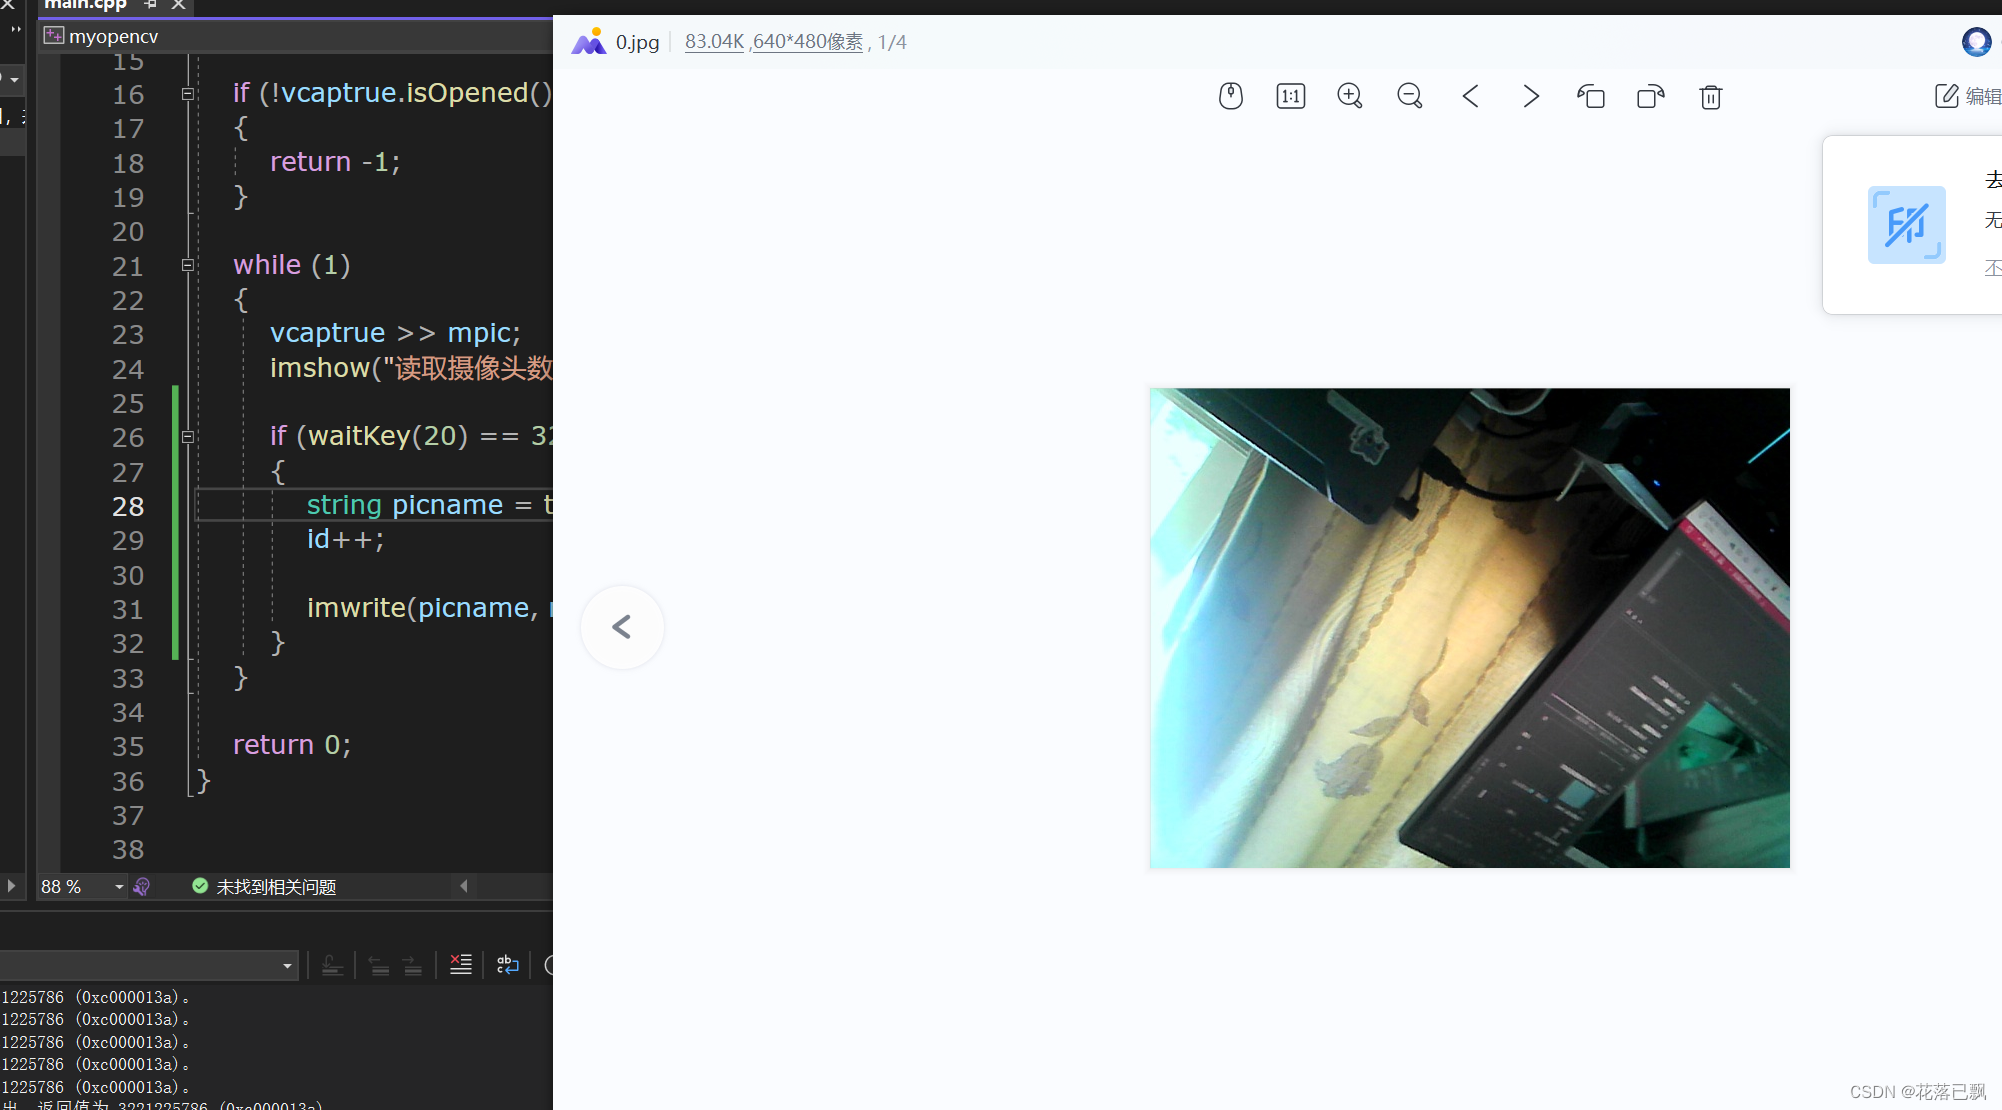
保存读取到的图形:
使用imwrite就可以将图片保存下来了:
#include <iostream>
#include <opencv2/opencv.hpp>

using namespace std;
using namespace cv;

int main(int argc, char** argv)
{


	//读取mp4文件
	VideoCapture vcaptrue;
	Mat mpic;
	vcaptrue.open(0);

	int id = 0;

	if (!vcaptrue.isOpened())
	{


		return -1;
	}

	while (1)
	{


		vcaptrue >> mpic;
		imshow("读取摄像头数据",  mpic);

		if (waitKey(20) == 32)//按下空格保存图片
		{


			string picname = to_string(id) + ".jpg";
			id++;

			imwrite(picname, mpic);
		}
	}

	return 0;
}
按下空格后保存图片:
总结
本篇文章就讲解到这里,下篇文章继续我们的opencv。