linux 源码安装nginx
安装依赖:
yum -y install gcc-c++ zlib zlib-devel pcre pcre-devel openssl openssl-devel
第一步:把 nginx 的源码包nginx-1.8.0.tar.gz上传到 linux 系统

第二步:解压缩
tar zxvf nginx-1.8.0.tar.gz


第三步:进入nginx-1.8.0目录
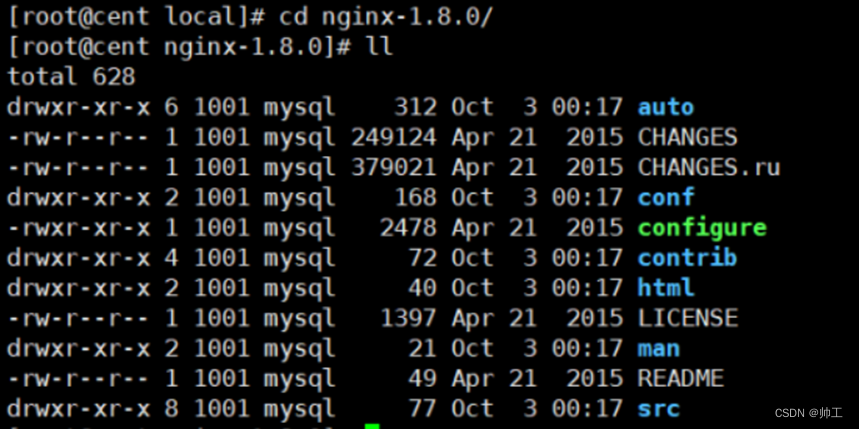
可以看到有一个configure可执行文件,绿色代表可执行文件
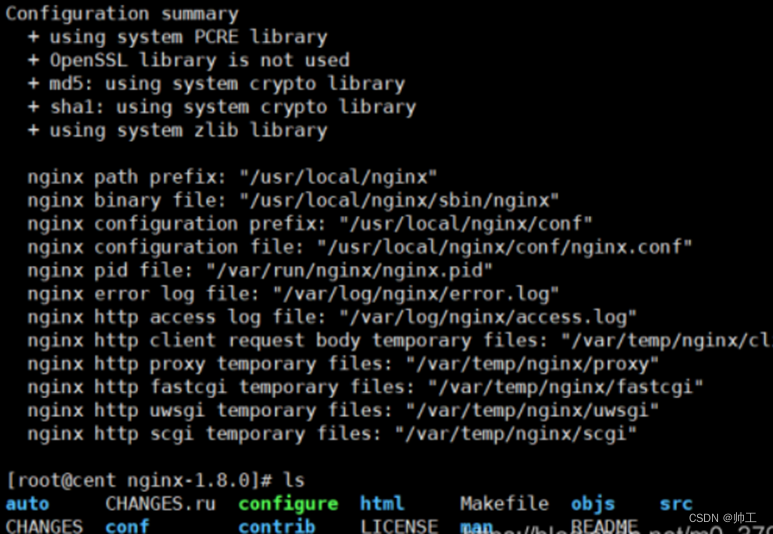
使用 configure 命令创建makeFile文件。
./configure \
--prefix=/usr/local/nginx \
--pid-path=/var/run/nginx/nginx.pid \
--lock-path=/var/lock/nginx.lock \
--error-log-path=/var/log/nginx/error.log \
--http-log-path=/var/log/nginx/access.log \
--with-http_gzip_static_module \
--http-client-body-temp-path=/var/temp/nginx/client \
--http-proxy-temp-path=/var/temp/nginx/proxy \
--http-fastcgi-temp-path=/var/temp/nginx/fastcgi \
--http-uwsgi-temp-path=/var/temp/nginx/uwsgi \
--http-scgi-temp-path=/var/temp/nginx/scgi \
--with-http_stub_status_module \
--with-http_ssl_module \
--with-file-aio \
--with-http_realip_module \
--with-stream
执行后可以看到Makefile文件
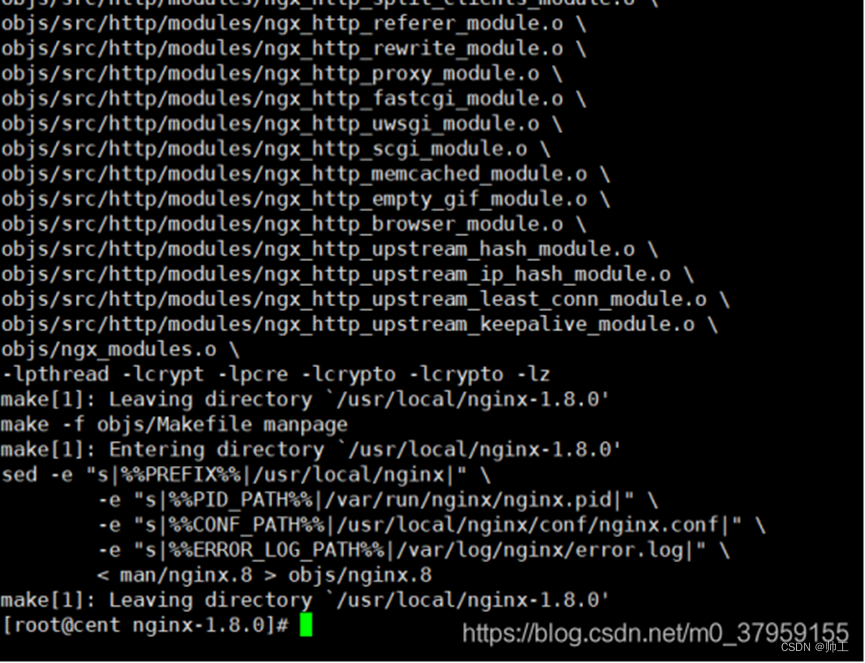
第四步:编译
make
输入make回车后可以看到生成了很多c文件
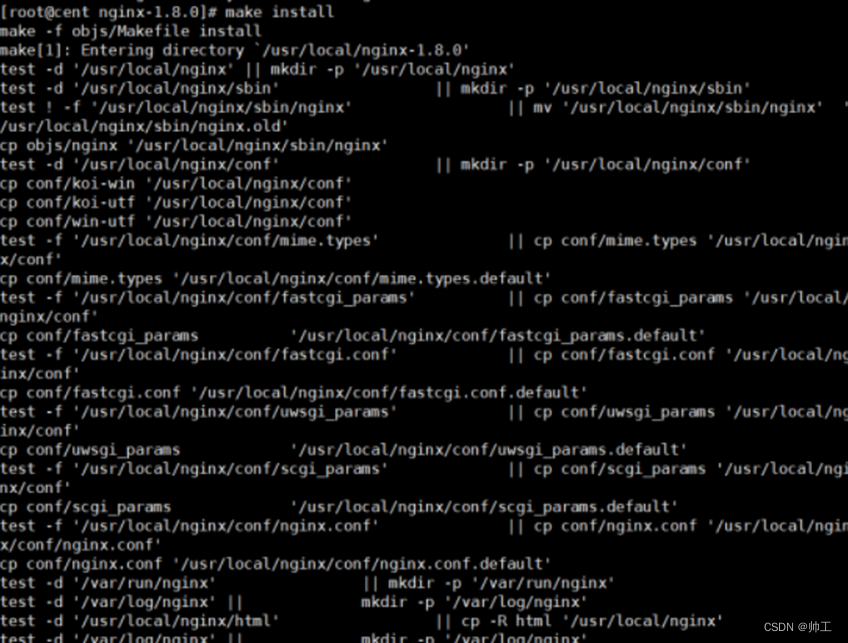
第五步:安装
make install
nginx退出与重加载
./nginx -s stop 非正常退出,相当于杀进程
./nginx -s quit 正常退出
./nginx -s reload 重新加载配置文件,就是加载上面的Makefile