记录vue-croppe的使用及过程中遇到的问题。
参考文章 Vue2中使用vue-croper插件实现图片上传裁剪--超详细
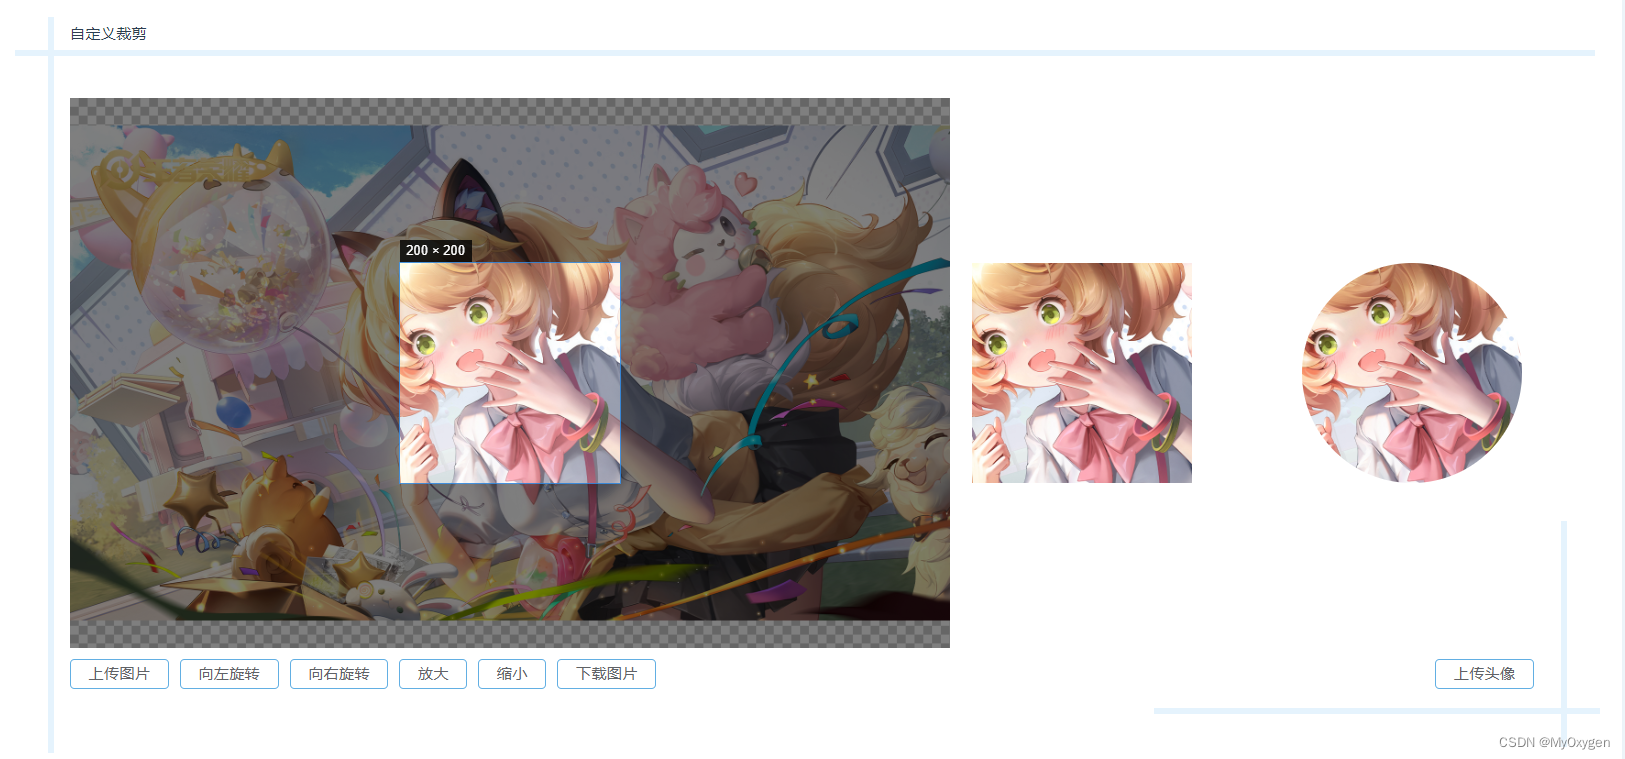
- 效果图
- 安装
npm install vue-cropper 或 yarn add vue-cropper- 封装vue-cropper组件,创建pictureCropper.vue组件
<template>
  <div class="pictureCropper-container">
    <div class="cropper-content-box" :style="{height: cropperHeight, width: cropperWidth}">
      <VueCropper
        ref="cropper"
        :img="option.img"
        :outputSize="option.outputSize"
        :outputType="option.outputType"
        :info="option.info"
        :canScale="option.canScale"
        :autoCrop="option.autoCrop"
        :autoCropWidth="option.autoCropWidth"
        :autoCropHeight="option.autoCropHeight"
        :fixed="option.fixed"
        :fixedNumber="option.fixedNumber"
        :full="option.full"
        :fixedBox="option.fixedBox"
        :canMove="option.canMove"
        :canMoveBox="option.canMoveBox"
        :original="option.original"
        :centerBox="option.centerBox"
        :height="option.height"
        :infoTrue="option.infoTrue"
        :maxImgSize="option.maxImgSize"
        :enlarge="option.enlarge"
        :mode="option.mode"
        @realTime="realTime"
      >
      </VueCropper>
    </div>
  </div>
</template>

<script>
import { VueCropper } from 'vue-cropper'
export default {
  name: 'index',
  components:{
    VueCropper,
  },
  props:{
    initialImg:{
      type: String,
      default: ""
    },
    cropperWidth:{
      type: String,
      default: '200px'
    },
    cropperHeight:{
      type: String,
      default: '200px'
    },
    autoCropWidth:{
      type:Number,
      default: 200,
    },
    autoCropHeight:{
      type:Number,
      default: 200,
    },
  },
  watch:{
    initialImg:{
      deep: true,
      immediate: true,
      handler(val){
        this.option.img = val
      }
    }
  },
  data(){
    return {
      previews: {},
      option: {
        img: this.initialImg, // 裁剪图片的地址
        outputSize: 1, // 裁剪生成图片的质量(可选0.1 - 1)
        outputType: 'png', // 裁剪生成图片的格式(jpeg || png || webp)
        info: true, // 图片大小信息
        canScale: true, // 图片是否允许滚轮缩放
        autoCrop: true, // 是否默认生成截图框
        autoCropWidth: this.autoCropWidth, // 默认生成截图框宽度
        autoCropHeight: this.autoCropHeight, // 默认生成截图框高度
        fixed: true, // 是否开启截图框宽高固定比例
        fixedNumber: [1, 1], // 截图框的宽高比例
        full: false, // false按原比例裁切图片,不失真
        fixedBox: true, // 固定截图框大小,不允许改变
        canMove: false, // 上传图片是否可以移动
        canMoveBox: true, // 截图框能否拖动
        original: false, // 上传图片按照原始比例渲染
        centerBox: false, // 截图框是否被限制在图片里面
        height: true, // 是否按照设备的dpr 输出等比例图片
        infoTrue: false, // true为展示真实输出图片宽高,false展示看到的截图框宽高
        maxImgSize: 3000, // 限制图片最大宽度和高度
        enlarge: 1 // 图片根据截图框输出比例倍数
      },
    }
  },
  methods: {
    // 实时预览函数
    realTime (data) {
      this.previews = data
      this.$emit('picturePreview',data)
    },
    // 图片缩放
    changeScale (num) {
      num = num || 1
      this.$refs.cropper.changeScale(num)
    },
    // 向左旋转
    rotateLeft () {
      this.$refs.cropper.rotateLeft()
    },
    // 向右旋转
    rotateRight () {
      this.$refs.cropper.rotateRight()
    },
    // 获取截图base64格式
    getBase64(){
      return new Promise(resolve => {
        this.$refs.cropper.getCropData((data) => {
          resolve(data)
        })
      })
    },
    // 获取截图blob格式
    getBlob(){
      return new Promise(resolve => {
        this.$refs.cropper.getCropBlob((data) => {
          resolve(data)
        })
      })
    }
  }
}
</script>
- 使用pictureCropper组件
<template>
  <div class="customCropper-container">
    <div class="cropper-title">自定义裁剪</div>
    <div class="cropper-container">
      <div class="operate-picture">
        <PictureCropper
          ref="picture"
          :initialImg="initialImg"
          :cropperHeight="cropperHeight"
          :cropperWidth="cropperWidth"
          :autoCropWidth="autoCropWidth"
          :autoCropHeight="autoCropHeight"
          @picturePreview="picturePreview"
        />
        <div class="operate-button">
          <el-upload
            class="upload-button"
            action="/"
            :before-upload="beforeUploadAction"
            accept="image/*"
          >
            <el-button class="common-button blue-border">上传图片</el-button>
          </el-upload>
          <el-button
            class="common-button blue-border"
            @click="rotateLeft"
          >向左旋转</el-button>
          <el-button
            class="common-button blue-border"
            @click="rotateRight"
          >向右旋转</el-button>
          <el-button
            class="common-button blue-border"
            @click="zoom(1)"
          >放大</el-button>
          <el-button
            class="common-button blue-border"
            @click="zoom(-1)"
          >缩小</el-button>
          <el-button
            class="common-button blue-border"
            @click="download"
          >下载图片</el-button>
        </div>
      </div>
      <div class="preview-picture">
        <div class="picture">
          <div class="preview-container" :style="previews.div">
            <img class="preview-img" :src="previews.url" :style="previews.img">
          </div>
          <div class="preview-container preview-radius" :style="previews.div">
            <img class="preview-img" :src="previews.url" :style="previews.img">
          </div>
        </div>
        <el-button
            class="common-button blue-border upload-avatar"
            @click="uploadAvatar('blob')"
        >上传头像</el-button>
      </div>
    </div>
  </div>
</template>

<script>
import PictureCropper from '@/components/pictureCropper/index.vue'
export default {
  name: 'customCropper',
  components:{
    PictureCropper,
  },
  data(){
    return{
      initialImg: require('@/assets/image/fox.jpg'),  // 本地图片用require,链接地址不用
      previews: {},
      cropperHeight: '500px',  // 裁剪图片容器高度
      cropperWidth: '800px',   // 裁剪图片容器宽度
      autoCropWidth: 200,
      autoCropHeight: 200,
    }
  },
  methods:{
    picturePreview(data){
      this.previews = data
    },
    // 向左旋转
    rotateLeft(){
      this.$refs.picture.rotateLeft()
    },
    // 向左旋转
    rotateRight(){
      this.$refs.picture.rotateLeft()
    },
    // 放大、缩小
    zoom(num){
      num = num || 1
      this.$refs.picture.changeScale(num)
    },
    // 下载图片
    async download(){
      let aLink = document.createElement('a')
      aLink.download = '下载裁剪图片'
      let data = await this.$refs.picture.getBase64()
      aLink.href = data
      aLink.click()
    },
    // 上传图片之前
    beforeUploadAction(file){
      return new Promise((resolve, reject) => {
        // 转换为blob
        var reader = new FileReader()
        let reg = /\.jpg$|\.jpeg$|\.gif$|\.png$/i
        // 转化为base64
        reader.readAsDataURL(file)
        let name = file.name
        if (reg.test(name)) {
          reader.onload = (e) => {
            let data
            if (typeof e.target.result === 'object') {
              data = window.URL.createObjectURL(new Blob([e.target.result]))
            } else {
              data = e.target.result
            }
            this.initialImg = data
            resolve(data)
          }
        } else {
          this.$message.error('请上传图片')
          reject()
        }
      })
    },
    // 上传头像到服务器
    async uploadAvatar(type){
      if(type === 'blob'){
        // 获取截图的blob数据
        let data = await this.$refs.picture.getBlob()
        this.uploadPhoto(data)
      }
    },
    async uploadPhoto(blob){
      try{
        const formData = new FormData()
        formData.append('file',blob,'.jpg')
        // 上传头像的业务代码...省略
        this.$message.success('修改头像成功')
      } catch (error){
        this.$message.error('修改头像失败')
      }
    }
  }
}
</script>
- 问题1 图片转换报错
问题描述:在使用组件时,报错 Uncaught (in promise) TypeError: First argument to DataView constructor must be an ArrayBuffer at new DataView (<anonymous>)
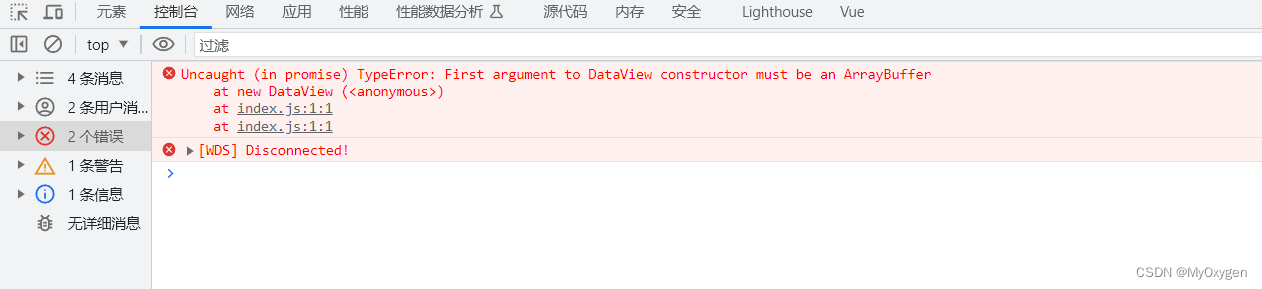
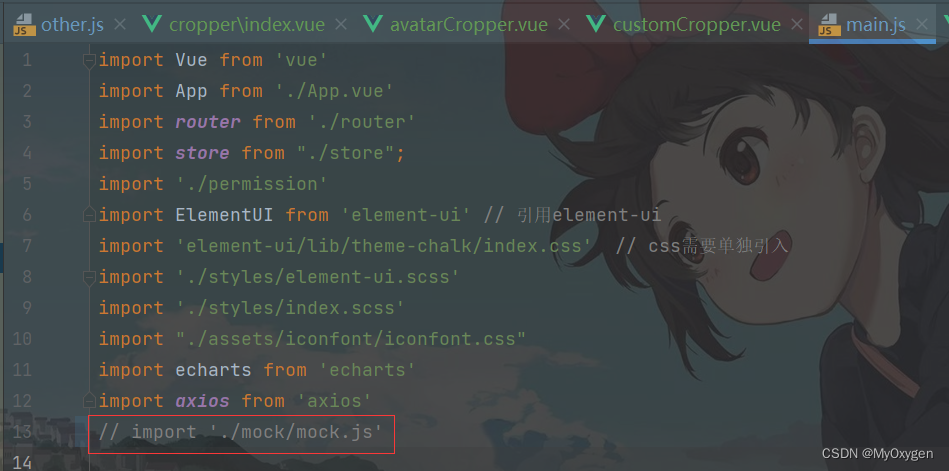
原因:因为在本地使用了mock.js,导致图片转换报错
解决方法: 关闭本地mock服务,在main.js 注释mock.js的引入(该解决方案参考博客https://www.cnblogs.com/mary-123/p/12029514.html)在网上找了很久关于这个报错的解决方法,终于找到了这个方法,太不容易了